DIY Metallic Foil Napkins

Metallic foil napkins! Can we just go back to that for a sec, because this is what my Holiday dreams are made of, right here! I have been wanting a set of napkins like this for so long, and I have finally made my own, and I'm about to show you how you can do the same.This month, I've joined forces with four other rad Canadian bloggers who love black, white, greenery and shiny things as much as I do for our Modern Holiday Home series. We're going to be bringing some fun holiday projects and decor EVERY SINGLE WEEK for five weeks. This week, we're partnering with one of my fave craft brands, Therm-O-Web, to take on some projects with Deco Foil! You can find all of our projects linked at the bottom of this post AND we're partnering on a sweet giveaway to get your own stash of Deco Foil to craft with (that's at the bottom too, so make sure to enter!).  Now let's get to how these napkins came to life! I purchased the black ones at the thrift store and gave them a good washing. Because they're cotton, they wash extremely well and need very little to no ironing at all. I also happened to have two extra white ones I threw into the mix, because black, white and shiny is my jam. You know that.To start, I used the Deco Foil Liquid Adhesive and applied it with a brush to one edge of the napkins, about 2 inches up.
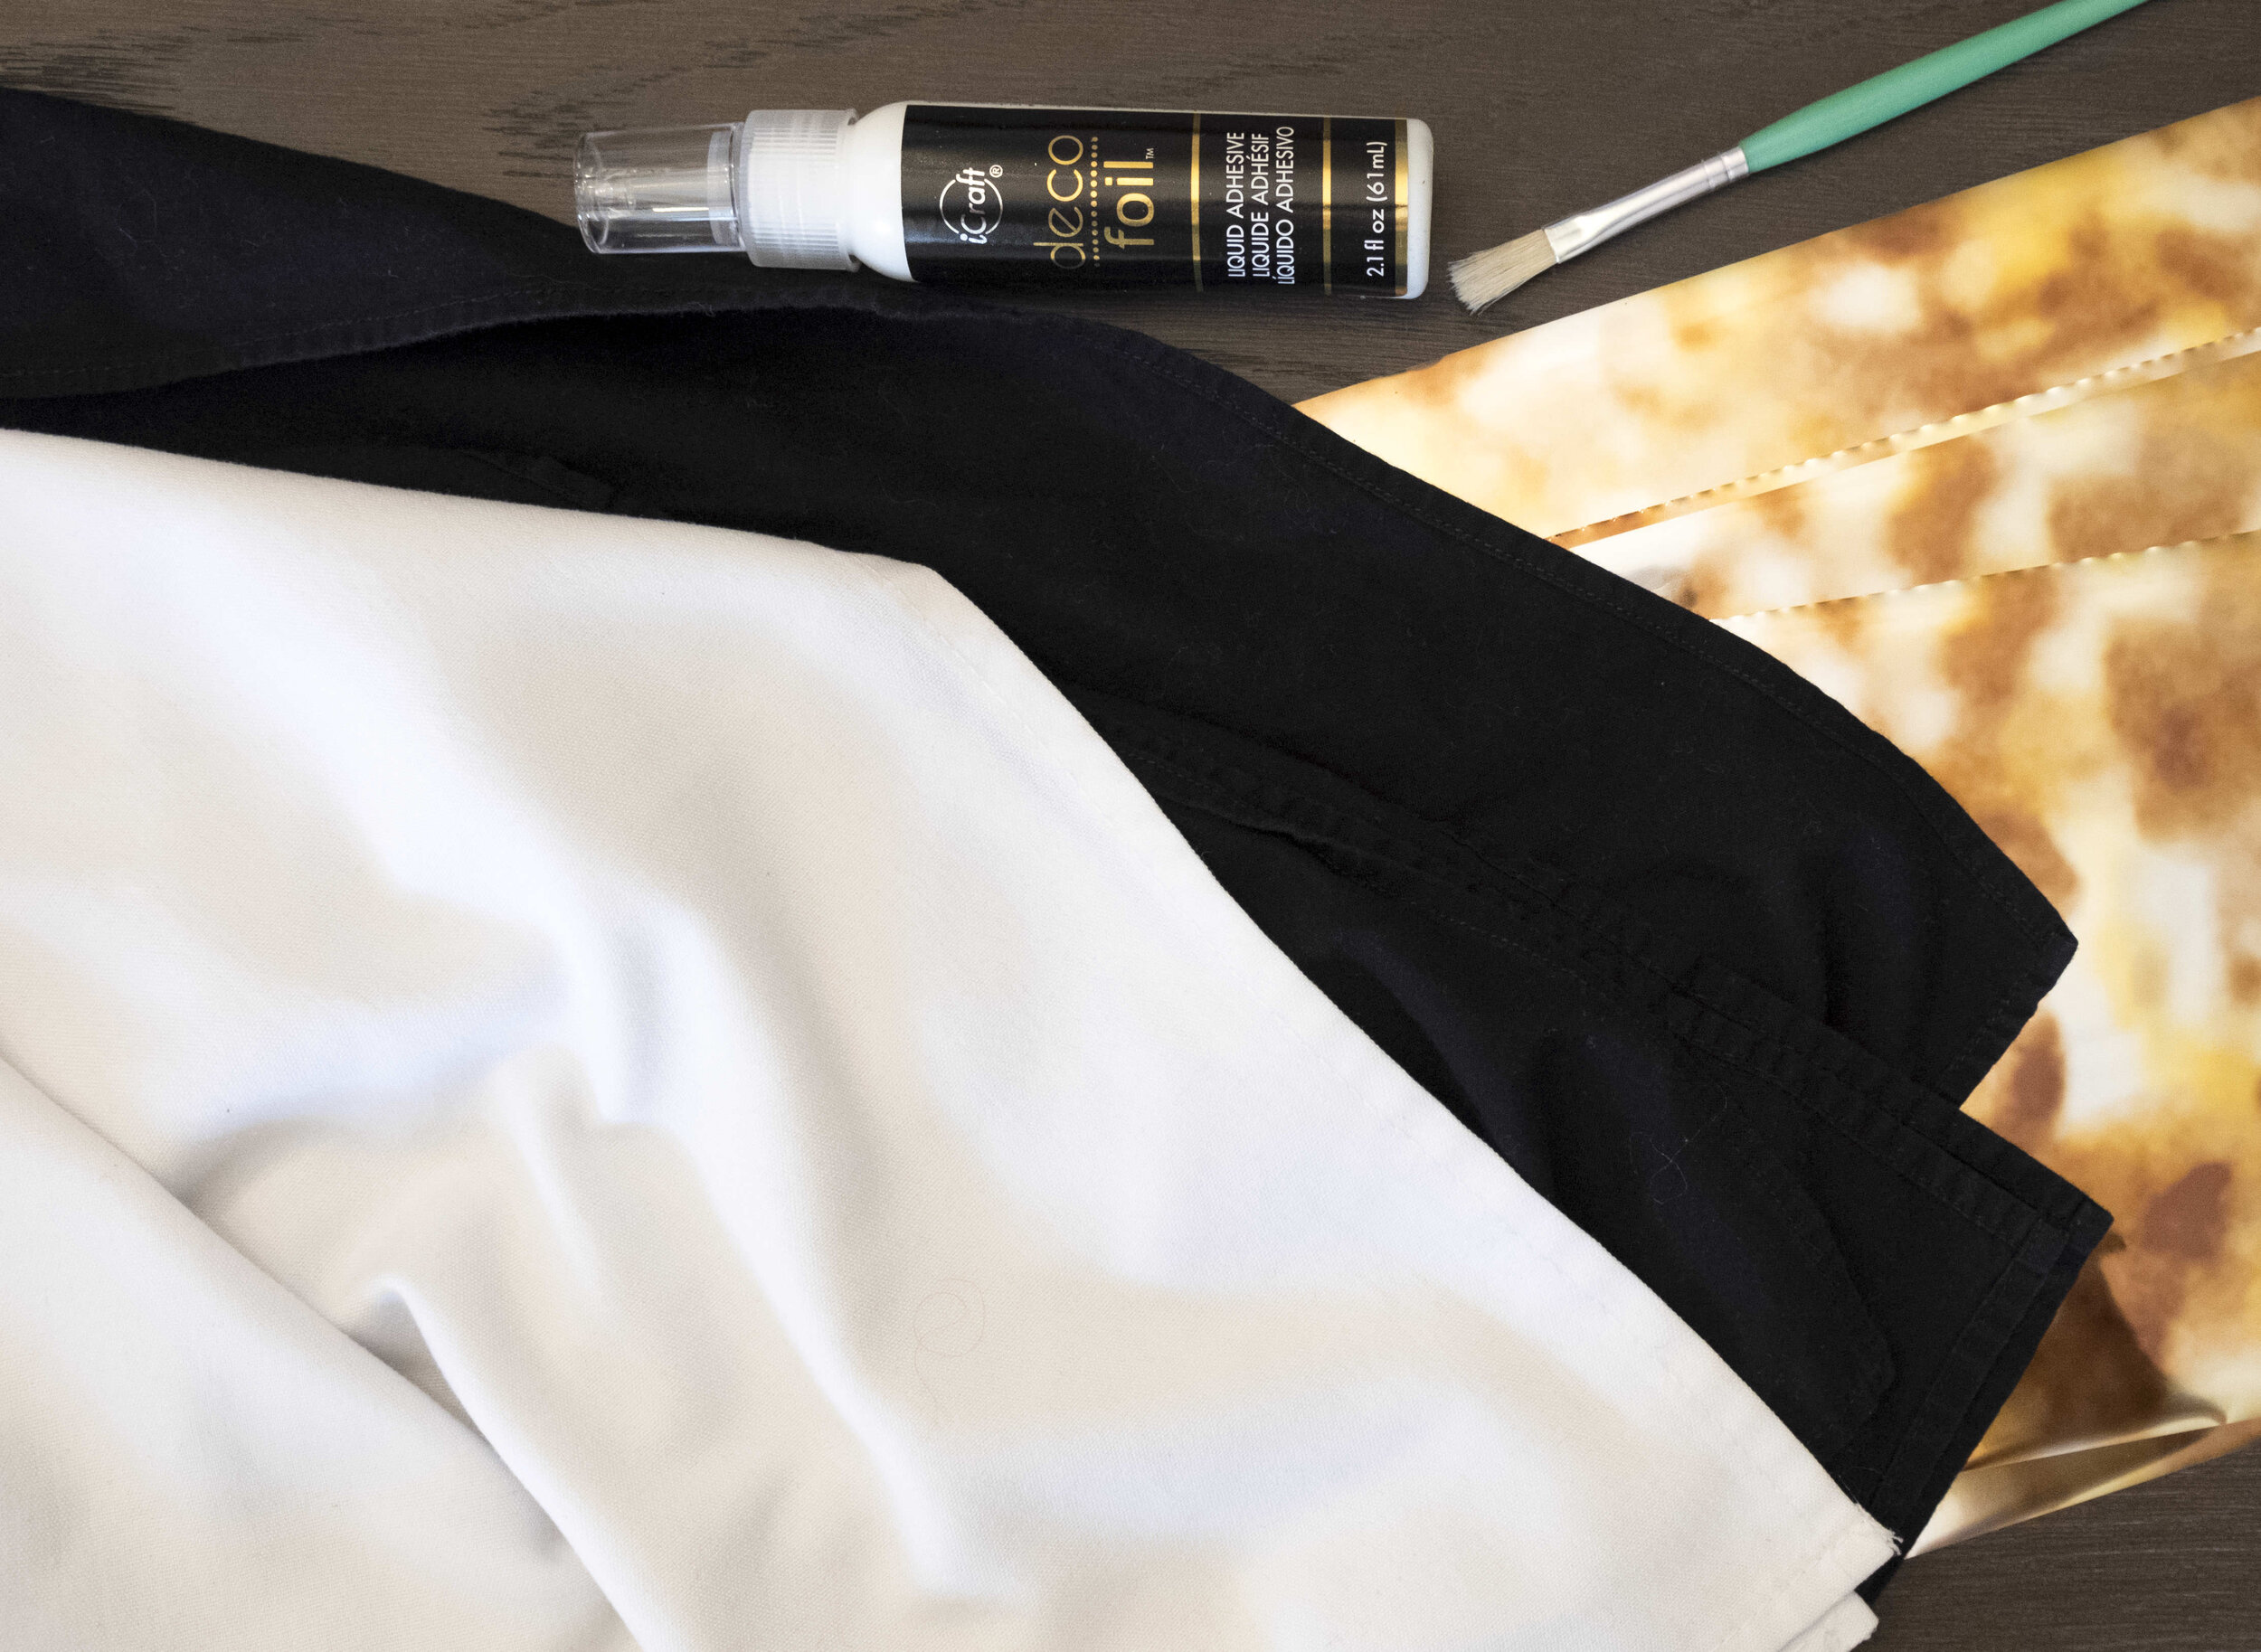
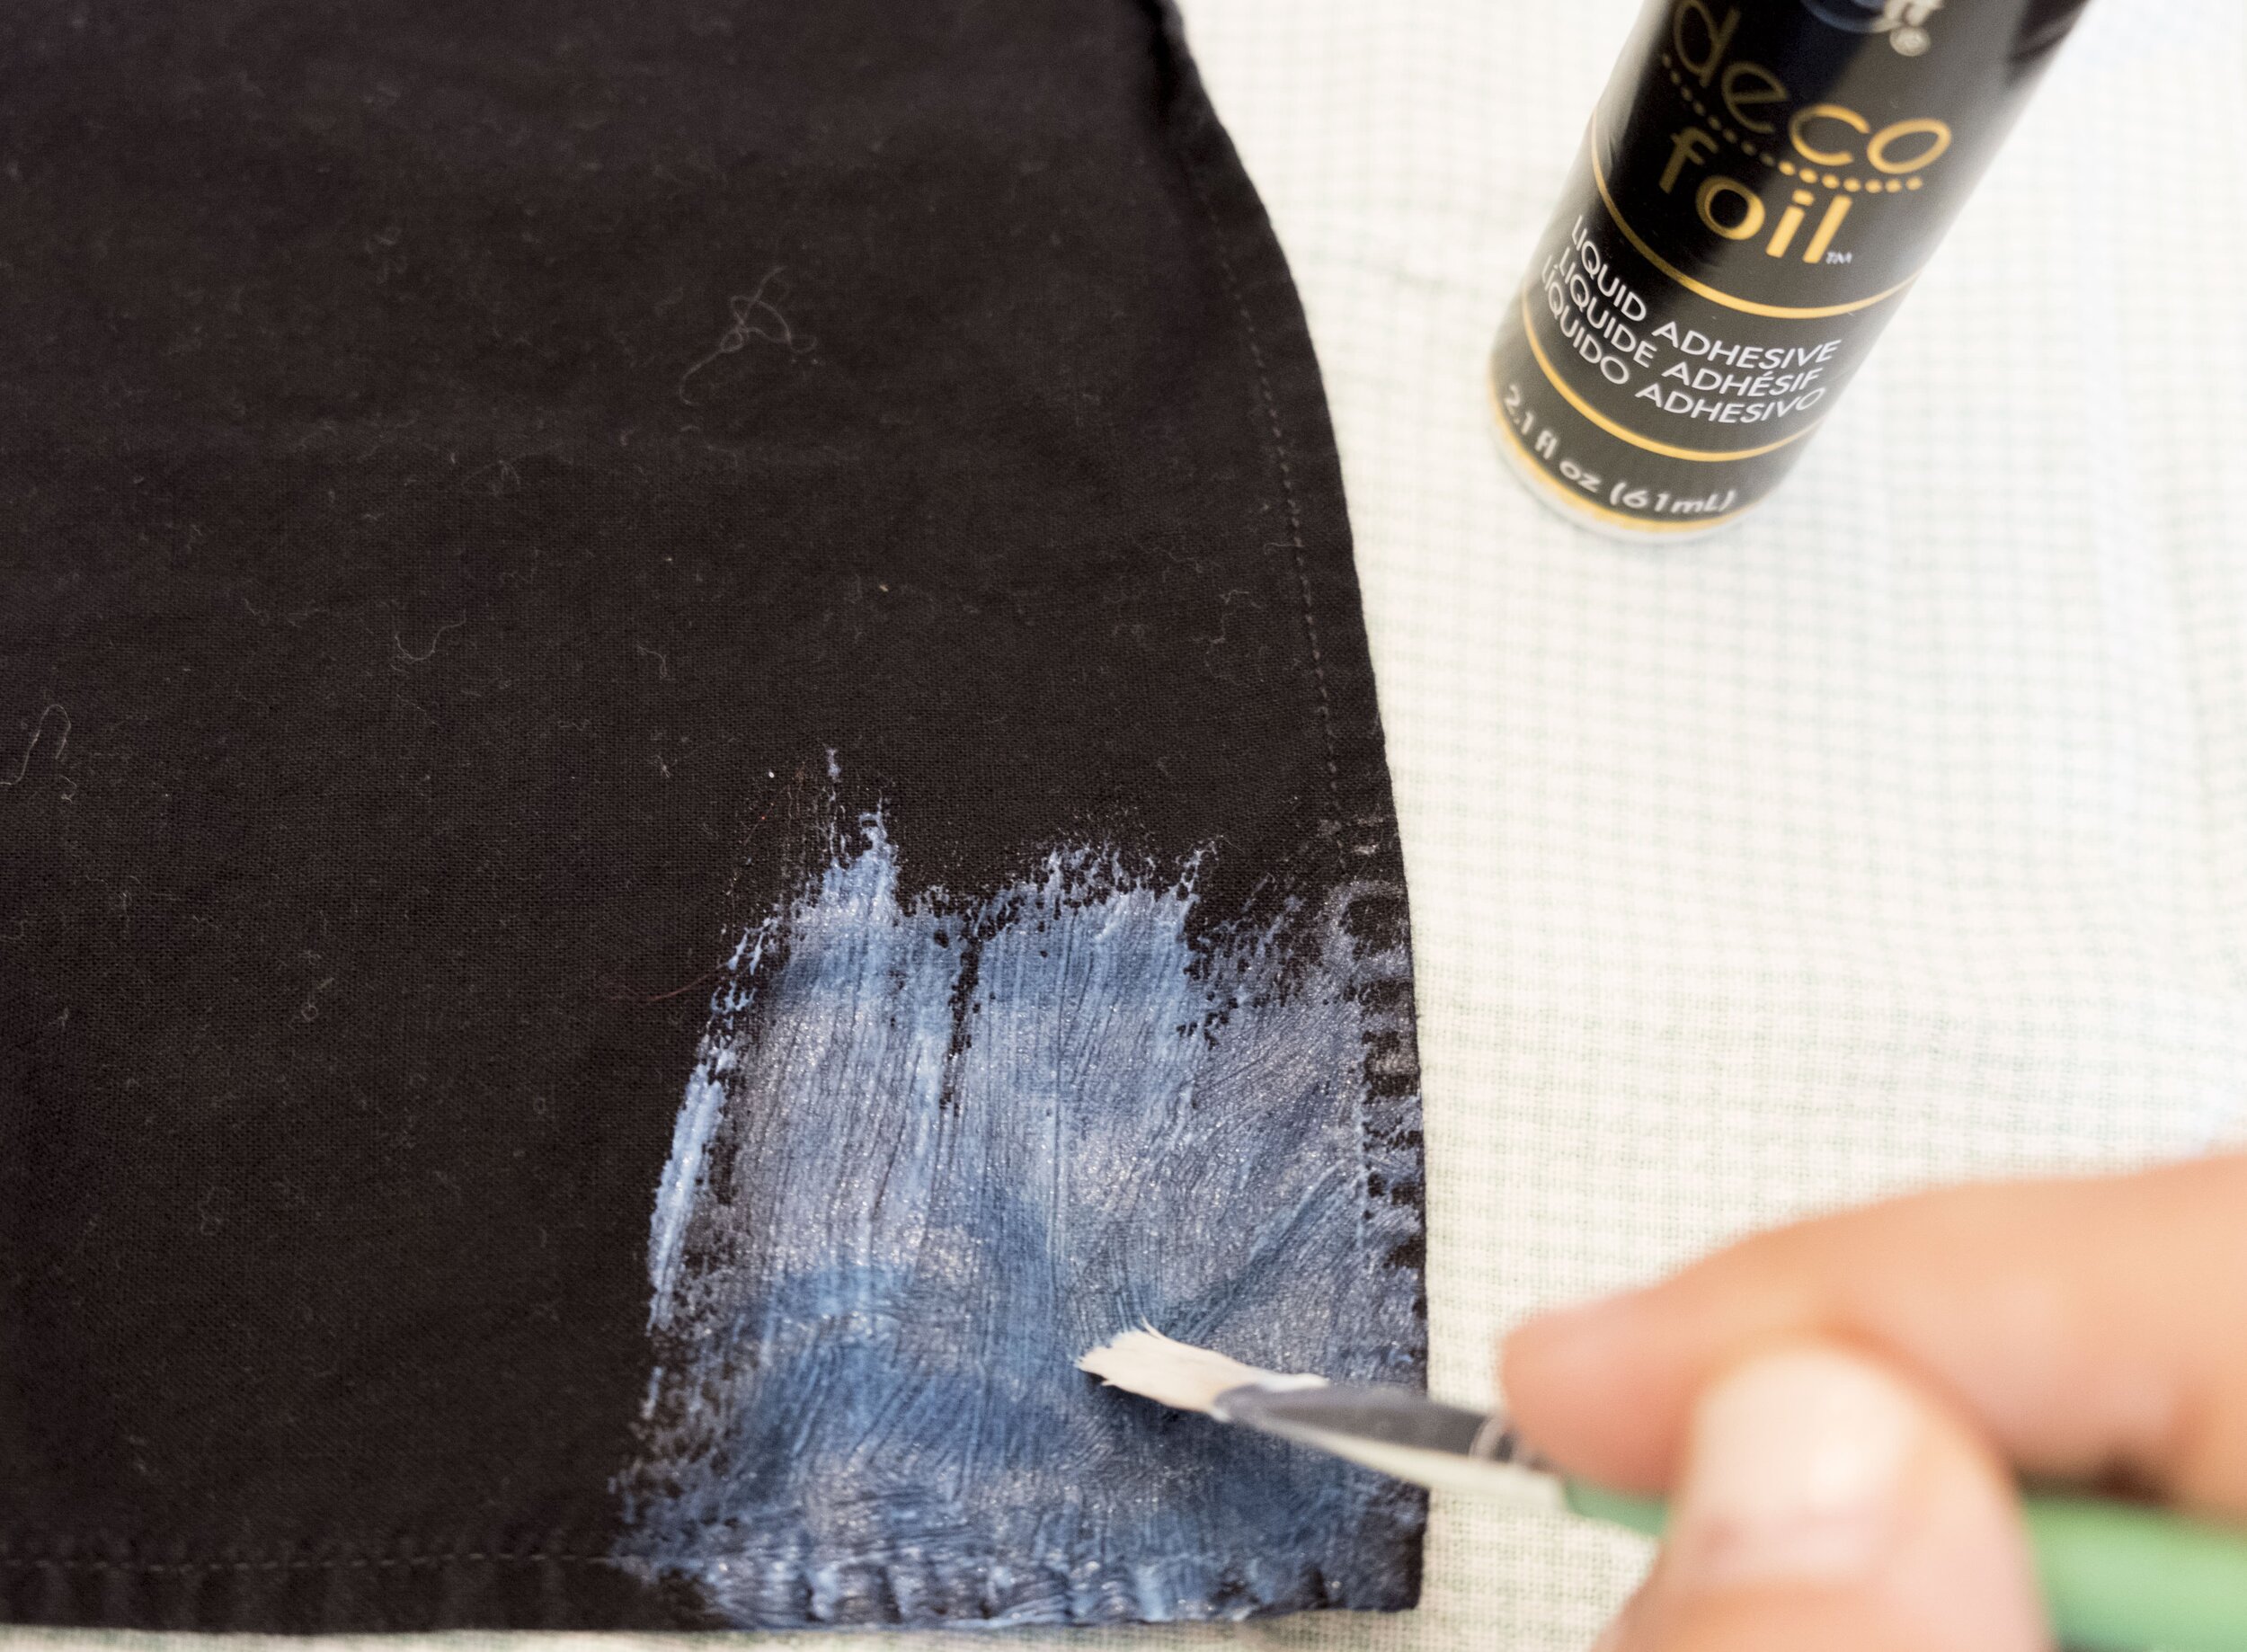 Let the adhesive sit for at least an hour - it'll be clear and still sticky but not as wet to the touch. That's when you know you're ready for the foil! I used the Deco Foil Transfer Sheets in Amber Watercolour because it's a perfect mix of gold, silver and copper without me actually having to mix any of the foils myself!To apply, just place the foil sheet on the adhesive, amber side up and press down. I used an old gift card to press all along the adhesive to make sure I got as much foil on there as possible.
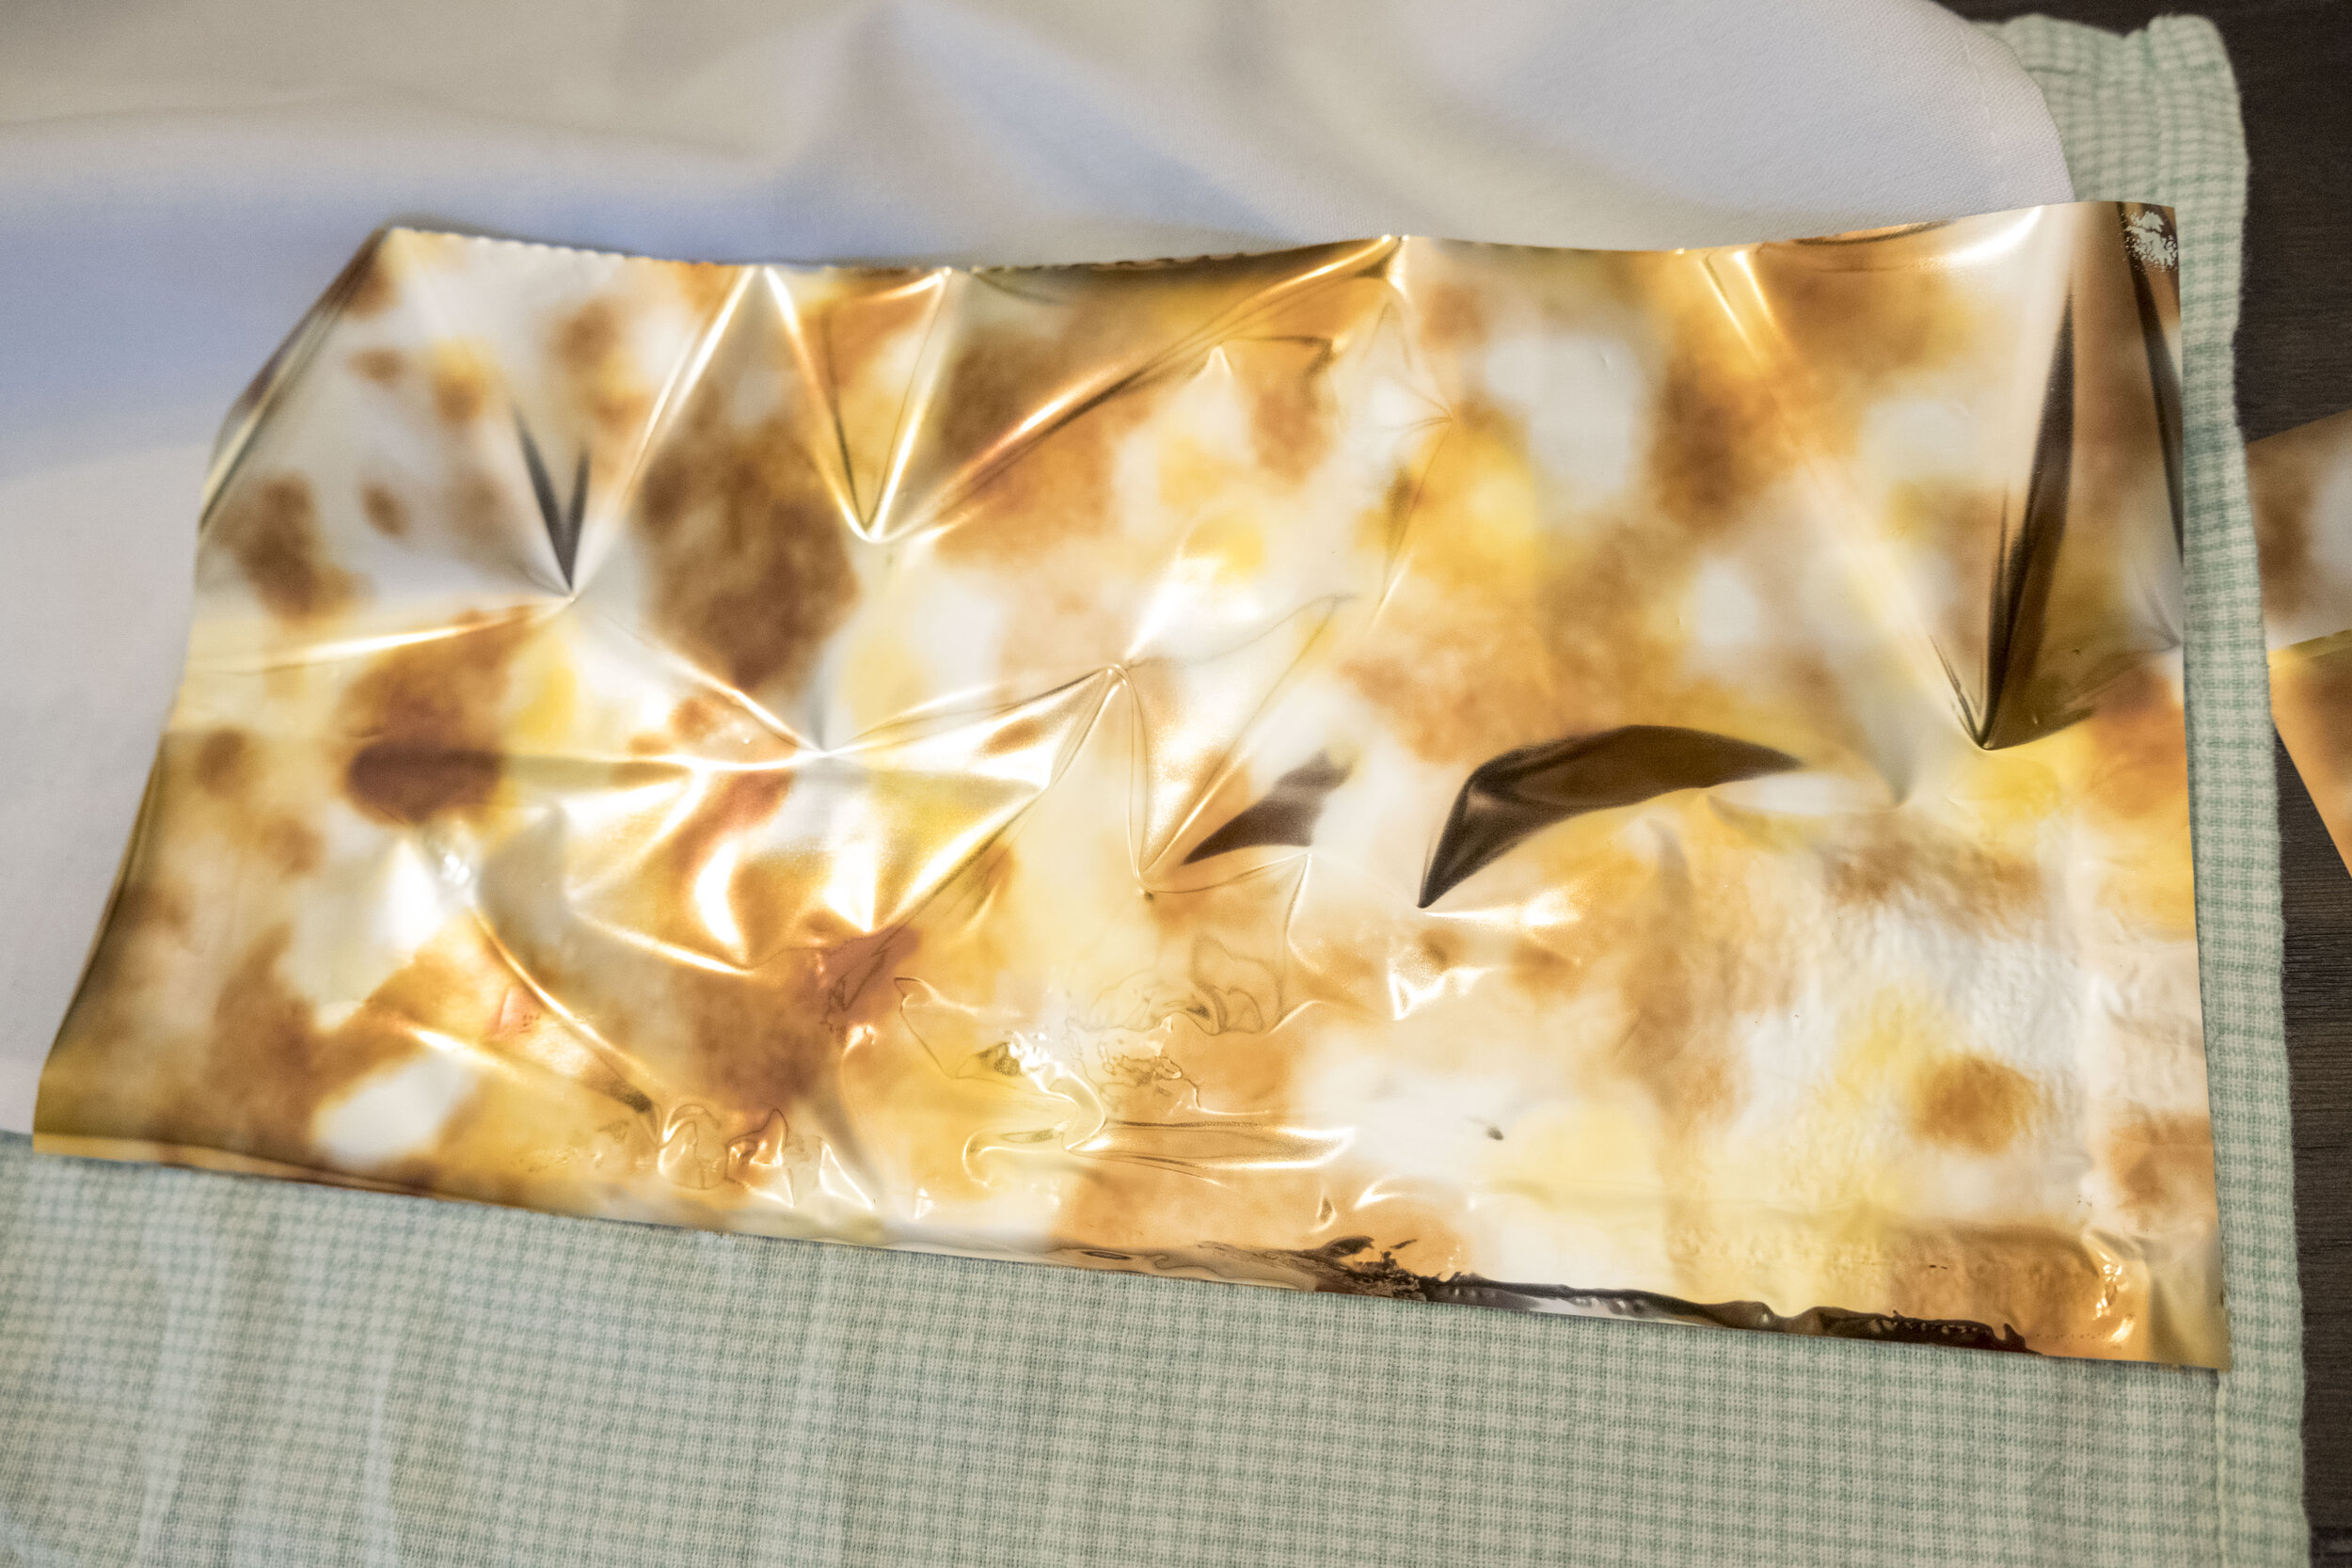 Once it all dries, you're completely done! These can even be washed (either by hand or a in gentle cycle), but make sure not to iron them.
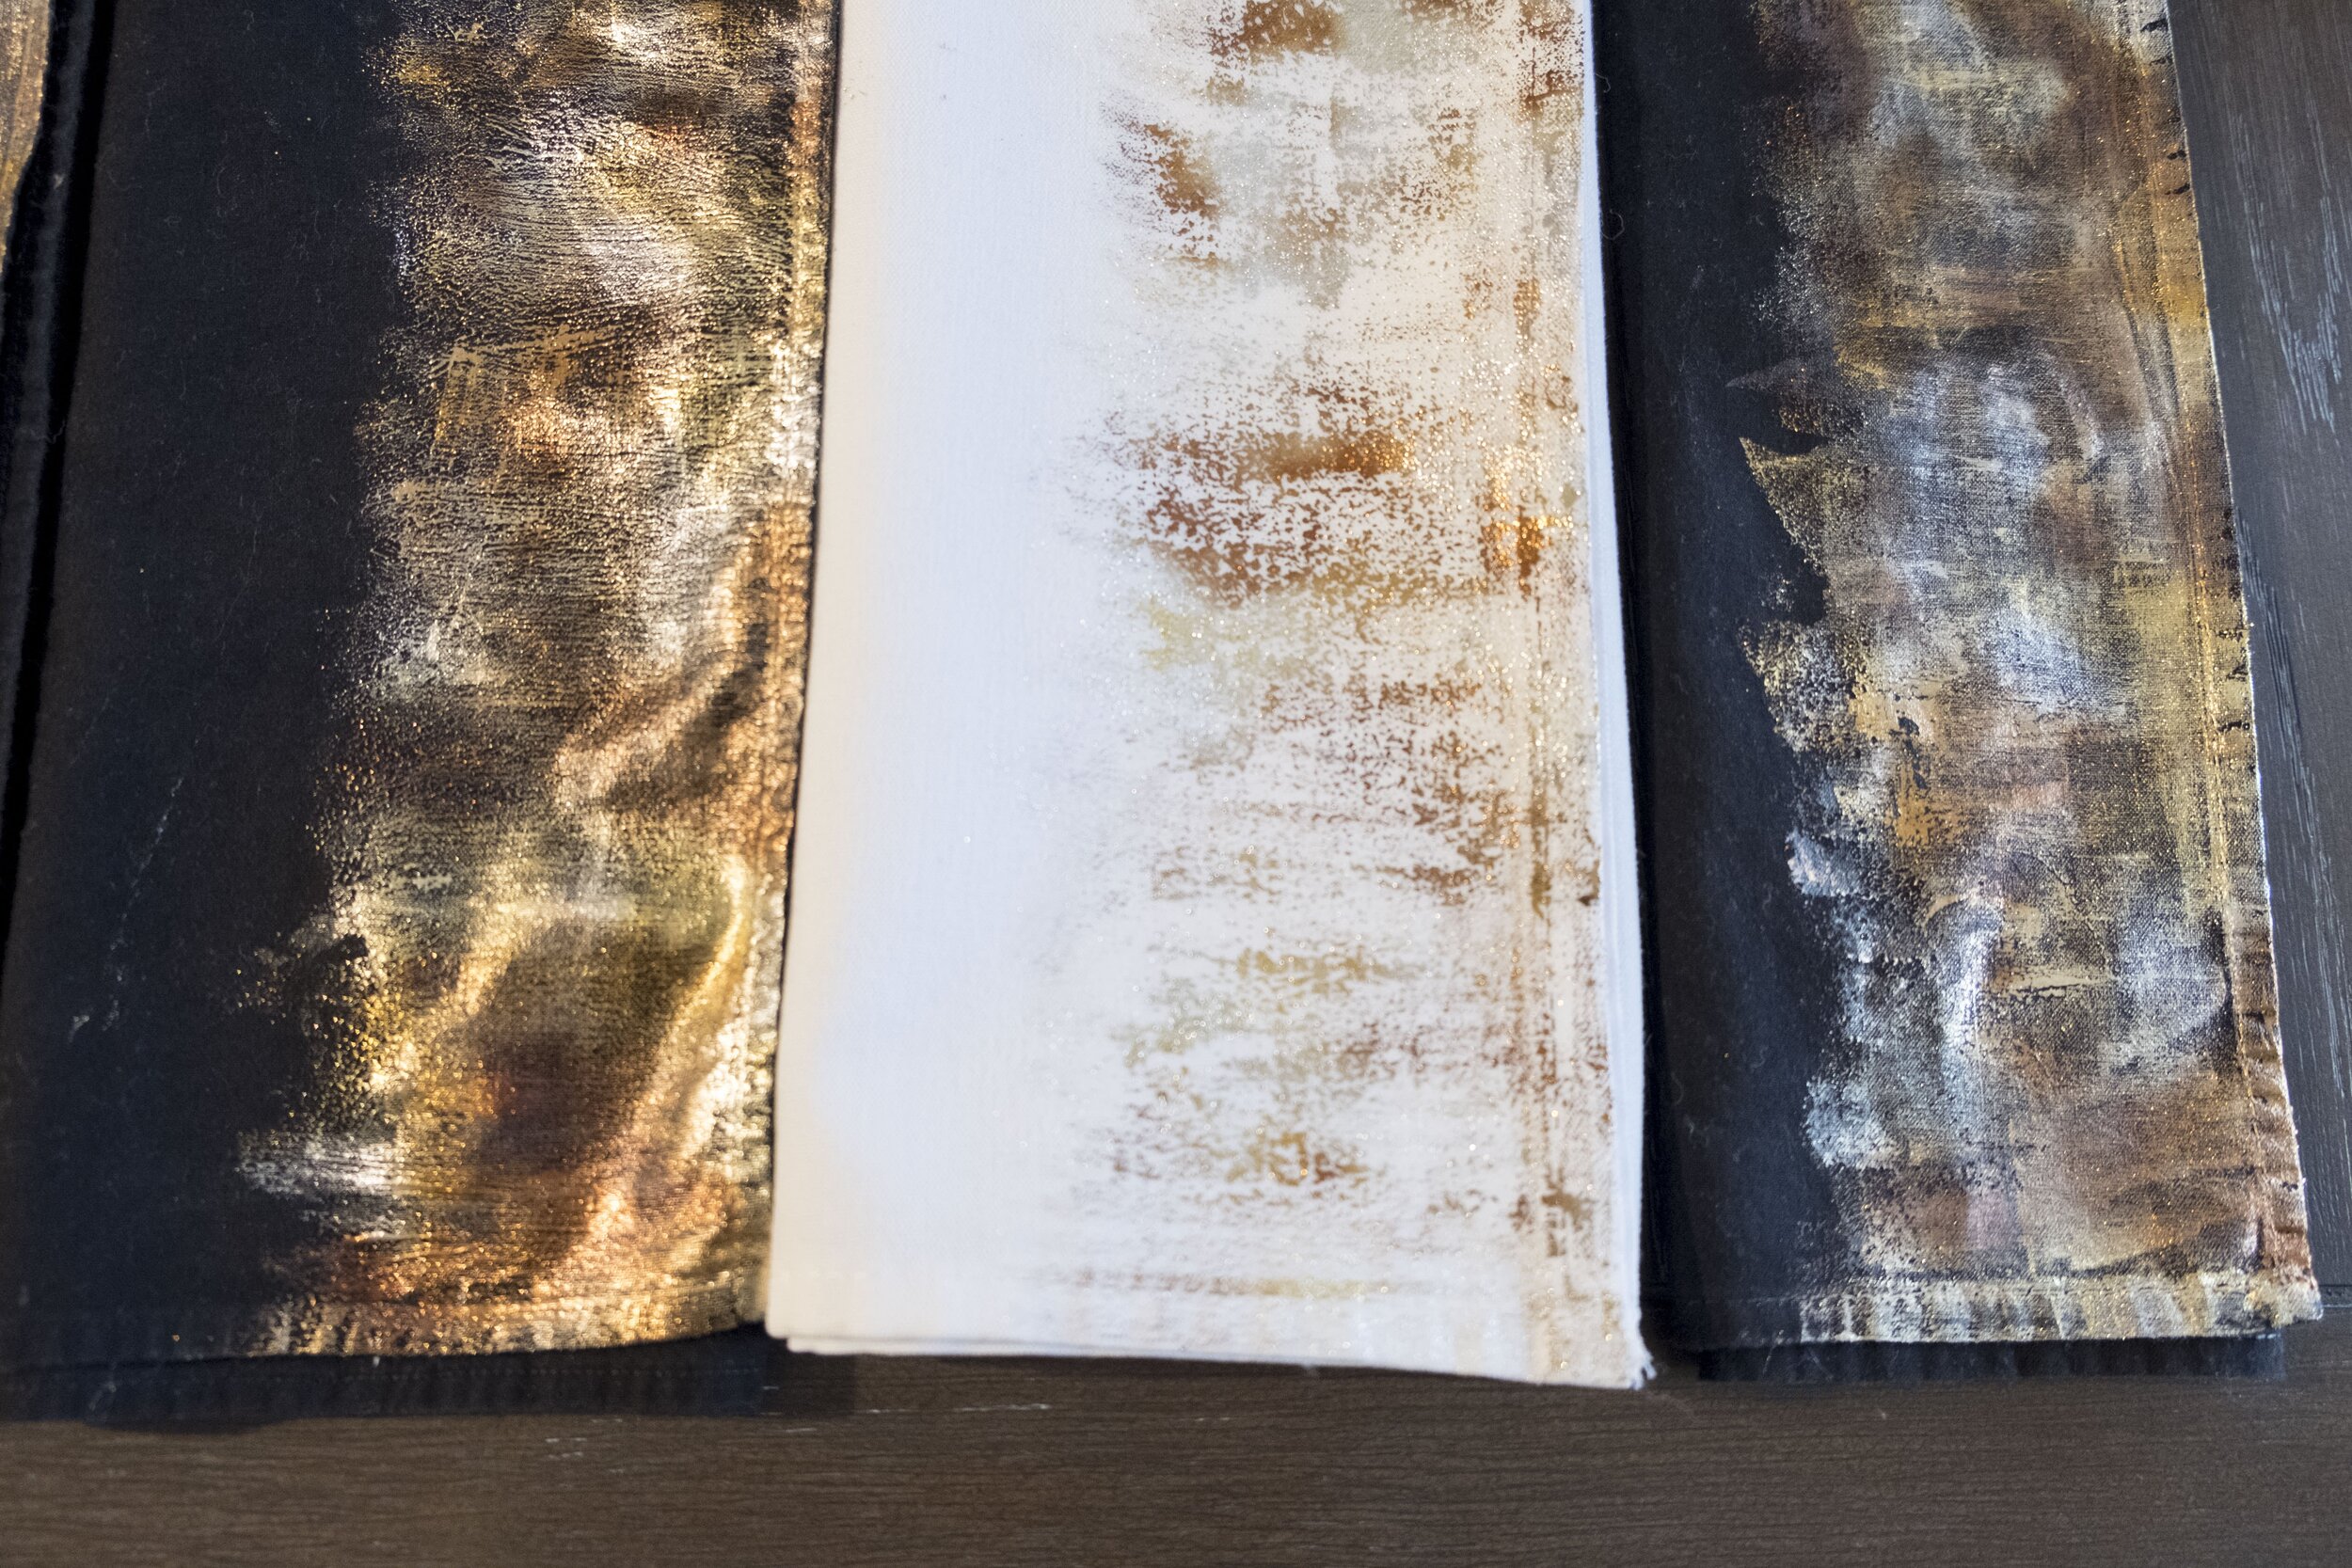 I'll be using these in the upcoming weeks in more tablescapes, so I didn't want to give too much away, but here's a peek at what they look like at the table:
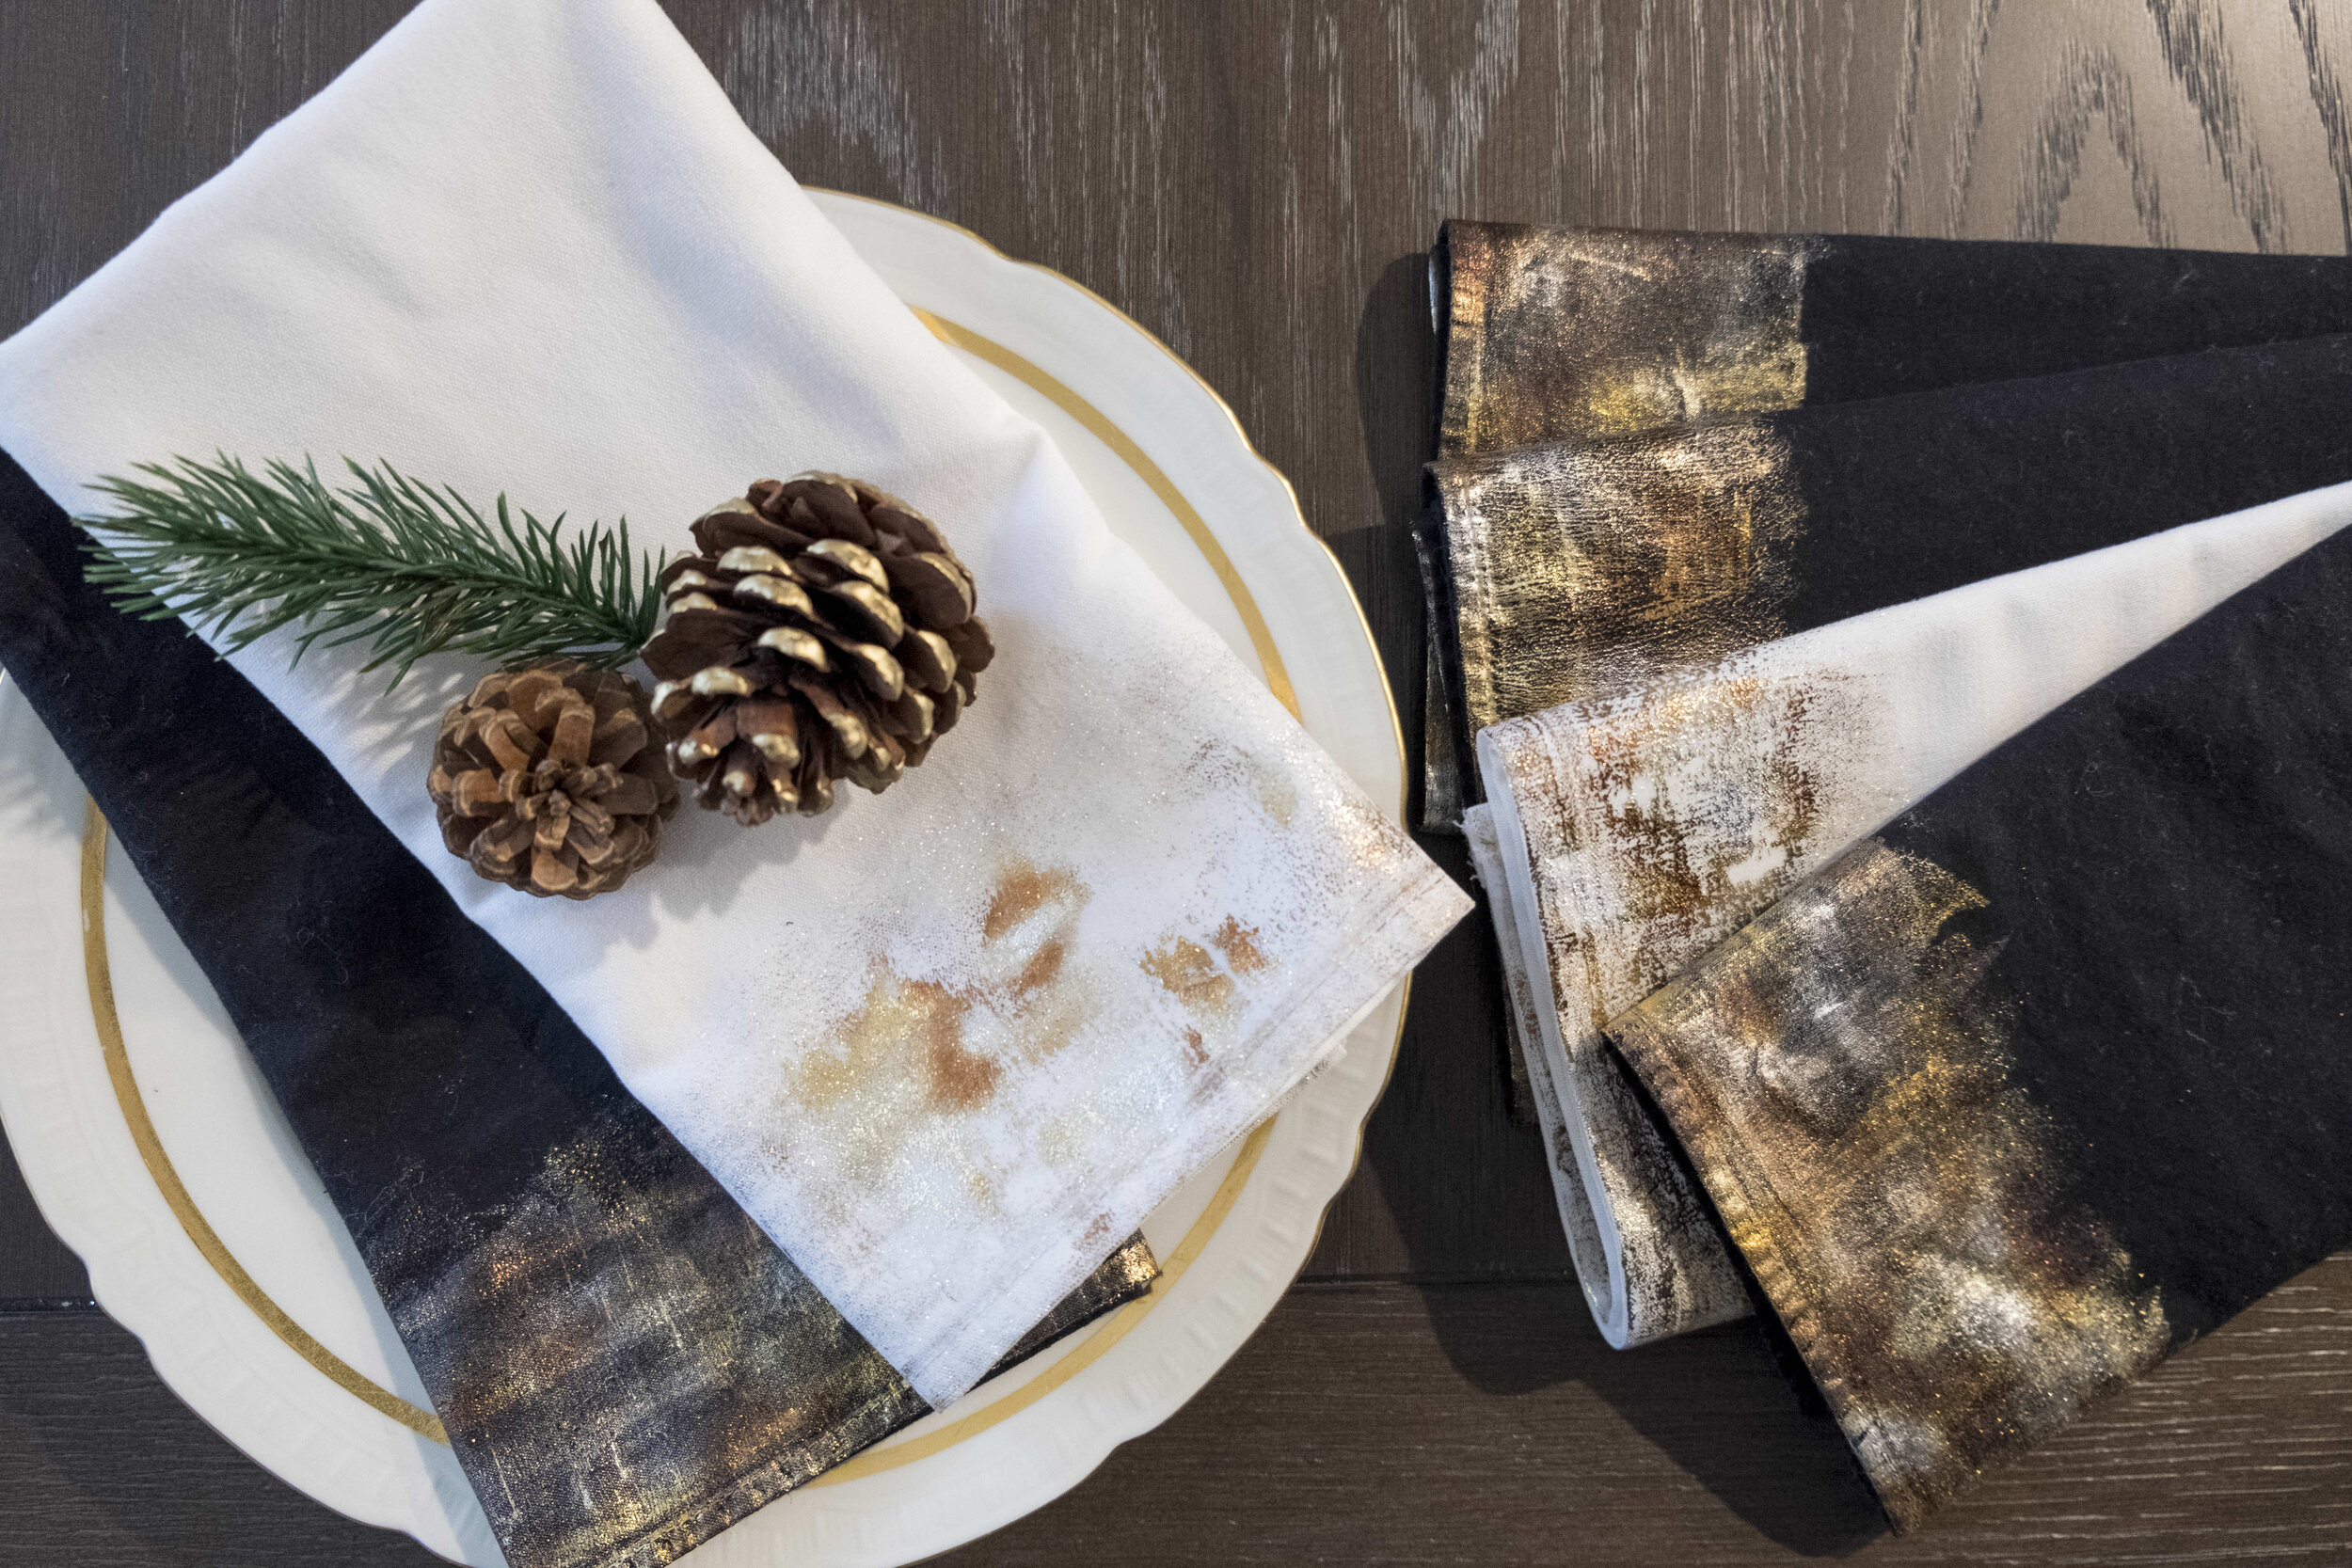
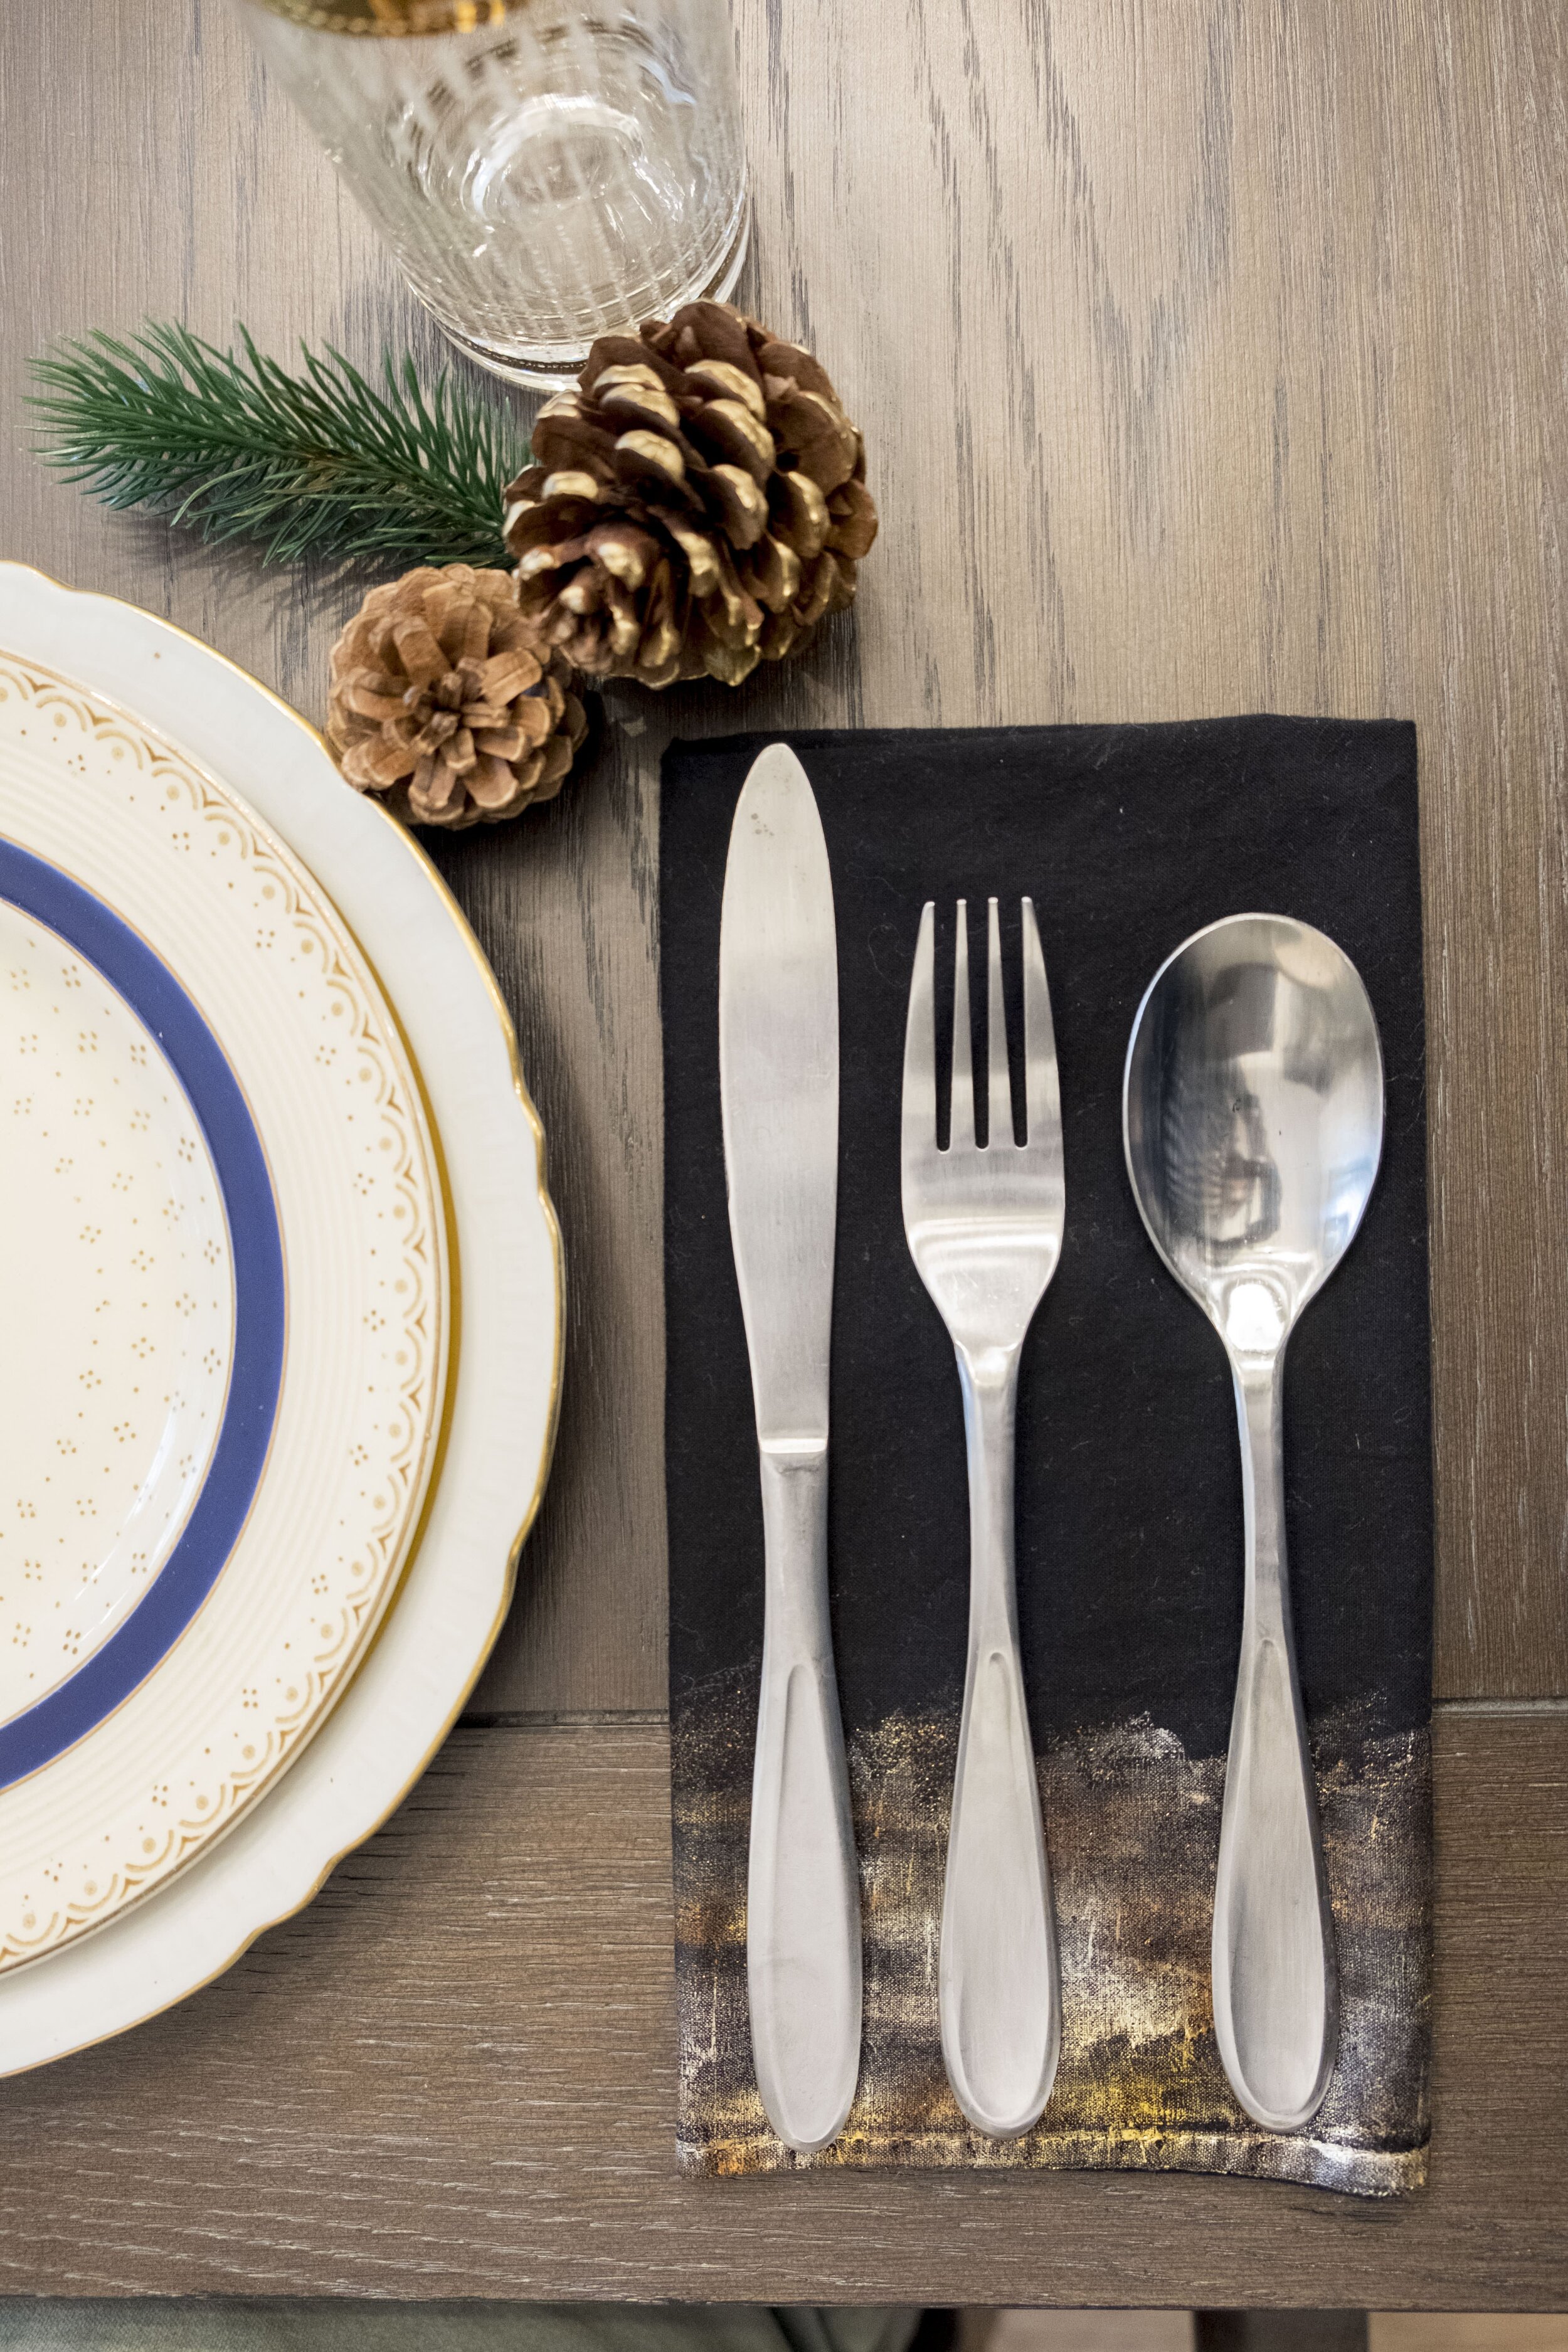 The white napkins were much thicker than the black, so I think they needed more adhesive to look as saturated as the black ones do, but i love the irregularity of the foil and that it looks like it was painted on, fading over time.And in case you're wondering, yes, the napkins are still pretty soft and malleable where the foil is. It's totally magical! Here's a bit of a closer look:
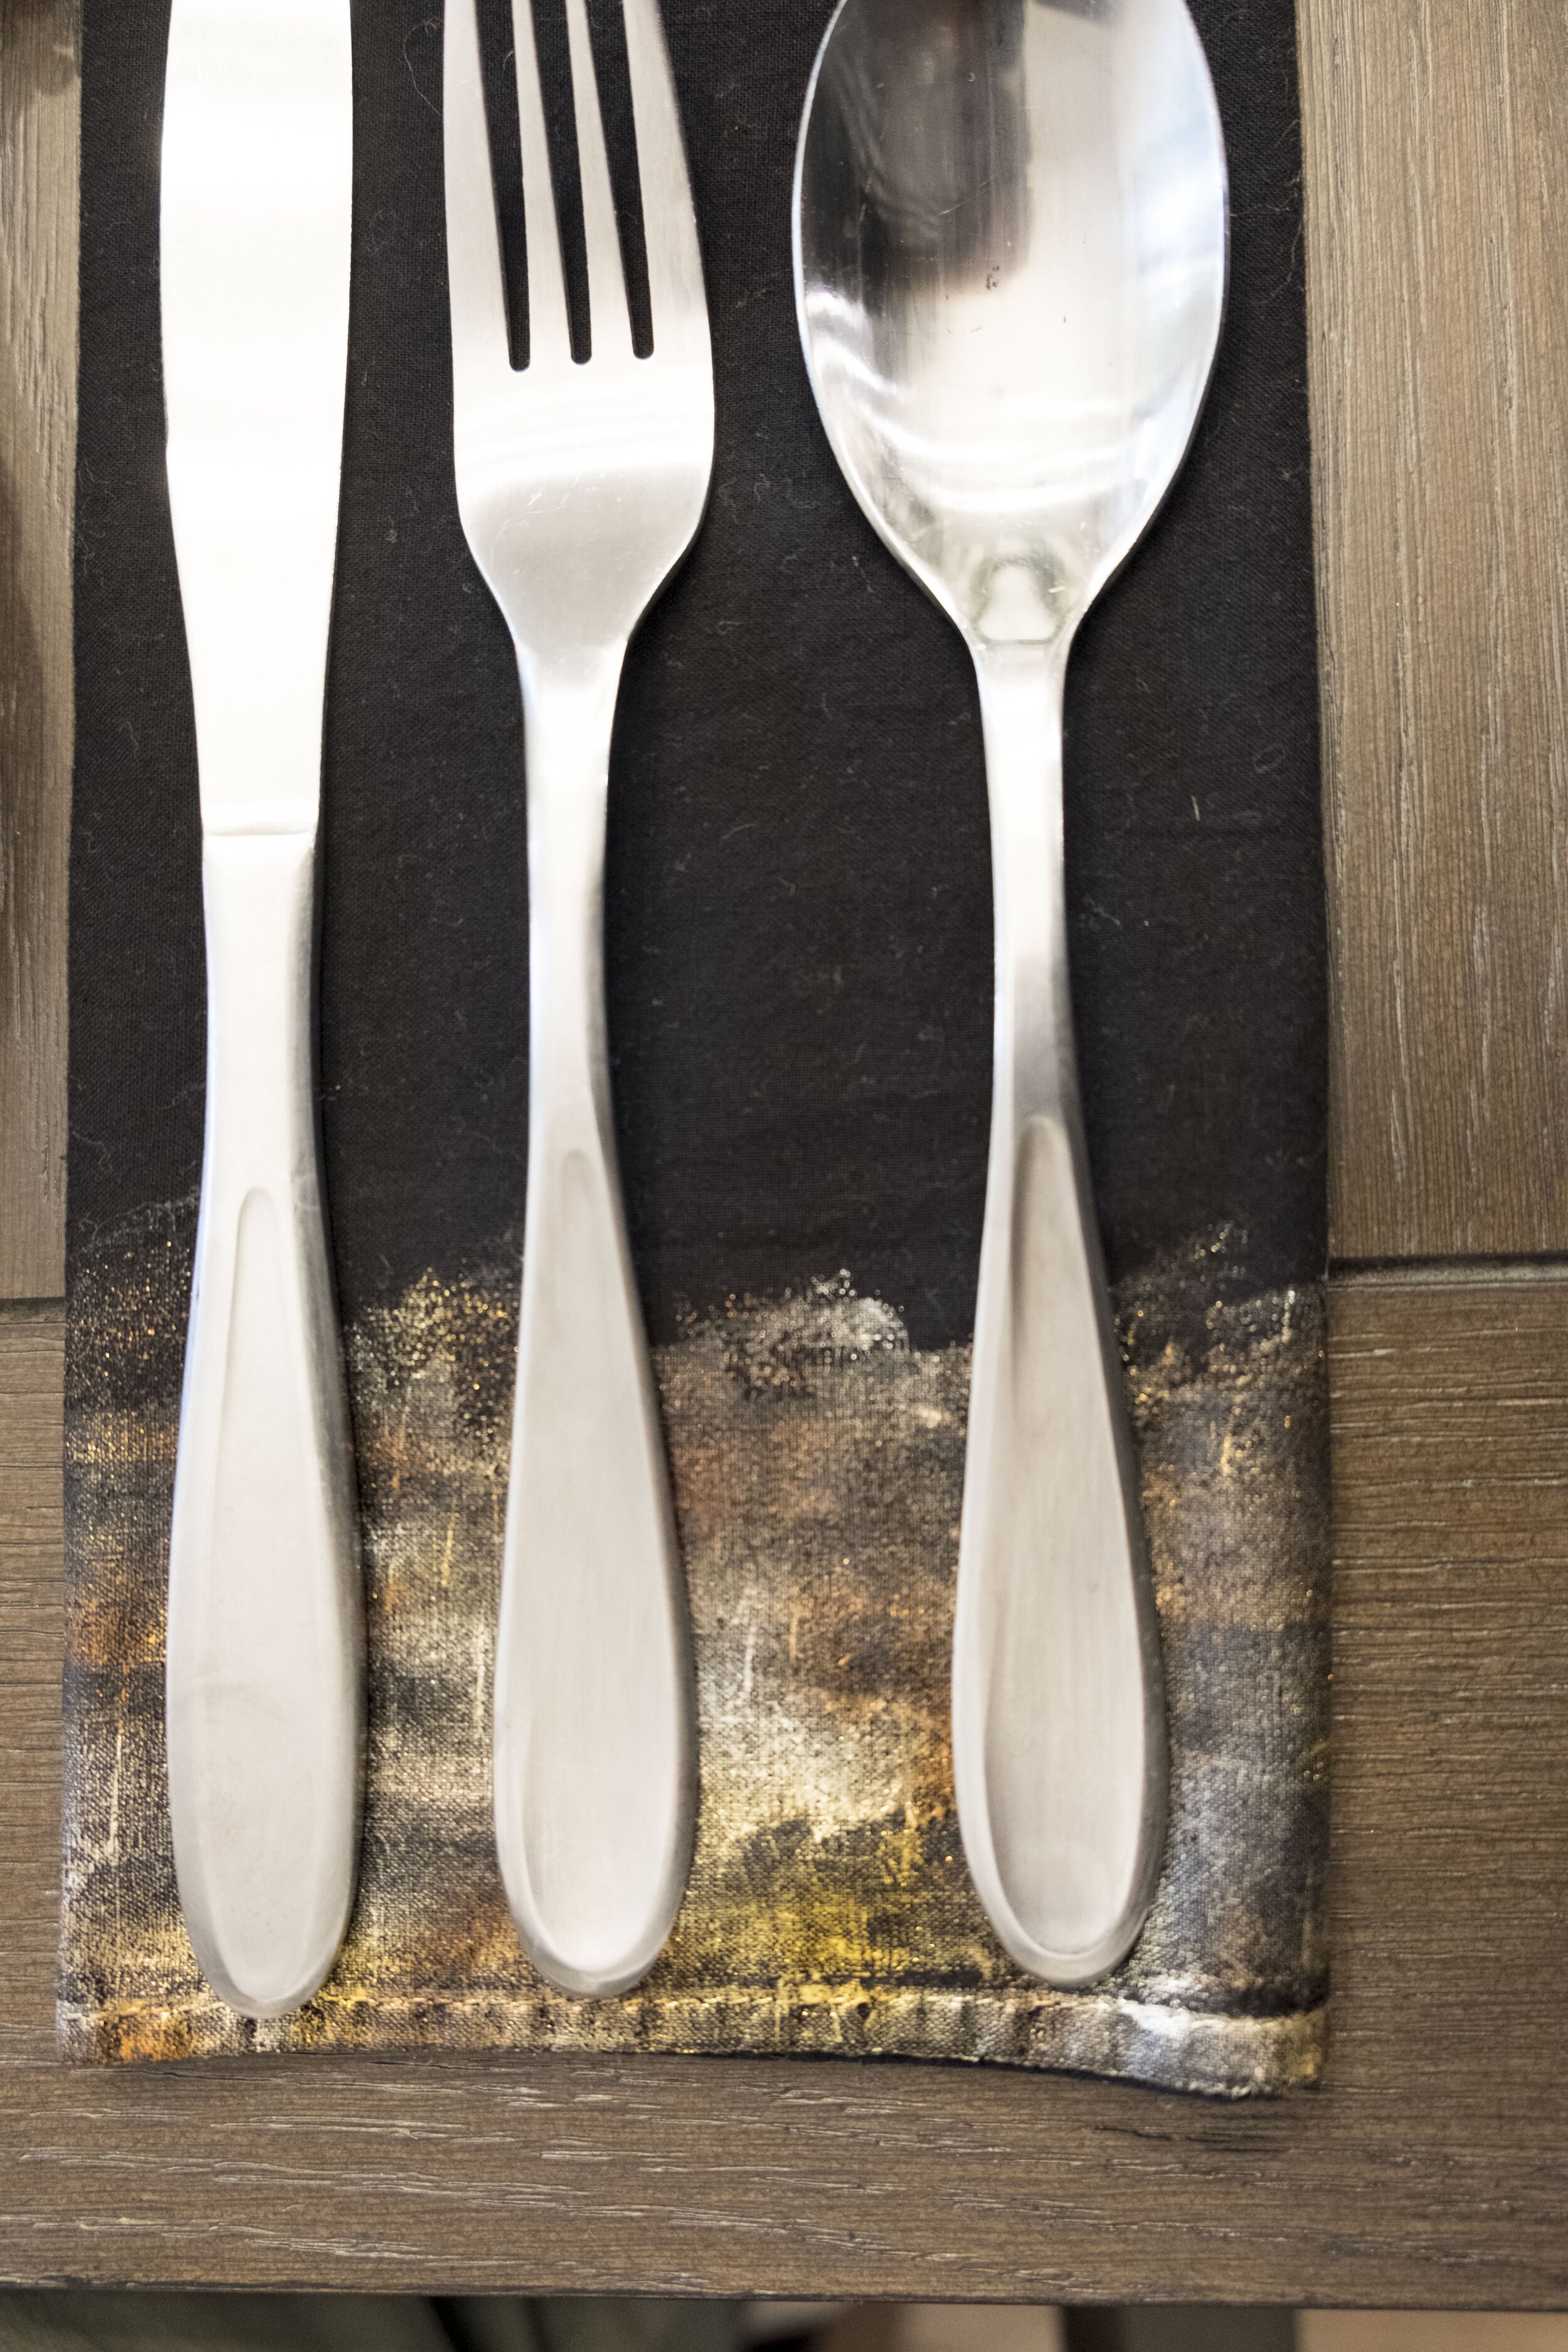 Now don't forget to enter the giveaway for a $100 credit to Them-O-Web so you can get all the Deco Foils you want!
And once you're done entering, go check out all of these other amazing projects:
Harlow & Thistle | The Sweetest Digs | Love Create Celebrate | Lemon Thistle
This post was sponsored by the lovely people at Therm-O-Web, but as always, all opinions are my own and I legit love this product!