A Quick Entryway Makeover with DIY Shiplap Walls
Let me start by saying sorry to my email subscribers for the random "Gg"-titled email a few days ago. I accidentally published a post that just had two random pictured for another post in it. Don't even ask me how that happened... I promise today's post is real! Yes, we are making over the nursery. Yes, you may know we've also started renovating our bathroom (more on that Monday morning). Yes, we also did a small makeover in our entryway because I am a crazed pregnant woman whose idea of nesting is completing ALL of the not yet completed/started projects we ever planned around the house. Blame it on the fact that we're having twins and I'm afraid we wouldn't get to any of these things for at least another 3 years if we didn't do them RIGHT NOW! I obviously have the world's most patient husband, who comes home from a long day of work to appease me by completing tasks from the 3 to-do lists
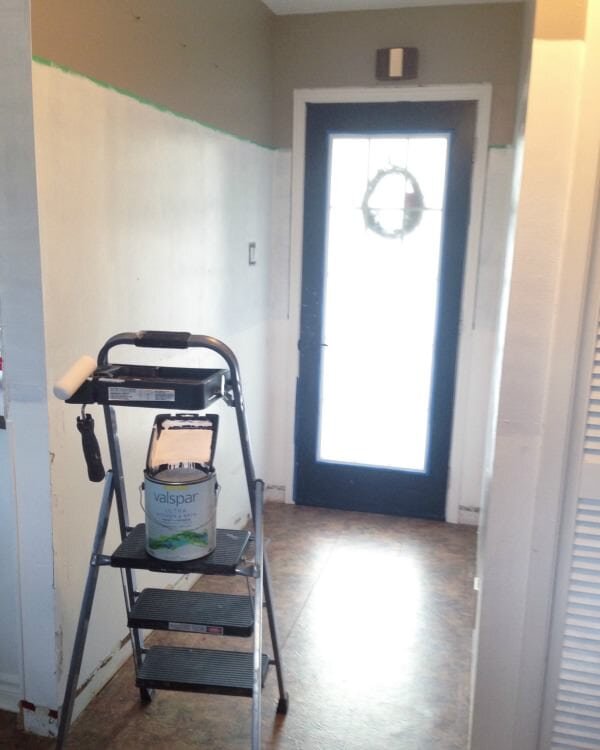
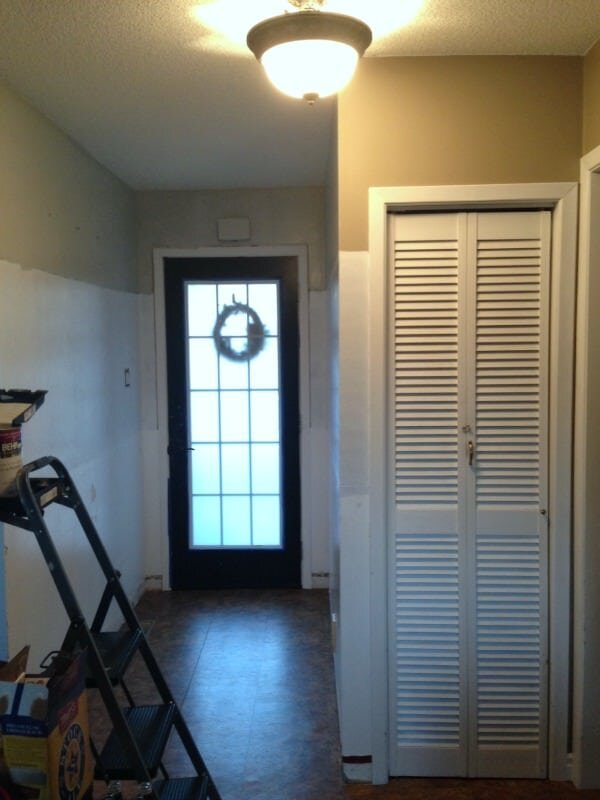
 we I have on the go.Now let's get to the actual makeover!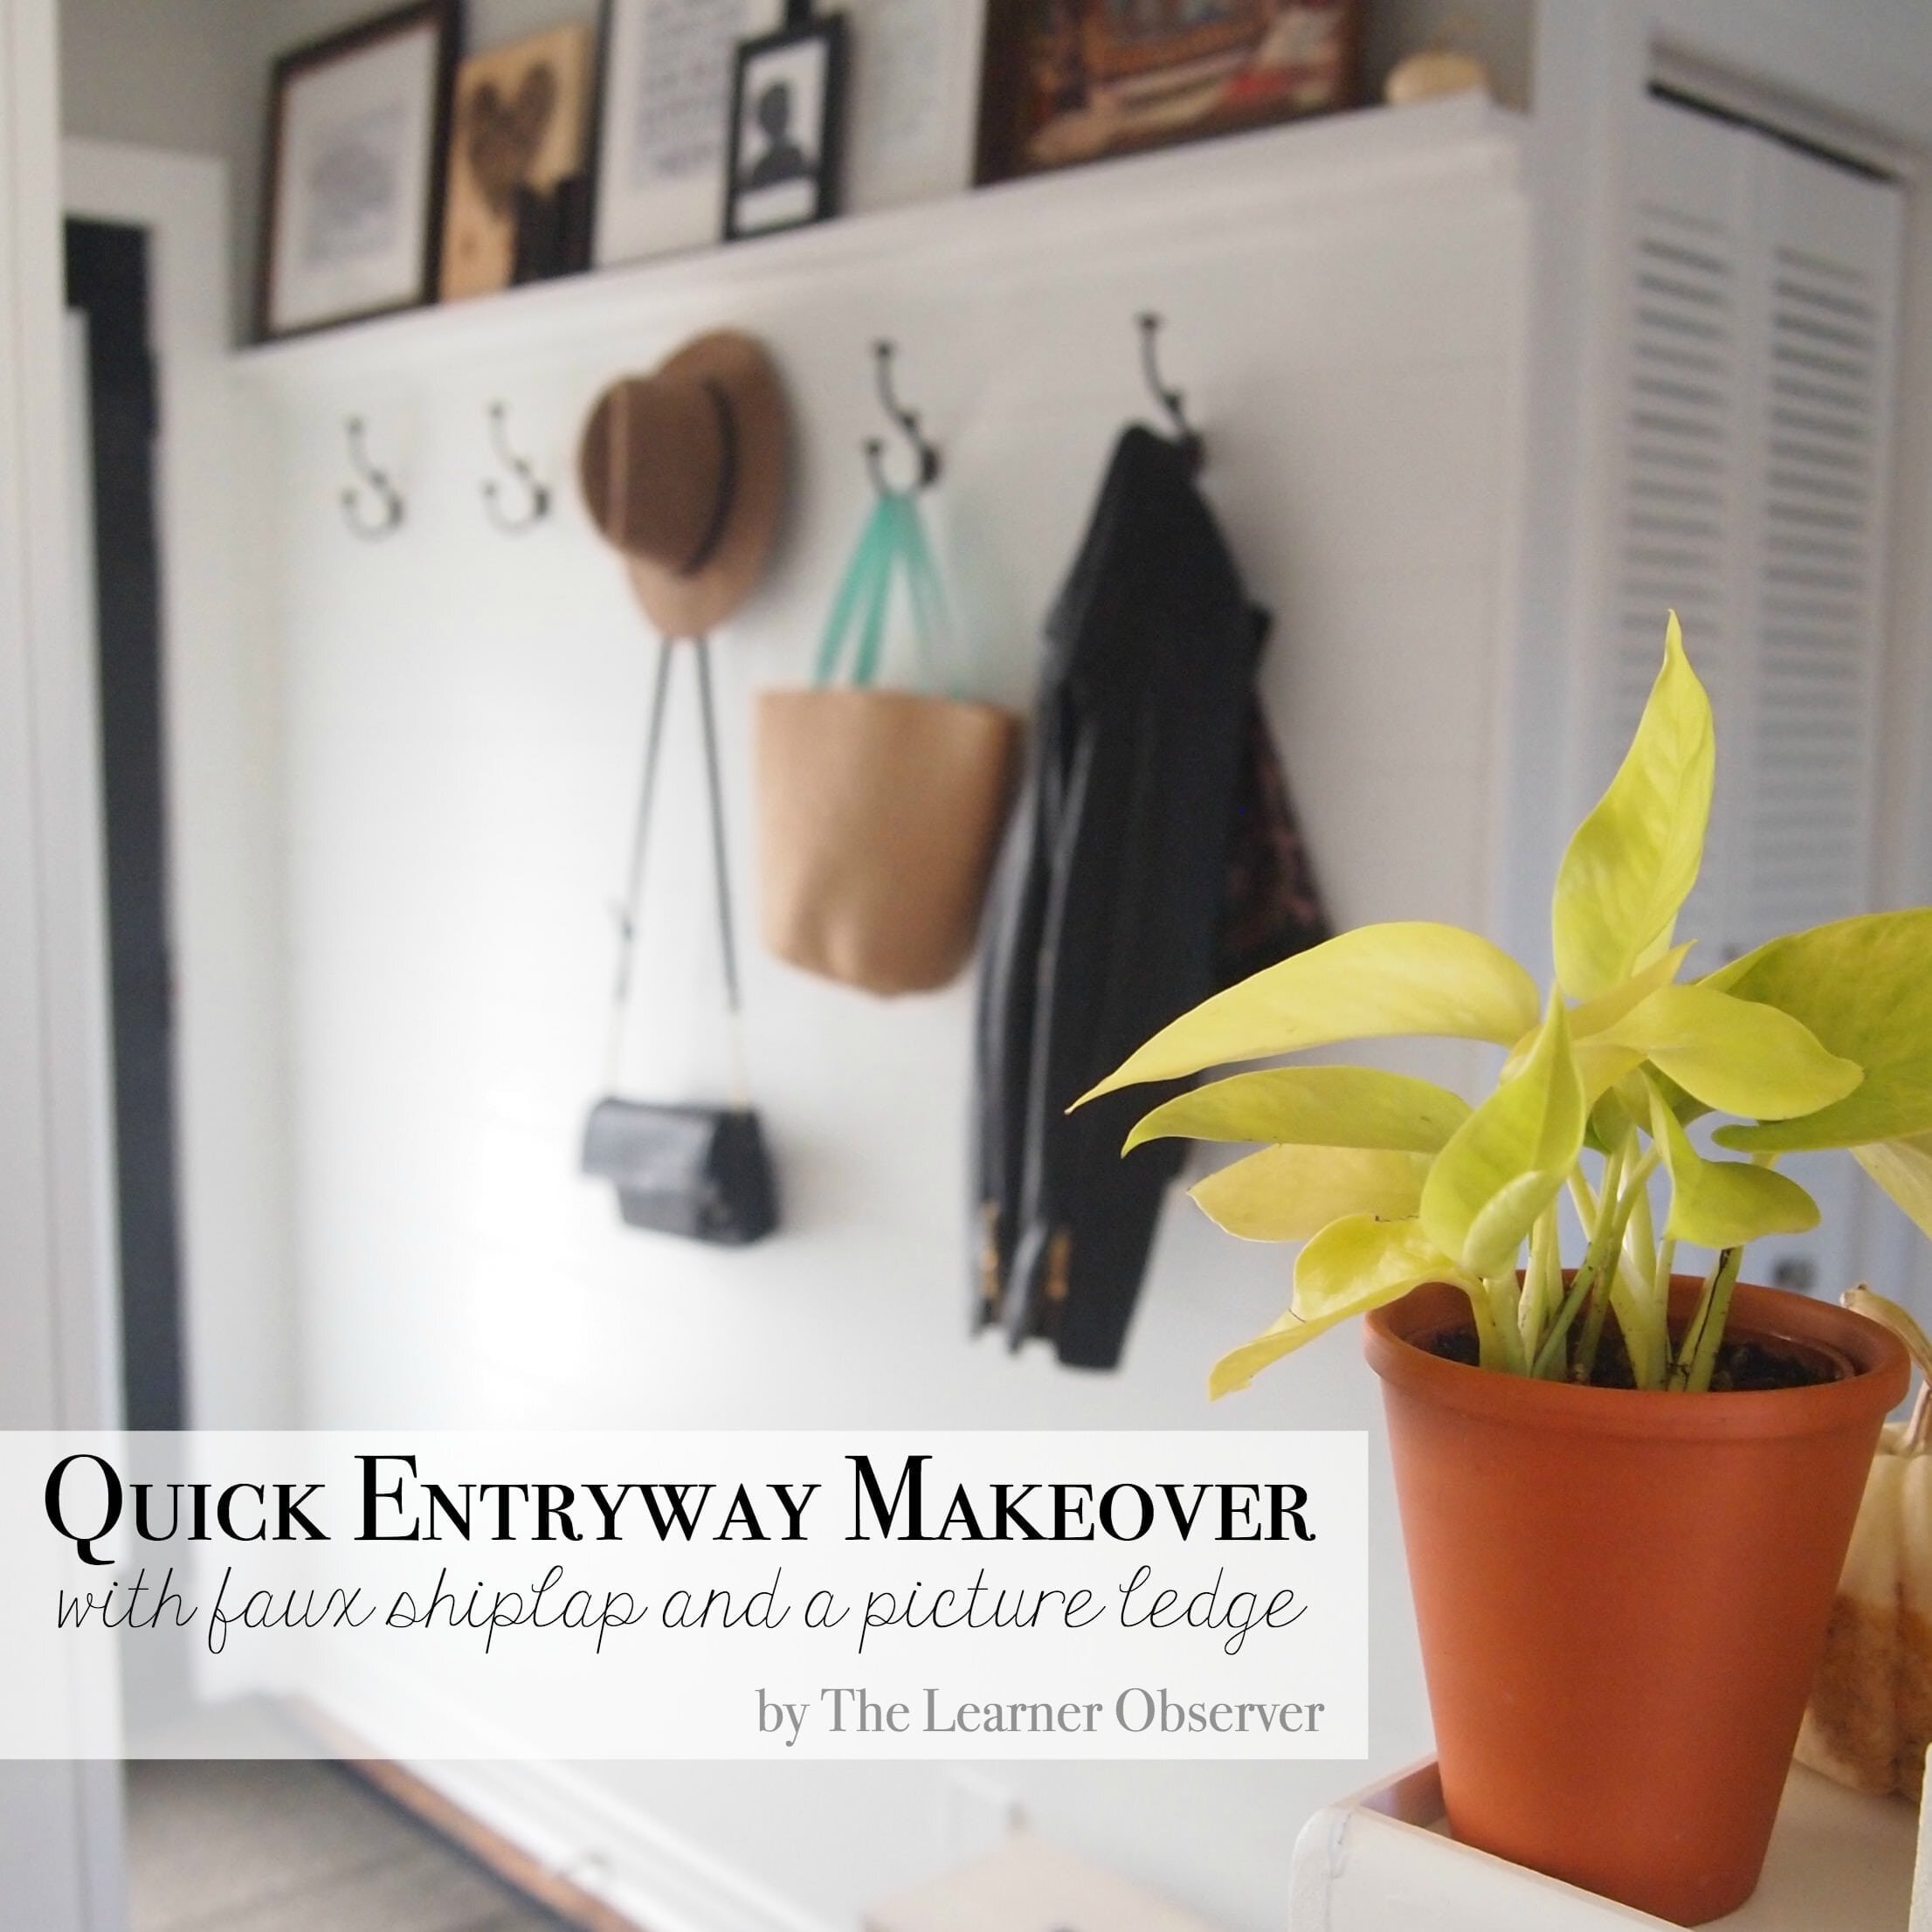 The entry to our house is small and a bit cramped. It's just a basic hallway, and we don't really have a dedicated closet, either - just a huge walk-in closet/pantry that we don't really like to open up to our guests because it's a bit awkward and we store a LOT of stuff in there, so it's not pretty. Here's what I'm talking about:
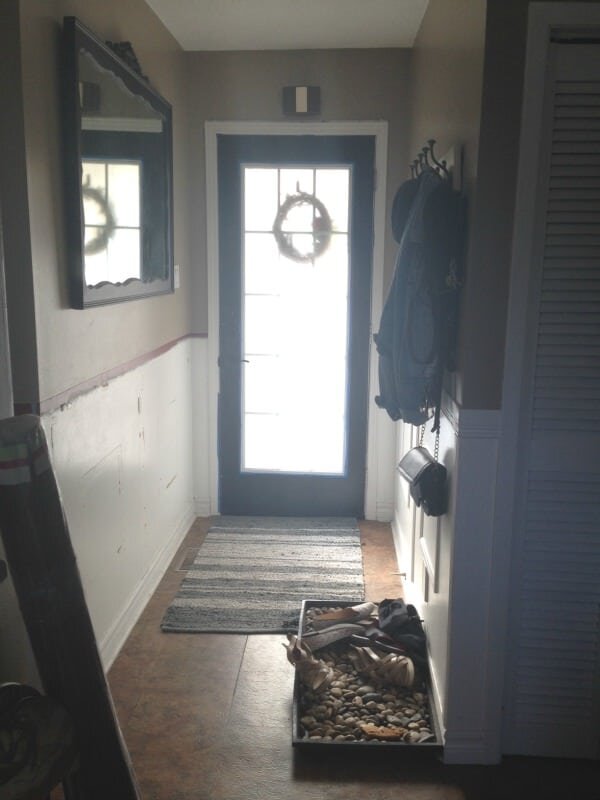 The plans for this space included removing the fake trim work on the bottom. It is SO poorly done and consists of random pieces of baseboard and other trim. I also hate that taupe colour, which is unfortunately the colour of our entire main floor living space - but that's going to change soon, according to the to-do list!
 We also wanted to change out the ugly boob light. Our house was FILLED with boob lights, and we have been slowly replacing them all (I think we have 4 left).I considered some really simple flush mounts, but this is the entry - the first impression our house makes to our guests, and because our main floor is so small, this space is very visible, so I really wanted to have something that would provide great light (needed in a tight hallway) and look good doing it! I started by looking through Parrot Uncle's flush mount ceiling lights, and there were a lot to choose from. You can also click here for more chandelier ceiling lights, since some of these aren't exactly a flush mount. These were some of my clear favourites:
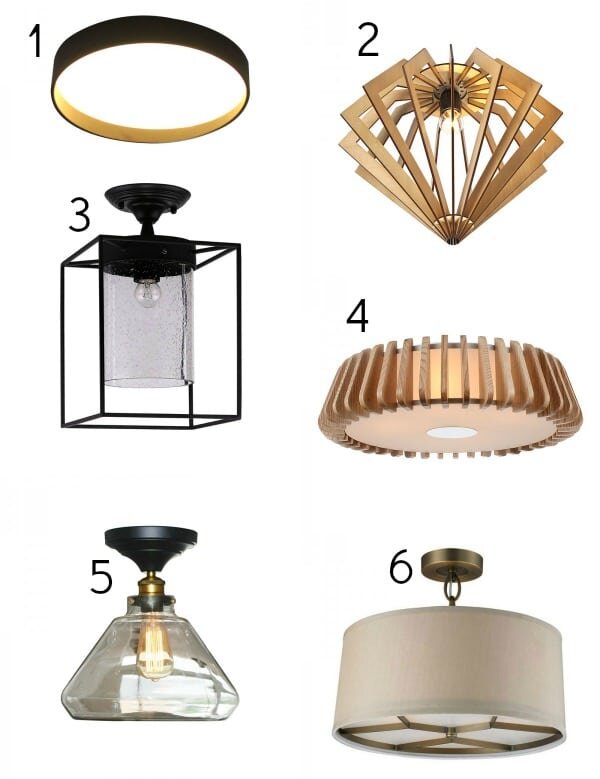
So which one did I choose? Keep reading to see!
The first thing I did was paint the bottom part where the shiplap would go in white primer so that I didn't have to compete with the taupe once the panels were put in.
The top part got two coats of light grey paint (Dolphin Fin 790C-3 by Behr) and that included that crazy ugly doorbell box. The gold and brown were not working for me...
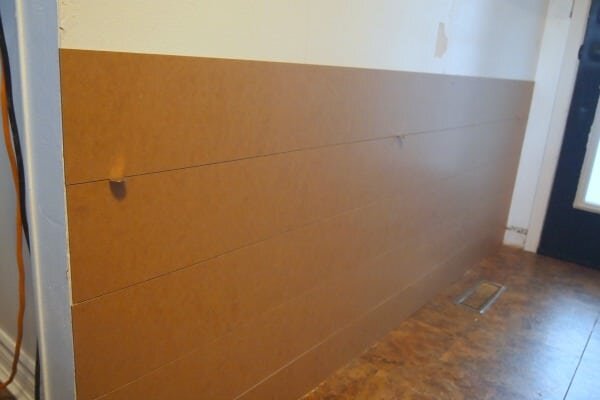
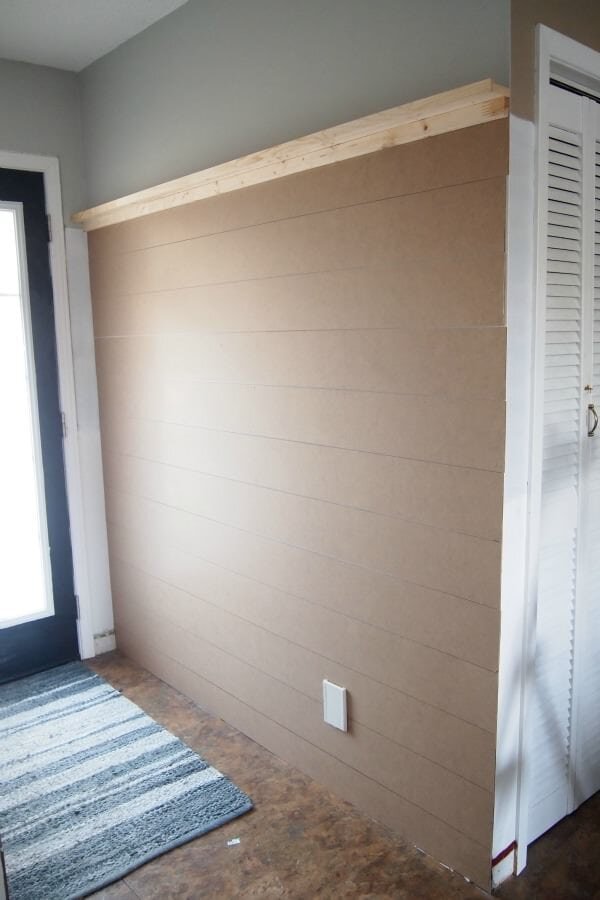
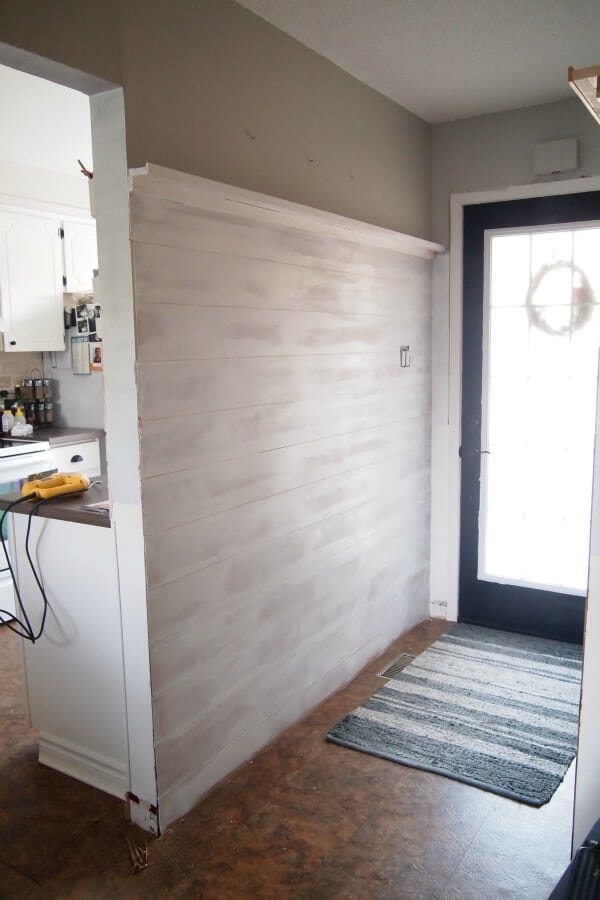
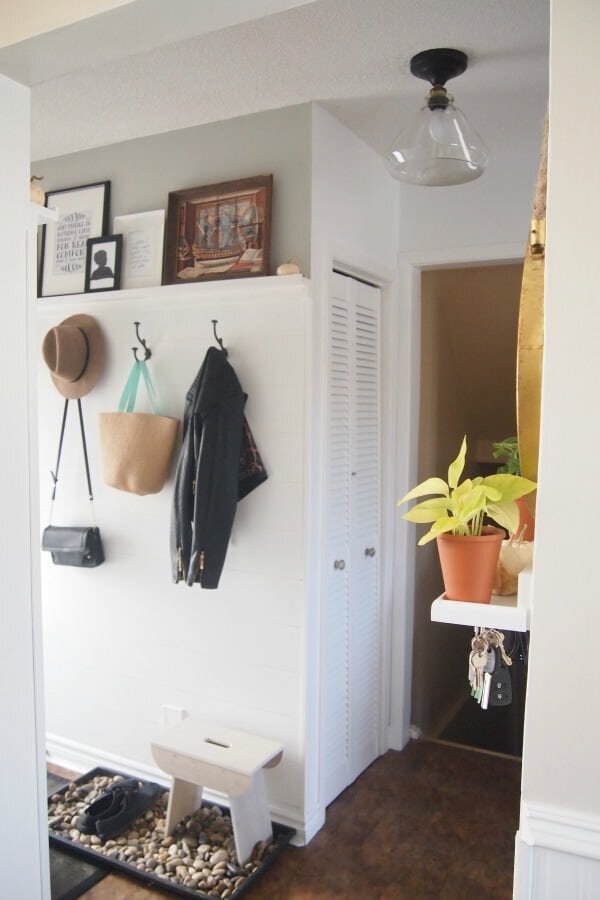
I headed to The Home Depot and got some 1/8" particle board and one of their lovely staff members kindly cut 3 sheets of the stuff into 6" strips. Since the panels are 8' long, and my hallway is only about 6', the job was made pretty easy. I used nickels as spacers and a some 'No More Nails' for paneling and moulding so that the panels don't warp over time, then primed everything. The picture ledge on top was made with some 1x3, 1x2 and 5/16x1-1/16 pieces, which were both nailed and screwed onto the wall for extra security.
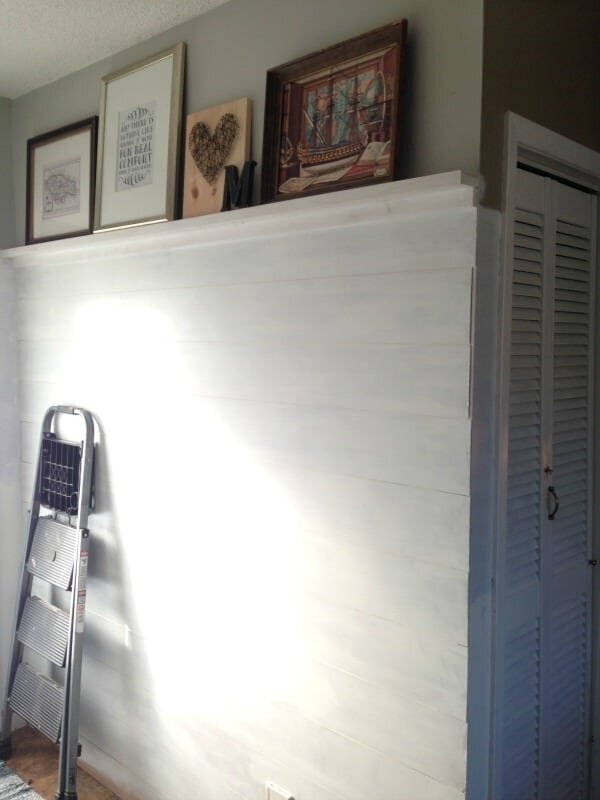
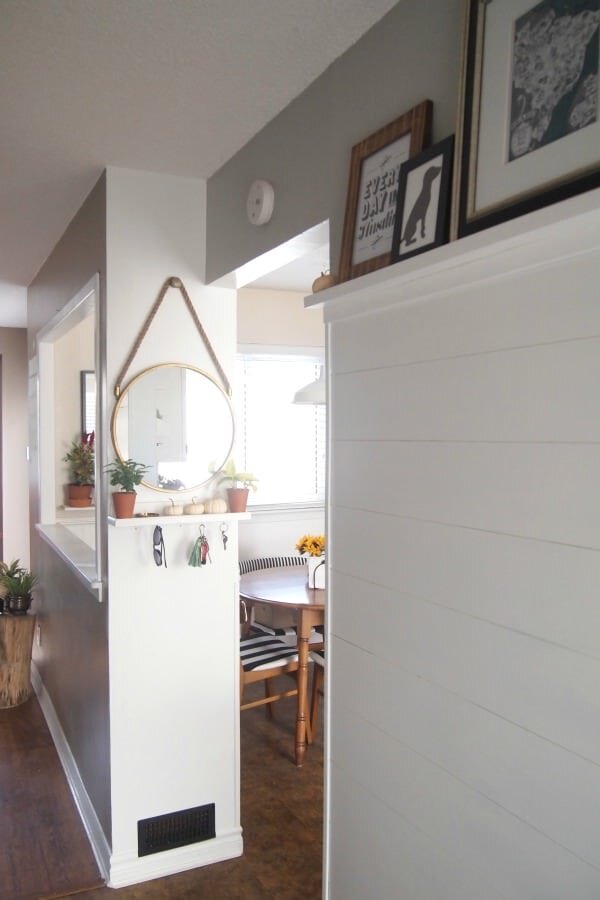
Once everything was installed, I put the baseboards back on and painted it all white (Falling Snow PPU18-07 by Behr). It's pretty important to use a paintbrush to get in between the boards, but thankfully all it took was one coat. Hand cramps galore!
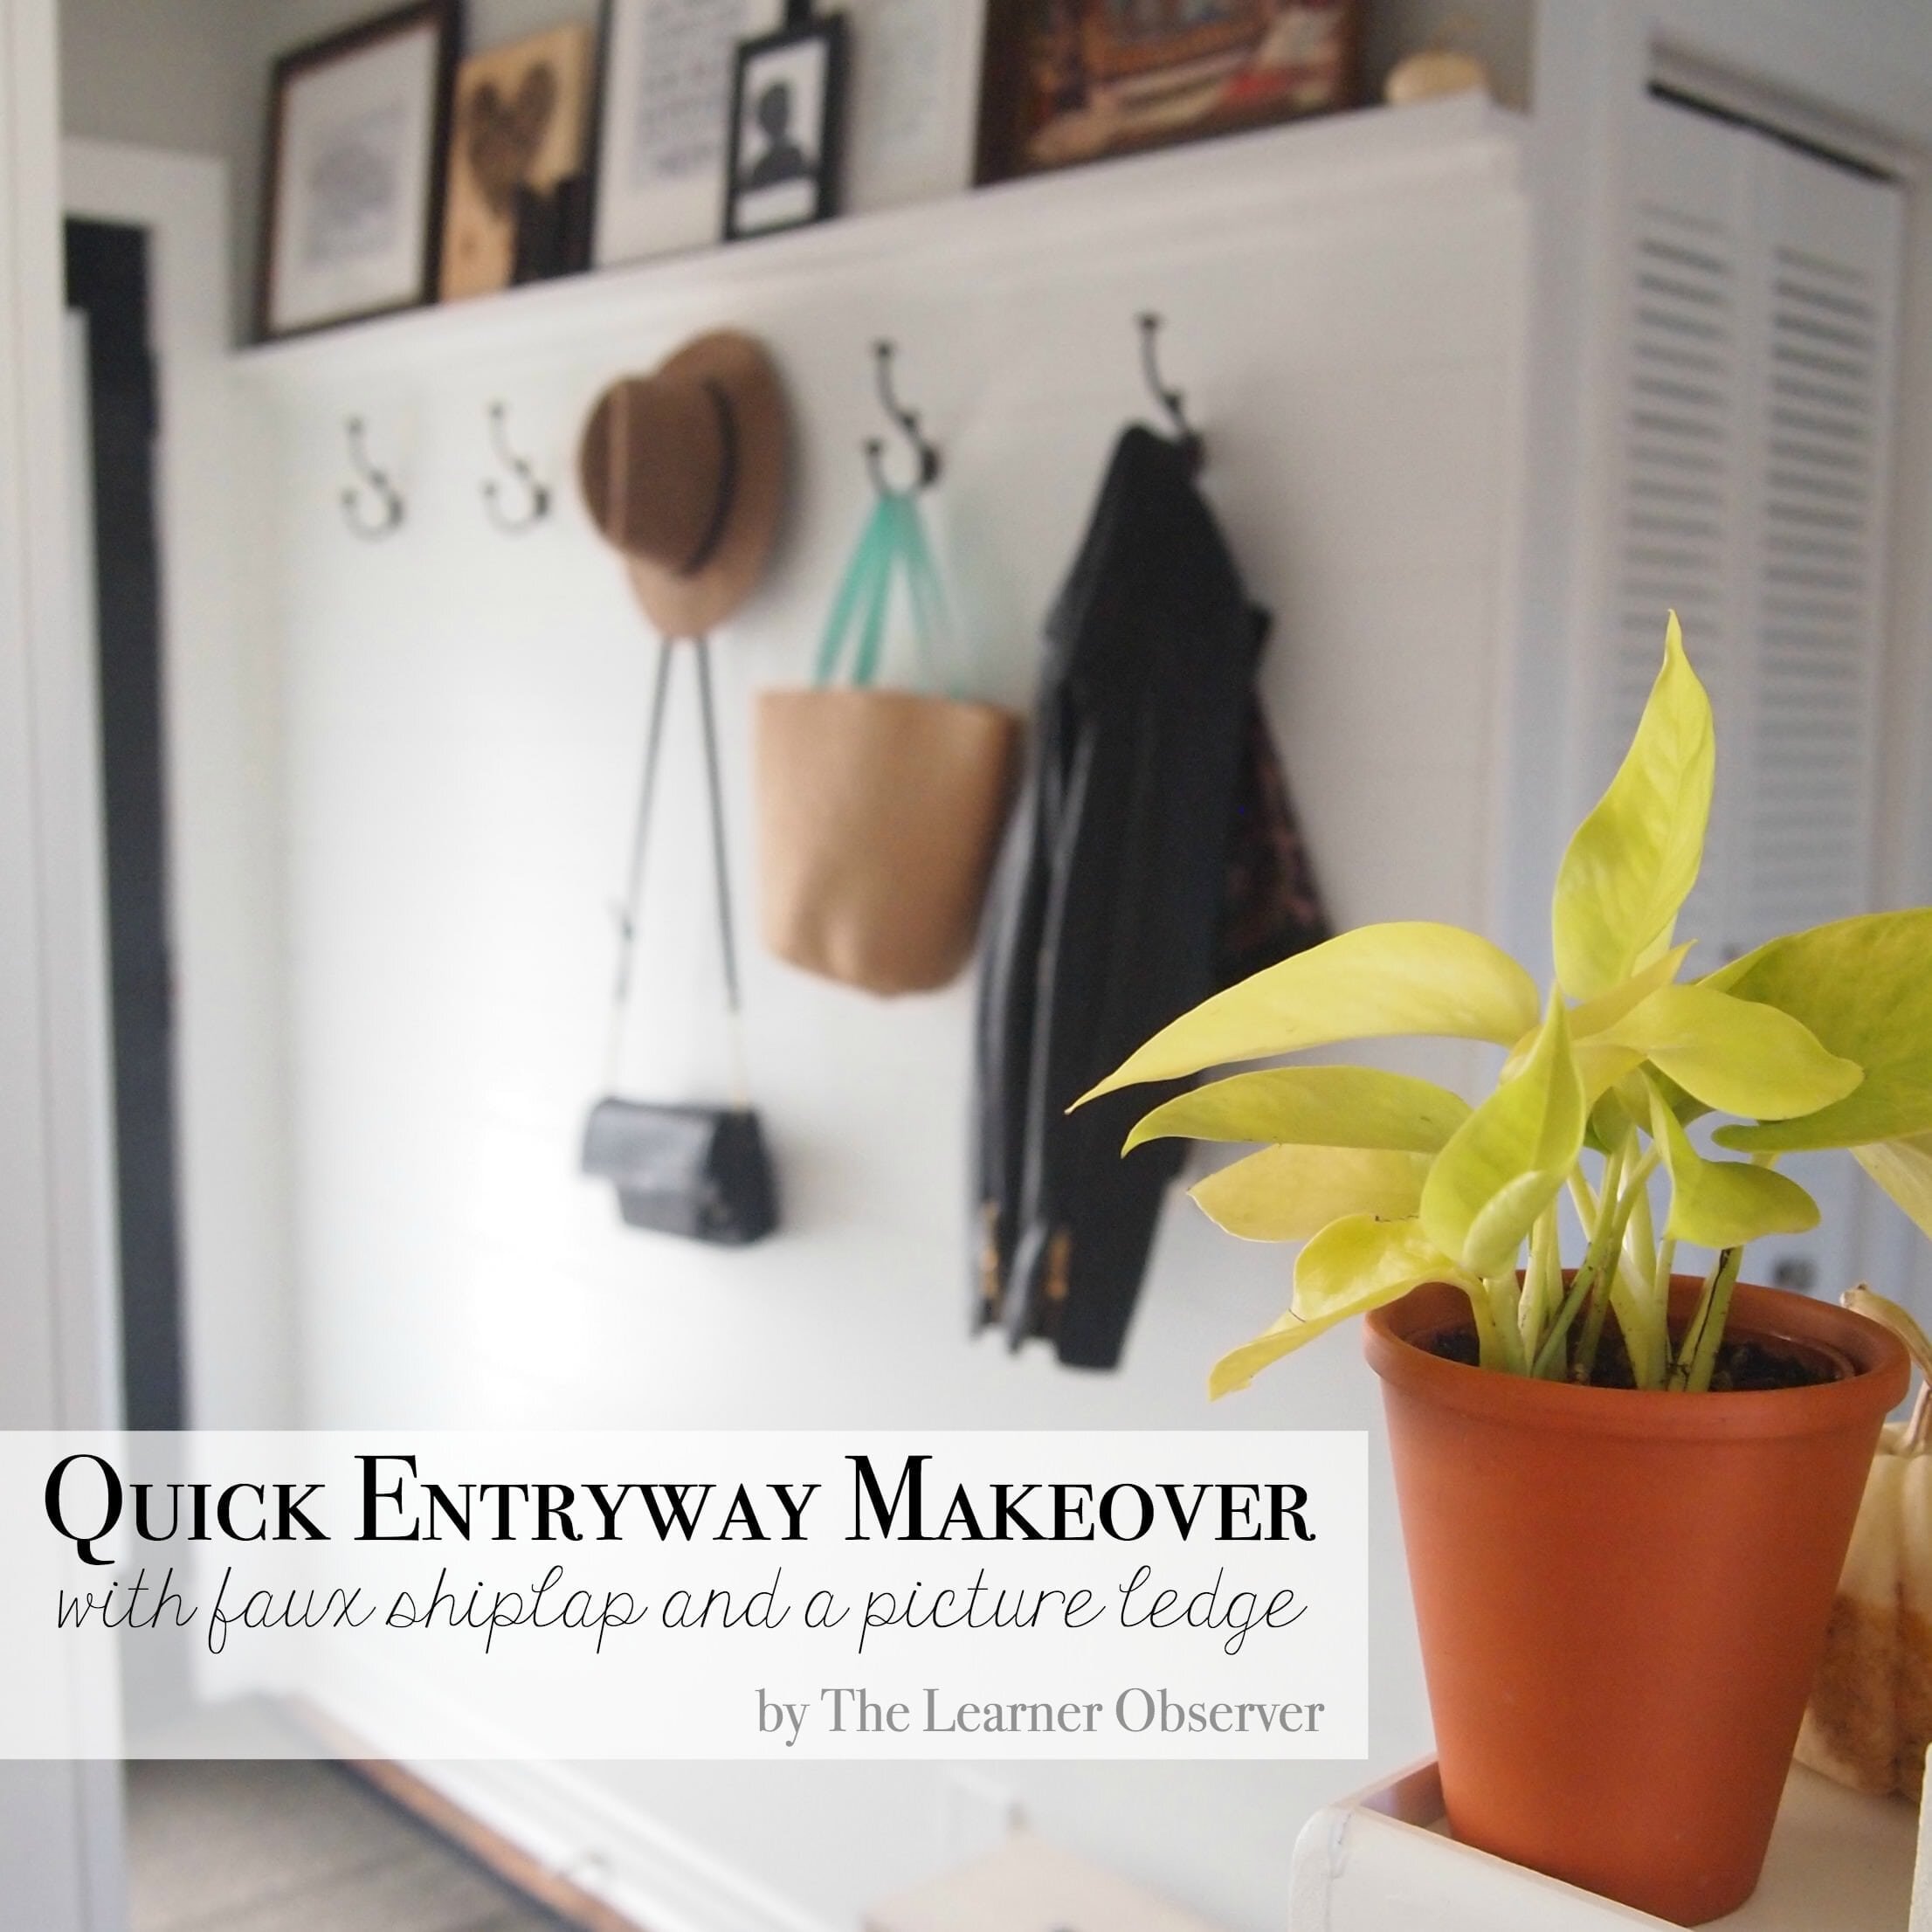
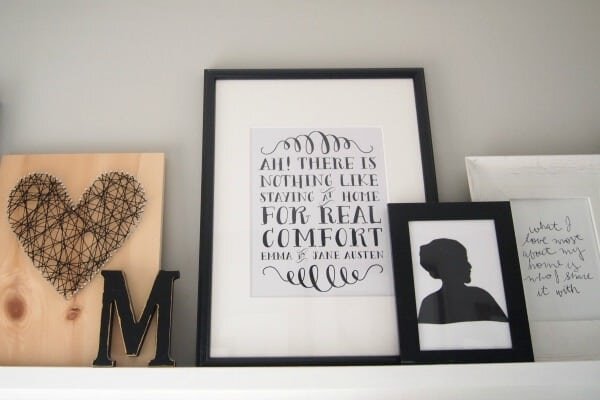
Now all that was left to be done was add some hooks, and I just ended up removing the hooks from the wooden piece they were previously on and spaced them a little farther apart on the wall. Once the kids are a little bigger, I might add some smaller hooks down low, but before doing all of that, I couldn't help but start to plan out where the artwork would go on the rail. Priorities, right?
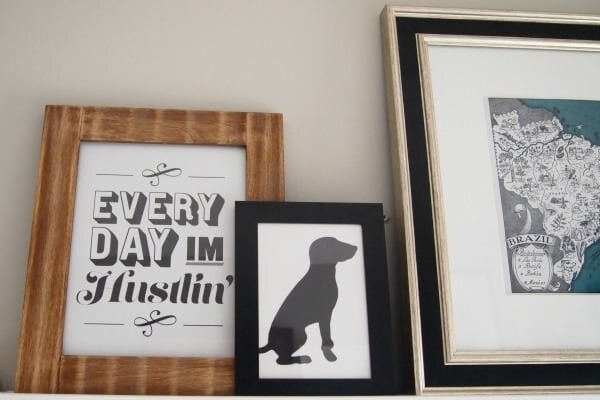
The picture rail basically holds all of the art that used to be on the gallery wall around the TV. This is a MUCH better place for all of these frames, and I love that it's so easy to change over artwork anytime I want. I already moved things around about 13 times before taking these pictures!
So now the pressing question remains: which light fixture did I choose? Parrot Uncle didn't make my job easy, because there were truly SO many great options to choose from! Well given my love for black and brass, the fact that our front door is painted black on the inside, and that the look of the entry would now be quite informal with shiplapped walls and hooks, I chose number 5. I am in love with it, you guys! It's THE perfect fixture for our space, understated enough that it doesn't stand out too much, but still this little guy makes himself known.
I opted for a regular LED lightbulb because the Edison bulbs just did not give enough light - and we tried about 3 of them! So, even though they're gorgeous, for a front hallway we really had to go for something much brighter.
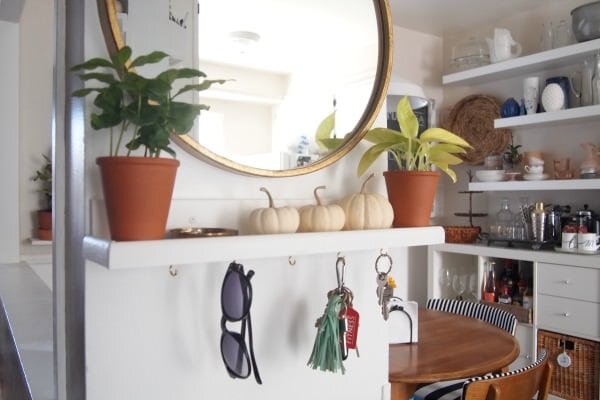
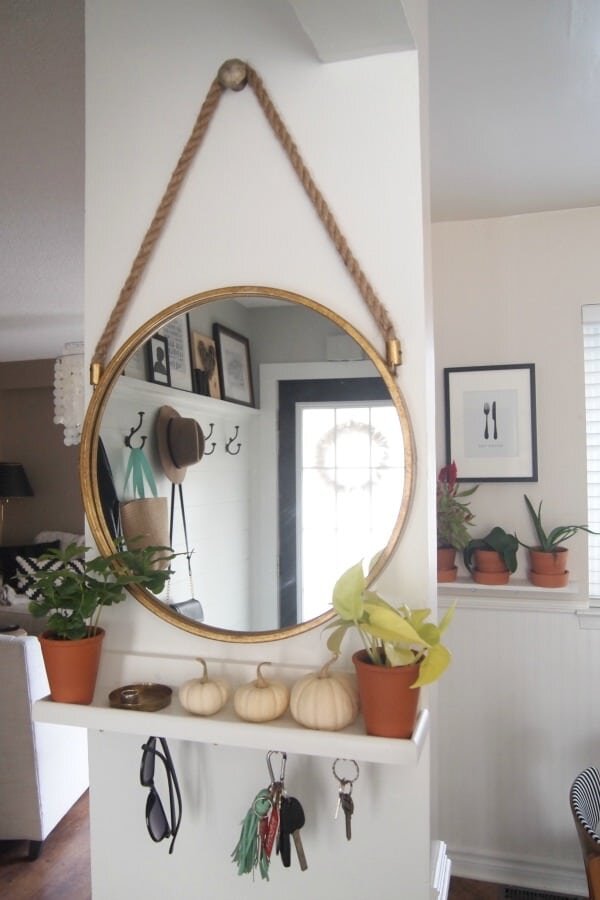
One more change we made to the entry was getting rid of the chalkboard wall, which was basically the first thing people saw when coming in. Because I got rid of that huge mirror that was on the wall, I was missing the fact that we had a spot to do that final check before leaving the house. I found THE most perfect mirror to compliment the brass in the new light fixture, and made another small shelf to be custom fitted to the small wall and so we can stop using the countertop or the ledge on our half wall as a spot for odds and ends. This way we also keep a spot for keys, which is important since we got used to always putting car keys in the same spot as we come into the house. All I did was add some hooks to the bottom of the shelf - easy peasy!
I also love this little wall. I love that it's white now! I thought I would miss the black, but the space feels so much fresher and cleaner in white.
So that concludes this insanely wordy post about a teeny tiny entryway! Here's a quick before and after so you can see how this small space has changed.
I really just want to mention one more thing, and this was by NO means something I was asked to do. Parrot Uncle was AMAZING to work with, and I would strongly recommend you look into them the next time you want an awesome light fixture (or cool bulbs and accessories) delivered right to your front door. The packaging was amazing, the people I dealt with were fantastic, and considering these come from the other side of the world, delivery was crazy fast. They honest to goodness did not ask me to say that, I just felt like I had to mention it because it's true, and like I said at the beginning of the post, I gotta keep it real.
Alright, now I gotta get back to the nursery/bathroom reno/painting the living room! See you back here real soon, and have a great day!!
