5 ways to organize with Cricut Joy

This is a sponsored post written by me on behalf of Cricut. All opinions are 100% mine.These days, doing little things to get myself organized around the house has made such a difference. When it feels like the kids' toys are taking over, or when the pantry starts to feel too cluttered, I itch to get organizing. But I needed something to make THAT easy, and along came the Cricut Joy! That's why today I'm sharing with you some really easy ways to organize with Cricut Joy!
1. Create pantry labels
This was one of the first things I tackled because the pantry situation was starting to drive me nuts. I had everything in containers, but nothing was labelled. How was I supposed to tell the regular flour from the gluten-free flour? And how was I going to remember that it was ground flaxseed in that one container and not ground 'literally any other seed"?So I got to work making pantry labels. These were pretty simple and straight forward - I picked a font I liked from the Cricut Design Space and measured my containers to make sure the labels would all fir - it's amazing how you can just see exactly how tall and wide a label will be before printing!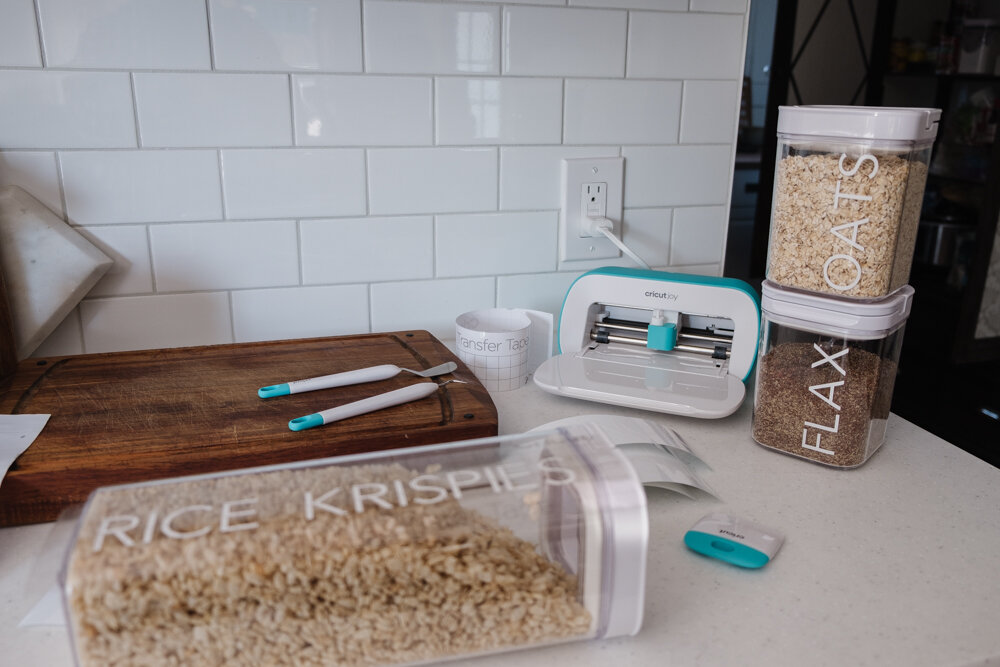

2. Make quick spice jar labels
I don't know about you, but the teeny tiny spice jar labels that came with my spice jars just aren't cutting it. They're hard to read and they're on the jar lids, which isn't ideal for me since I see the sides of the jars with the way they're stored. Using the Cricut Joy, I can create these labels right at the kitchen island.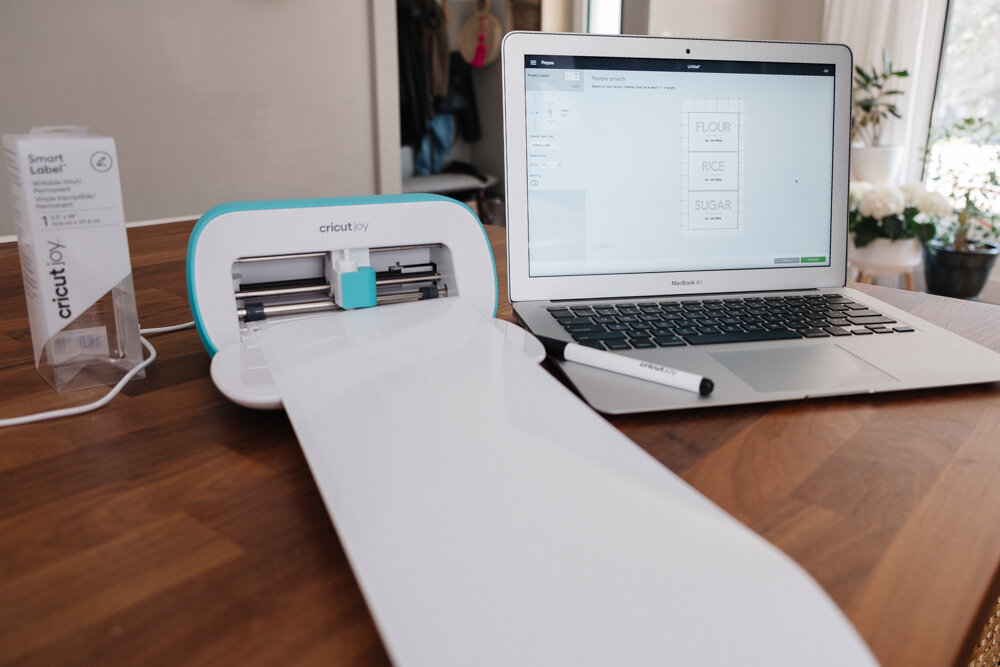
3. Make printed labels for large containers
The pantry labels are awesome, but now I wanted the large glass containers that sit on our open shelves to have something a little extra. Sure, it's easy to tell what's in them, but truth be told, I have forgotten to fill them back up, and this way they at least still look good even if they're almost empty!  For this project, I replaced the blade for a marker and used the writeable vinyl to create larger labels - they're roughly 4"w x 3"h.
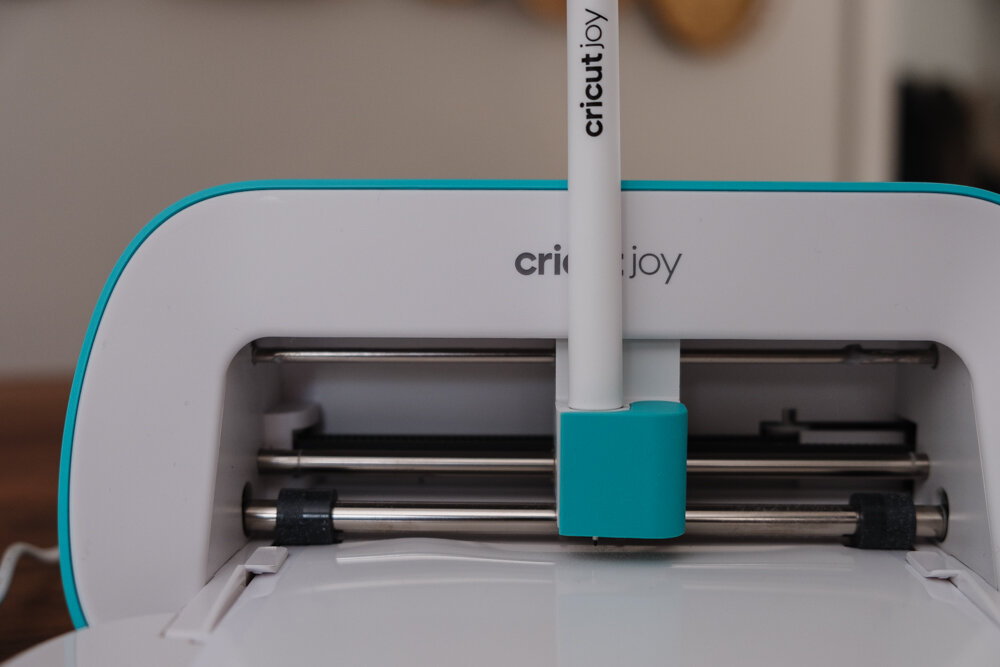
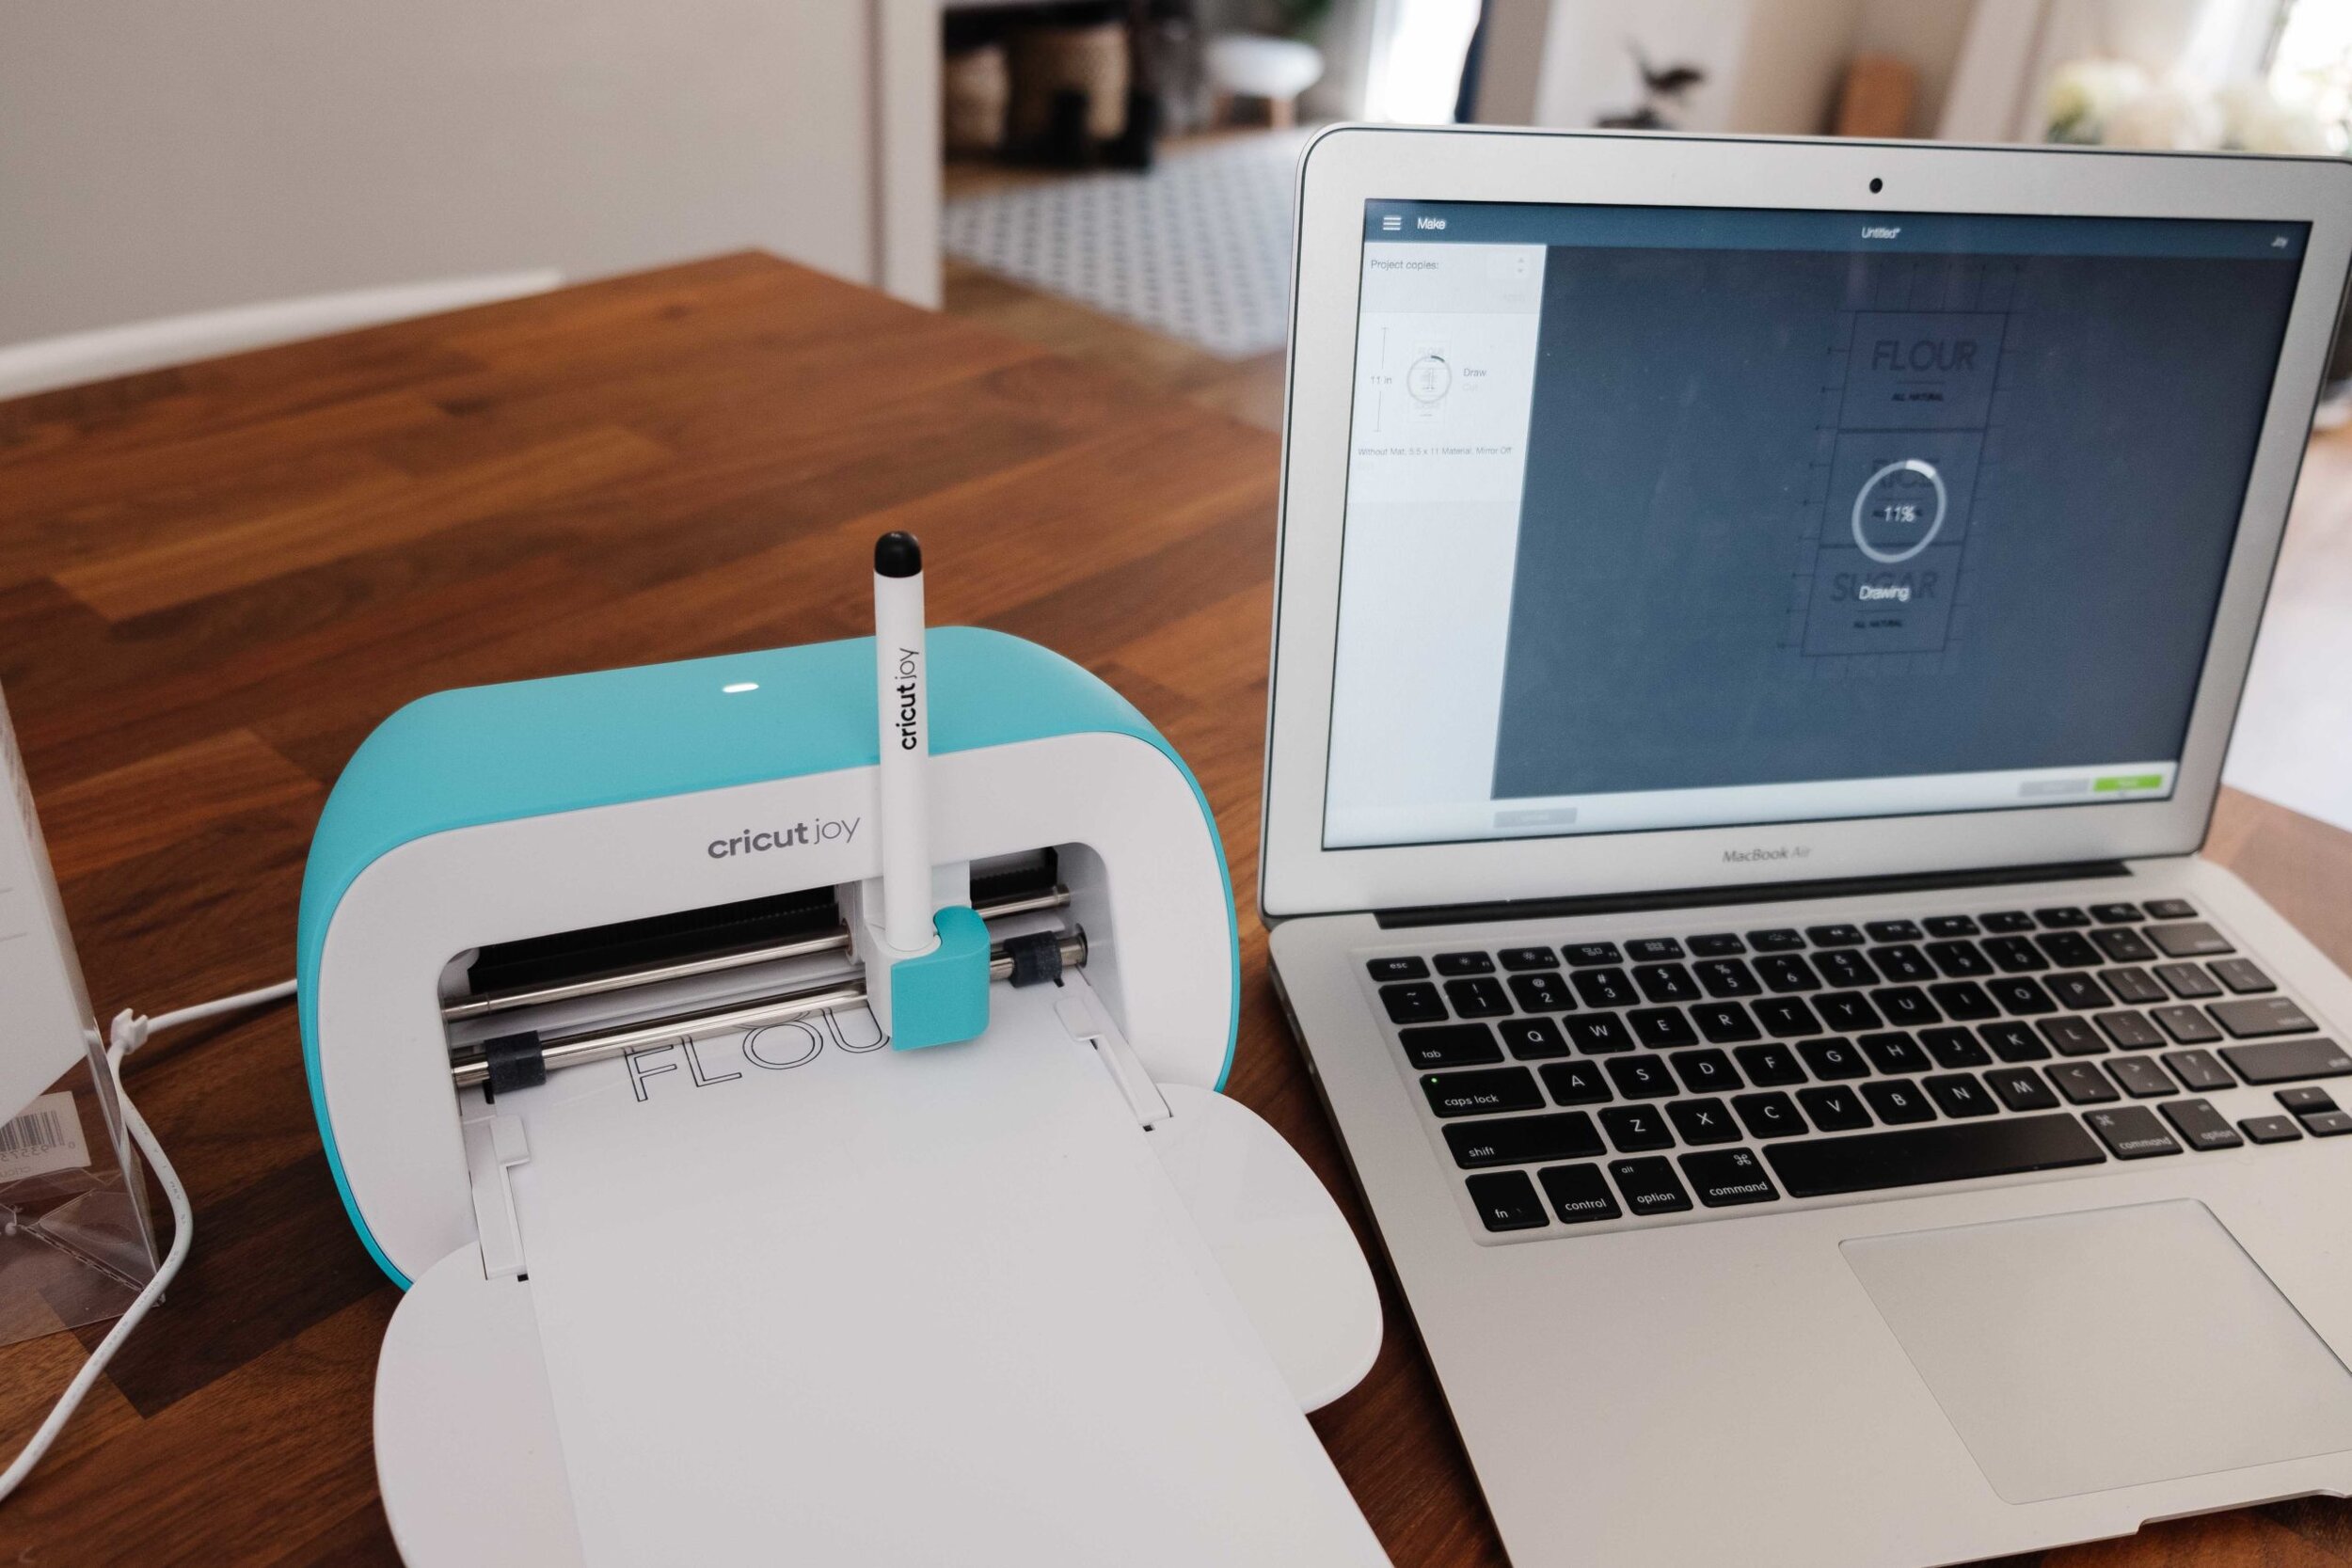 It was super easy to do, and when the printing was done, I put the blade back in so the rectangles could be cut.
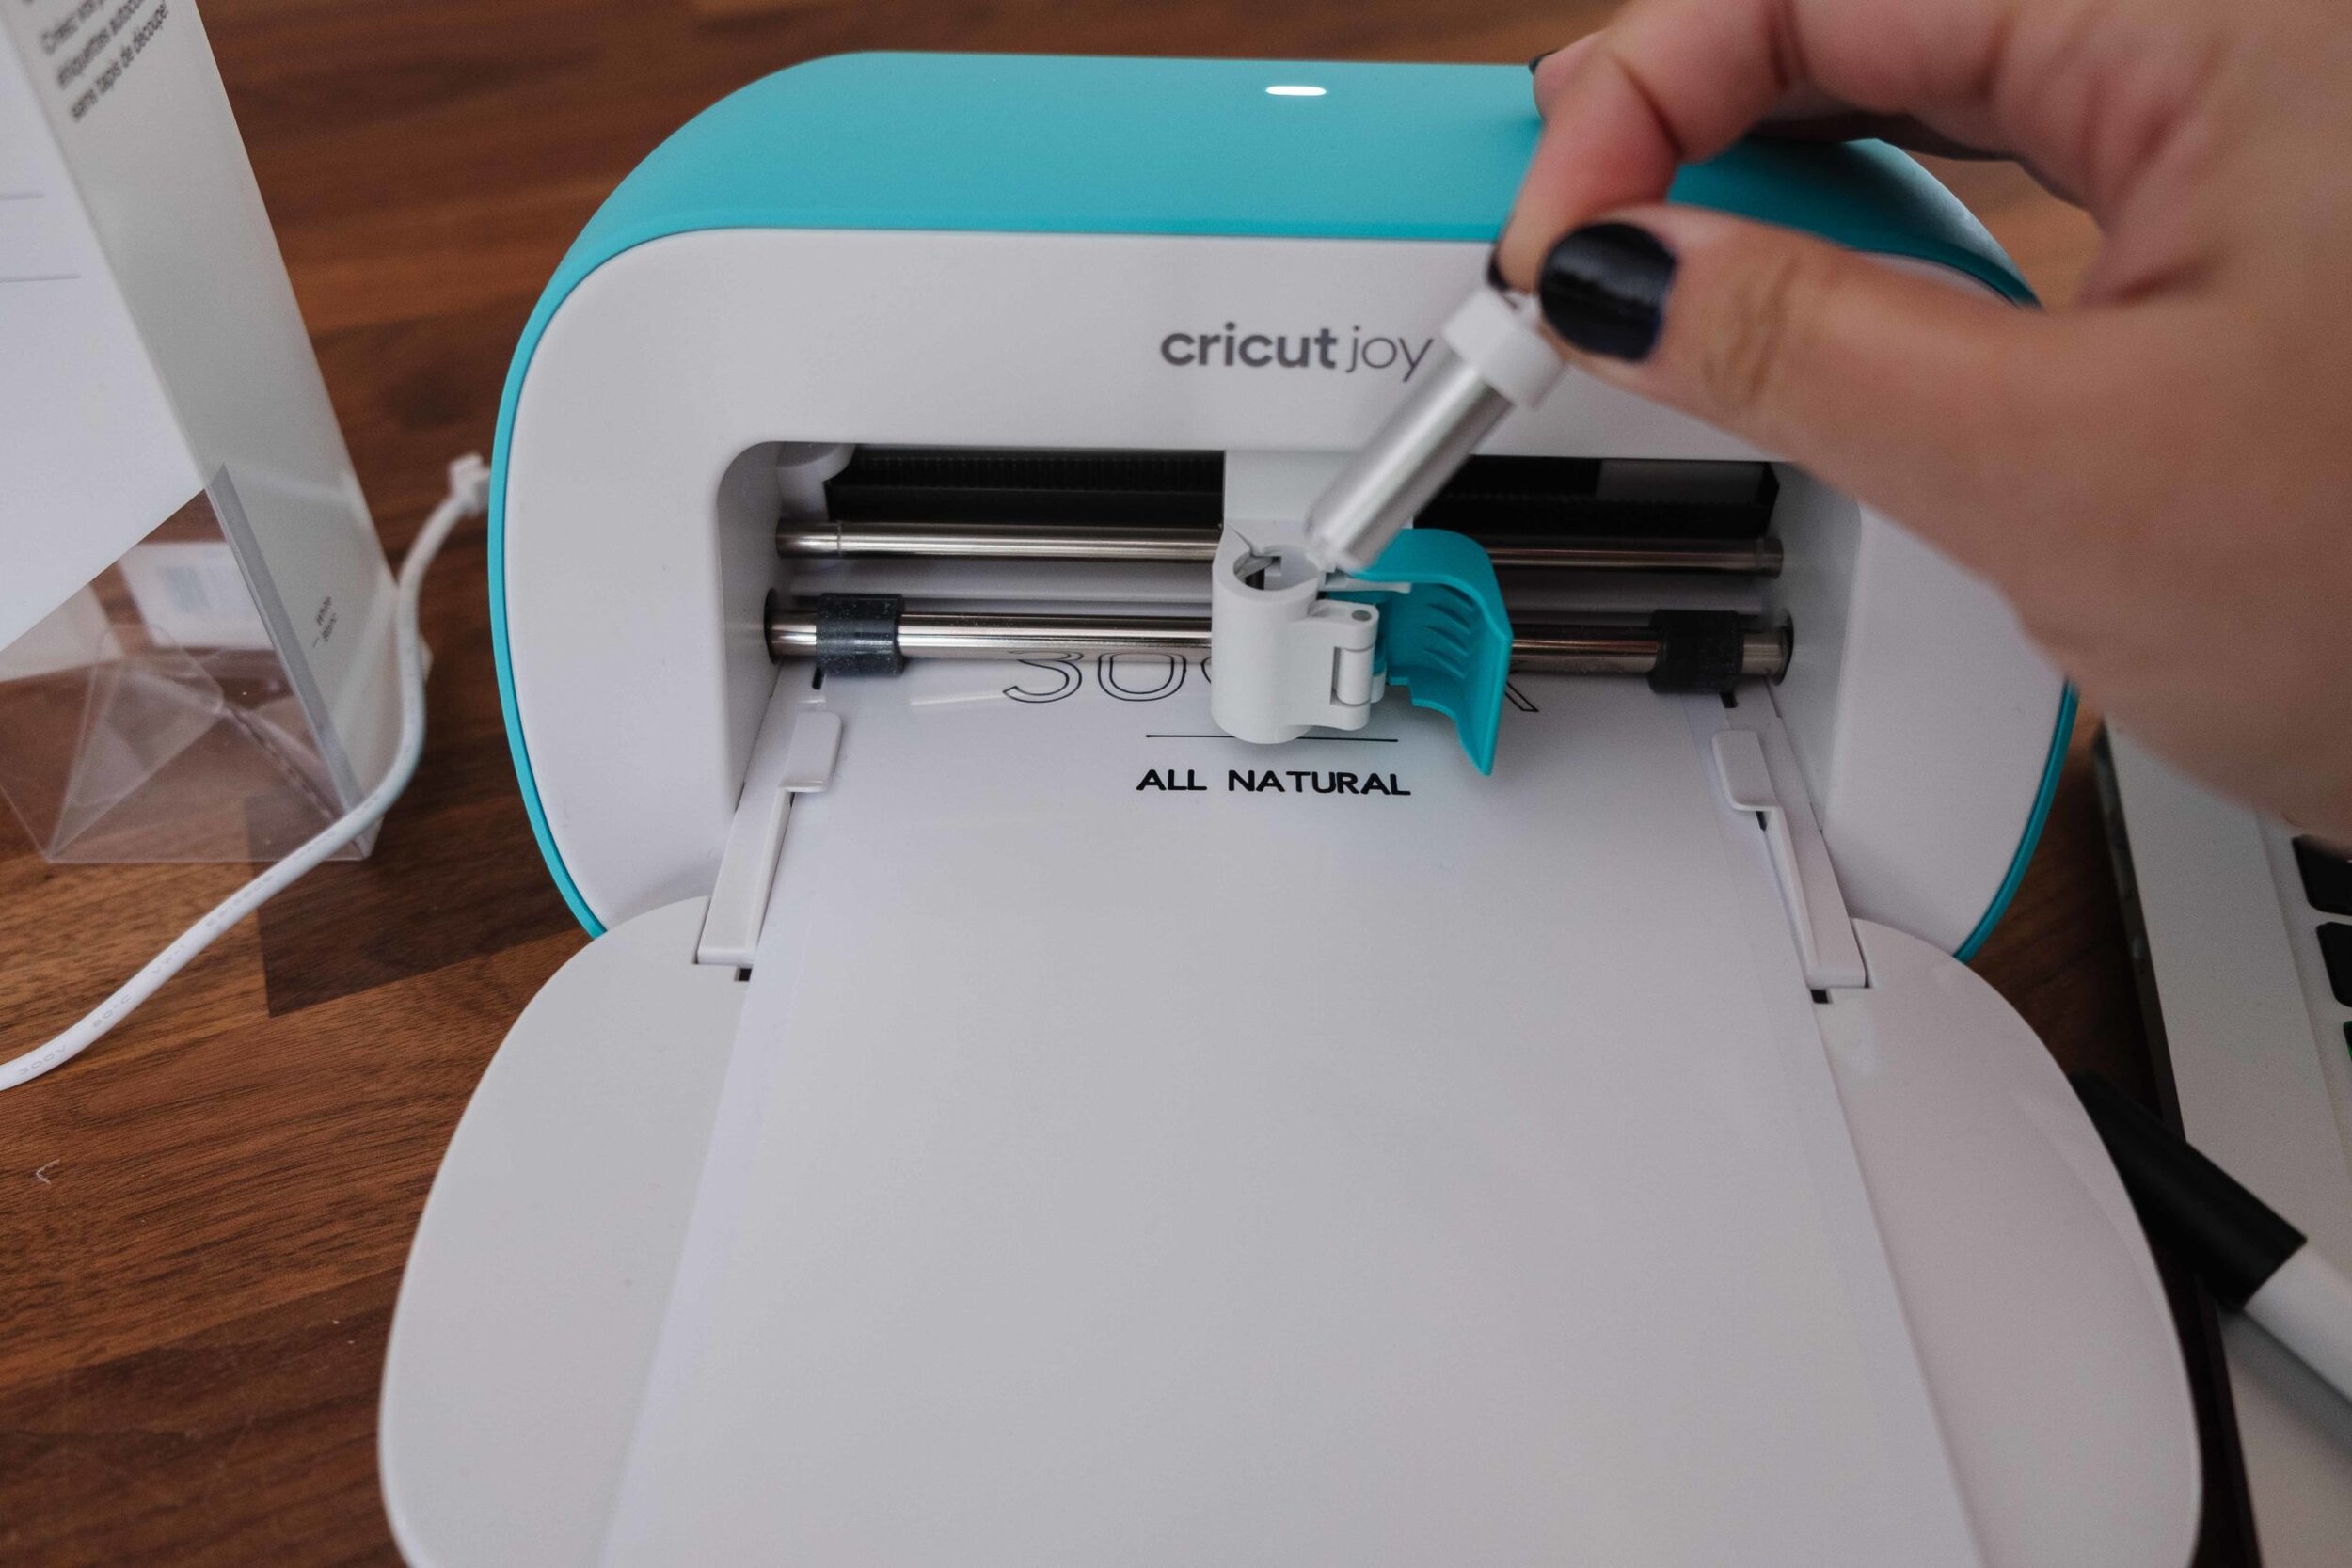
4. Create toy bin labels
My kids are not great at cleaning up. I'm sure NO moms out there will sympathize with me because their babies are likely angels who leave no messes and put their toys away exactly where they need to go, but just on the off chance that SOMEONE out there deals with a similar issue to mine, I figured I'd share.I used images from the Design Space and different coloured non-permanent vinyl (so these can be easily changed as they grow out of things).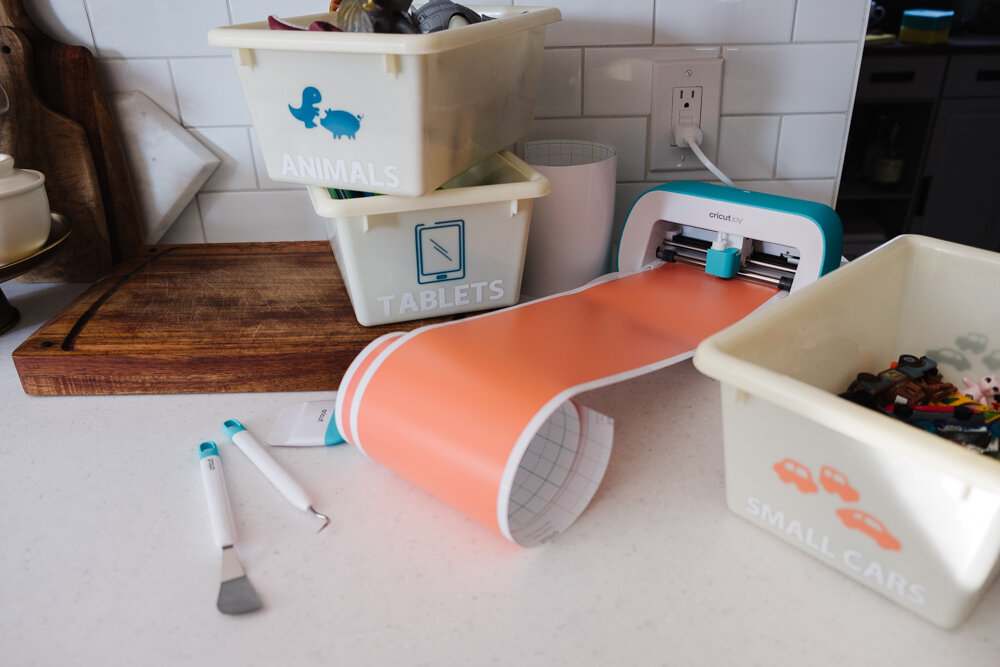 I literally created these at the kitchen counter with the kids helping me choose which images they liked best for their toys, and since that day (about 2 weeks ag now), they are a LOT more likely to put toys in the right bins, instead of asking me for the 653rd time where a very specific dinosaur might be.
5. Create cleaning labels
This might be my favourite one. It's very very similar to the pantry labels (which gives me some sort of weird gratification because all of the labels 'match' somehow). I have had some amber bottles I purchased months ago that still had their original labels on them and I have been meaning to create my own for some time now. I used a product to remove the sticky stuff left behind from the labels and got to work creating my minimalist version of a bottle label. I absolutely love them!ATTACH LAST IMAGEAnd there you have it. Now when I get the urge to create a new label, I know it's as easy as pulling out my Cricut Joy onto my countertop and getting to work - did you know you can even use the Cricut Design Space app to create them without a desktop? That'll be next for me!