[Black & White] DIY Geometric Ornaments
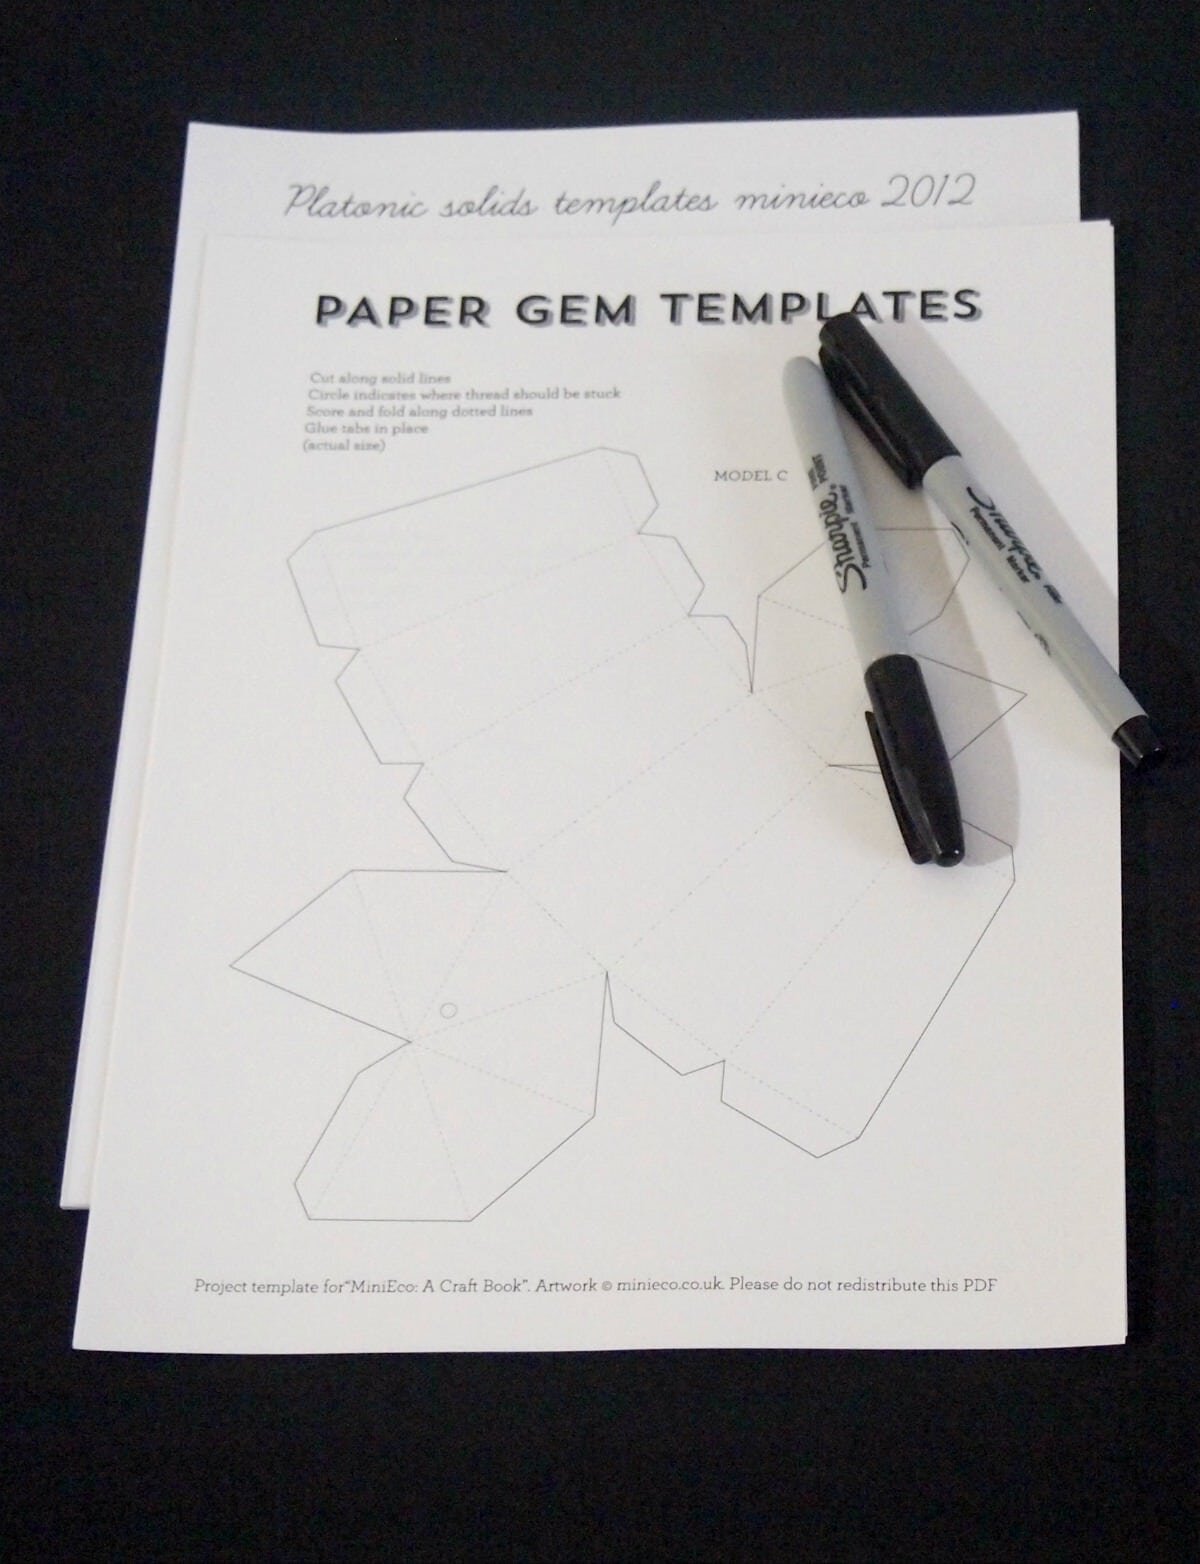
Ok class, give me a show of hands: how many people are surprised by the fact that I made something black and white? Oops... sorry... teacher Thalita and blogger Thalita merged there for a second! But seriously, is anyone surprised by black and white on this blog anymore? I didn't think so. This time, they're DIY geometric paper ornaments!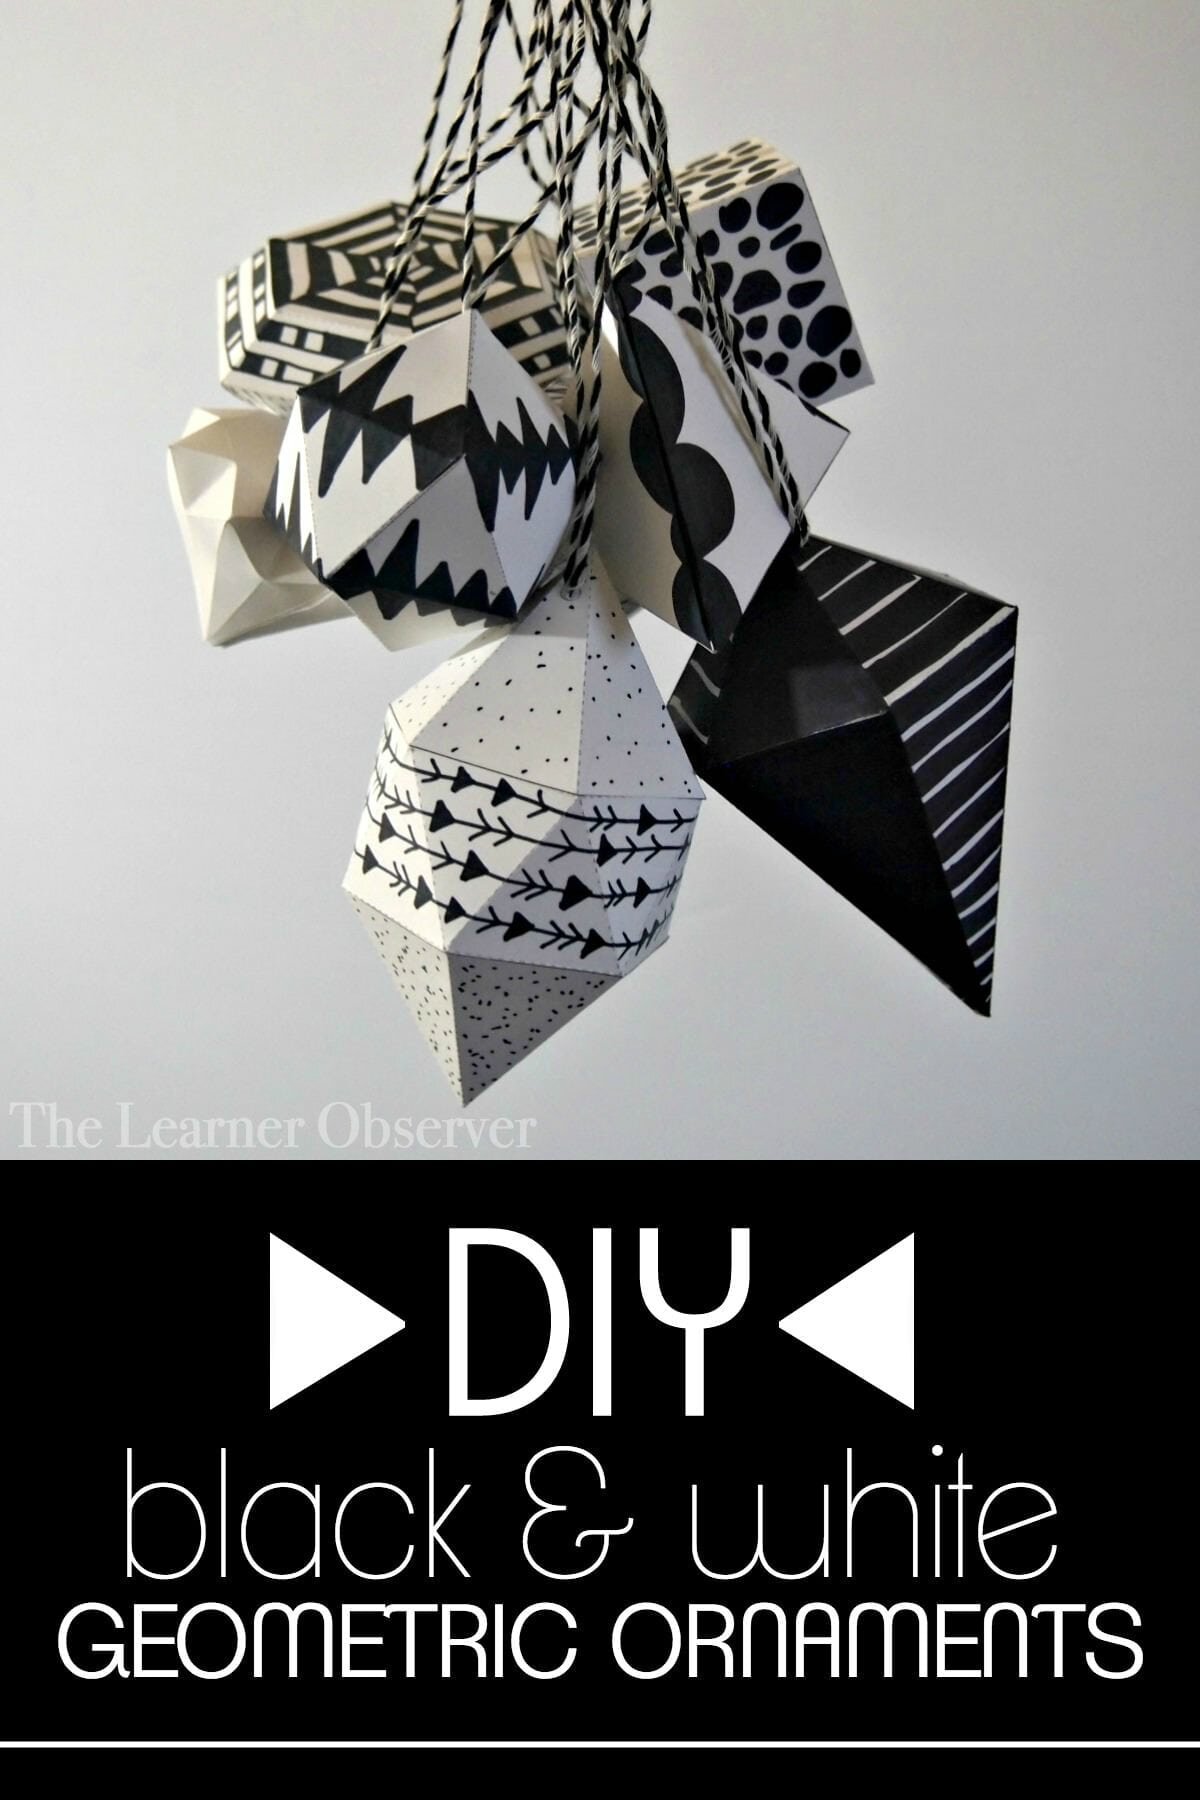 Anyway, these are easily some of my favourite ornaments I have ever made because I fully intend on having them around after Christmas. Don't judge me. I used some awesome printables found over at Minieco, and believe me when I say you will find a TON of inspiration there! This is really just my take on using plain white paper to make these gems more interesting! Here's where you'll start:
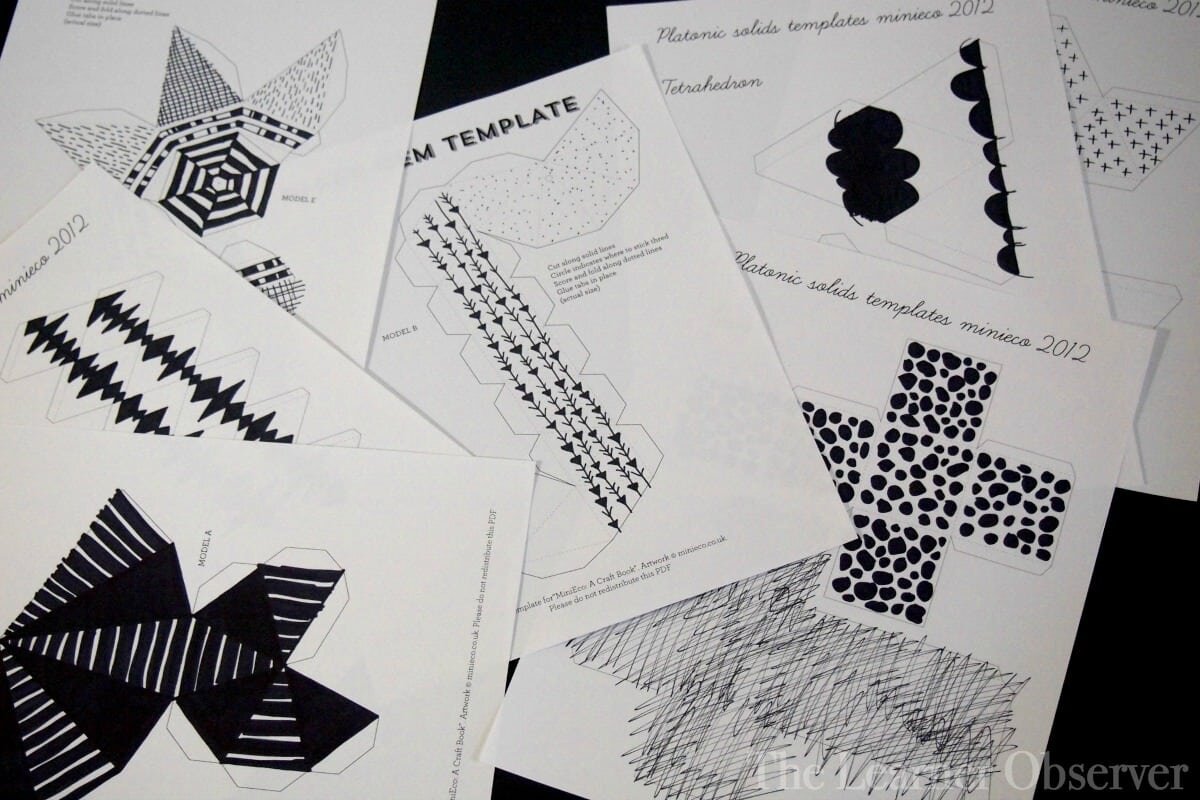
 Now get to work and have some fun with a Sharpie! In all honesty, I didn't even know what some of these shapes would look like, I just started colouring and drawing (or in some cases, scribbling!).
 Next, I cut around the shapes and scored all of the dotted lines. You could use a proper scoring tool for this, or do what I did: use a ruler and a large needle!
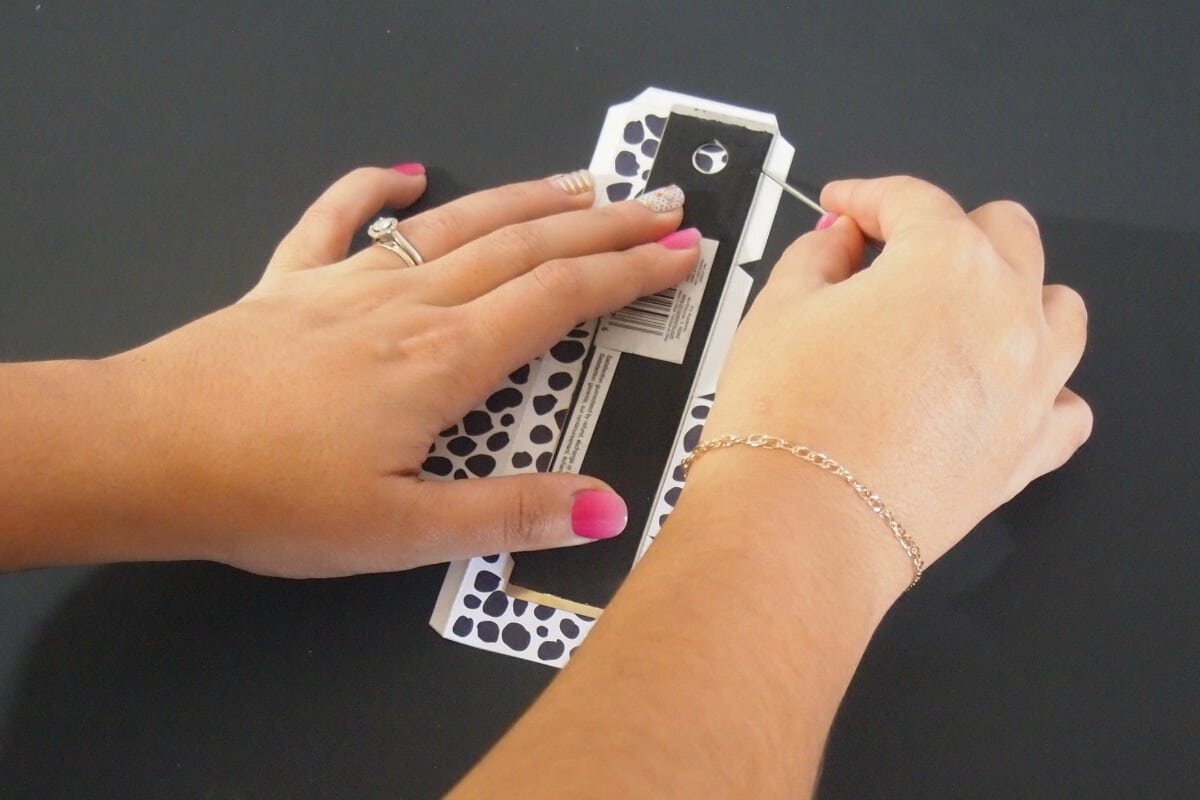 If you intend oh hanging these like I did, make sure you put some twine through the shapes before the gluing! Now you have two uses for that needle!
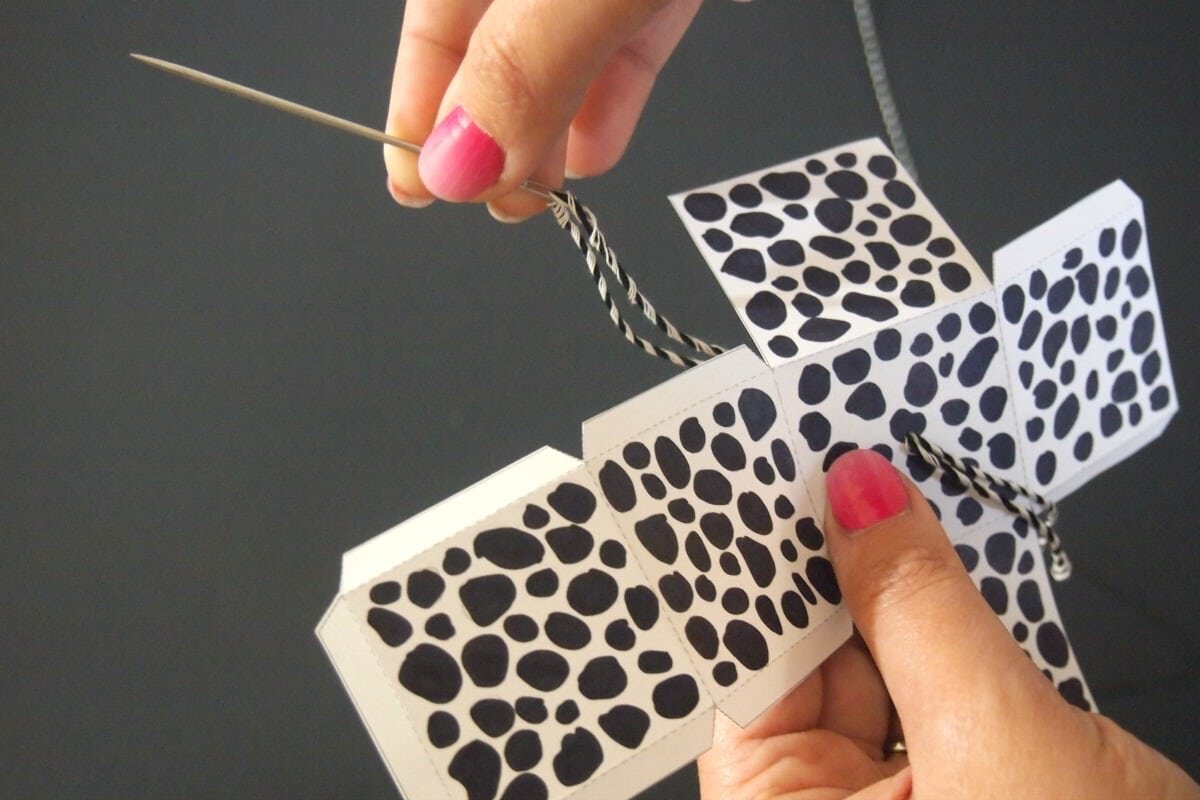 Now go back to primary school and put some glue on the tabs, forming your magical 3D shapes!
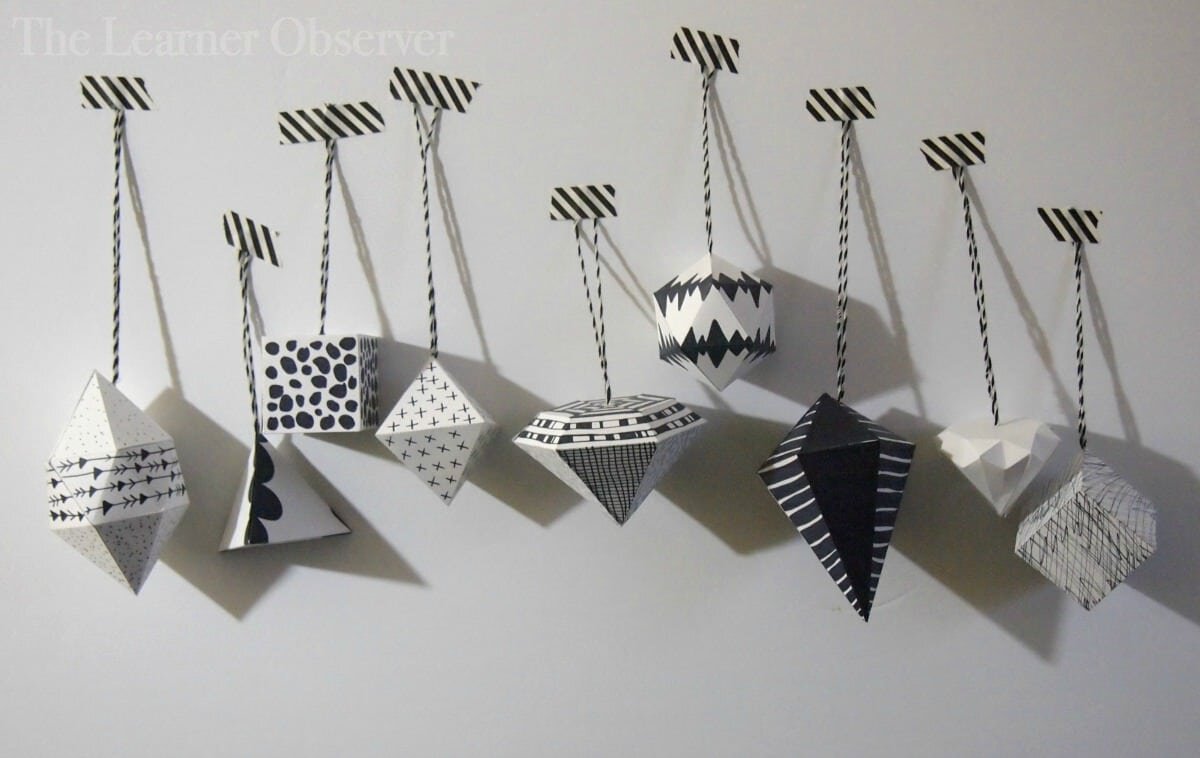
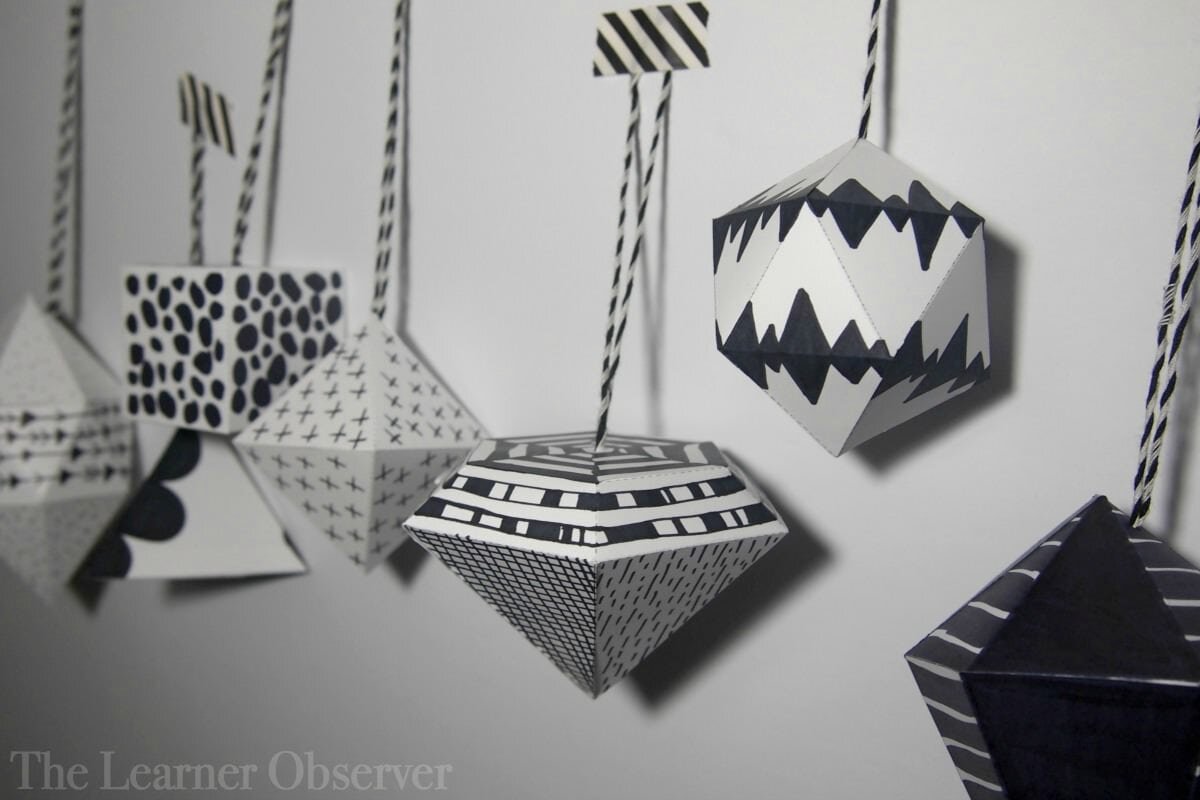 I love these all clumped together, and kind of think they'd make a cool mobile! So logically, I made a GIF so we can all see what that would look like!
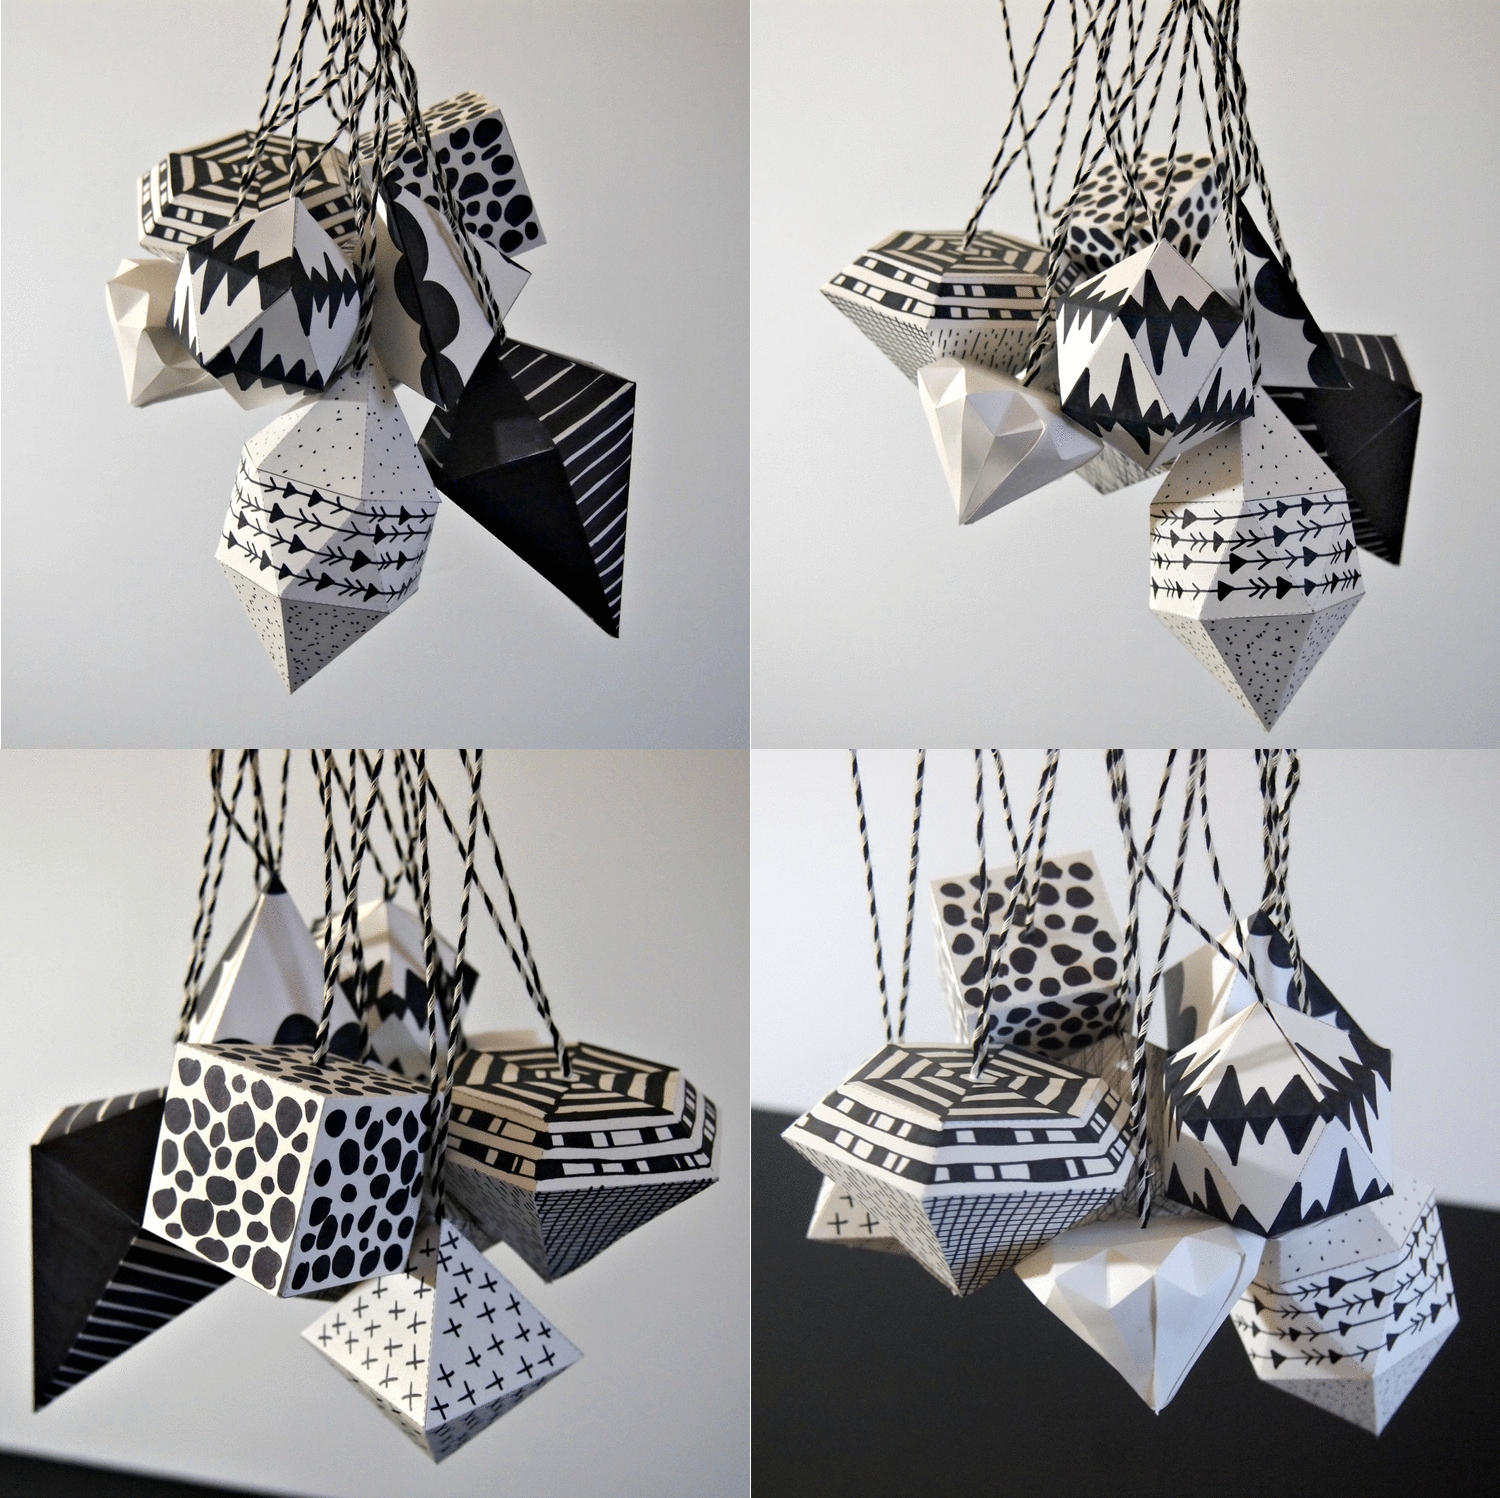 The only shape I didn't colour was the diamond because it kind of looks amazing on its own, but be warned it is THE HARDEST shape to put together! So what do you think? Success?Oh, one last thing, winners of The Penny Paper Co. giveaway have been announced and contacted! YAY!Hope you're all having a great week!
