DIY: Geometric Jewelry Trays
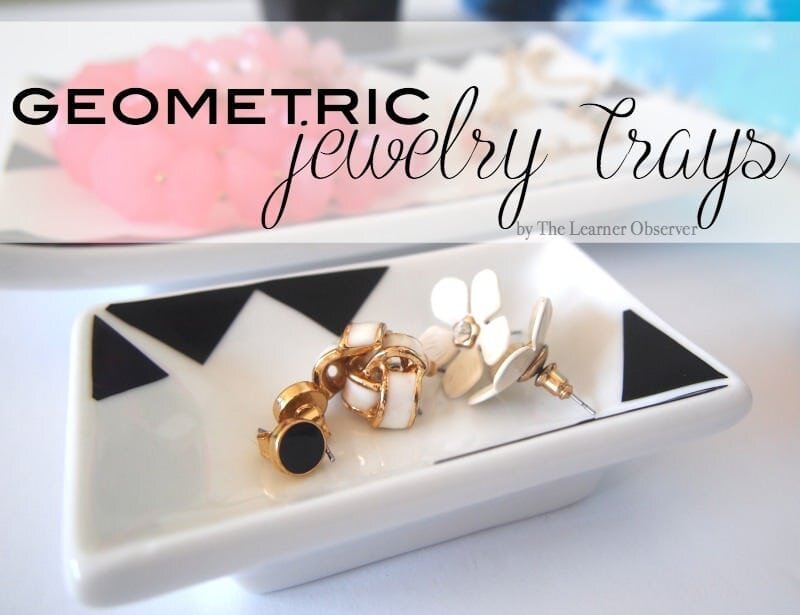
Ladies, this one's for you because if you're anything like me, you struggle with jewelry organization sometimes. Ok, for me, that's all the time! I swear, Alex must go nuts with all my necklaces and earrings lying around. Not to mention hair ties, oh and have I said bobby pins yet? Ok include those in there too! The thing with jewelry organization though, is that it needs to be easy to access, and you also want it to be pretty, am right? I think I found an easy (and super inexpensive) way to help us all achieve that! This was such an easy project that I want to make 100 more! Ok, maybe not 100, but I certainly will be making these again because truthfully, they'd make great gifts, too! Here's what you need:
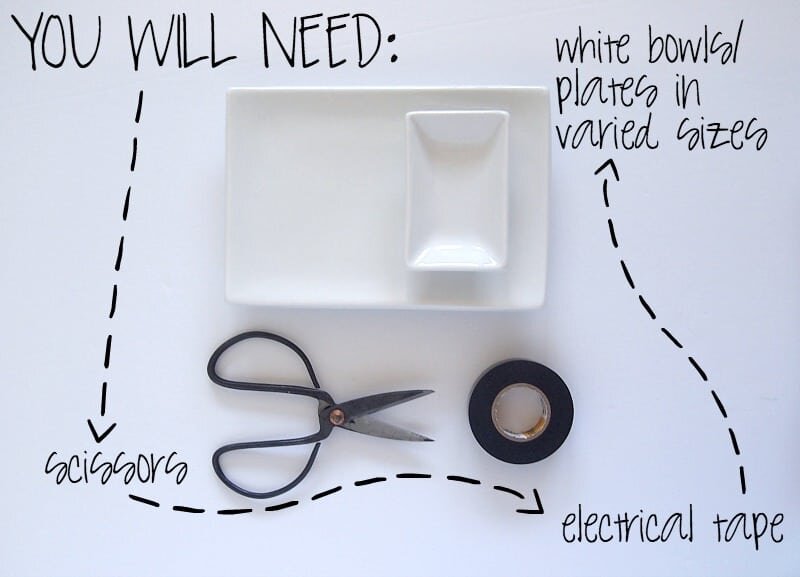 I got the plates at Salvation Army for $.50 each. Steal! The electrical tape was also $.50 a roll, soooo this project cost me $1.50 for two trays!!! This makes me insanely happy. All you need to do now if cut out some triangles out of the tape. They don't have to be perfect or completely even, though the more even the better, obviously. I cut squares then triangles out of those.
  I made up the patterns as I went. I didn't plan this out very well, but in the end it worked out beautifully! One of the lovely things about the electrical tape is that it's really easy to remove and replace as you're working, so play with it a little!Here are the finished trays!
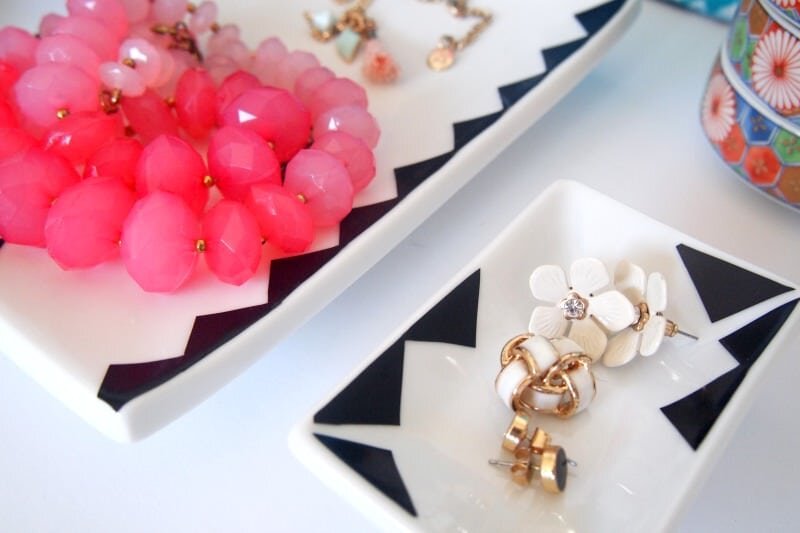
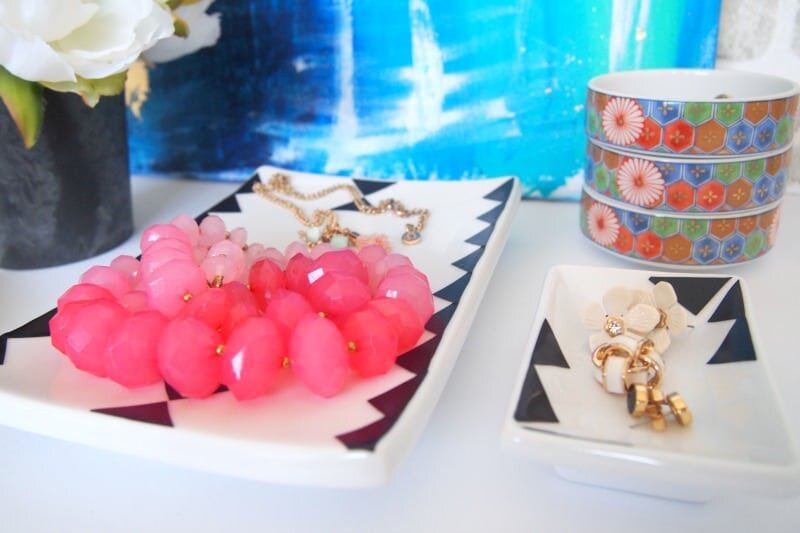
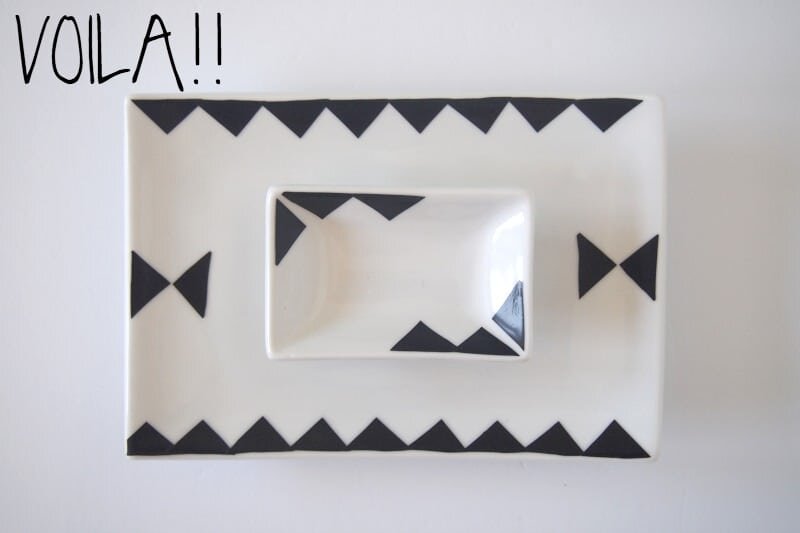 I almost didn't want to put anything in them! You can really see now how uneven the triangles are if you look closely, but with jewelry on it, I'm not too worried.
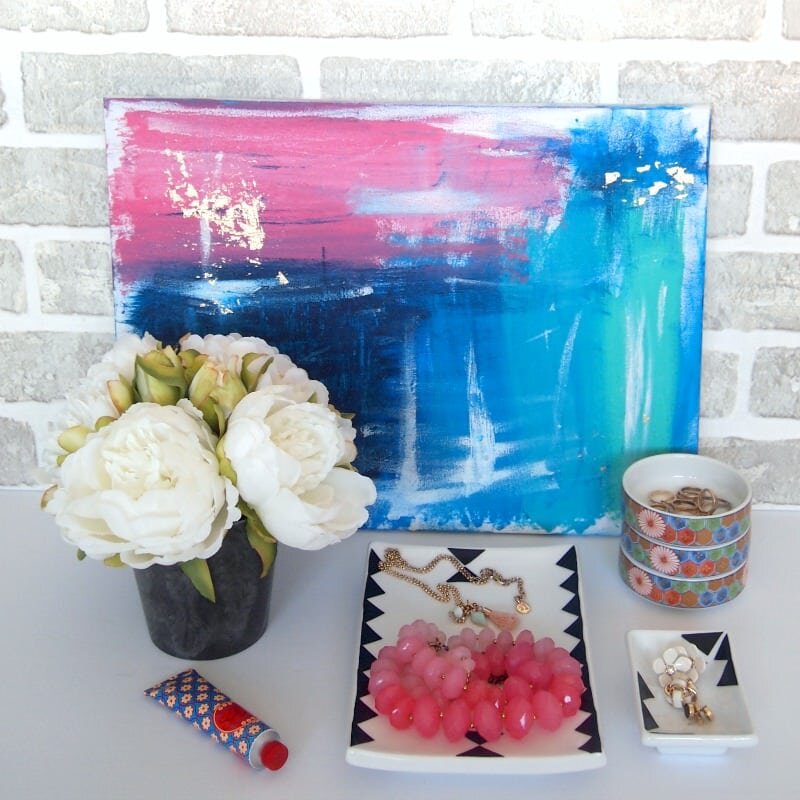 That painting? That was a DIY too! I'll be sharing it with you shortly, don't worry! The other geometric trays (those colourful ones) were also a thrift store find. I loooooooooooove them!
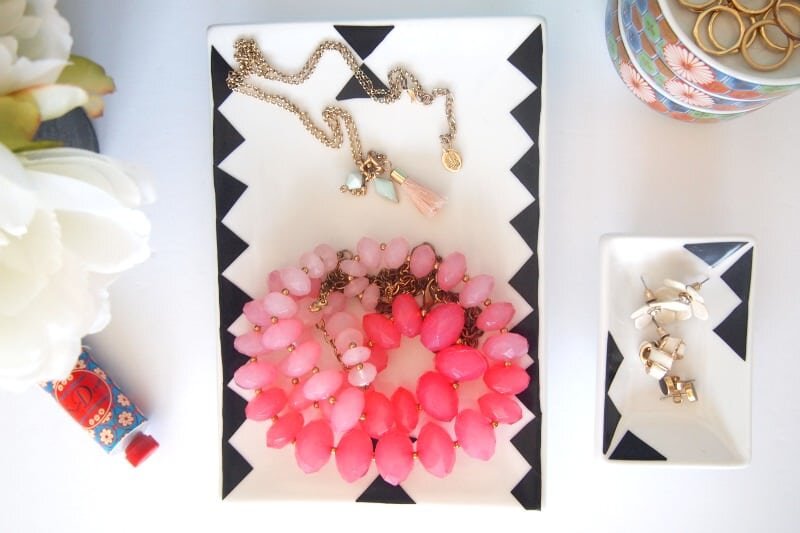
 This is probably one of the easiest DIYs I have ever tackled, an I strongly urge you to go find some white dishes and plaster some electrical tape on them! I mean, why wouldn't you naturally want to do that anyway, right?
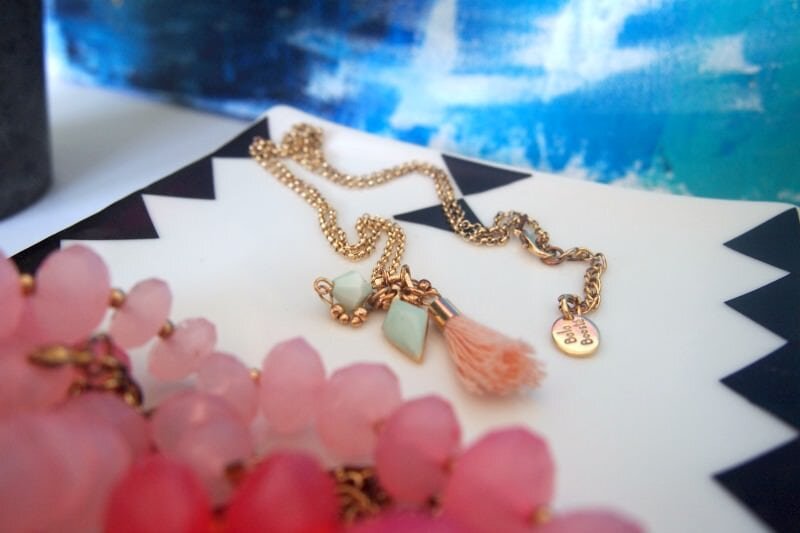
 There you have it, lovelies! An easy, trendy, and totally removable DIY! That last one might be good if you're like me and change your mind often!