Footstool Makeover with Woven Rope
Hiya!How did you guys like the Leon's Furniture living room makeover? Isn't that sectional to die for? And the cocktail table - oh my! Well you may have noticed in that post that I mentioned a little DIY footstool project, or maybe you just saw it in the Masculine Chic look. Either way, I want to share with you how I turned that $2.99 footstool into the little woven goddess she is today!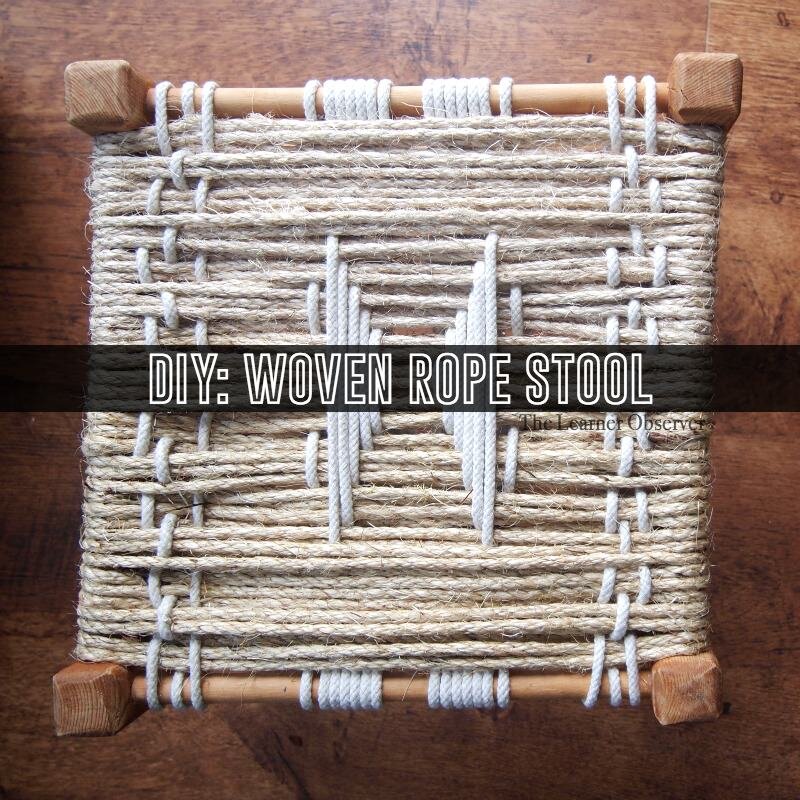 To start with, this stool was dingy and the original woven rope on it was beyond disgusting. It was one of those thrift store finds that you know you want, but you also know you don't wanna touch, know what I mean? Many of you are probably like, "ew....no!" But I know some of you nodded with me! Right?!?! So here's the original stool:
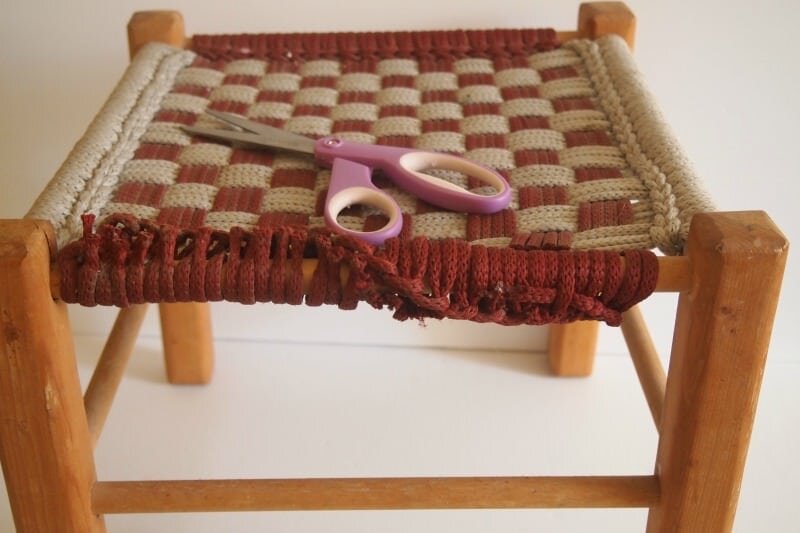
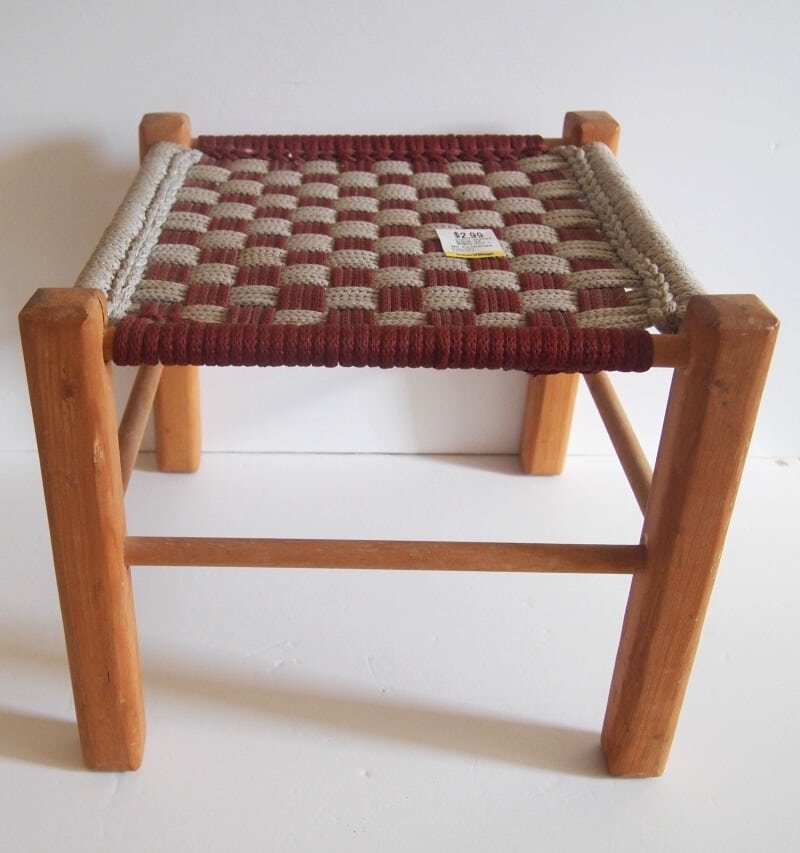 You can't see even half of the dirt on this thing, so just take my word for it ok?I started by cutting out all of the original rope...
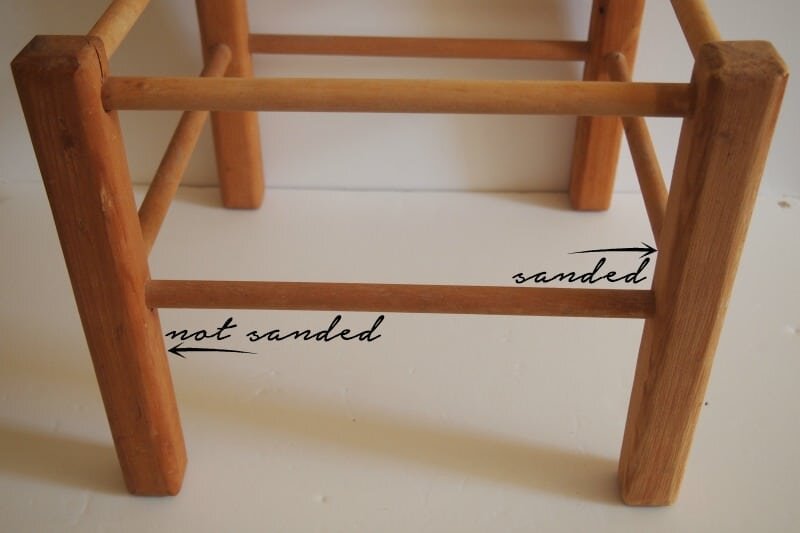
 The frame of the stool was very sturdy (which is why I bought it), but the stain was a bit too red for my liking, so I sanded it down lightly. You can see there isn't much of a difference here, but I swear, once the whole thing was sanded, it made a world of difference to me!
 Here are the tools I used to re-weave(?) the stool:
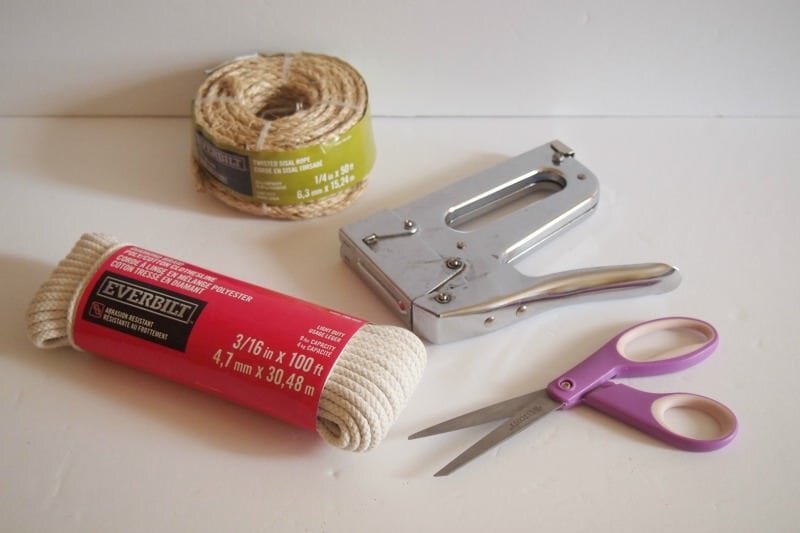 The ropes were purchased at The Home Depot for about $9 and I had the stapler/staples on hand, so this was very low-cost! To start, I stapled the rope (I started with the sisal) to the bottom of the stool:
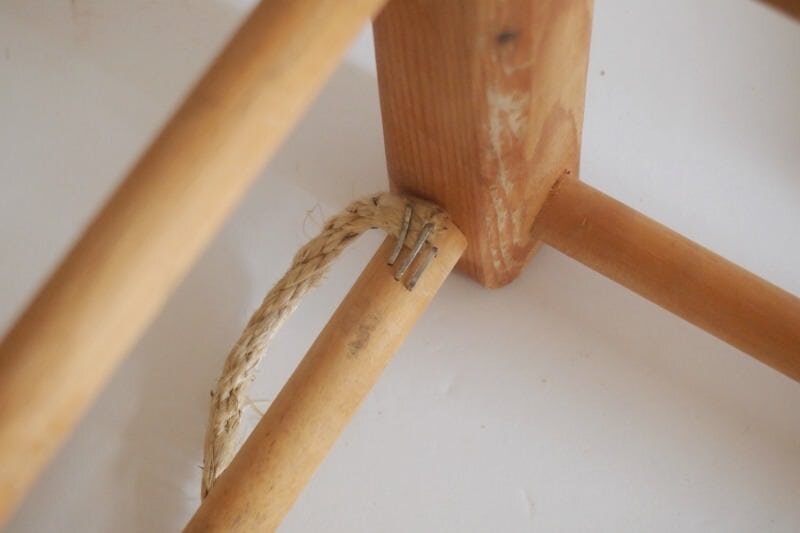 Yes, I missed one... The end of the rope is taped, so that helps keep it together. I also hammered the staple down to secure it even more. Now you're ready to start looking the rope through...
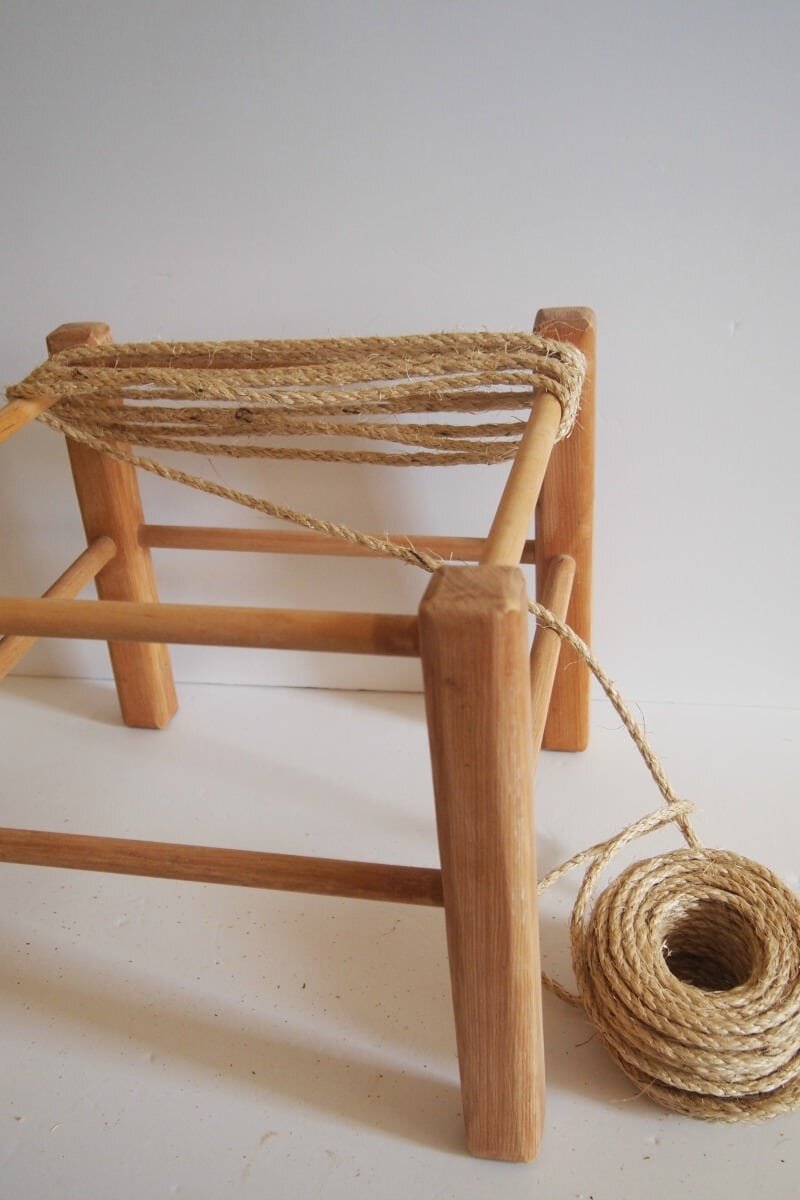 I started loosely and tightened once I had about 10 rows done. The rope stayed in place really well once I tightened it, so it wasn't too stressful. If I had started with the white rope, that would have been another story... It was a happy accident that I started with the sisal!
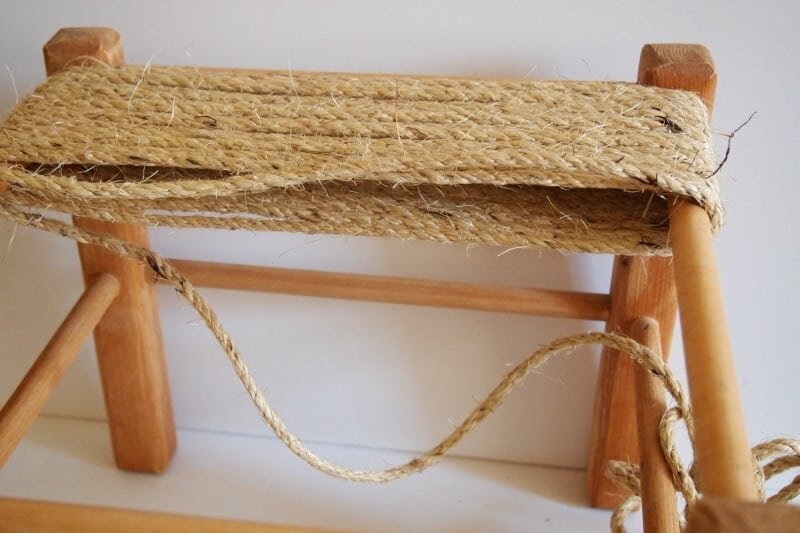 Once you're all done, staple the other end like at the beginning. Surprisingly, this didn't actually take all that long, but the sisal is really rough on the fingers!
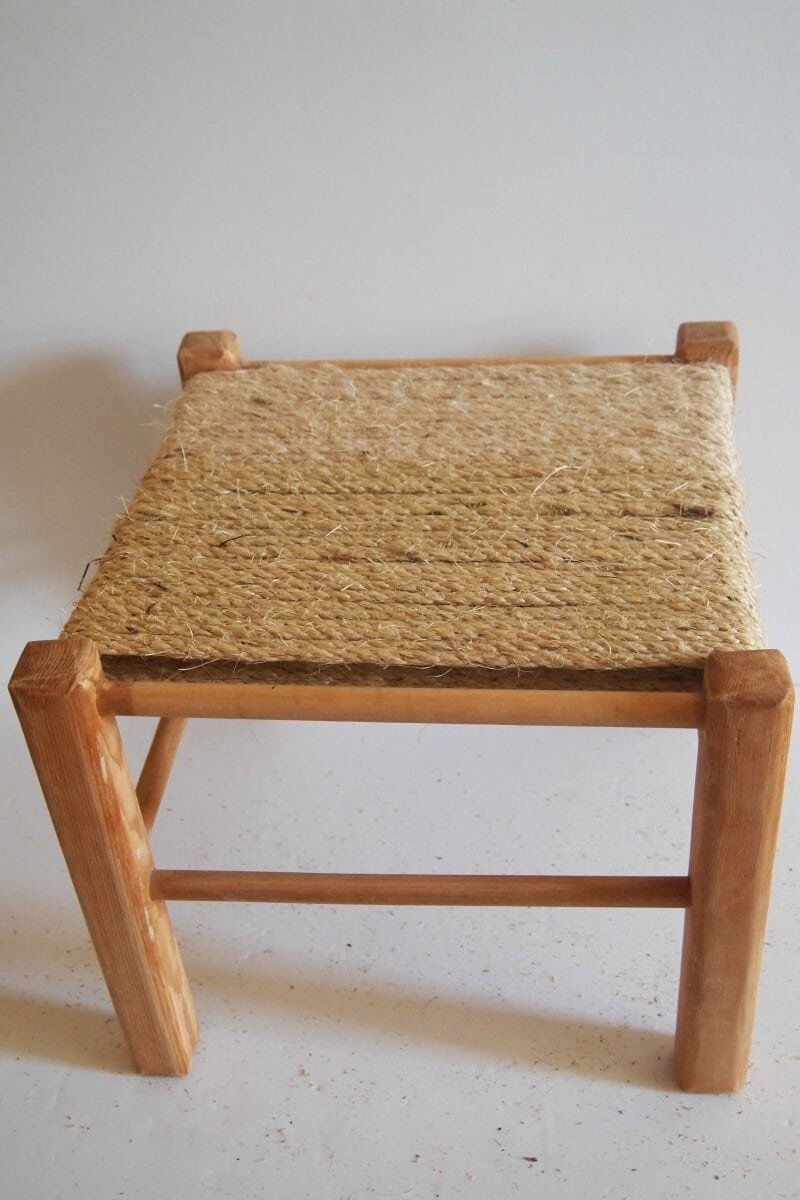 Here is where things get tricky... I started to make a pattern with a skewer, just to get an idea of where I would end up and I looked up some weaving patterns on Pinterest to see if there was anything I liked, but they were all super intricate! I ended up settling on something simple that took minimal math skills. YAY for minimal math skills!
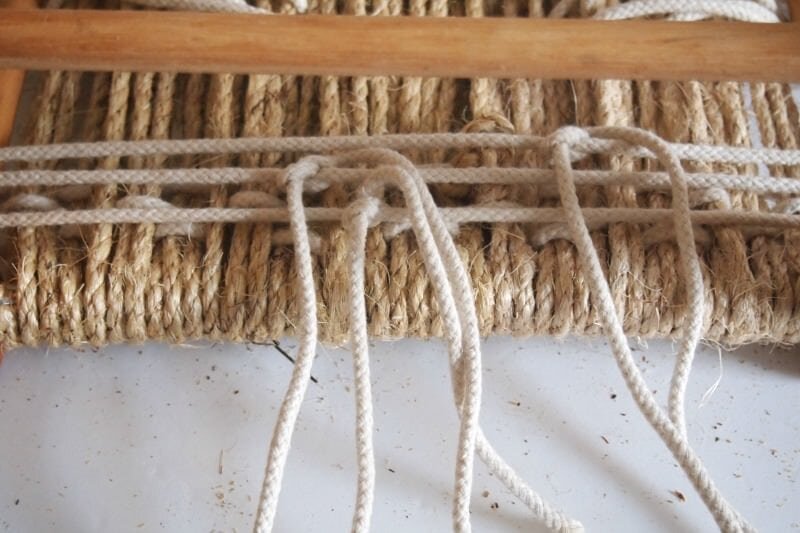
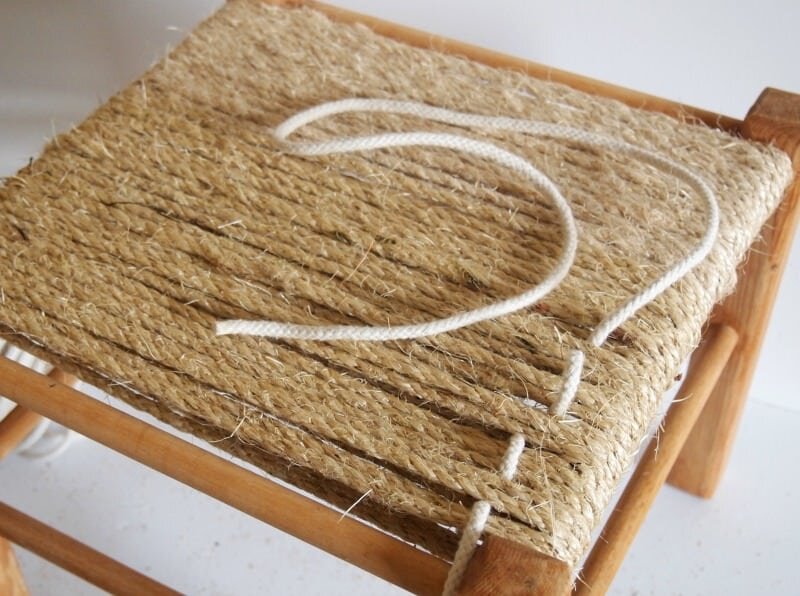 I started with a simple 3-string border and a triangular design in the middle. For this, I cut enough of the white rope to weave it through the sisal and tie it at the bottom of the stool.
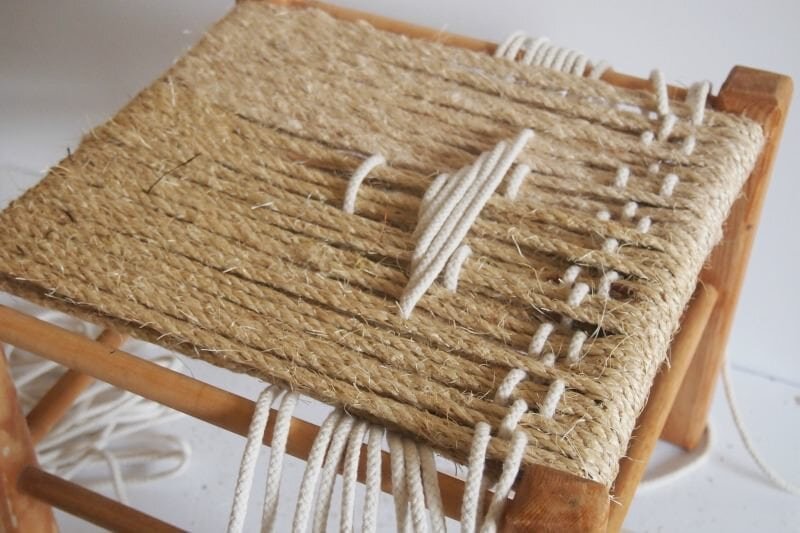 Repeat on the other side... which is SO much easier for all the obvious reasons!
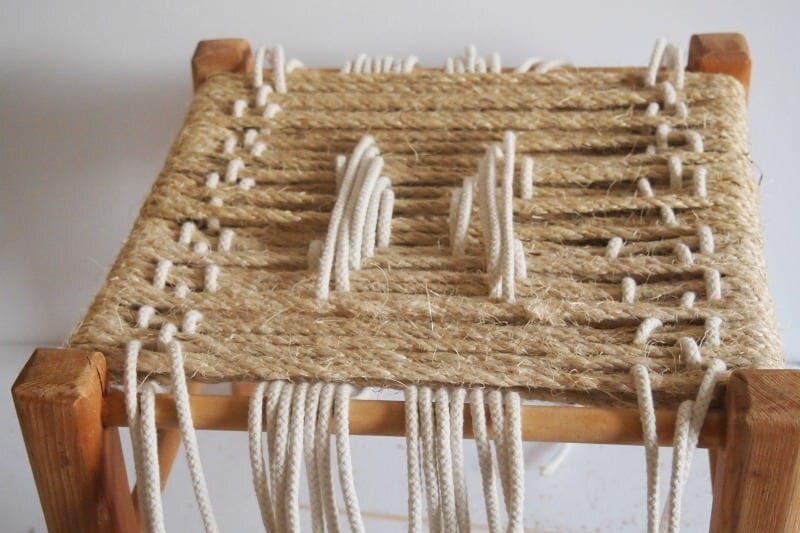 At this point, flip the stool over and start tightening and tying the white rope as tightly as you can.
 Cut the ends, and tuck them in, and tadaa!! All done!!
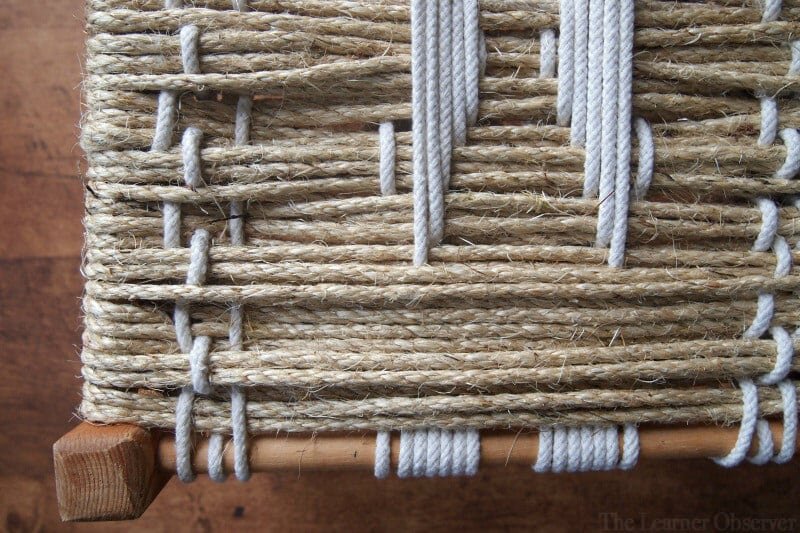 Man, it felt good to get this thing finished and the icing on the cake is that it's actually sturdy and I can sit on it!Here is the stool as I styled it with the Victory Sectional and Flow Cocktail Table (full post here), in case you didn't get to see it!
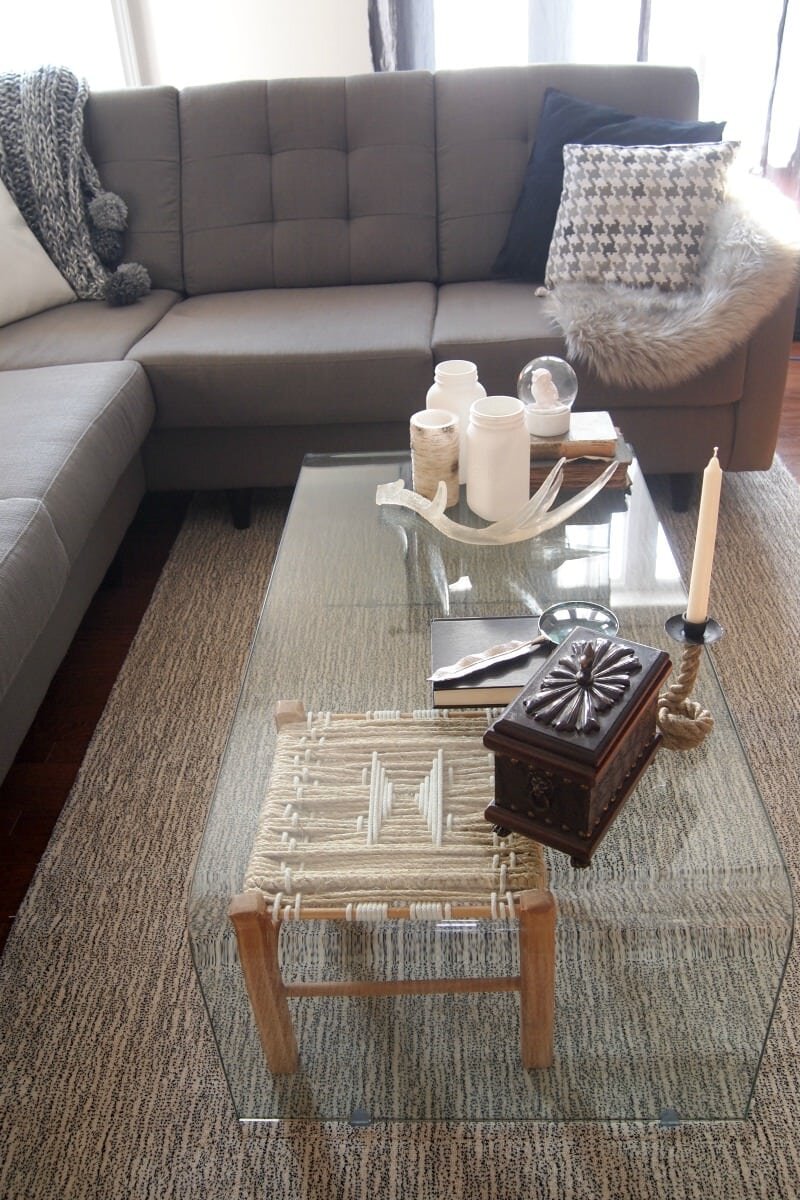 It is currently living in our living room, and I'm loving it. It's neutral, and has such a great texture - not to mention, it's actually useful now that we have the two chairs .
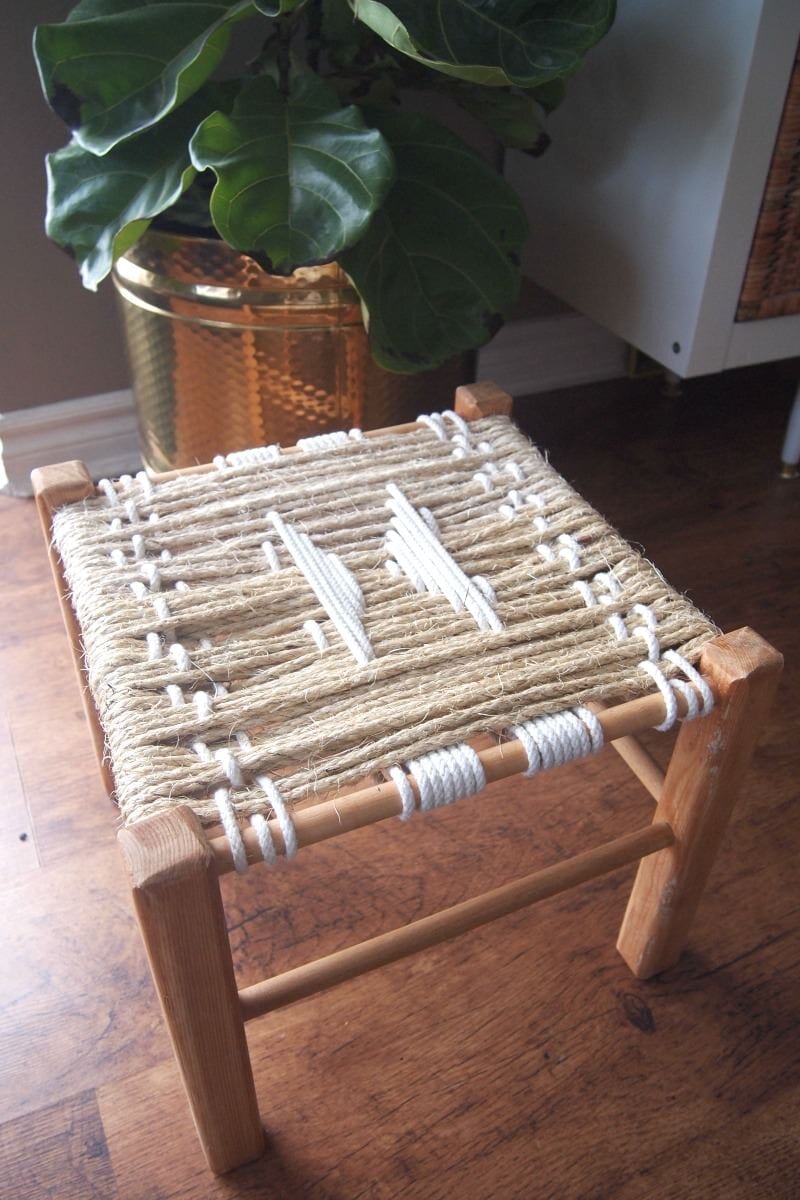 Have you ever tried something like this? Would you? You kind of can't go wrong for a total of $12, am I right? This didn't turn out perfectly (but perfect is overrated anyway), but I'm happy I tried it. Now, if I ever decide to do any sort of weaving again, I might be slightly better at it! I hope...
