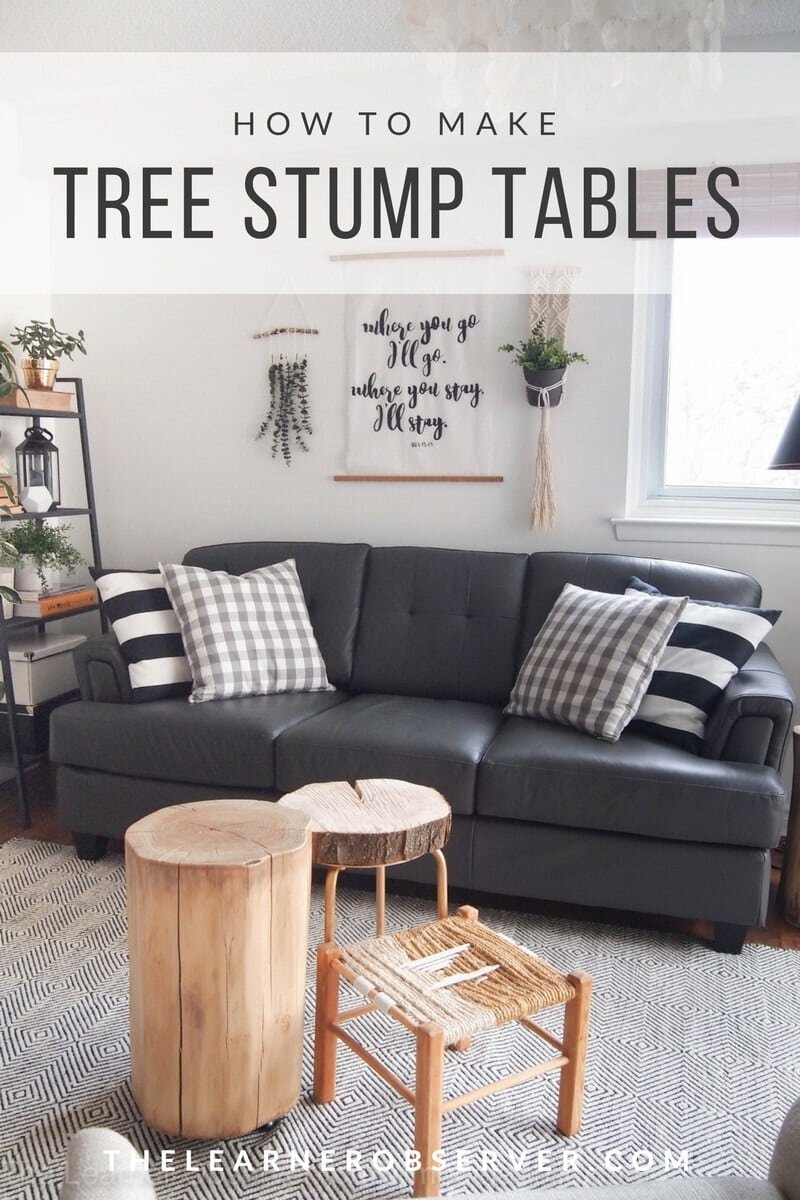
Make Tree Stump Tables Without Losing Your Mind
Lately I've been asked by several people how I managed to make tree stump tables. I started working on these over a year ago, when I was 4-5 months pregnant and I had finally started to feel better after the extreme fatigue and all-day sickness had passed. With a new surge of energy, I felt ready to tackle stripping bark off of two stumps and sanding for hours on end. Obviously. Don't all pregnant women do this? Anyway, I'm about to give you a play by play of how I did this without going completely crazy!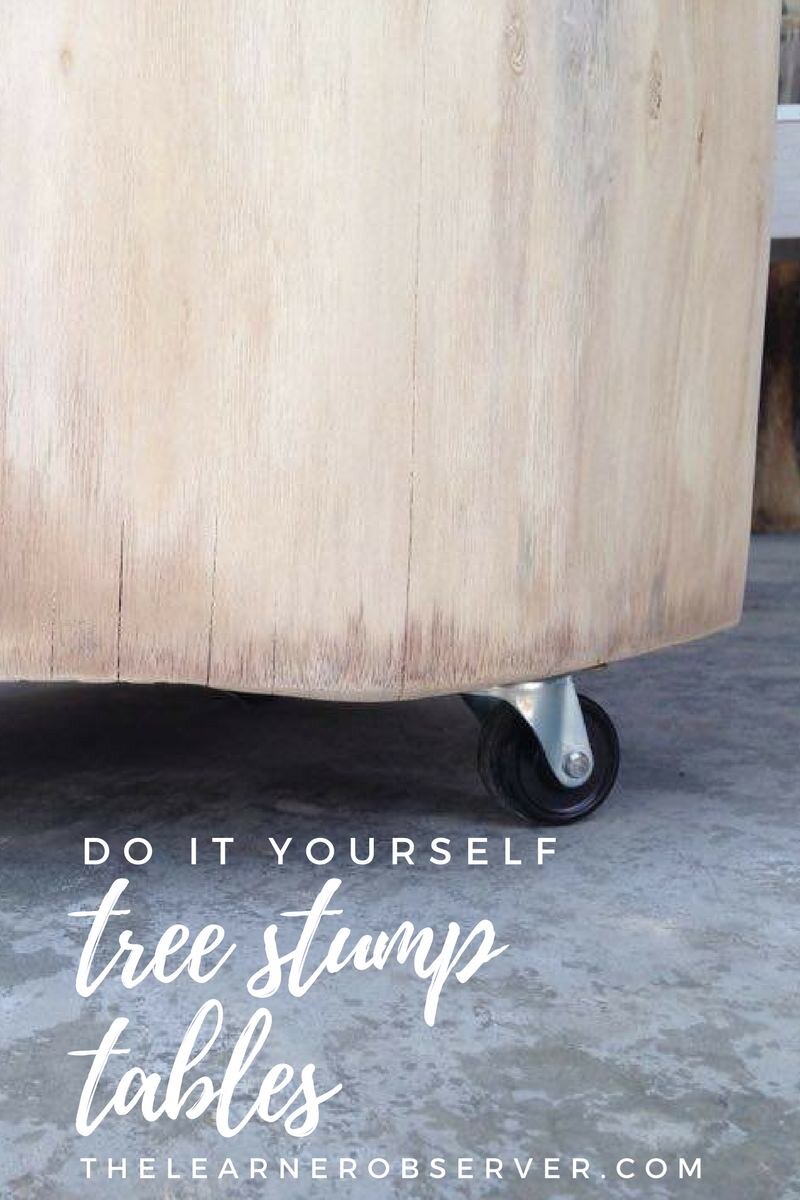 This, like the blanket ladder I made, was one more thing I didn't want to pay an obscene amount of money for. So I made it myself! My parents had to cut down a tree in their backyard, so my dad brought me three stumps and one 2-inch slice. It sat in the garage for several months, which is a key step in this whole thing - letting the stumps dry, somewhere that is also dry and away from humidity (aka rain) for as long as possible, though you probably only need to do this for about 6 weeks.Let's talk tools. You'll need a hammer and a wood chisel for now. Use with caution because depending on the type of tree you have, the bark may come off easily... or not. I think this tree was some type of willow, and I have no other tree to compare this to, so I'd say it was somewhat difficult.
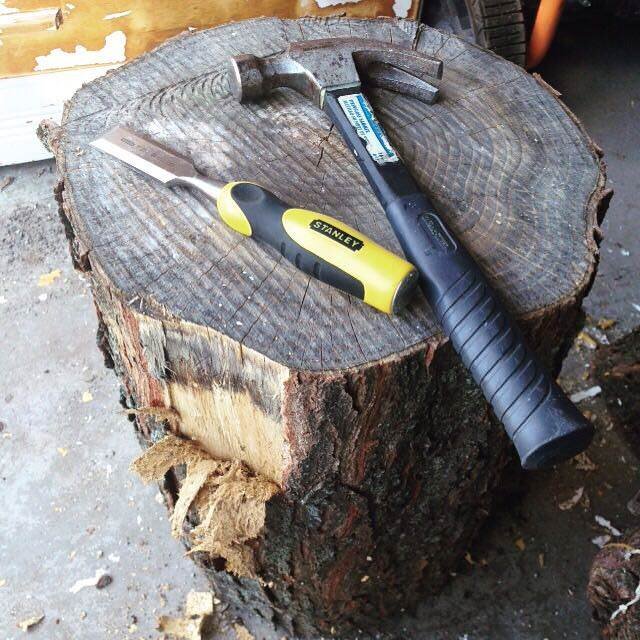 Be careful not to hack into the wood too much! I admittedly did so a few times...
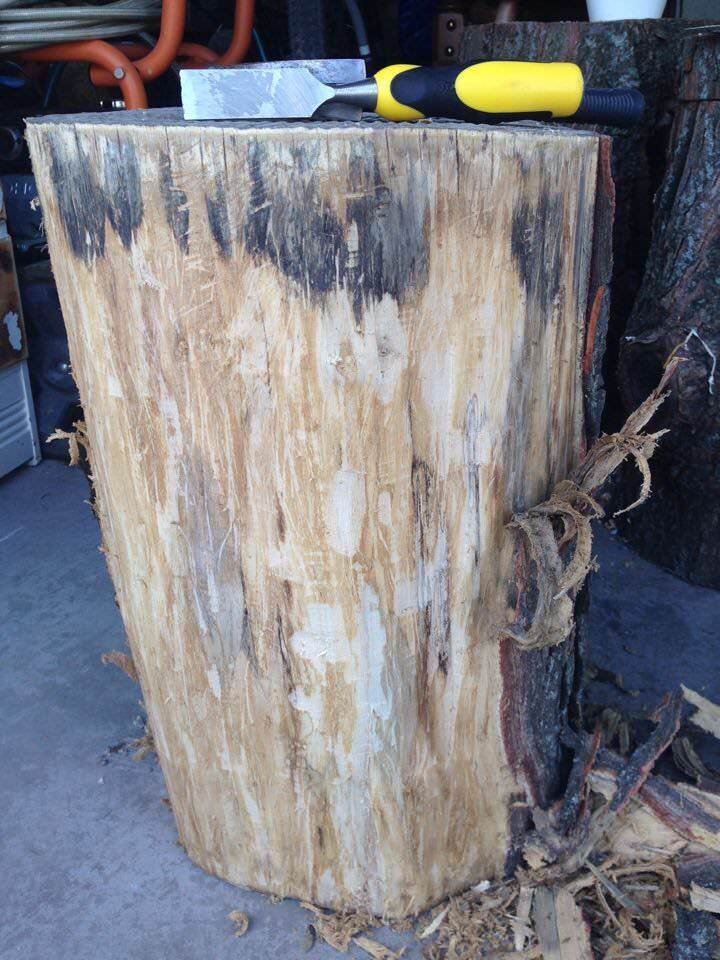
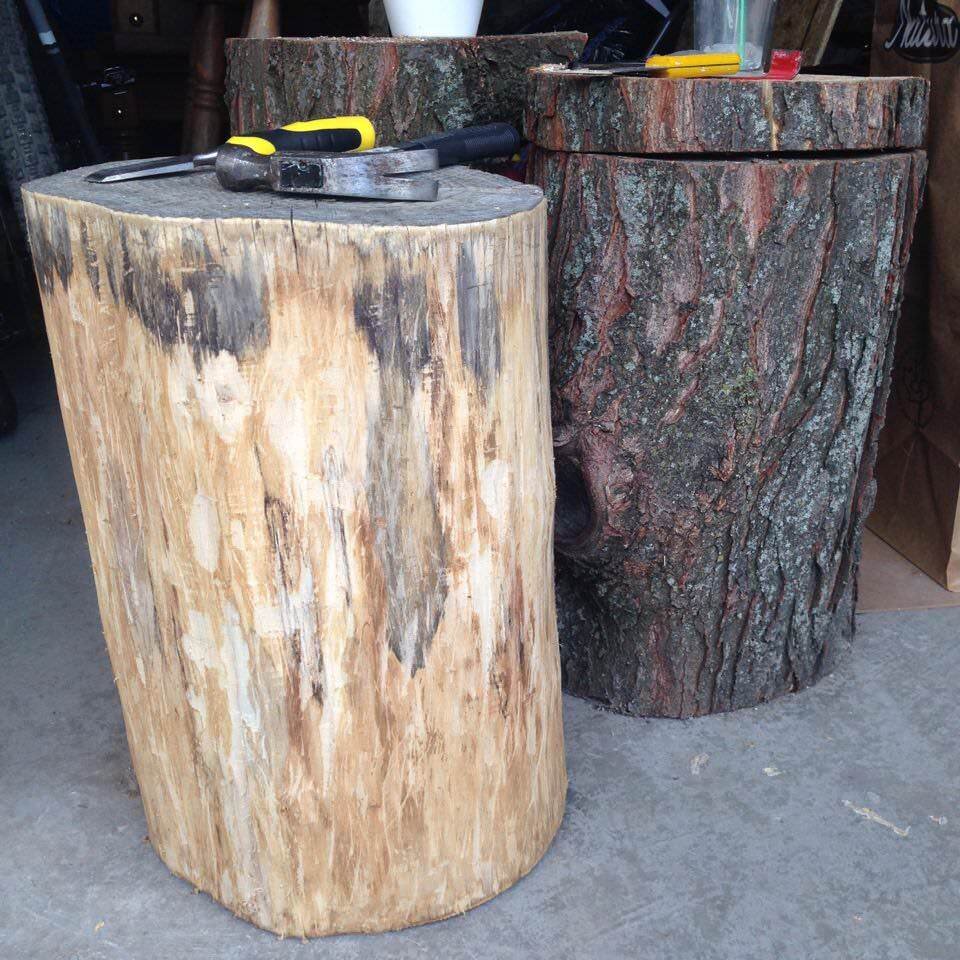 Now that you have your huge mess of bark cleaned up (seriously...huge mess), you can start on the next mess: sanding!I used an orbital sander for this because my pieces were fairly level (not really, but I don't care), but a planer would help you greatly if your piece is too crooked!
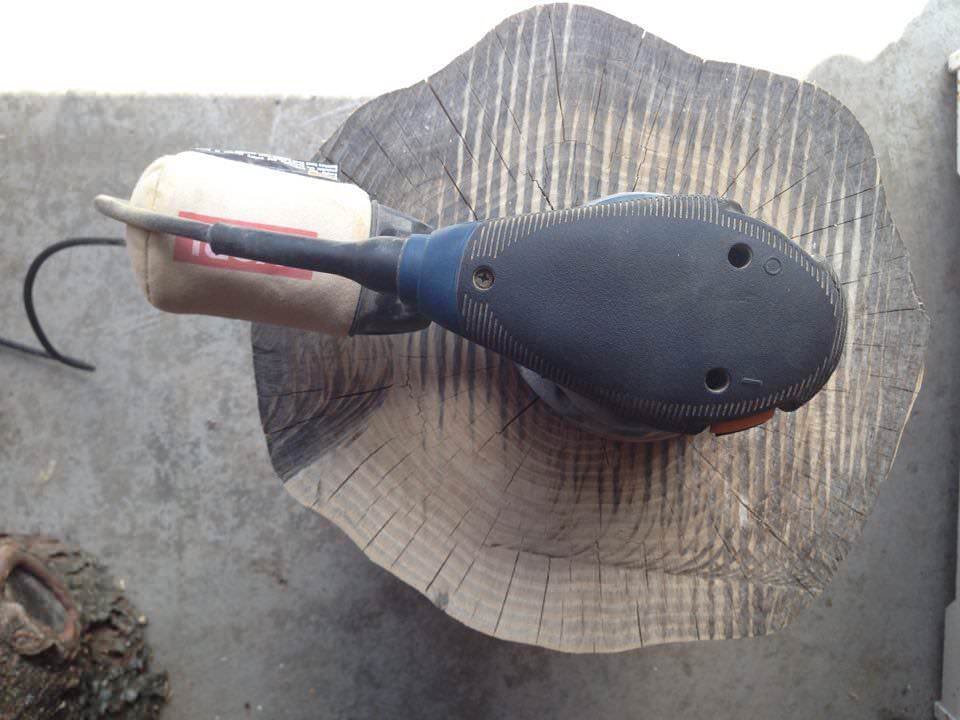 It was so gratifying to see the colour on top go from this greyed out tone to a really soft and pretty brown.
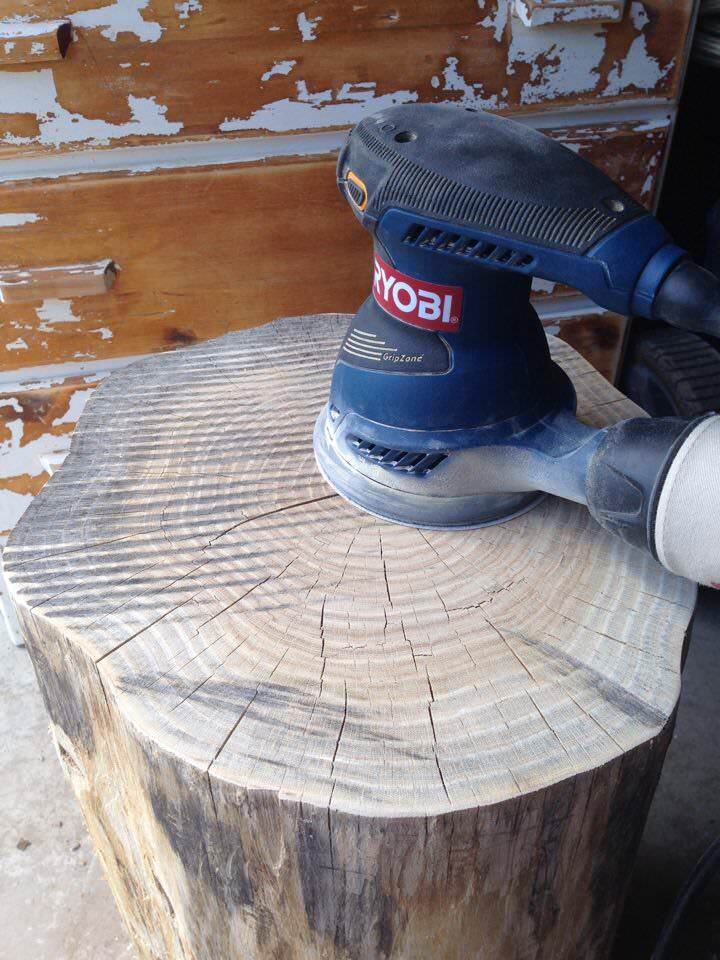 You also have to sand the sides to get rid of all the splinters and the fuzzy bits leftover from the bark. Sand until it feels mighty smooth! This is what my setup looked like. I basically had a cold the whole time I worked on this (because I got sick a lot while pregnant), so the tissues were part of my tools. Oh, and don't worry, I wore a really good mask while sanding and did it all out int he open.
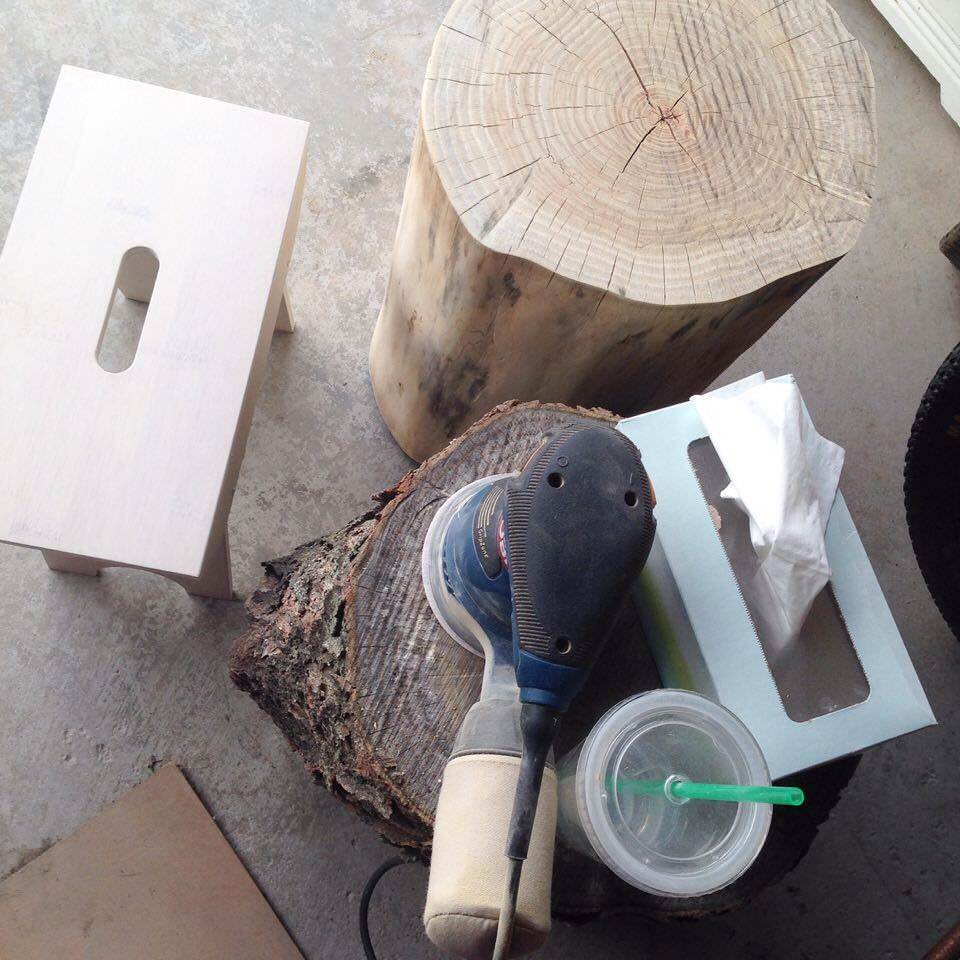 This is what you end up with:
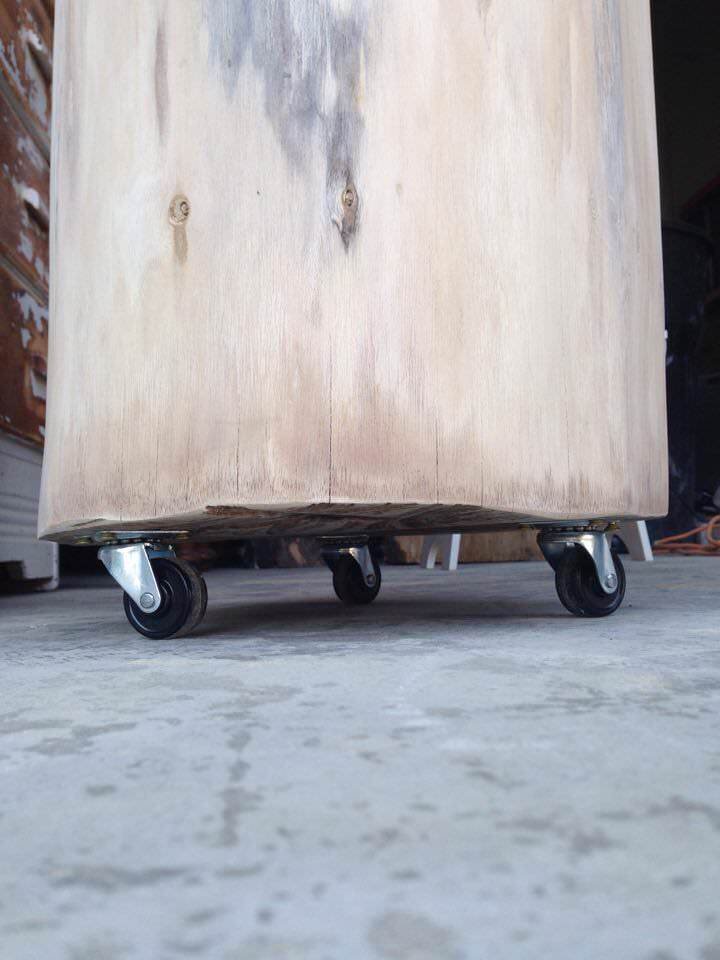
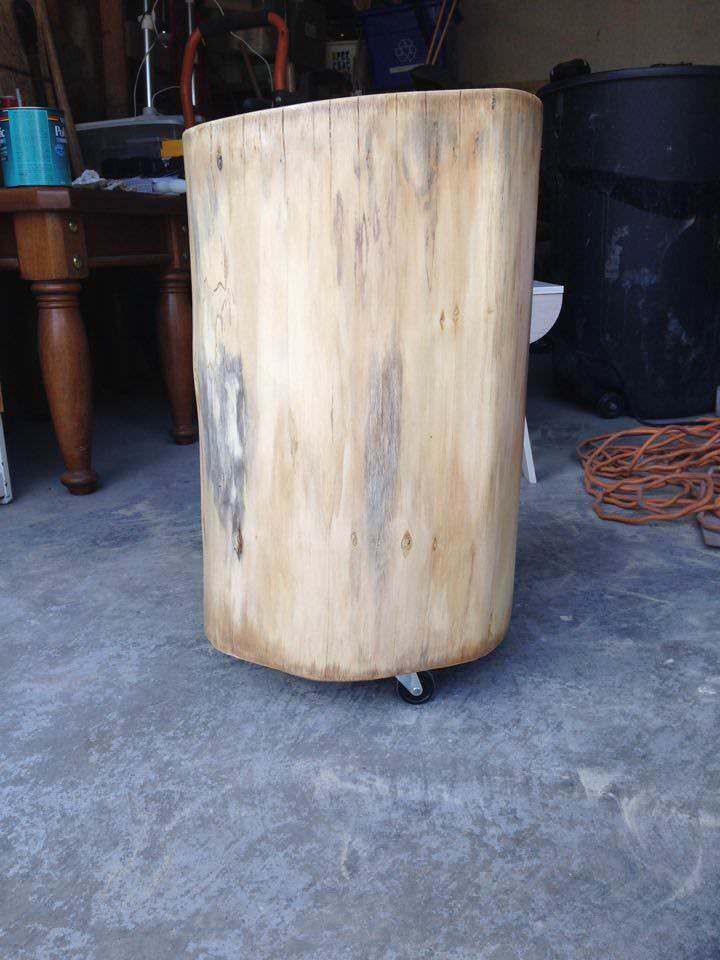
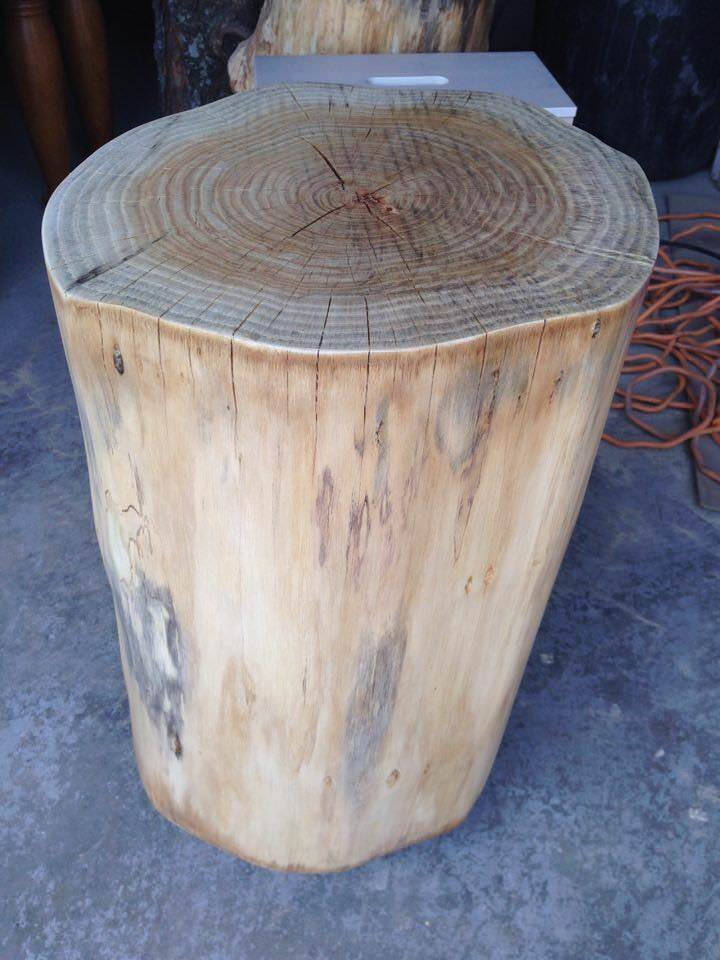 Now, this is an optional step: adding wheels! I only did this with one of the two stumps I finished, and it does help with moving it around!
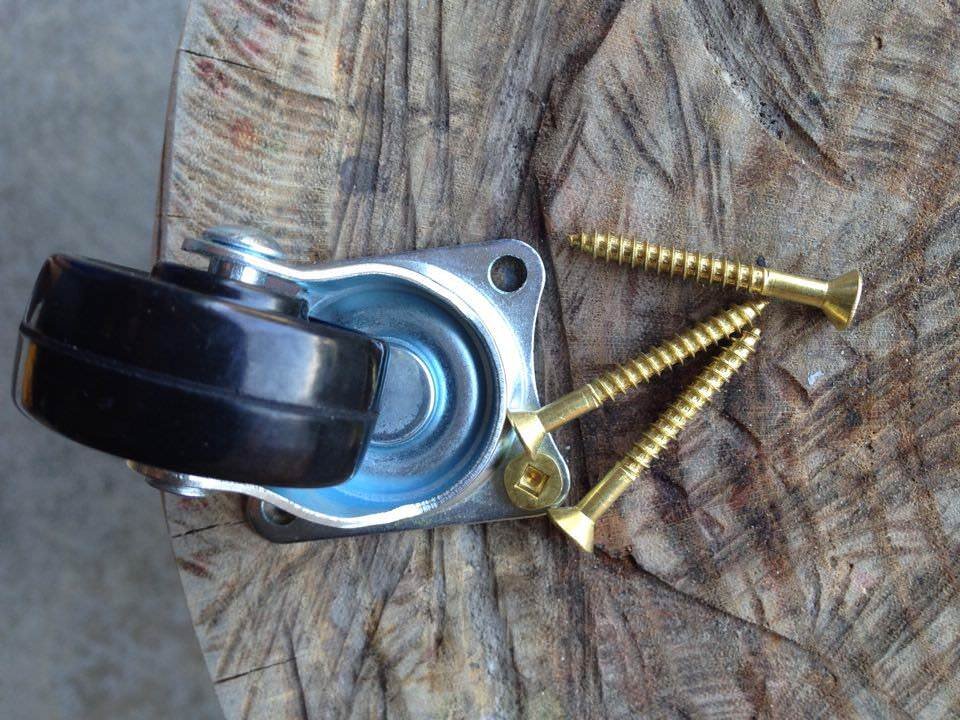 I bought the wheels at The Home Depot, and used some wood screws. Drilling holes may be necessary depending on how hard the wood is!
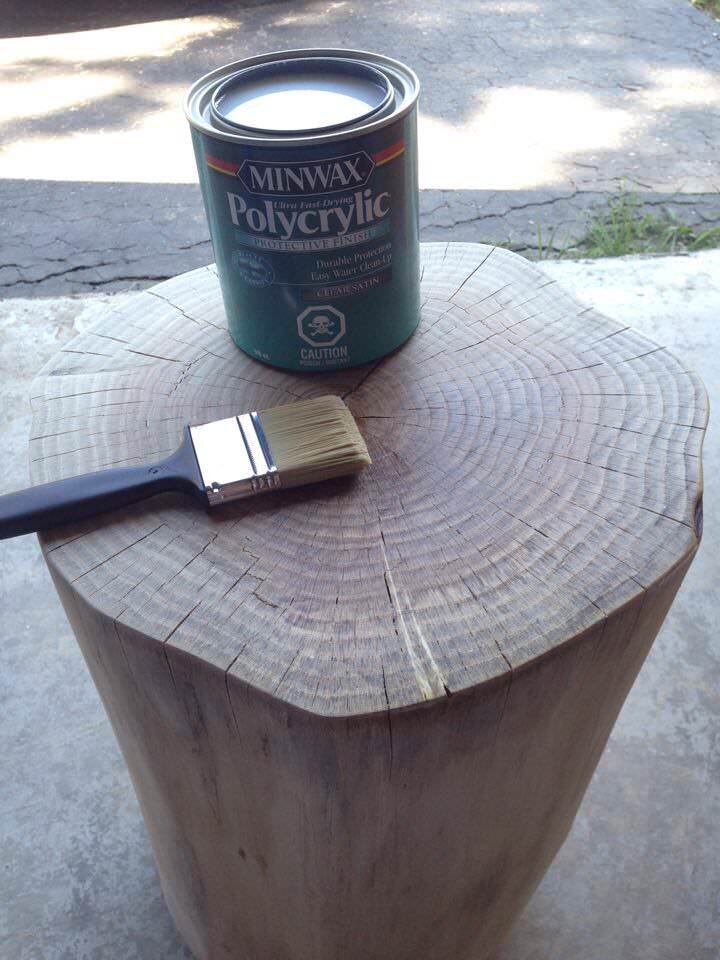
 Finally, it's time to seal it all up. I put on 3 coats of clear Poly (on sides and top) and sanded very lightly between coats.
 That's it! And when I say that, I don't mean because this was super easy or because it didn't take a lot of time. I worked on these stumps over weeks for 2-3 hours at a time. Not being pregnant definitely means it'll take less time to complete!
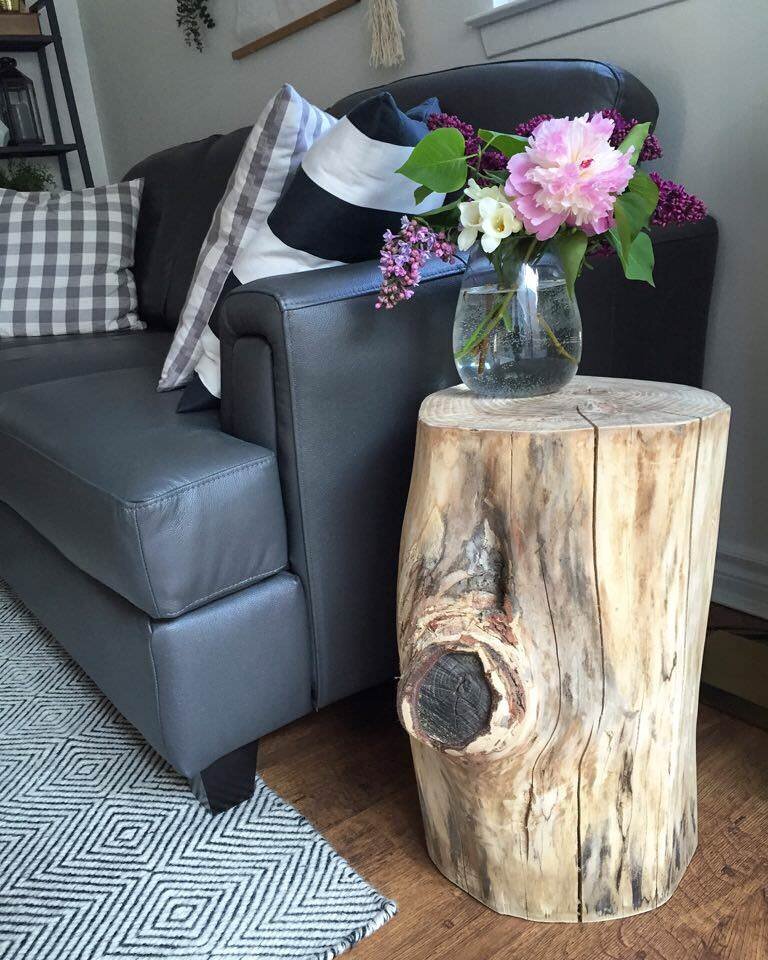
 I started to do a second stump, but I got too hot, too pregnant and too tired to finish! So... it still needs to be sanded a bit more and sealed, but I kind of like that it's a bit rougher around the edges... literally - especially with the big knot on the side.
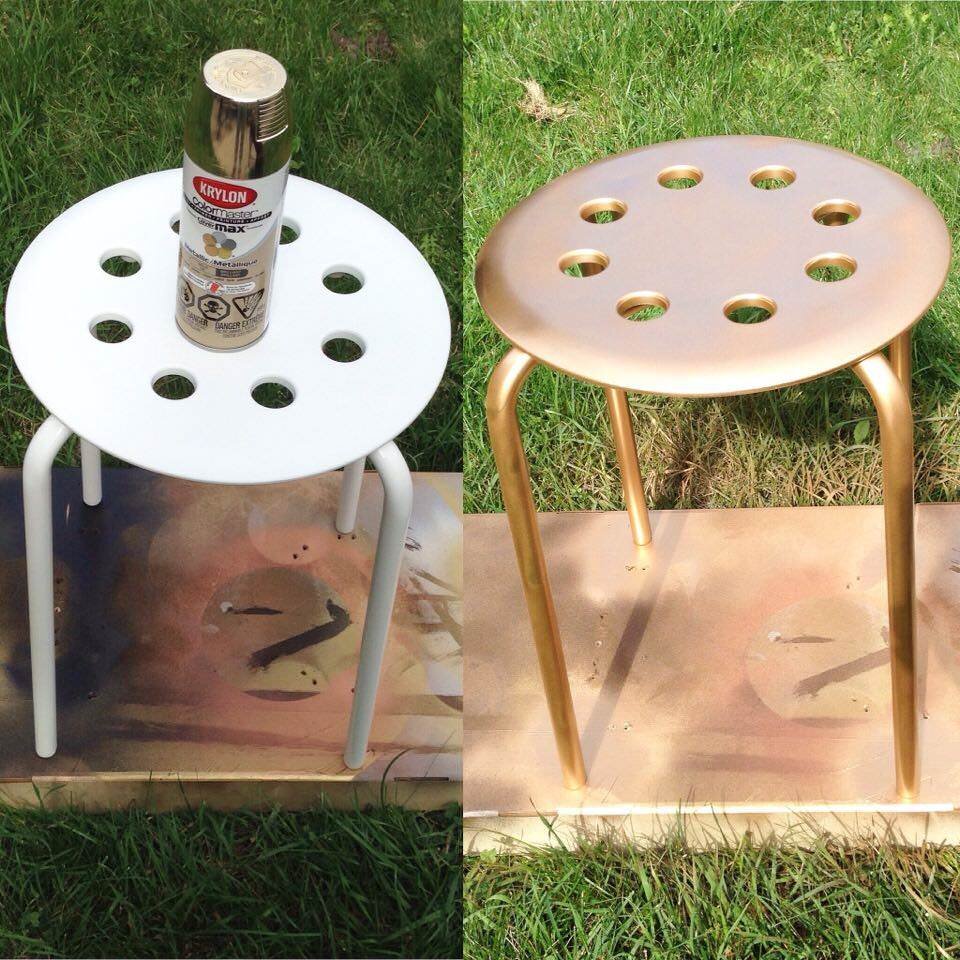
 As for the 2-inch slice, I sanded it slightly and used it on top of an IKEA stool, which I painted gold - it was originally white and just didn't look right.
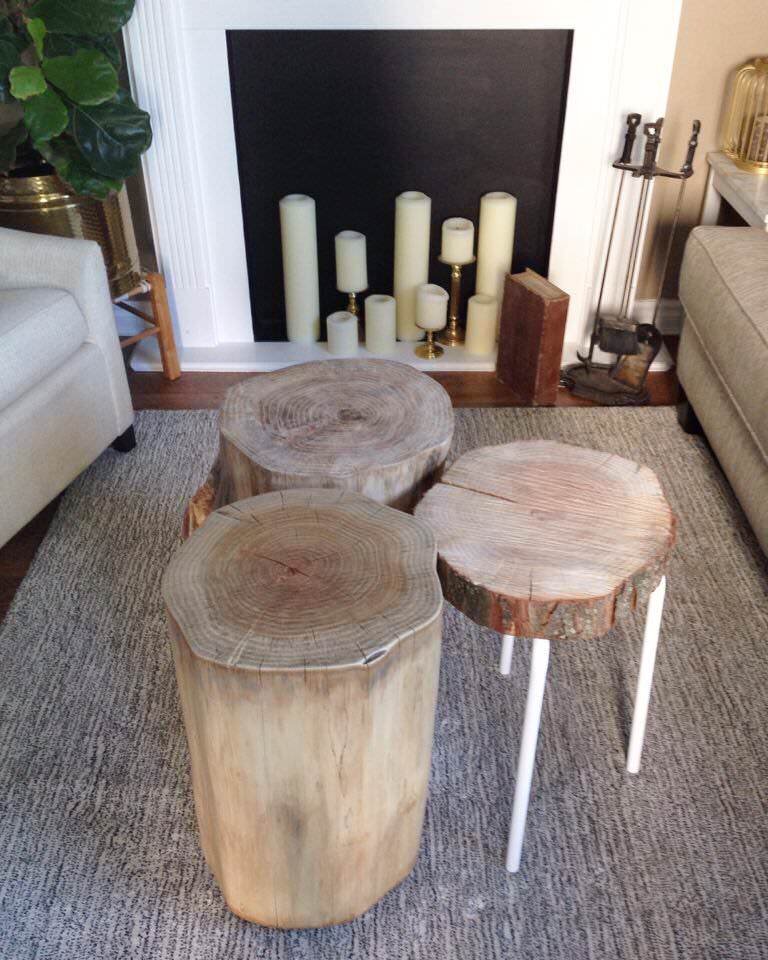
 And there you have it. A year later, I'm finally sharing my tree stump tables with you guys! To help condense the information a little, let me condense the information a little. Ha!
5 steps for making your own tree stump tables
- let them dry (remember, 6 weeks or so is plenty of time)
- use the right tools for removing bark: hammer and wood chisel
- sand with an orbital sander and have a variety of sandpaper grits. Start with 60, 100 then 150 for finishing.
- optional: add 3-4 wheels to the bottom
- brush on at least 3 coats of clear poly and allow ample time (as per directions) between coats and sand lightly between coats as well
It really doesn't seem too difficult in 5 little steps, right? And believe me, it's worth the effort and the sawdust! I've moved these tables around the living room a lot (and trust me, right now they're not quite as pretty as they look here because moving is wreaking havoc on my styling abilities).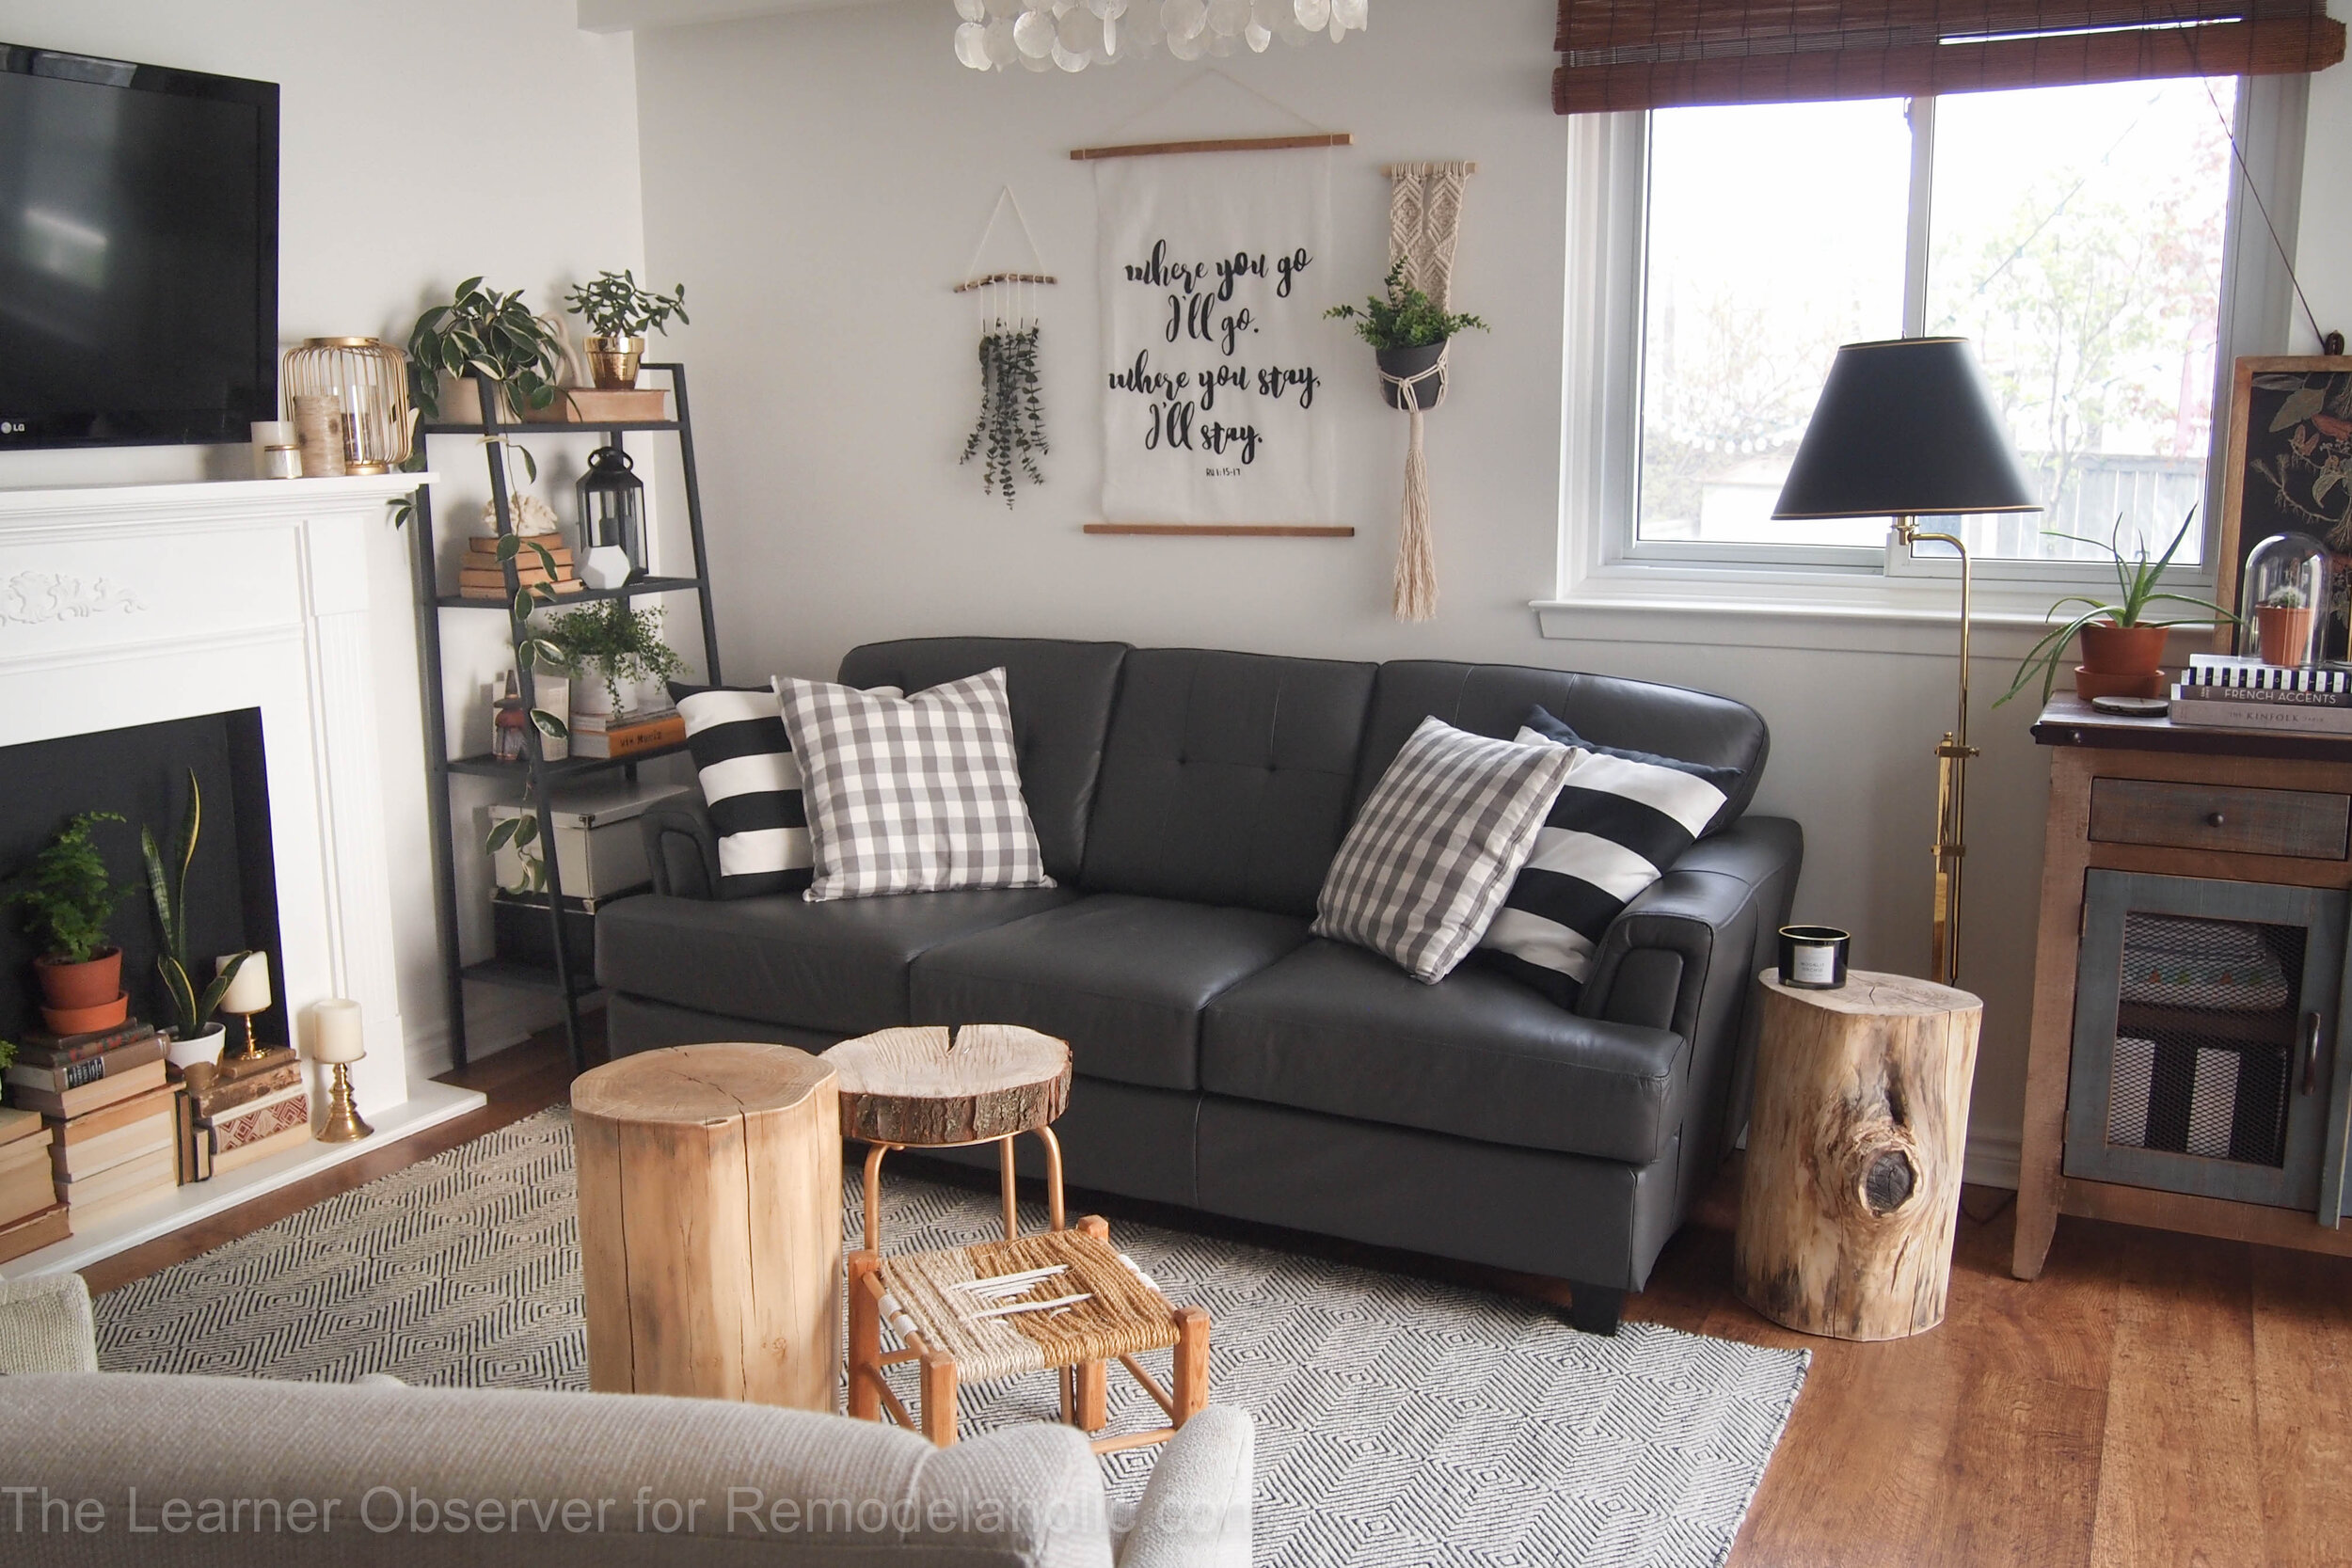 Don't believe me? Follow along on Snapchat (learnerobserver) and you'll see... Soon, though, these tables will be back to looking pretty in a new house and I'll get to move them around some more!Anyway, have you ever attempted tree stump tables? Would you? I think you should!