How to lighten your backsplash with grout paint

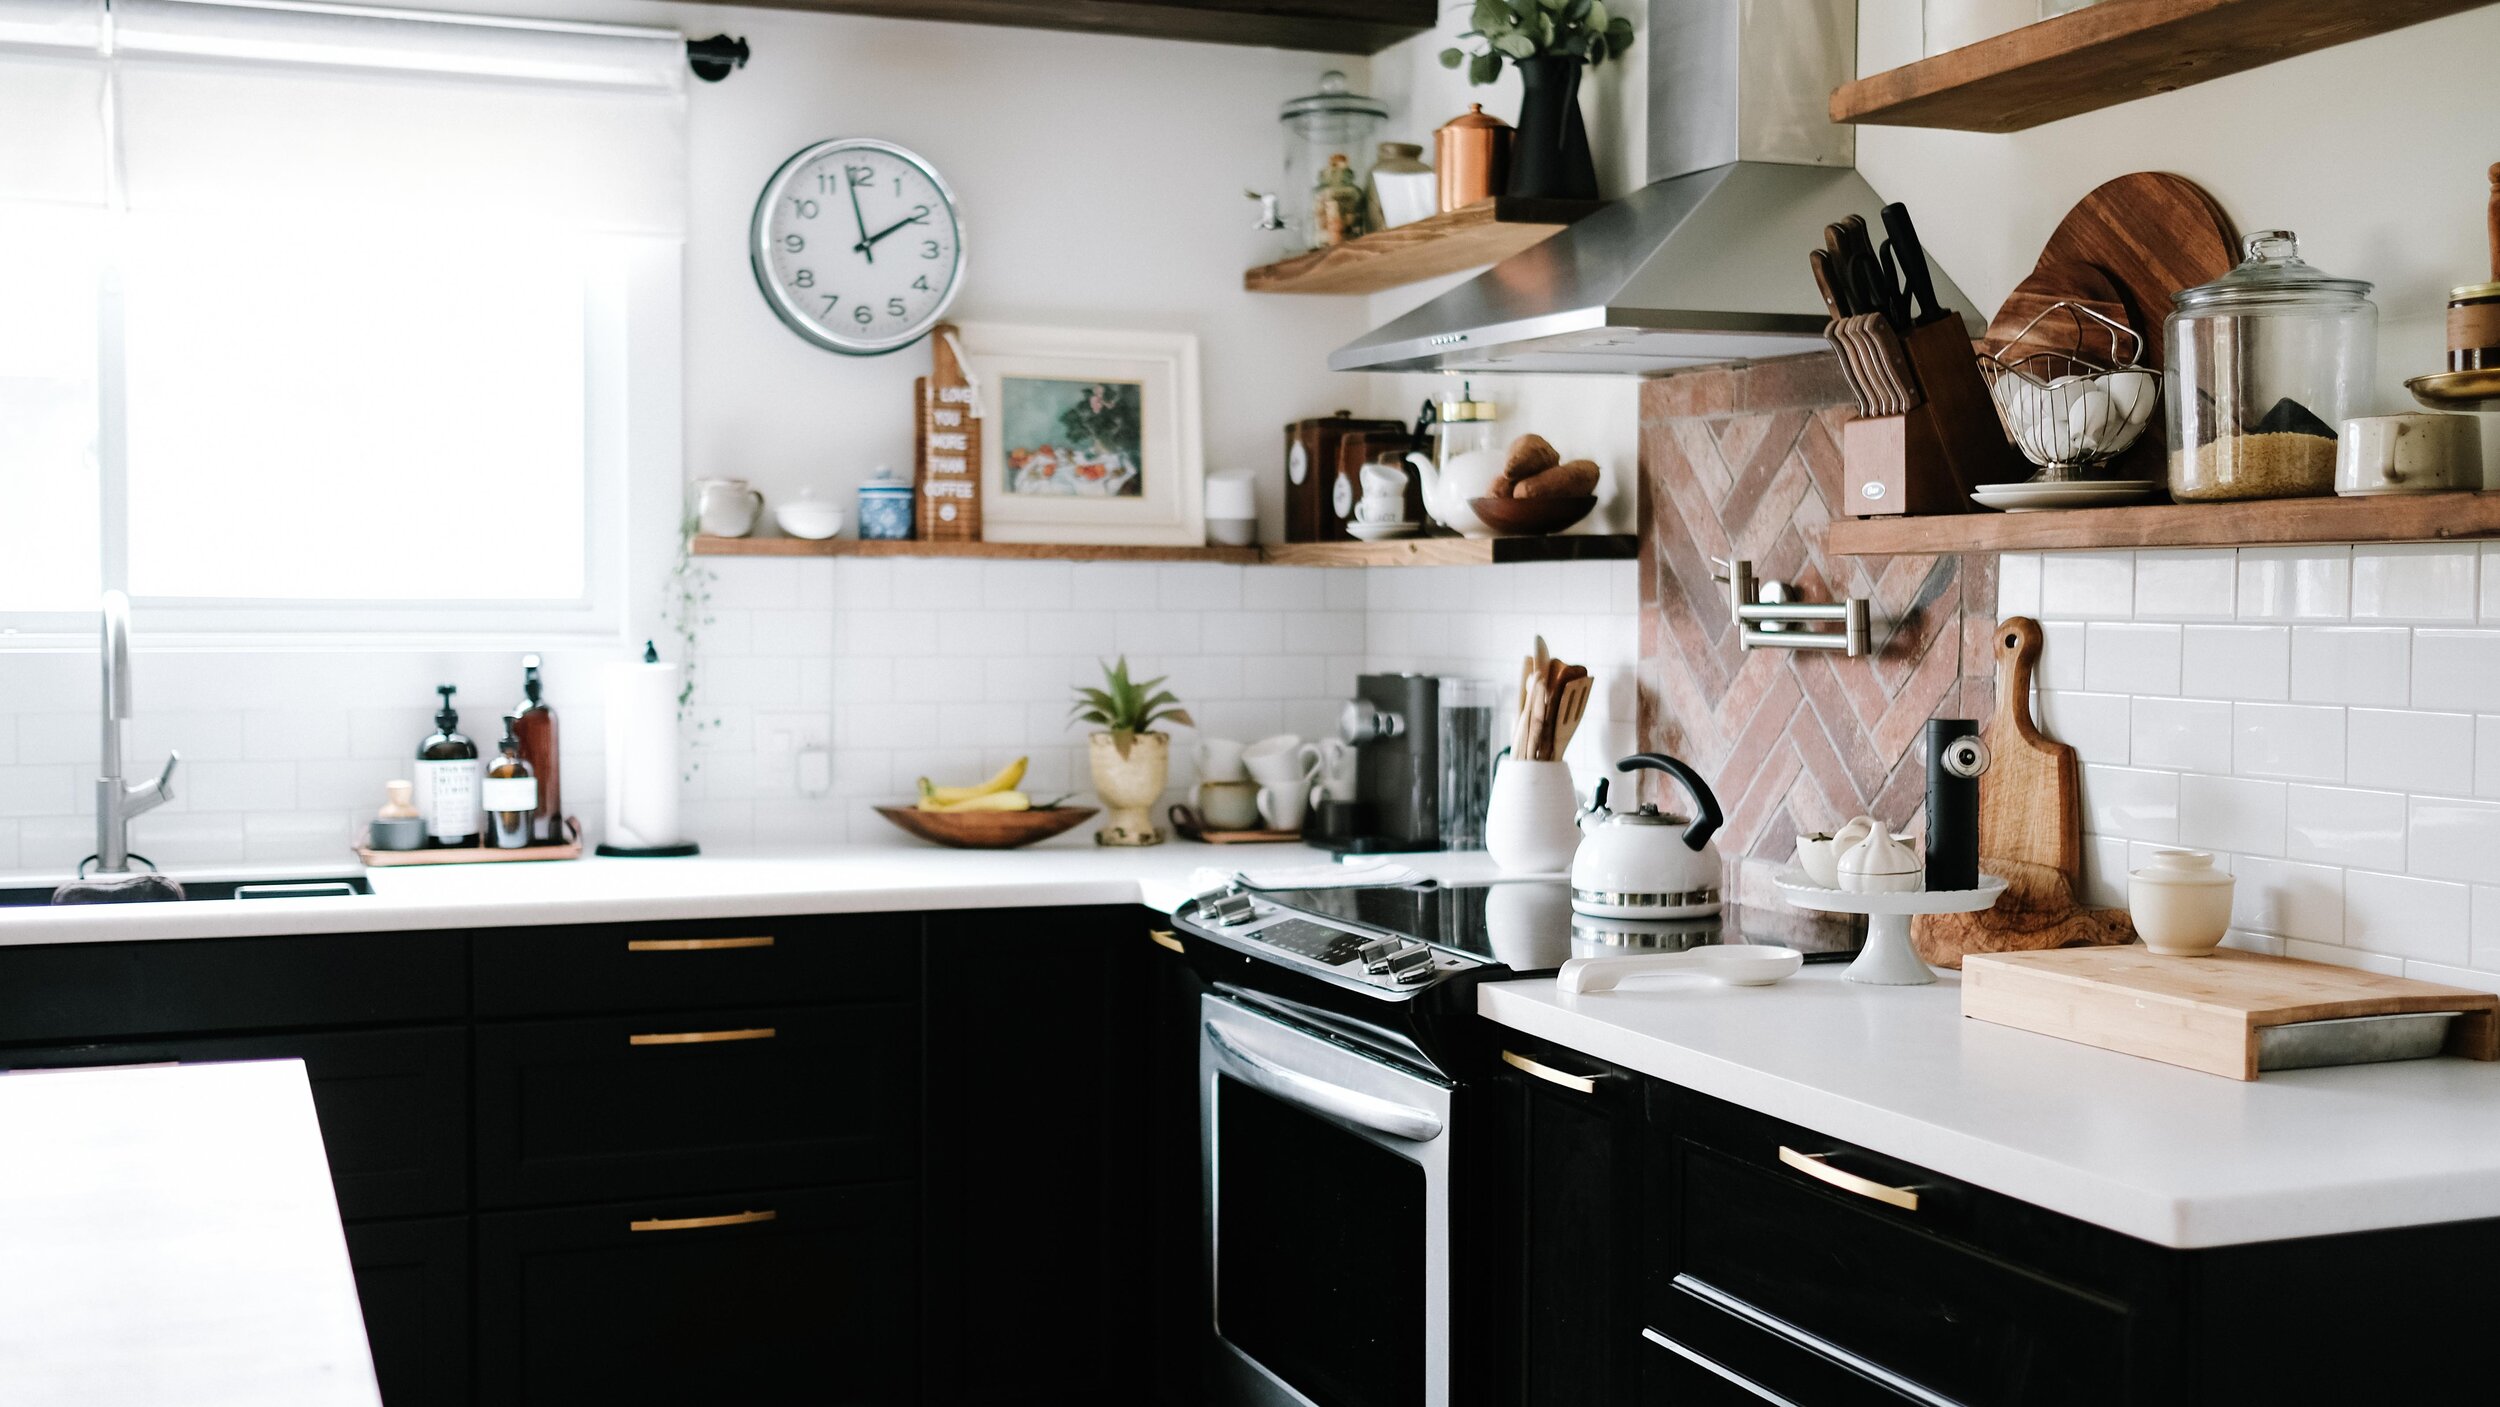
Have you ever made a mistake when renovating your house? Ummmm if you've ever renovated ANYTHING, I can almost guarantee that the answer to that question is a loud and resounding YES! Well, my friends, I'm here to share a mistake I made, and how I (years later) fixed it - I'm talking about how to lighten a backsplash with grout paint in today's post.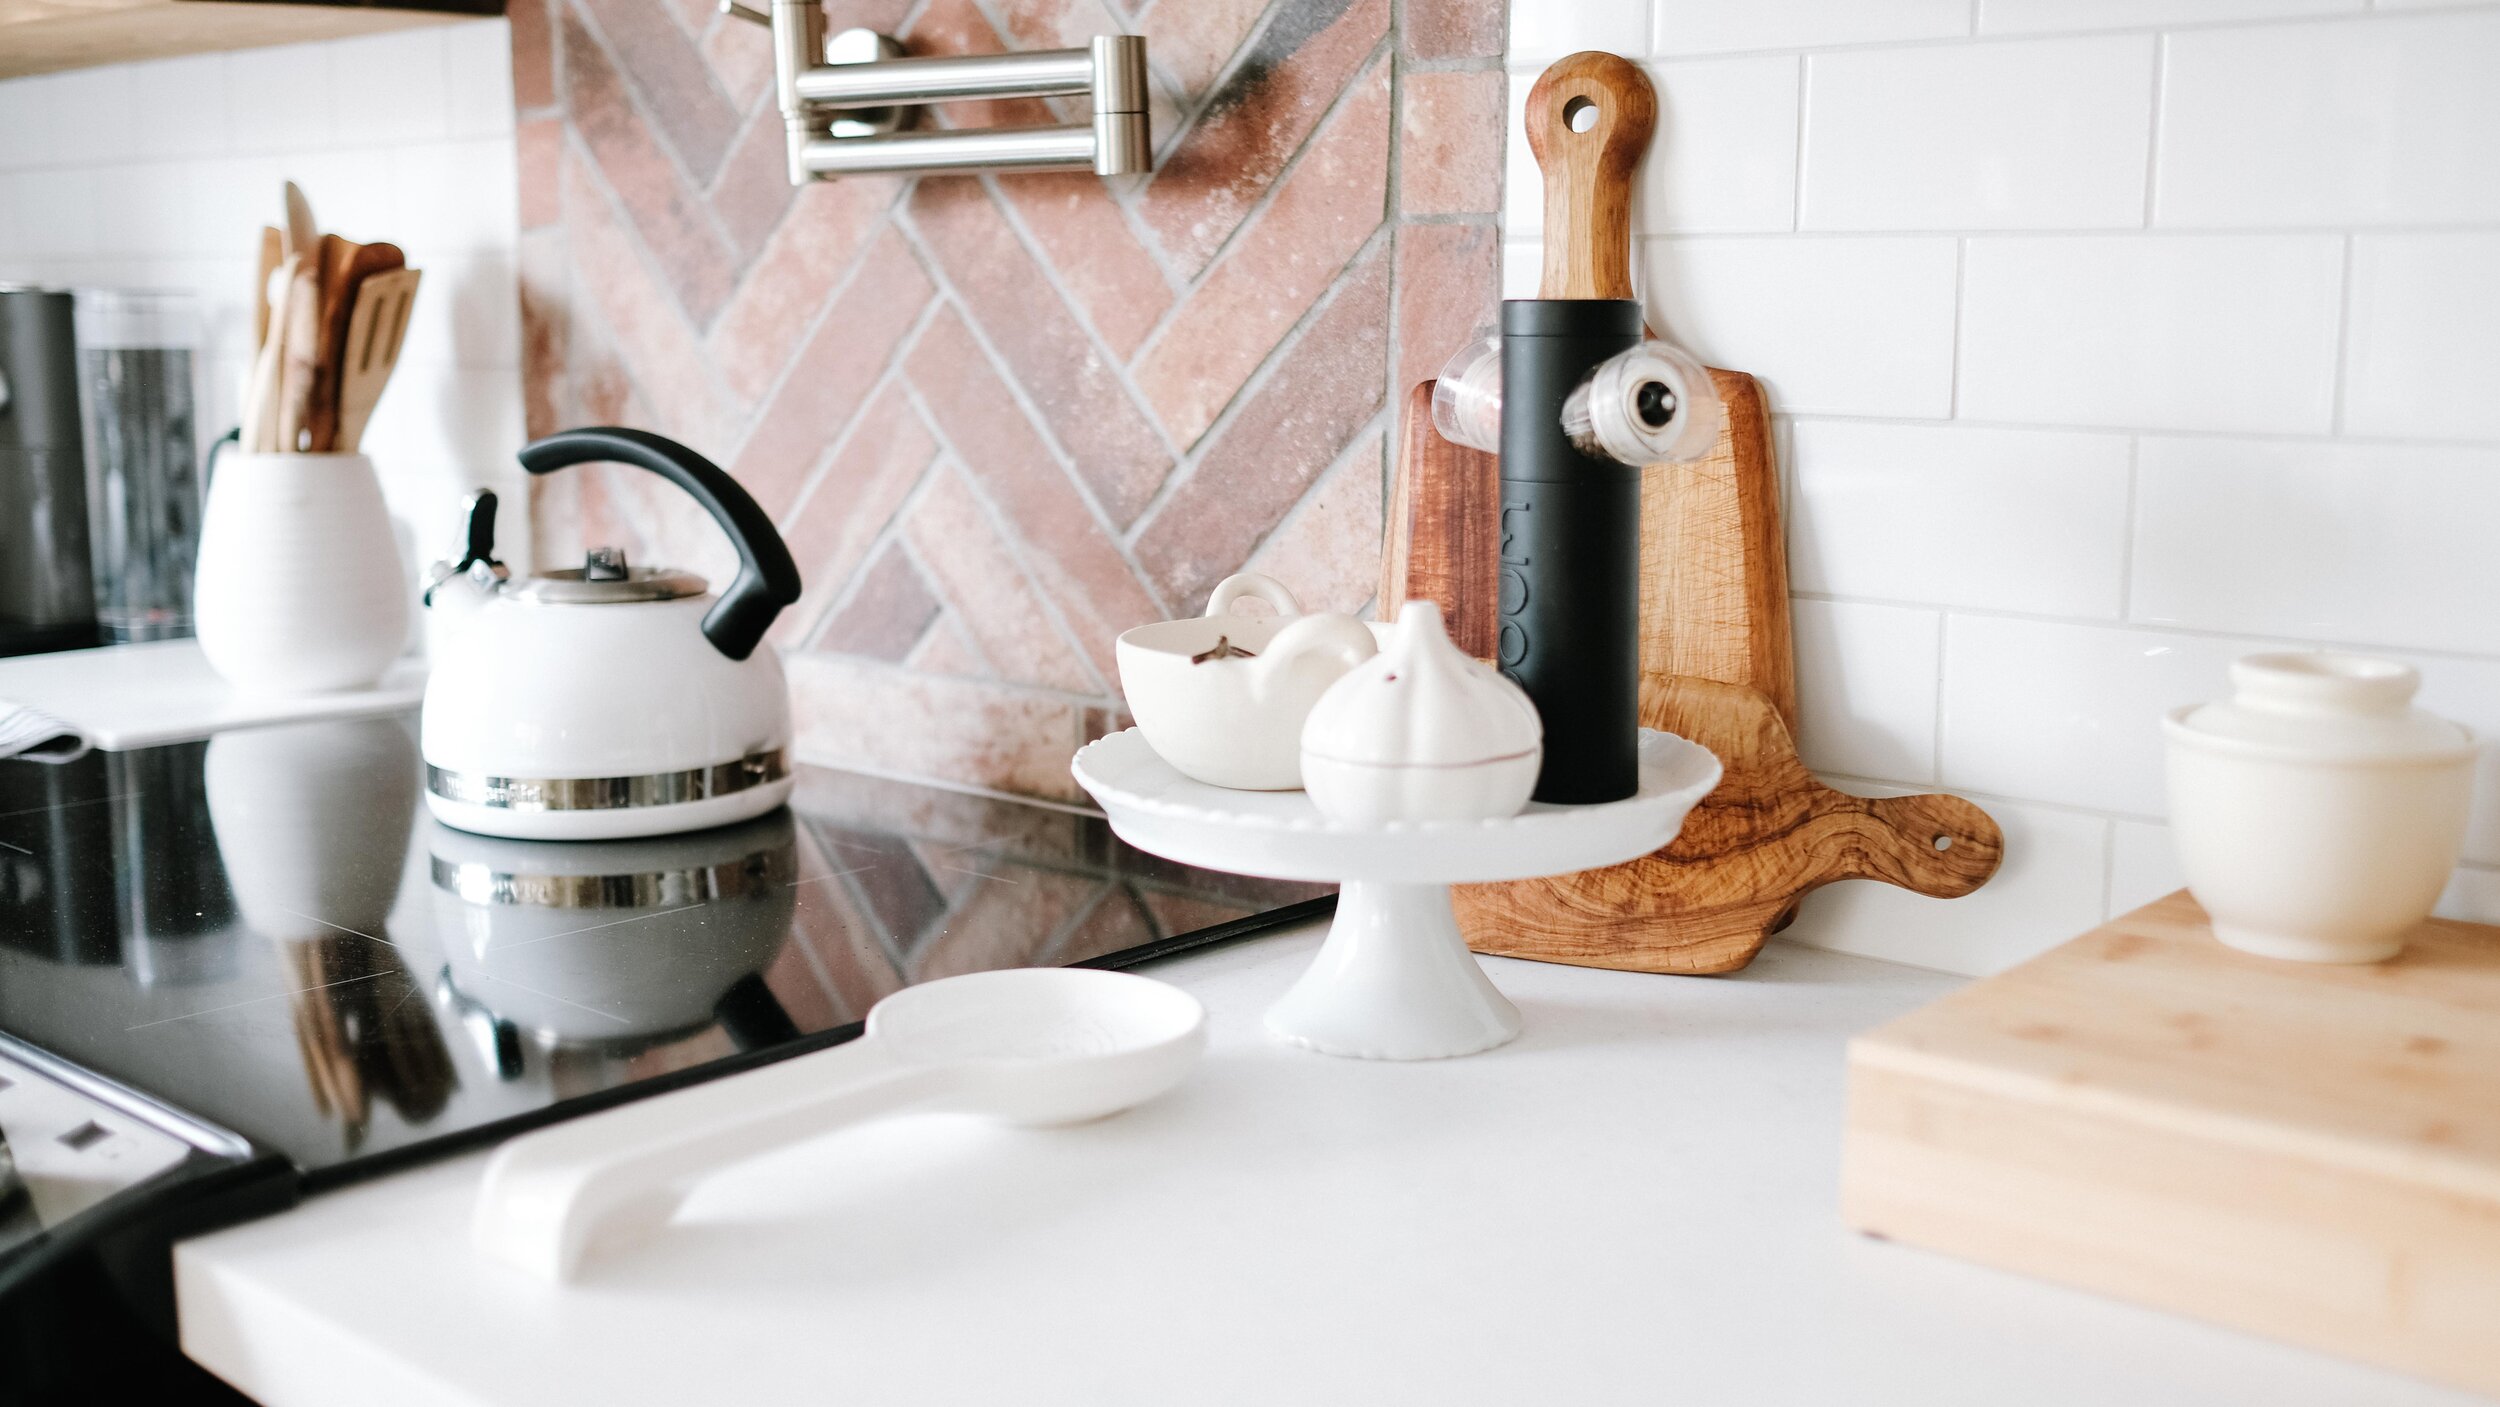 Here's the full story: when we DIY'ed this tiled backsplash, I was extremely proud of the work we (mostly my husband) did. Between the herringbone patter we had never before attempted and the fact that we were doing this after the kids went to bed at night or while they played in the next room was a feat all on its own.The issue here isn't with the work itself, but with the way the tile grout dried. When we grouted, we used the same grout on the white subway tile and on the brick tile, but they dried completely differently! Maybe it was the spacing of the tiles being different, but the brick tile grout is light grey and the subway tile grout is a very dark grey. Though I love contrasting grout, it just wasn't working for me in this space with the two shades and it felt like it was just too much going on.
Grout painting
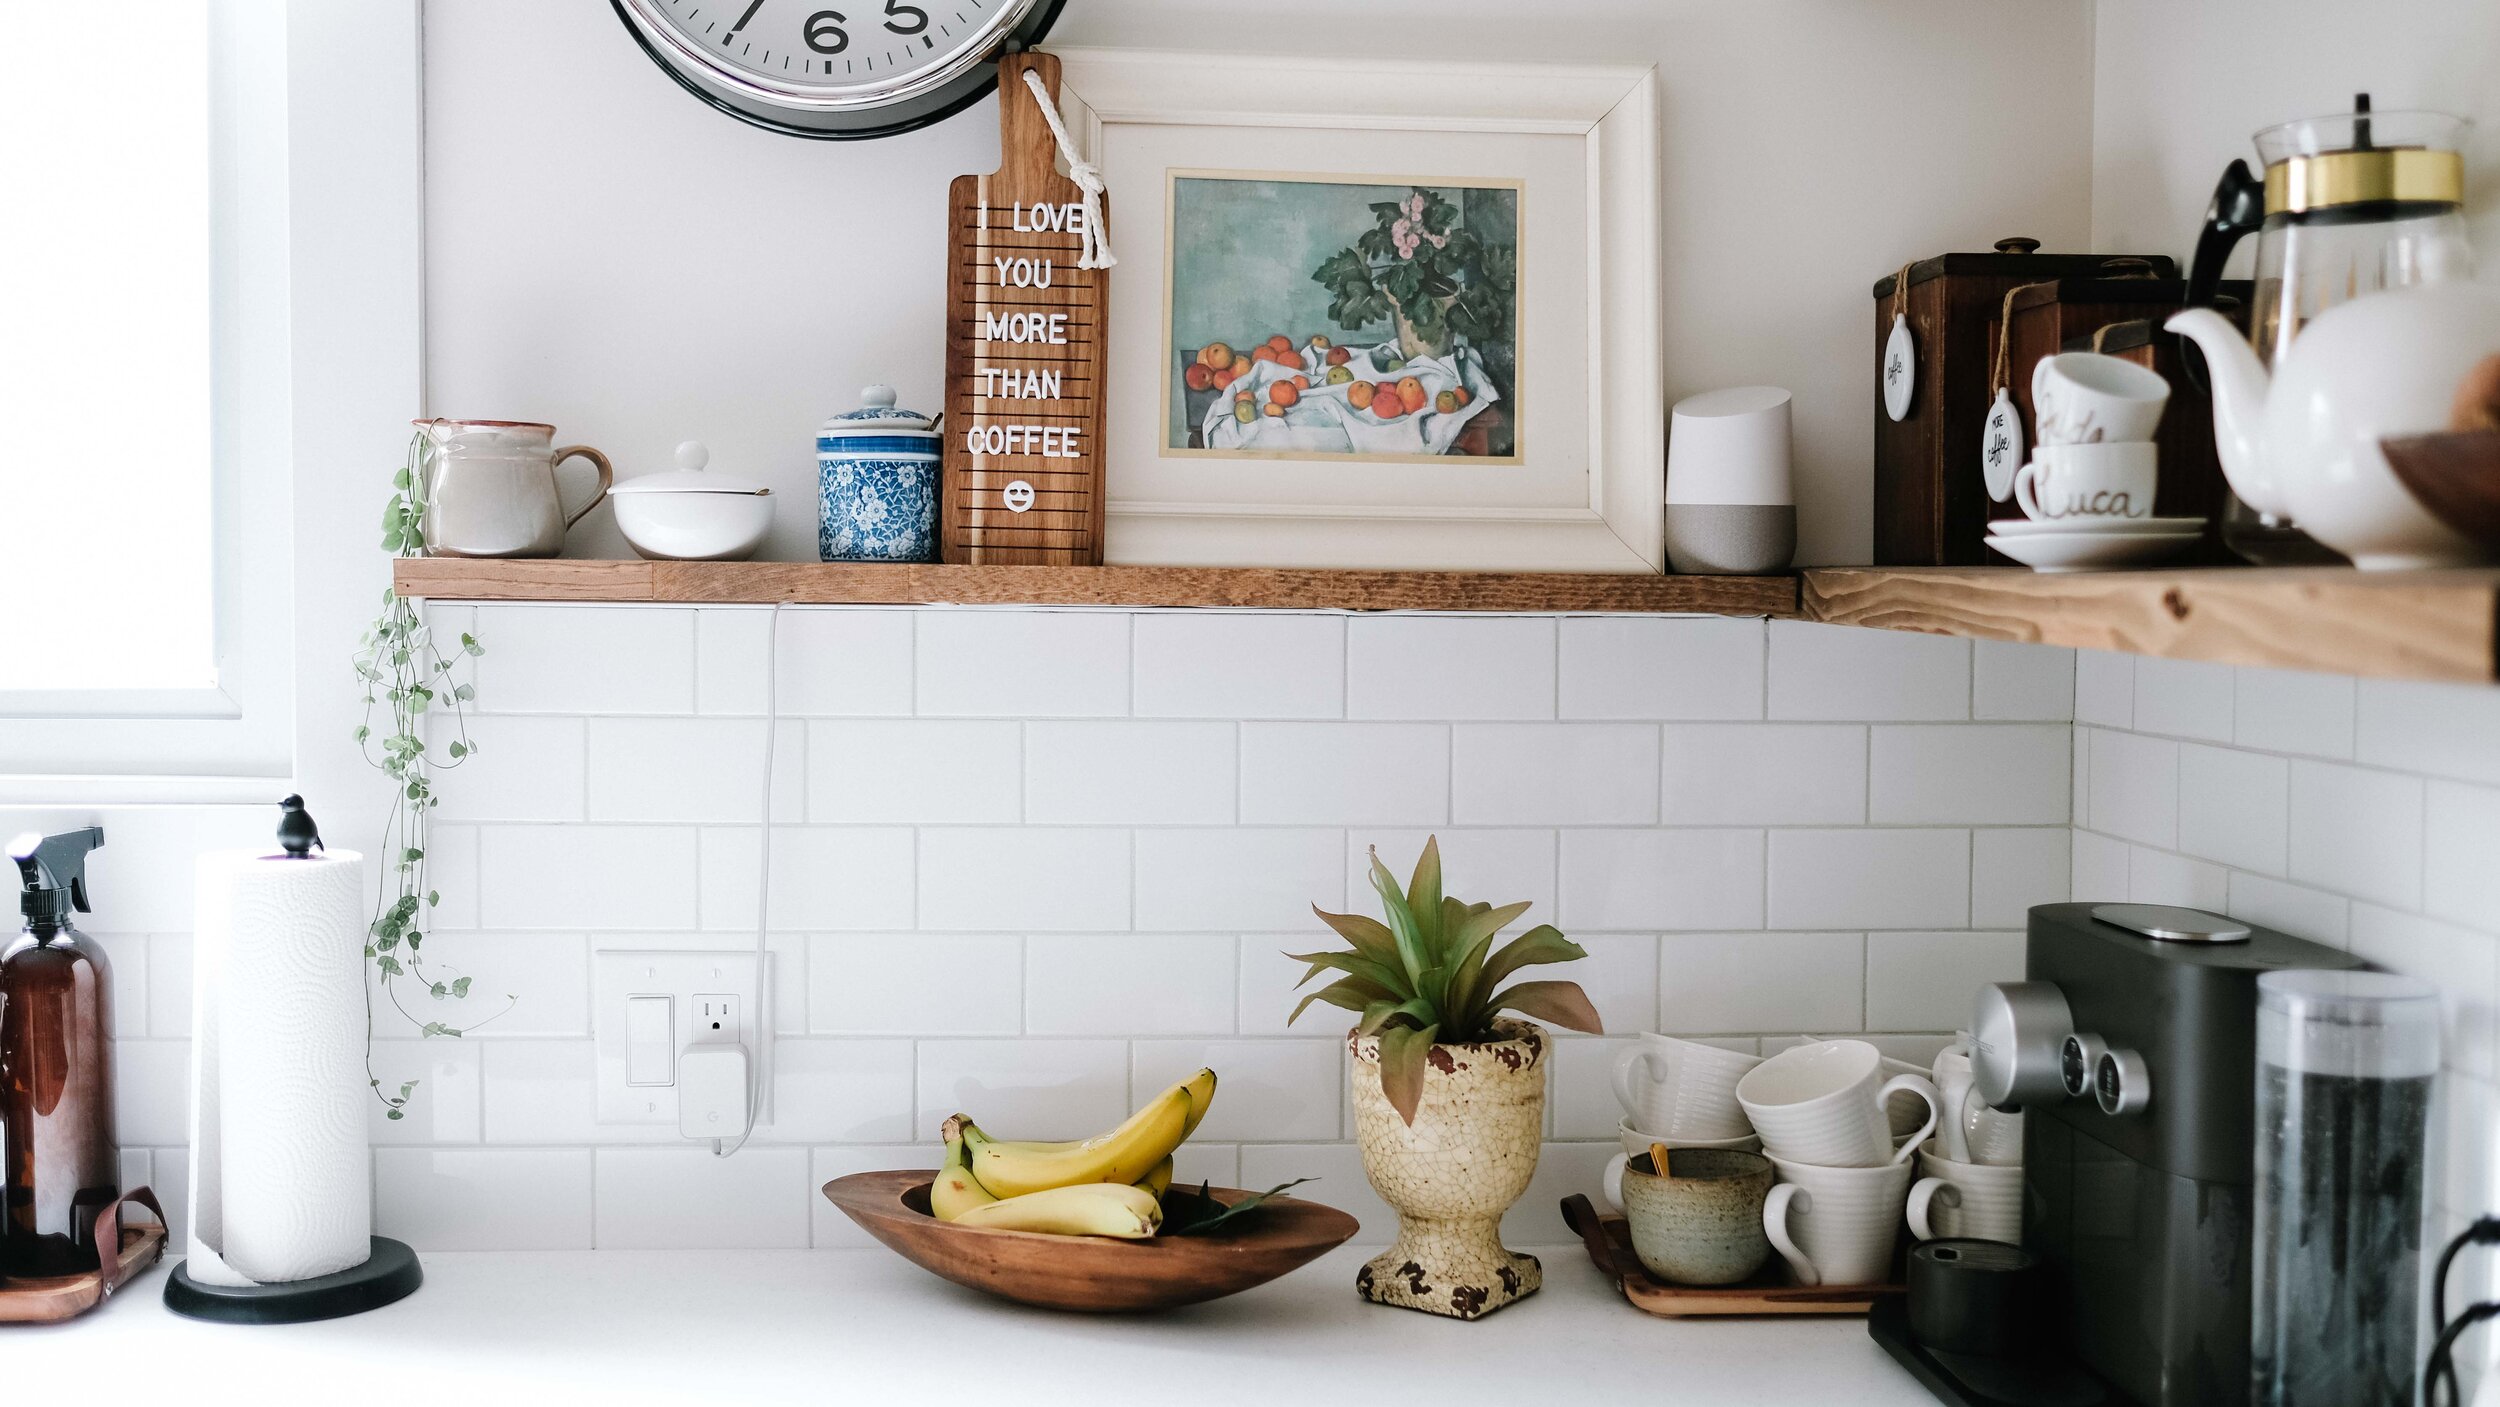
 I used a product fromHome Depot called Polyblend Grout Renew Colorant. I used "#11 Snow White" as my colour so that the grout wouldn't be a stark white, but something a little softer. What ended up happening, since the original grout was so dark, is that the grey came through slightly. I ended up liking that this was the case, but I could have easily had a solid white gout line if I applied a third coat of the colorant.If you want to watch a video of this whole process, I did my best to document the whole thing on Instagram stories and you can see the highlight of me painting grout here!Here's a quick comparison of what the kitchen looked like with the dark grout and with it painted. And maybe, just maybe, my kitchen looked like this for a few weeks...
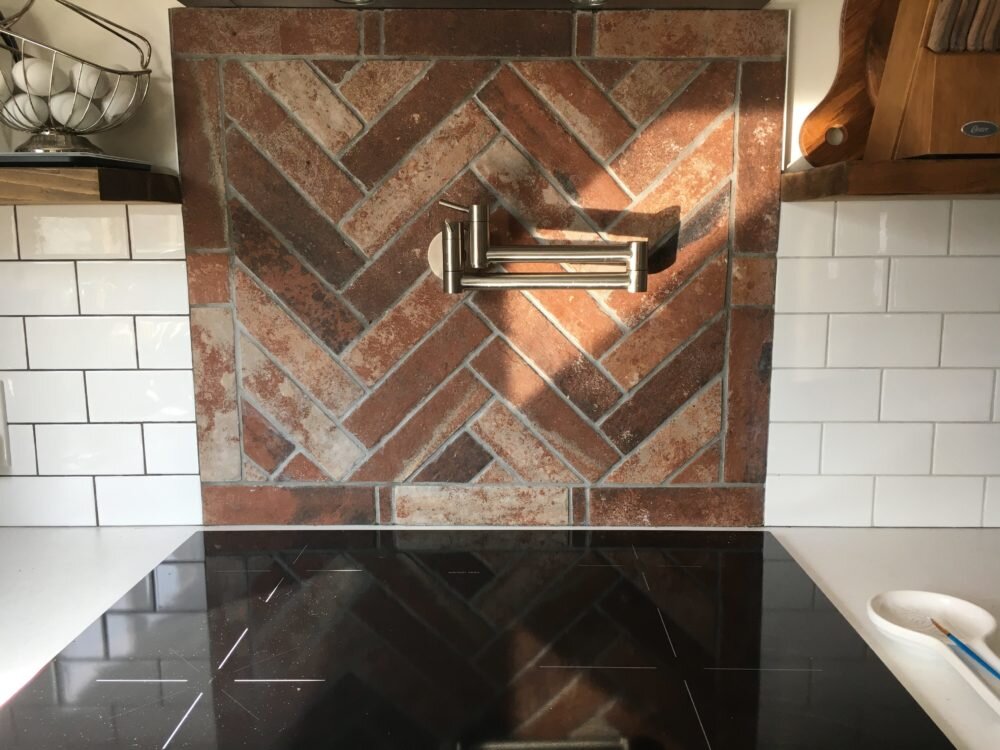
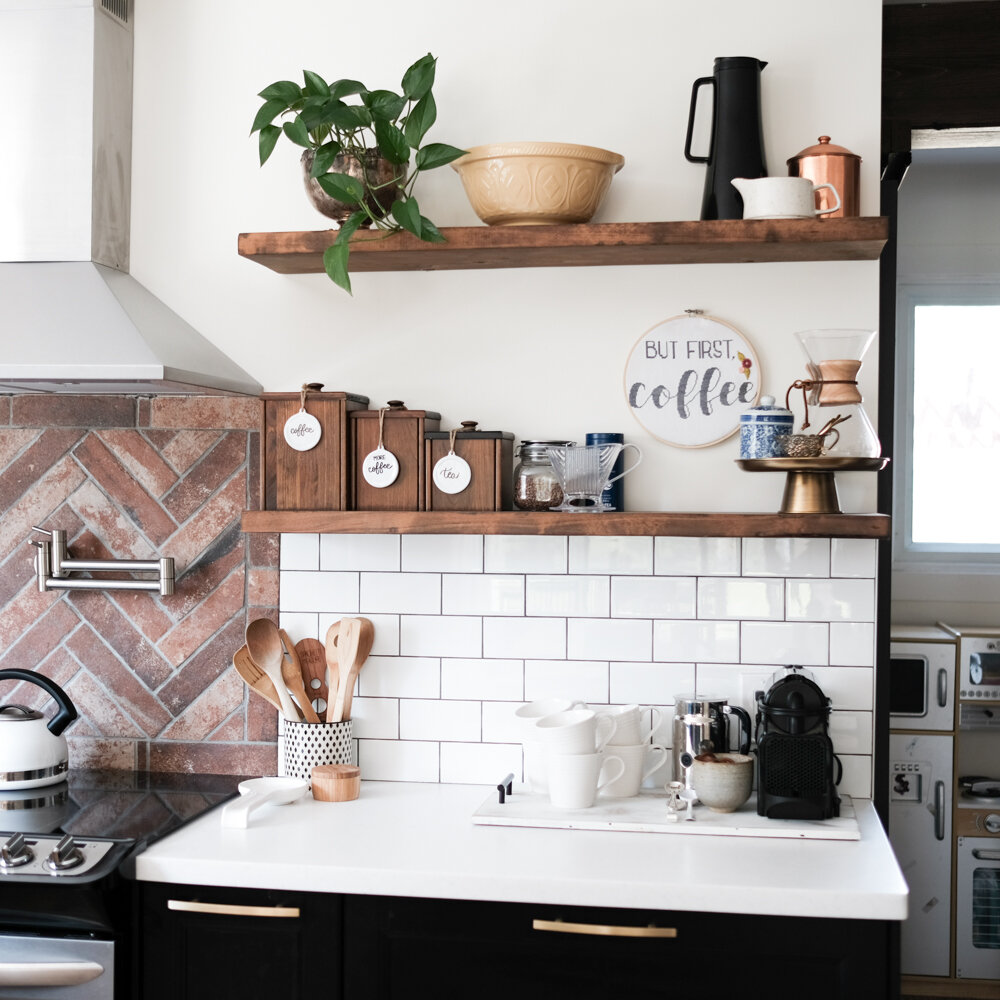
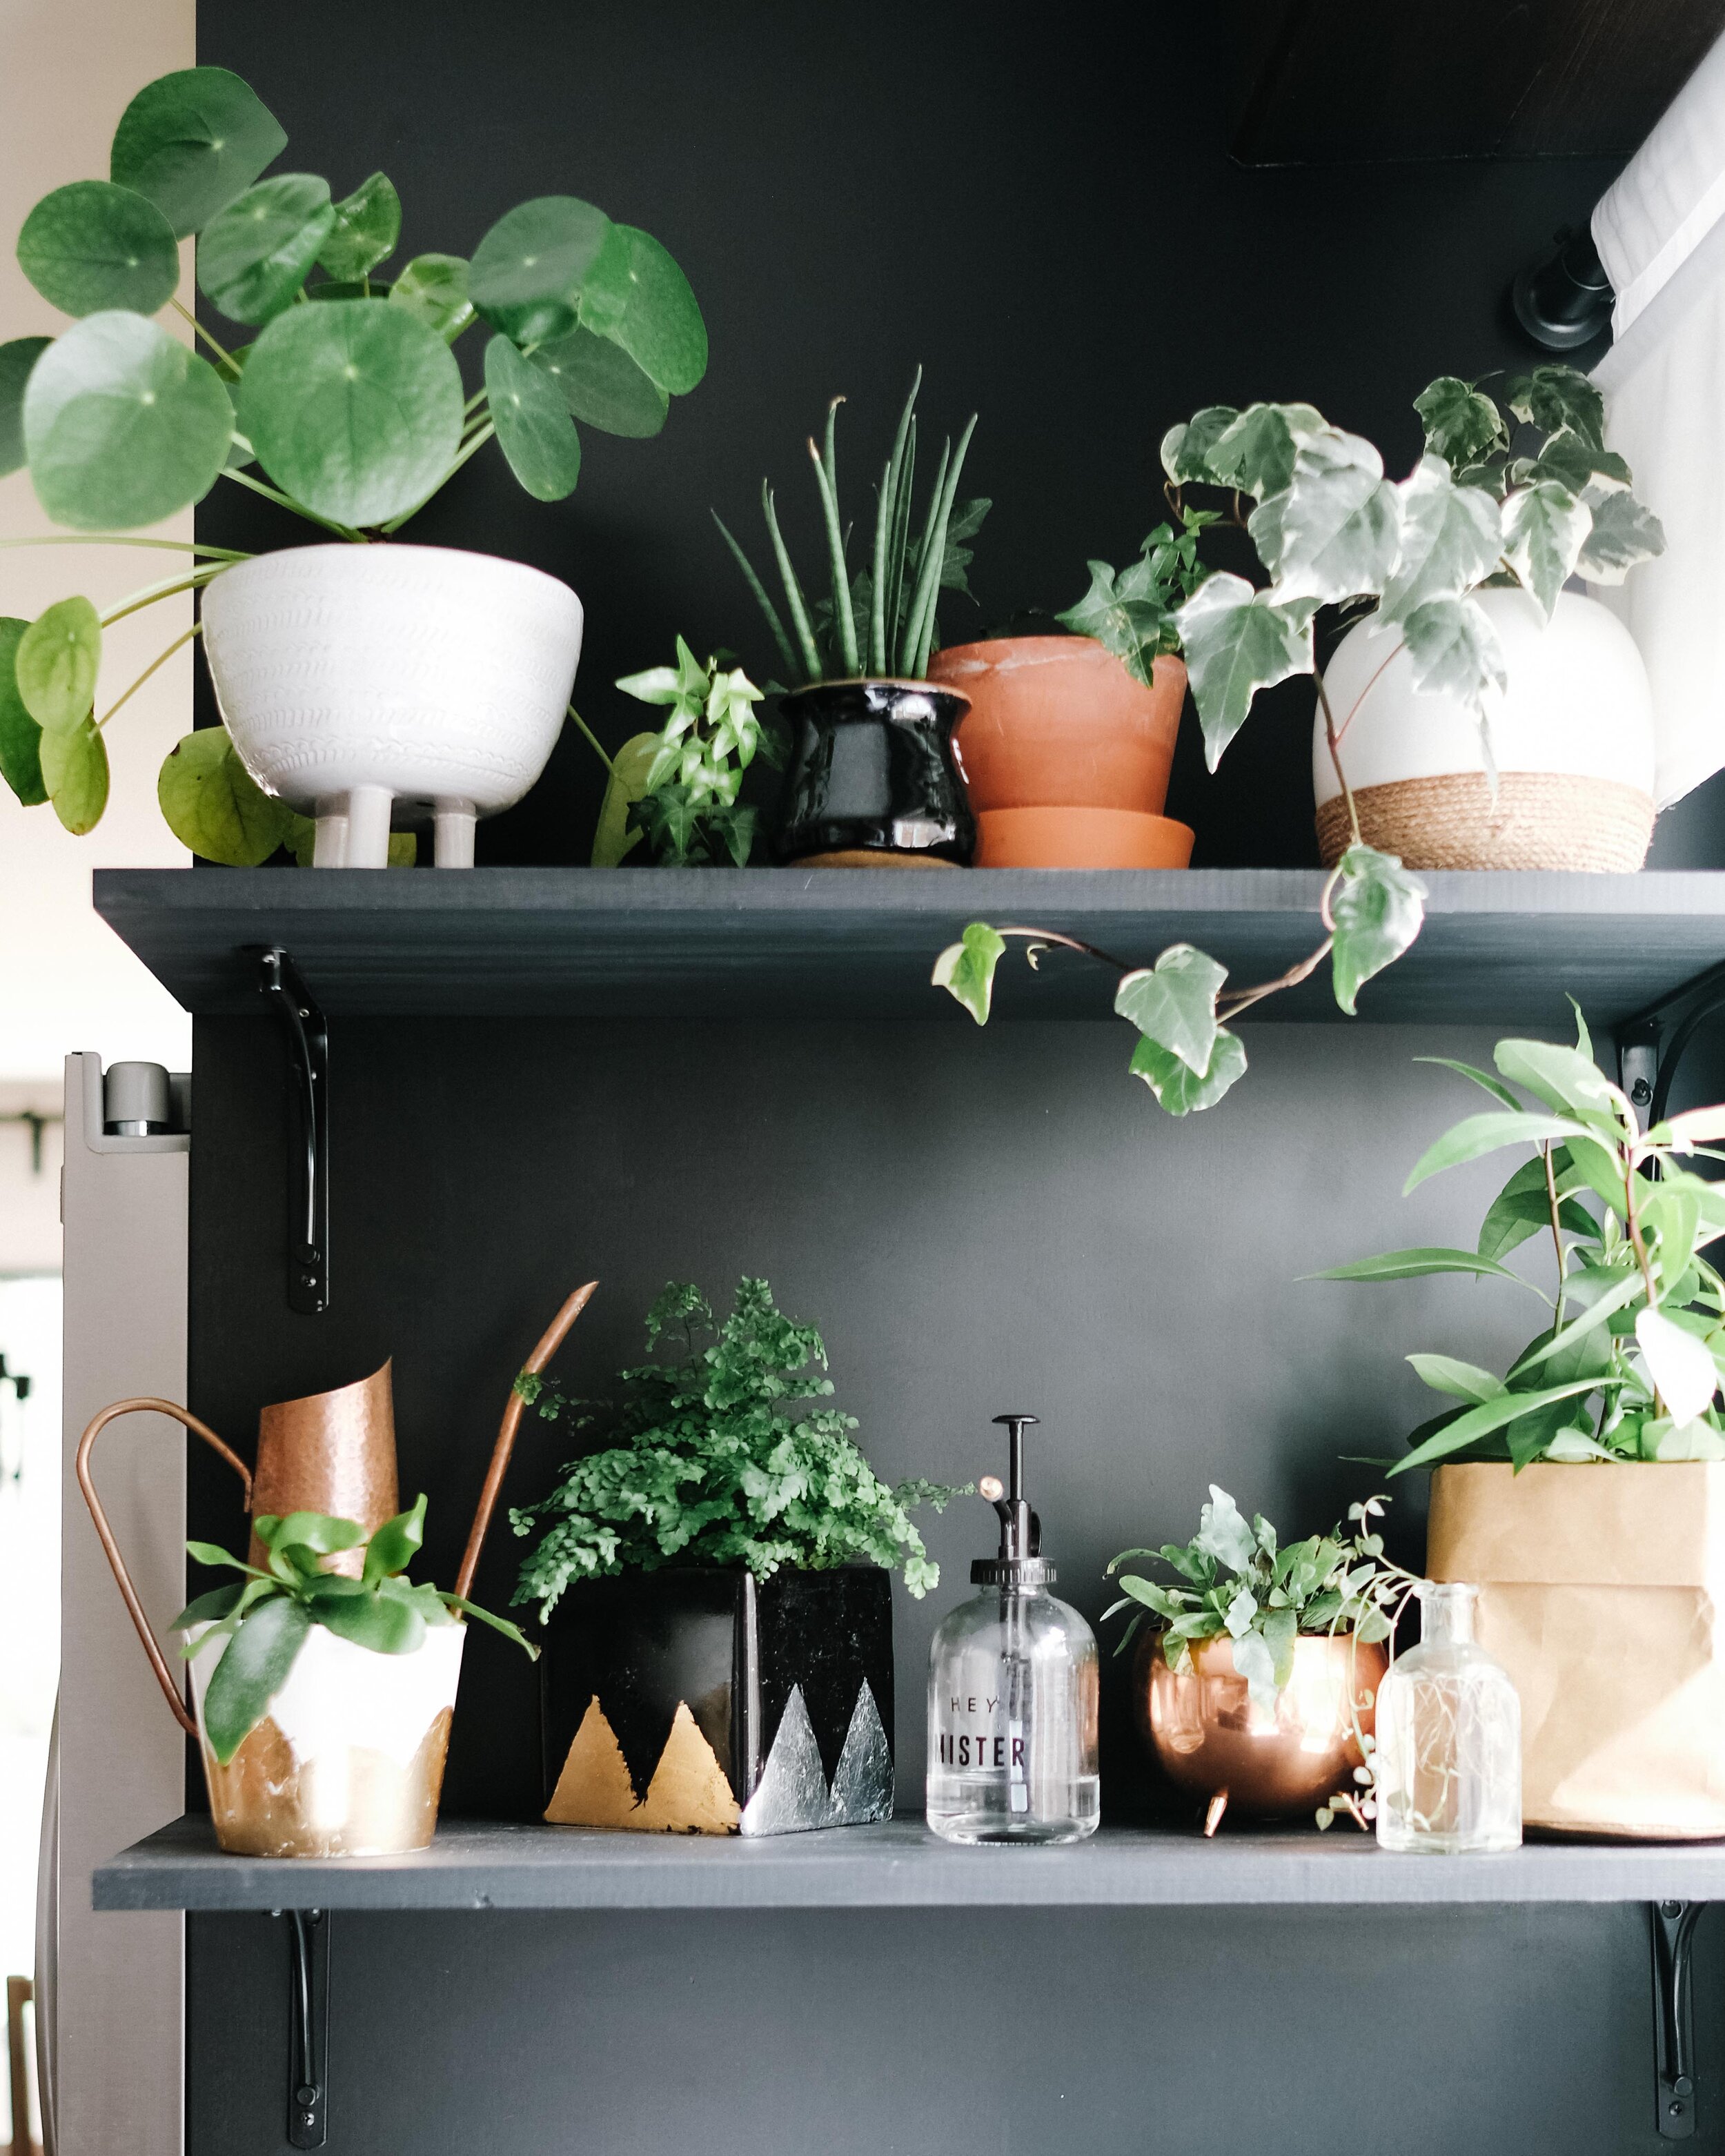
Adding a plant shelf
Before finishing the grout, I also ended up making another small change to the kitchen by adding a couple of plant shelves. Yes, shelves specifically meant for plants!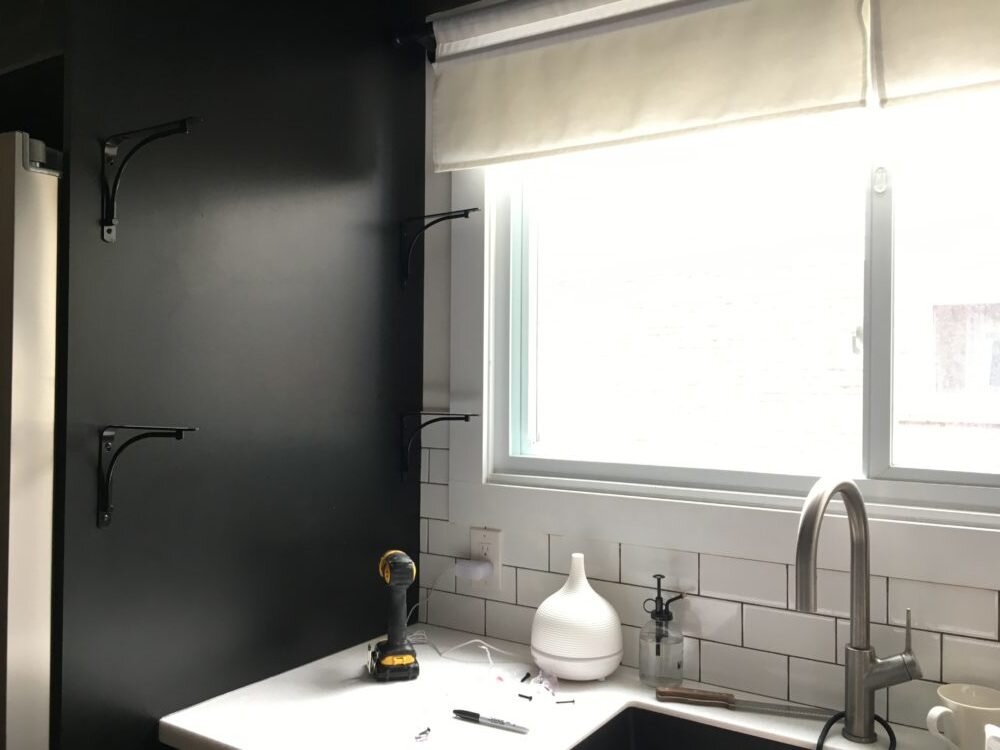
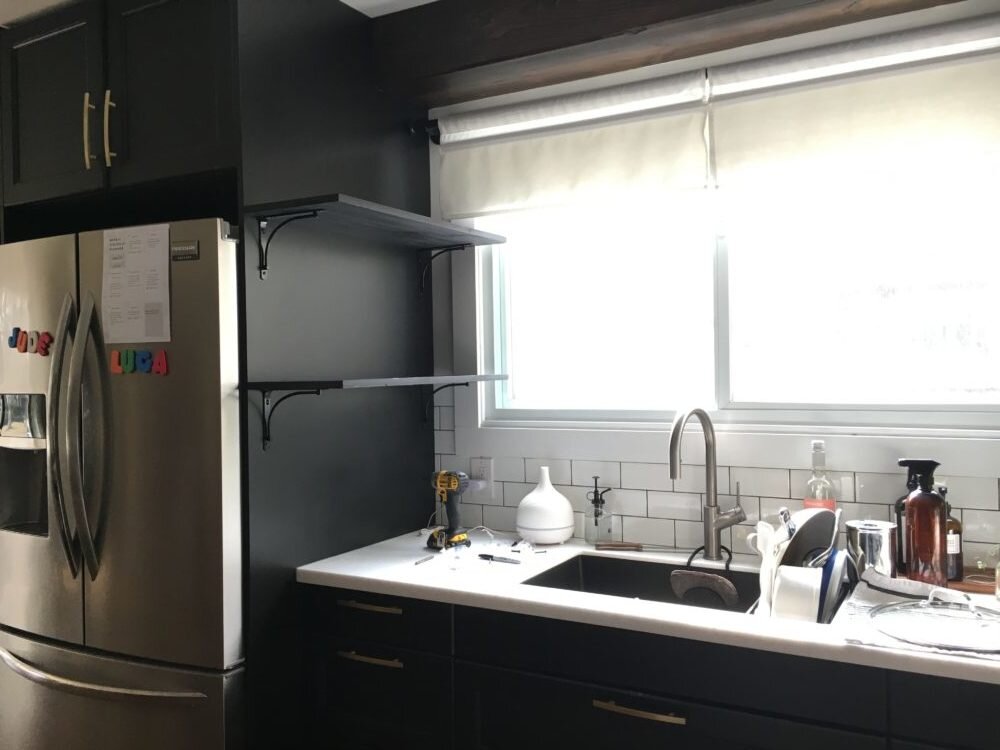 I used some raw pine shelving and had the paint colour matched to the cabinets, then used some simple black brackets to put the whole thing together. So easy.And that's that! This could easily be a simple weekend project if you put on some music and let the grout painting be a meditative practice. Seriously, it was downright zen!
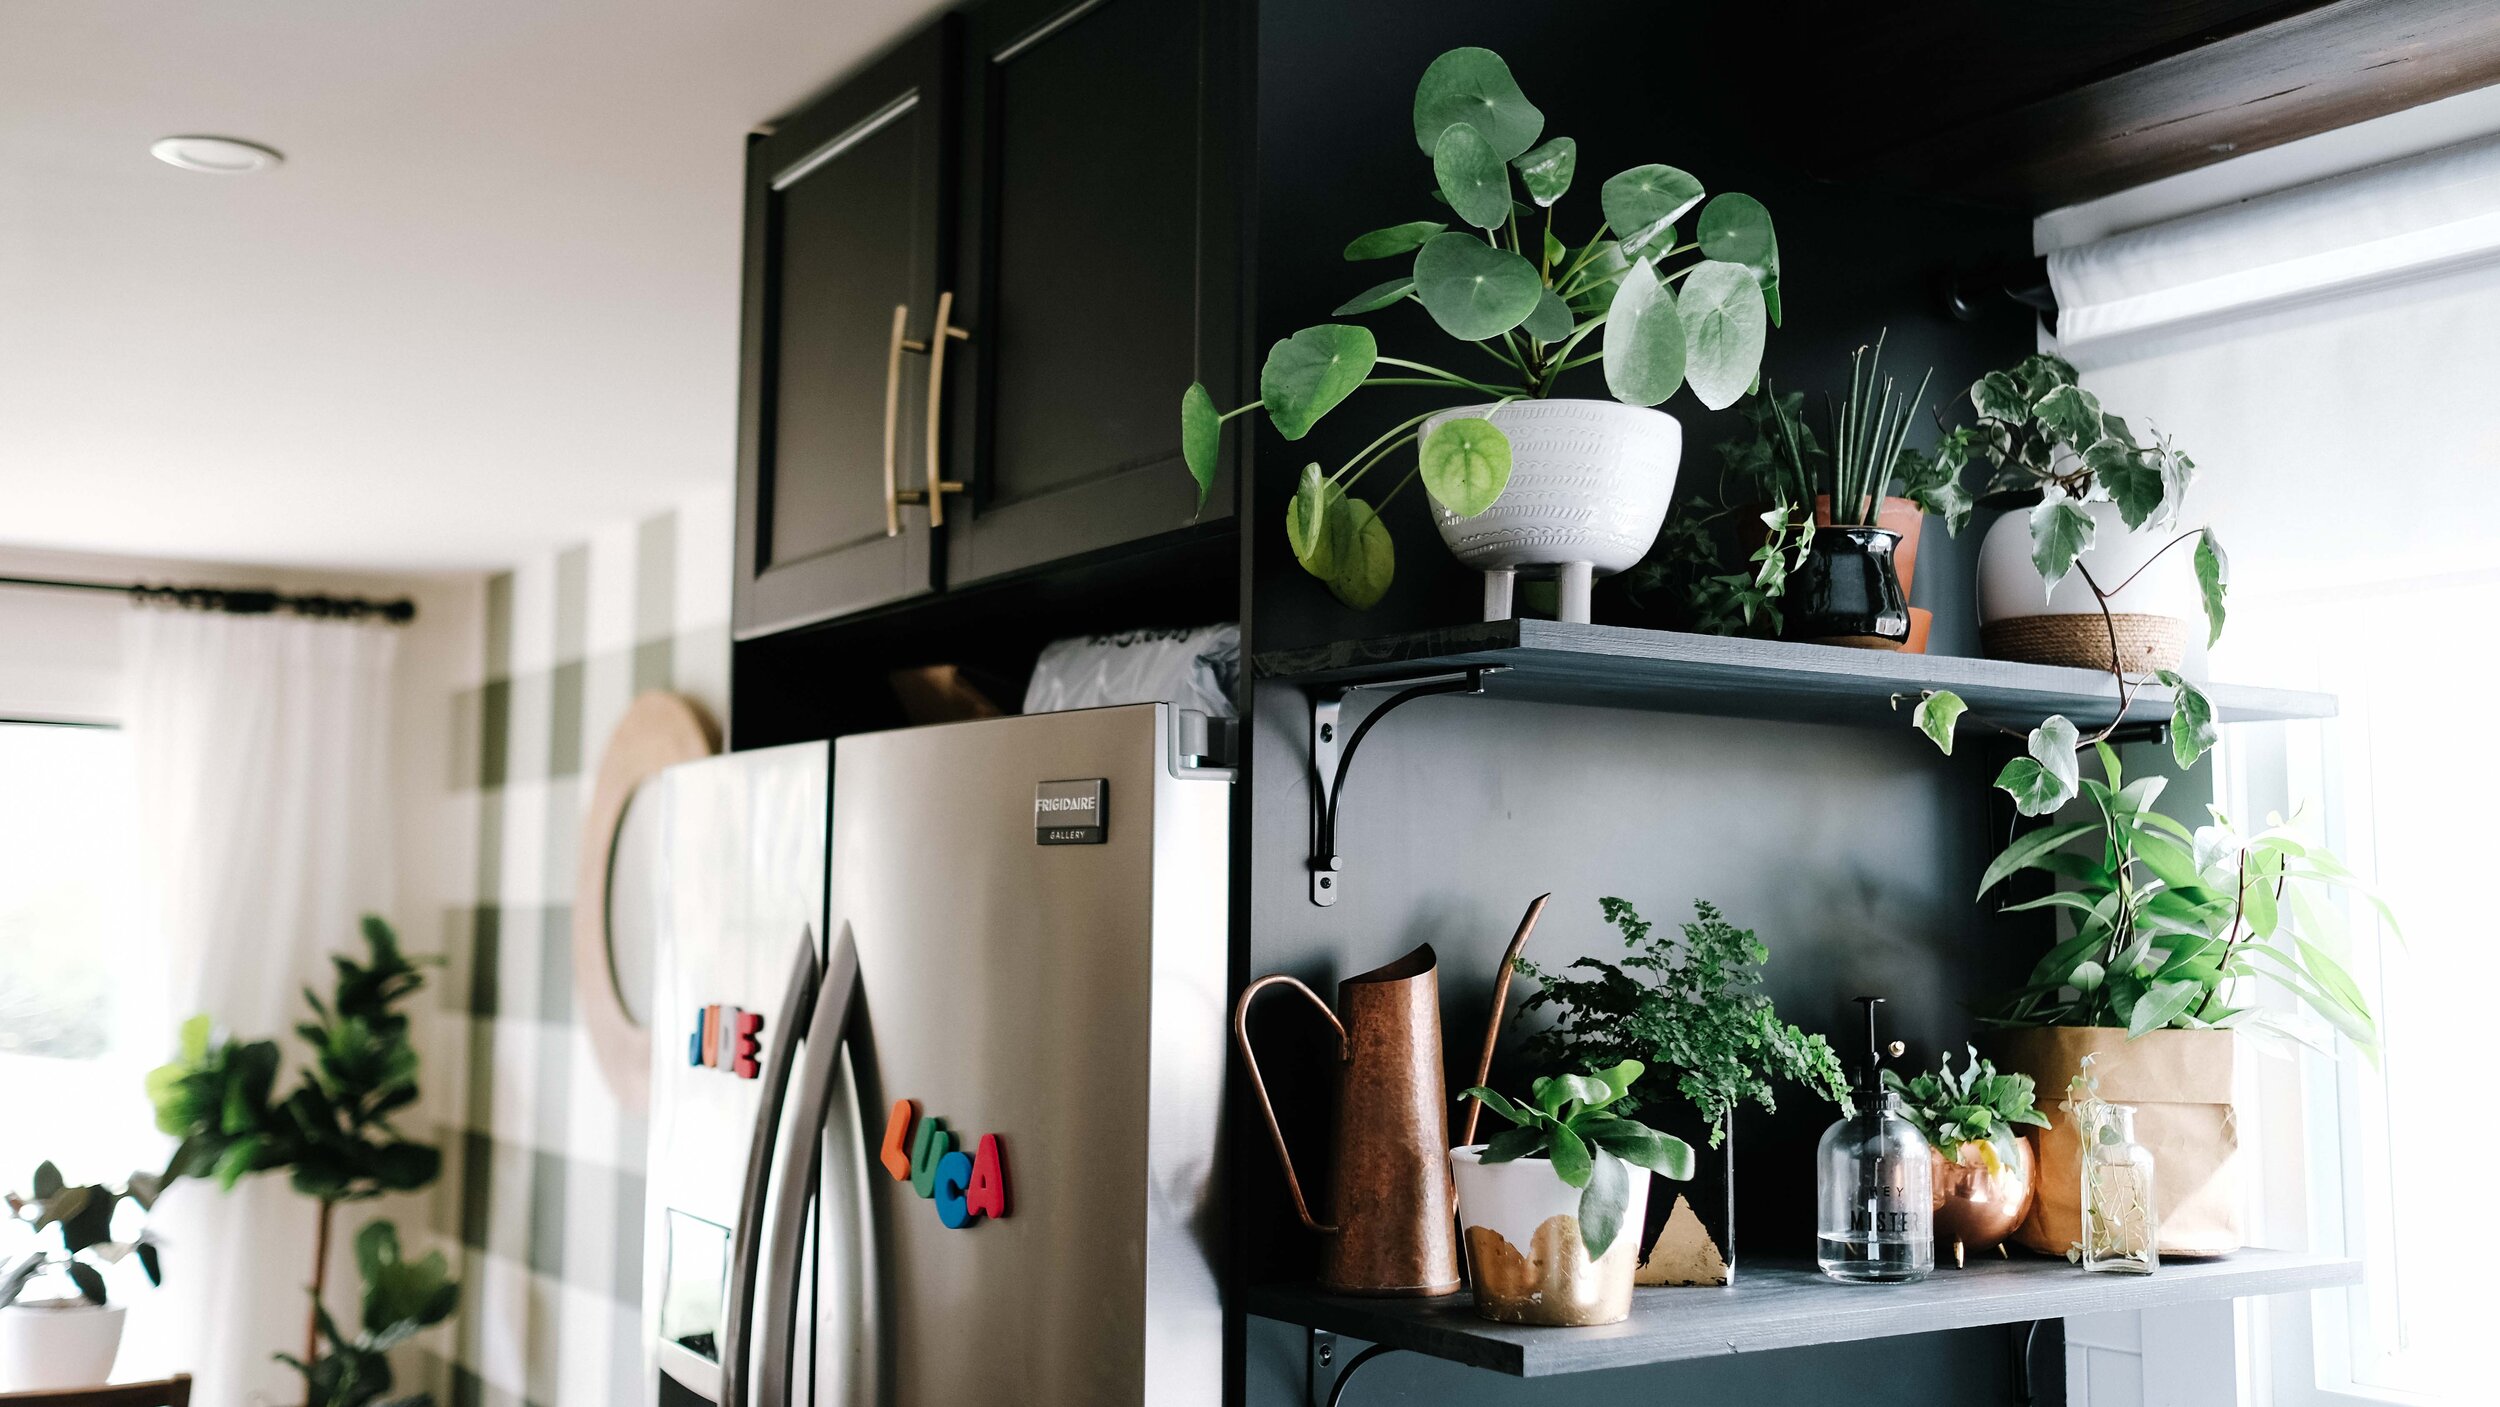
 The plant shelf is one of my favourite things in this kitchen now, since none of it needs to sit on the countertop like it was before!
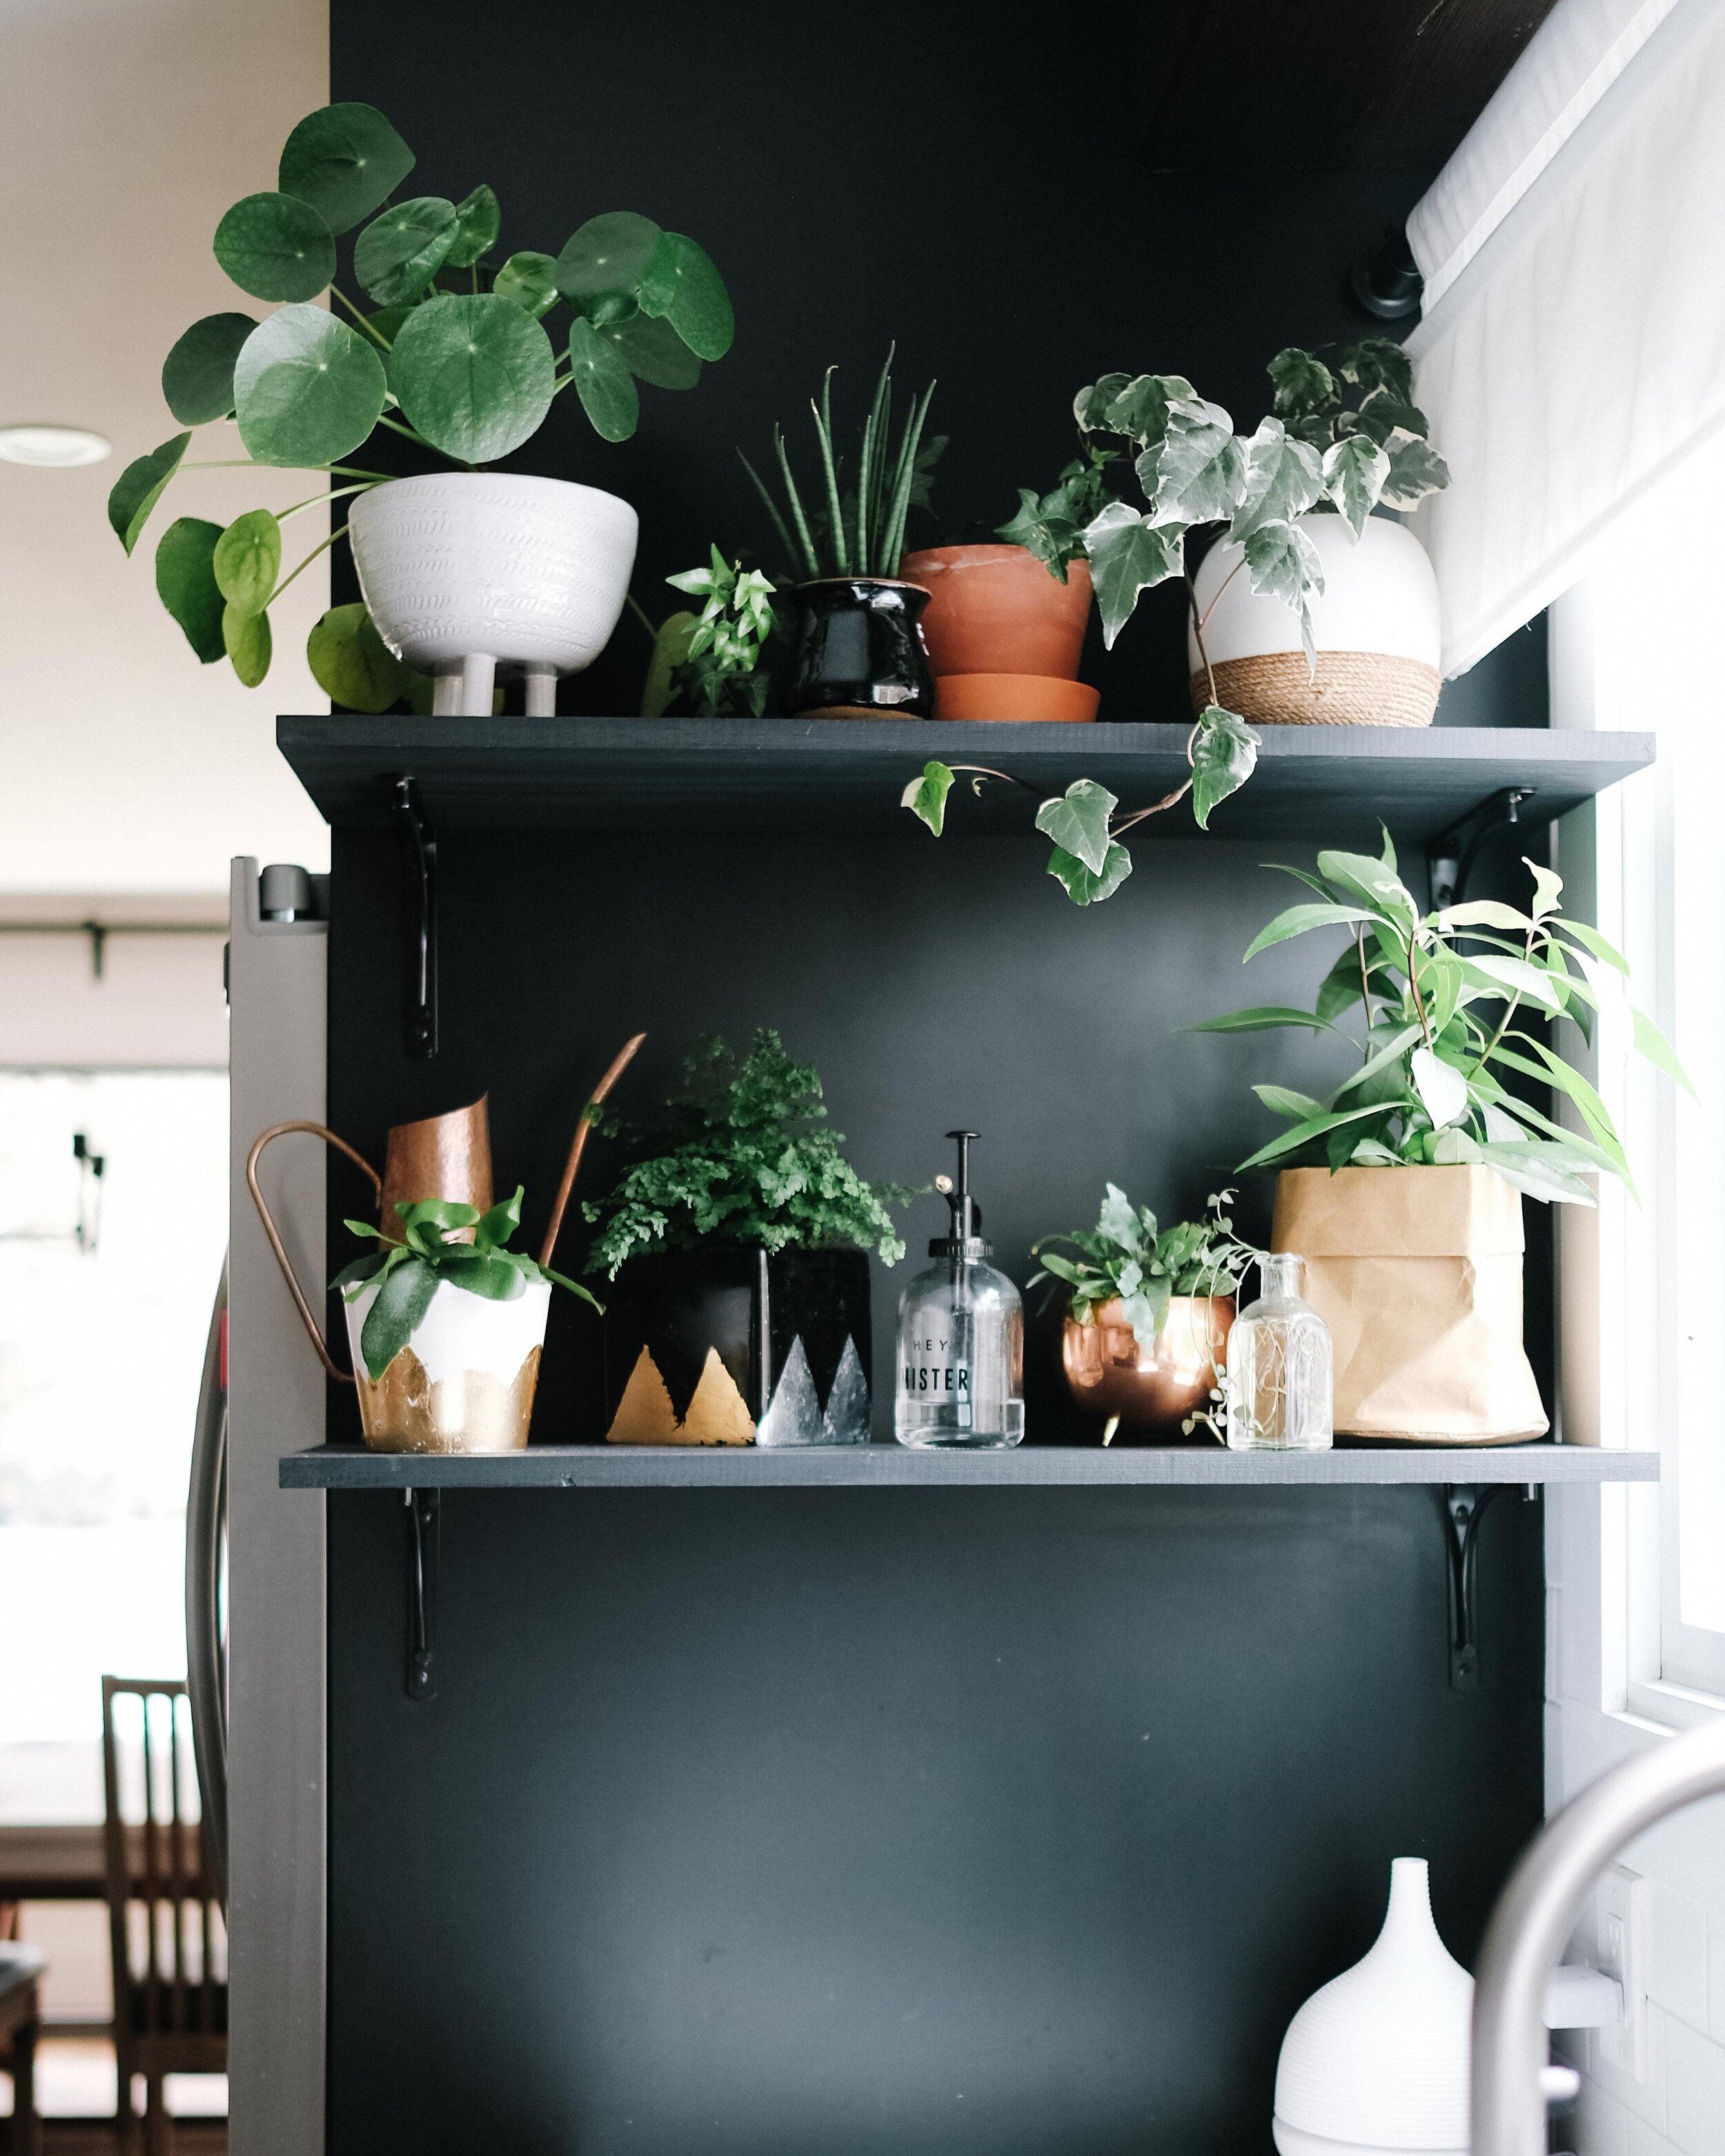

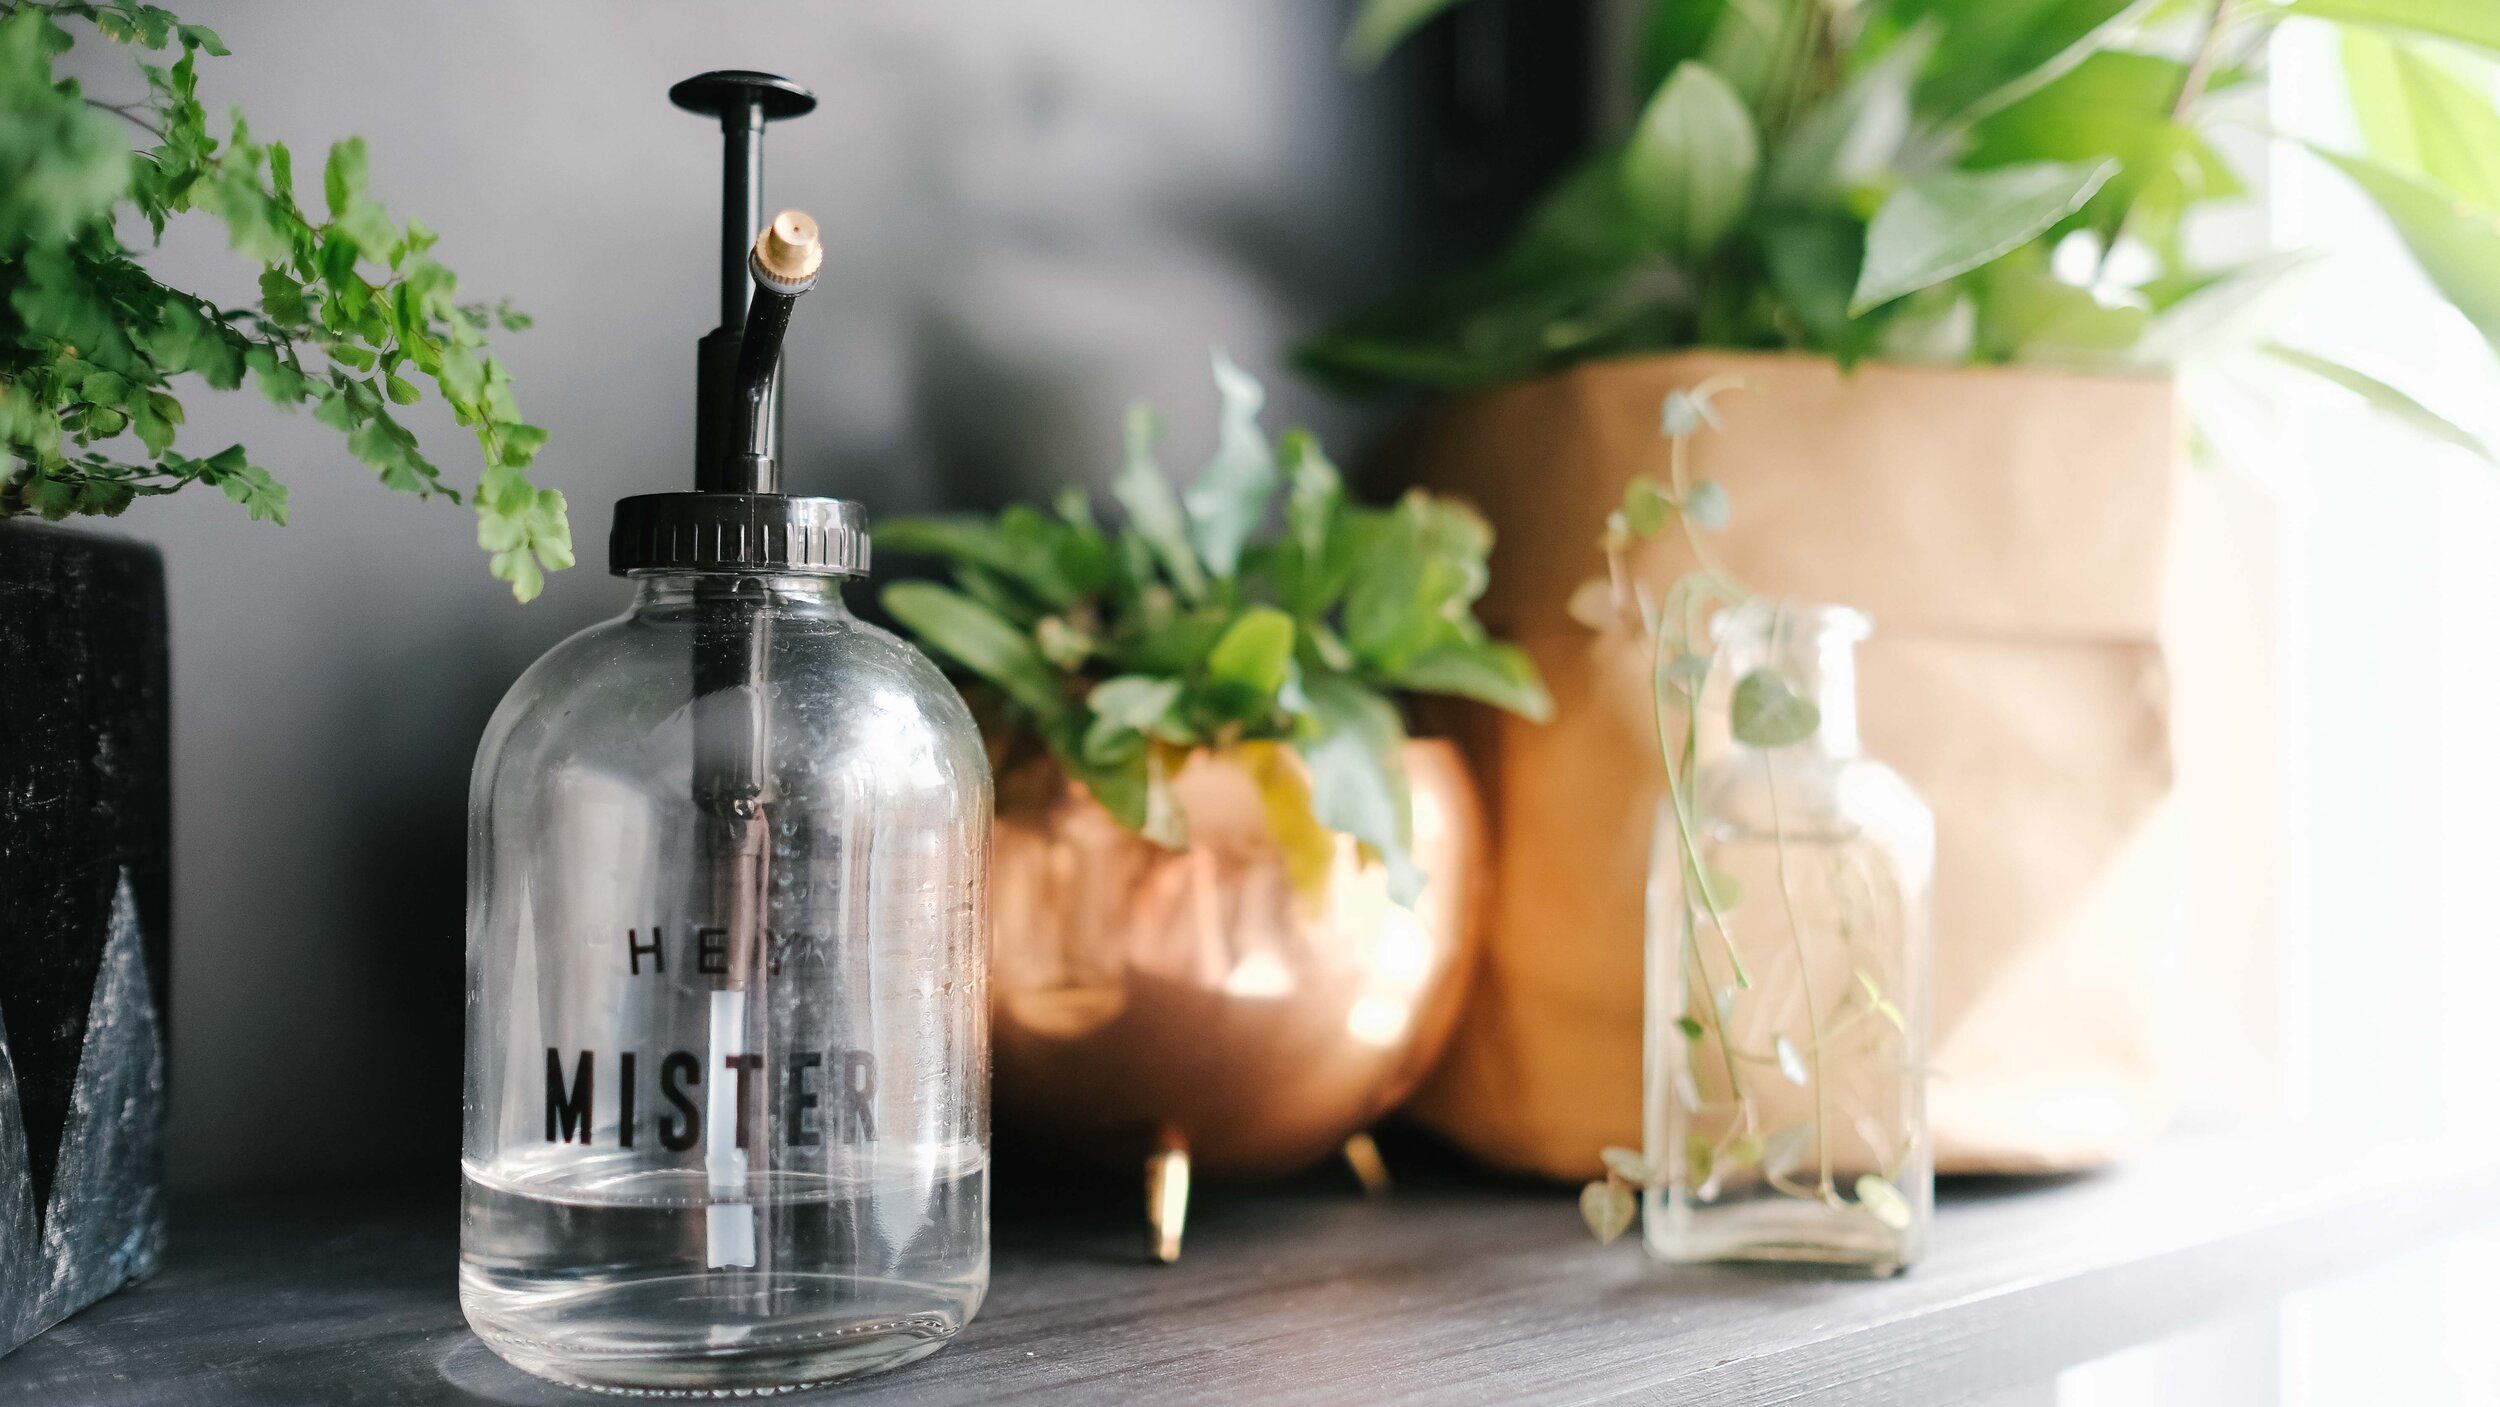
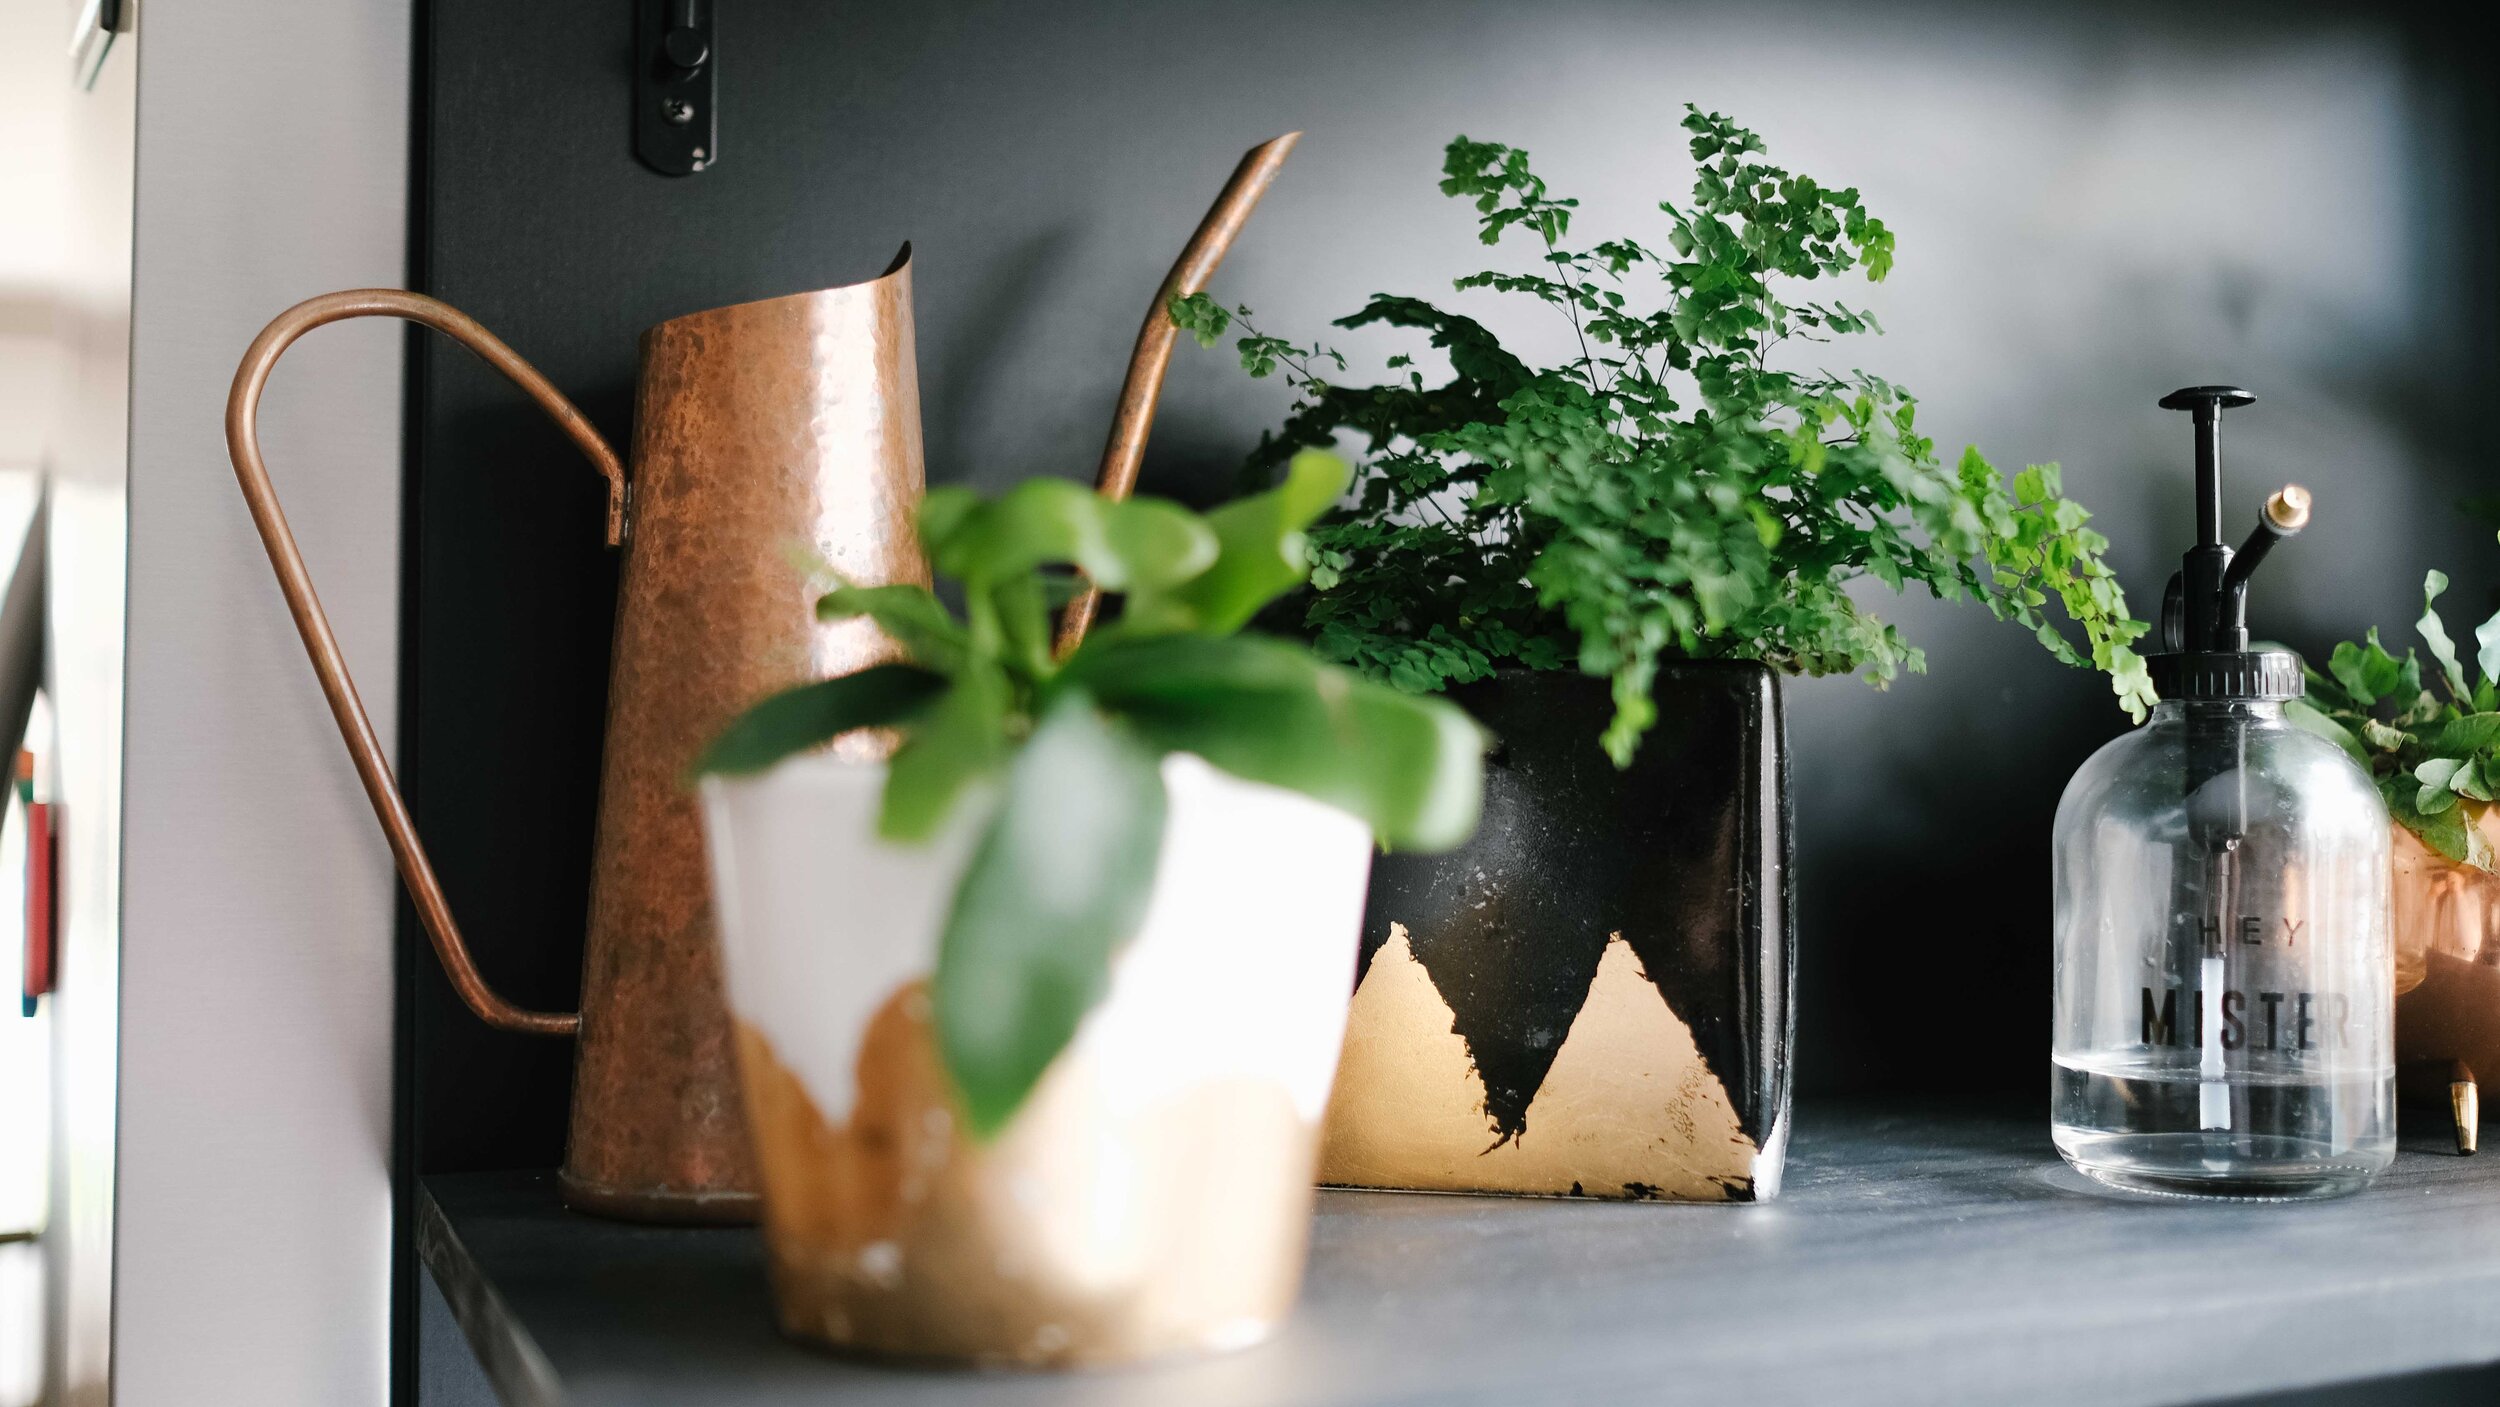
 I ended up getting some new plant babies to fill up the shelf at Home Depot as well, and most of the pots and containers I already had.Thanks so much to the Home Depot for sponsoring this project! As always, all opinions are my own!