One Room Challenge: Mudroom & Entry [week 7]
Somehow I made it. I finished almost everything I needed to do, and rather than focusing on what DIDN'T get done, I'm going to go ahead and focus on the fact that we completed projects in 3 small spaces and this means the main floor of our house is literally 99% finished. The 1% are things like filling in holes and painting baseboards - the SUUUUUUPER boring stuff that actually feels more like 75% of the work.If you want to see everything from the very beginning, check out the previous updates:
Week 1 | Week 2 | Week 3 | Week 4 | Weeks 5&6
And if you want to see any of my previous One Room Challenge rooms, here they are:
Master Bedroom, Office, Nursery, Powder Room and Laundry Room
So let's get started on these spaces, shall we?First up: the front porch!Here's where we started with this space. So what exactly did we do out here?
- painted the doors and support pieces for the roof
- changed the mailbox and house number
- took out almost all of the overgrown bushes
- rebuilt and extended the porch
- replaced the door handles and door knocker
- replaced exterior lighting
What we still need to do?
- stain the porch
- paint the cement steps
- paint the window trim - all things we couldn't do due to the weather, so Springtime it is!
- replant things
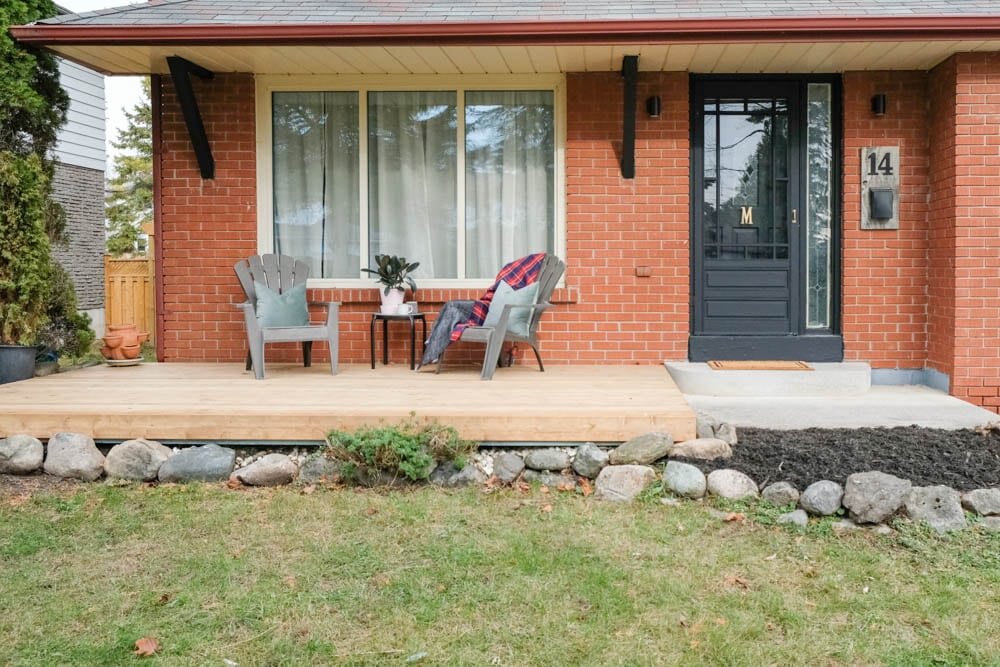 We still have lots of plans for the exterior of our house, but this initial step felt monumental. The power of paint never ceases to amaze me!
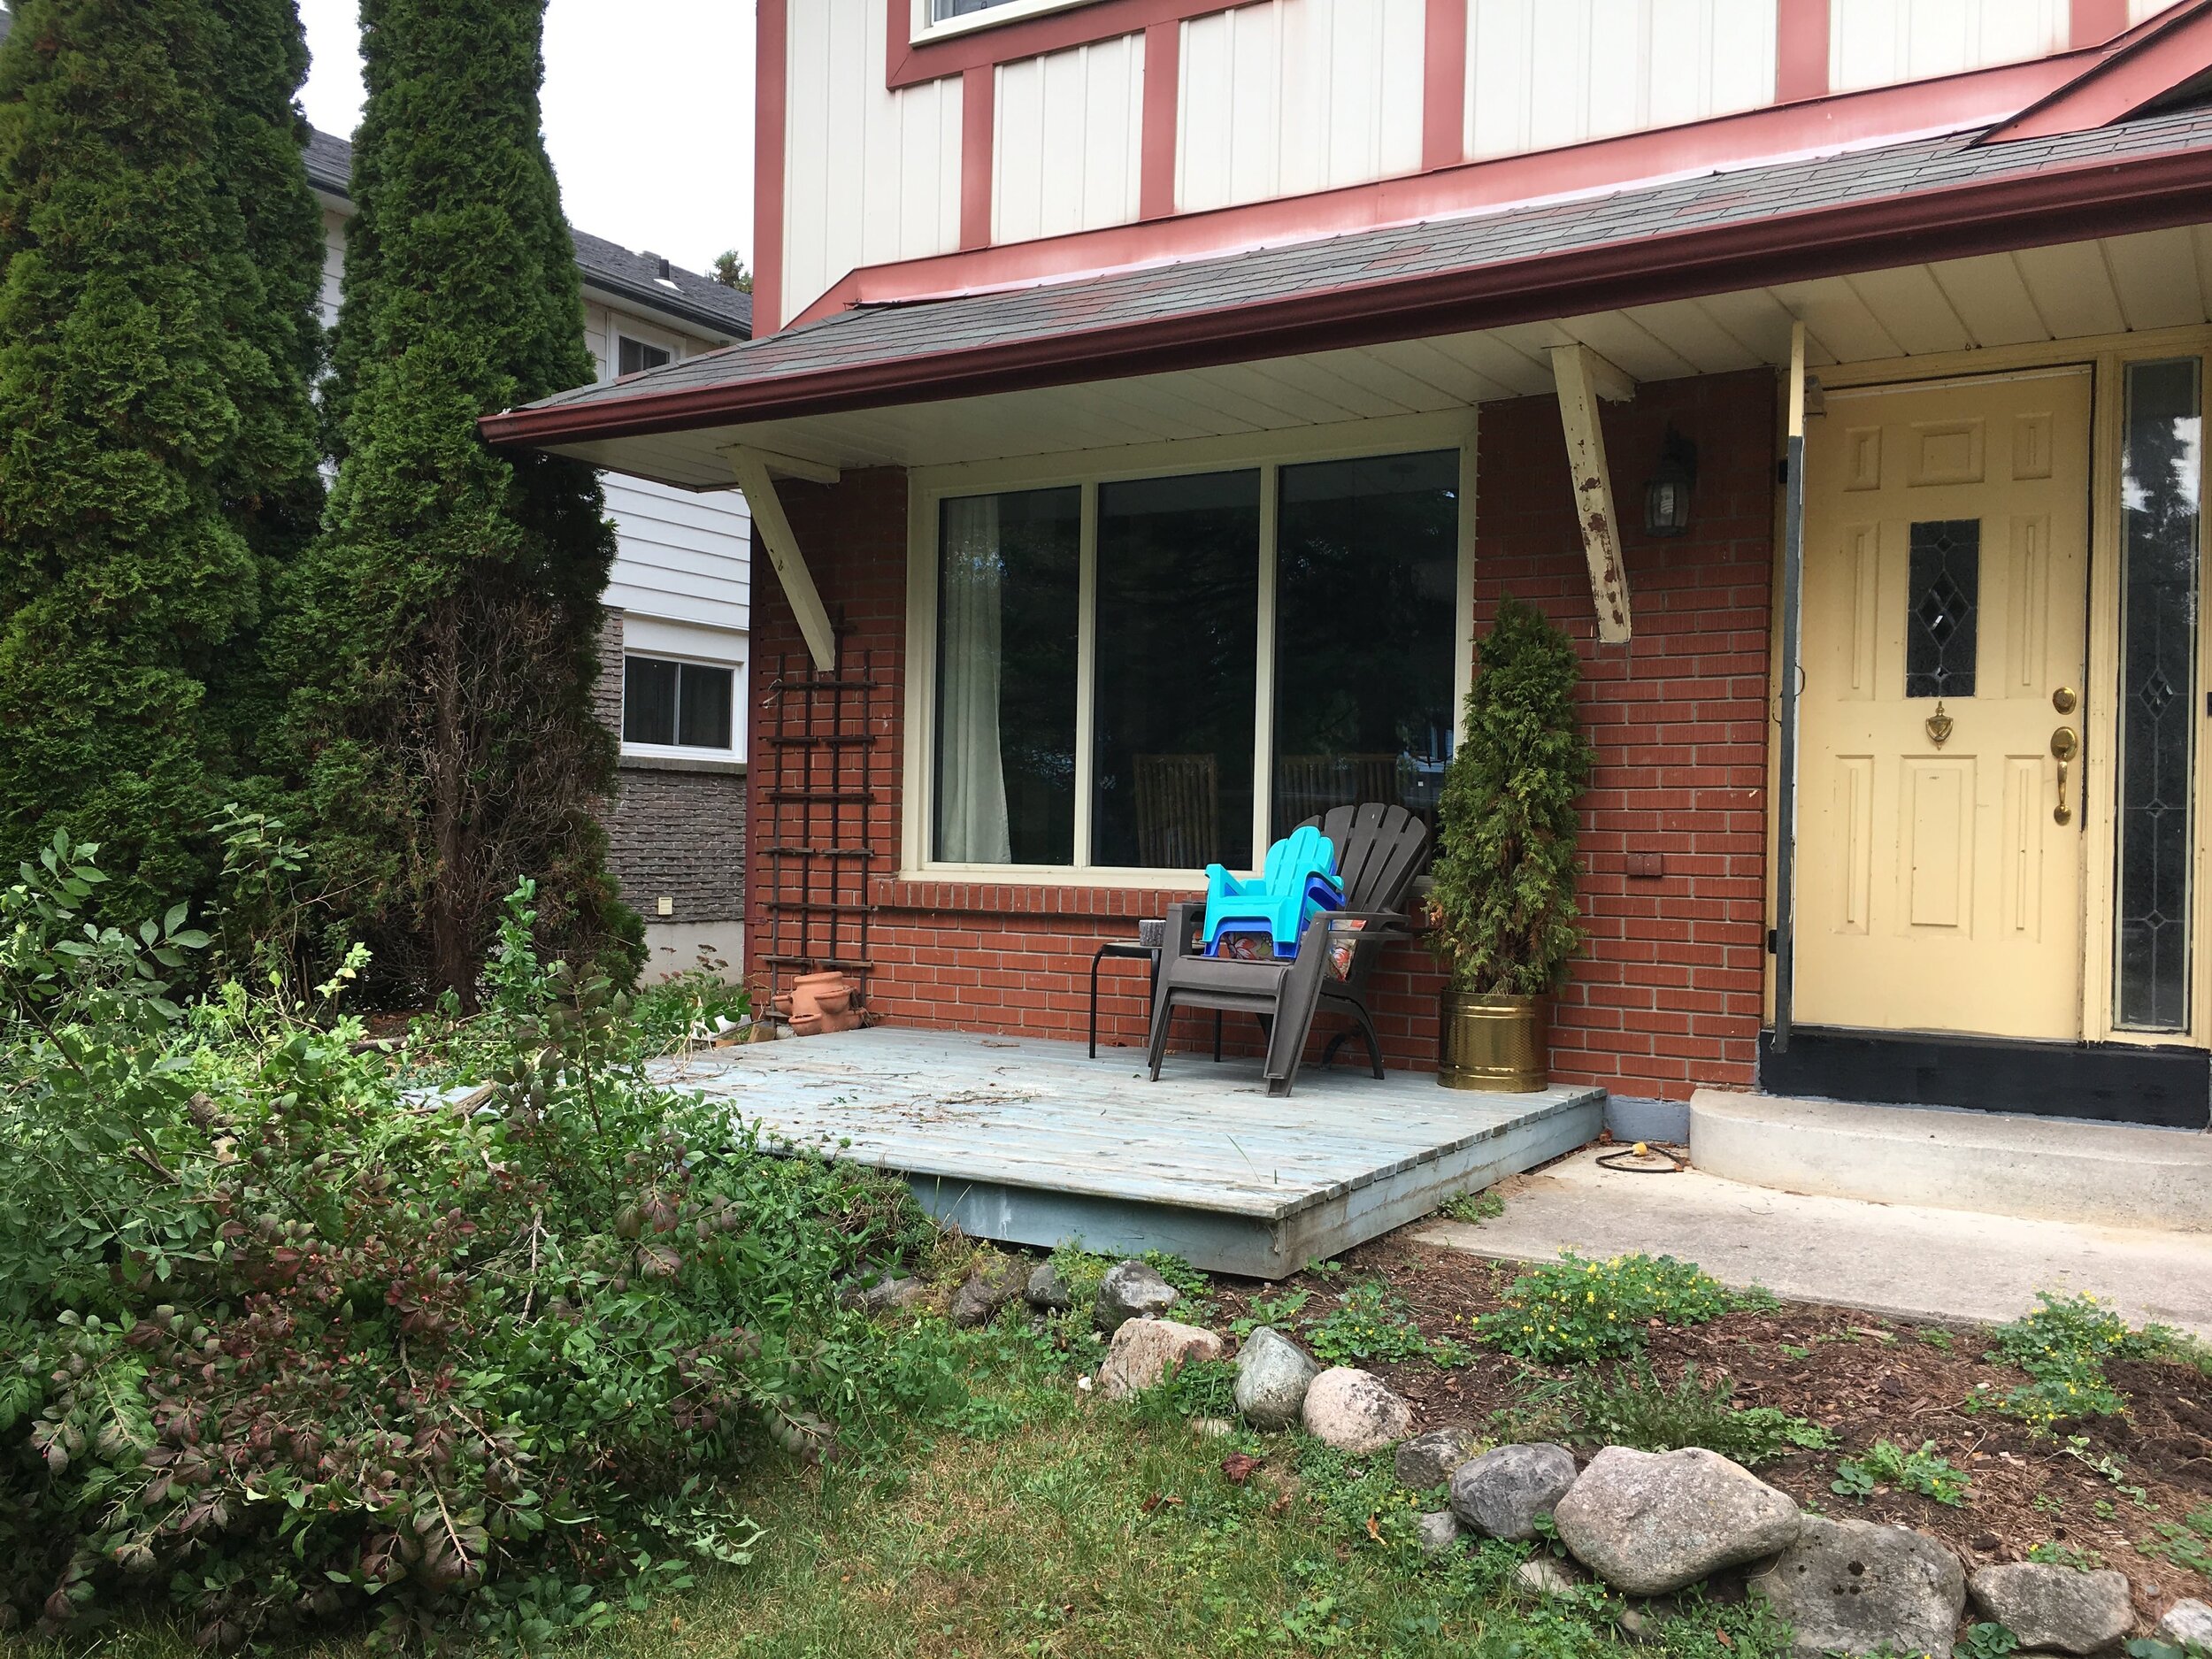

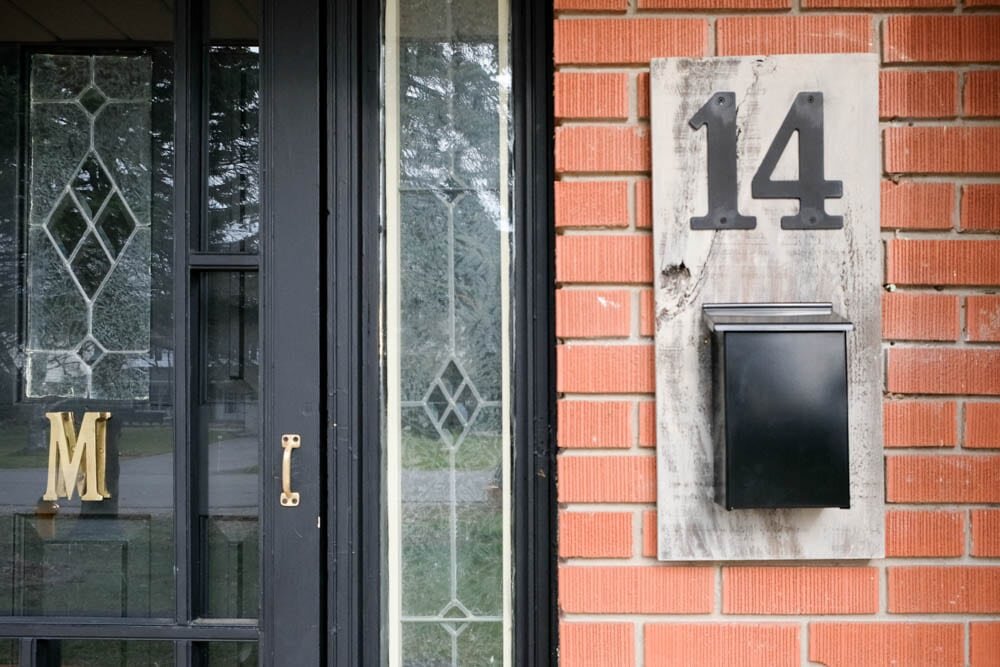
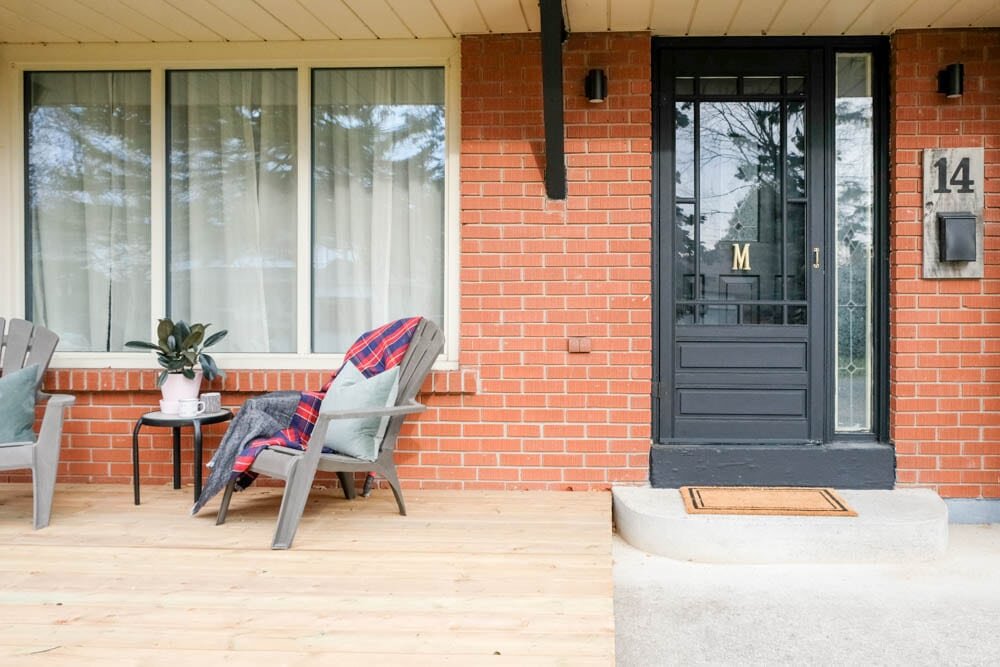 Also super satisfying? Getting rid of the old mailbox and refreshing the area by repainting the house numbers and using some scrap wood to anchor the numbers and mailbox. It was so simple, but made a huge difference. As for the lights, we used some very inexpensive ones from The Home Depot (seriously, they're like $30), and I love that they're understated and modern. I'll link the sources to everything at the end of the post!
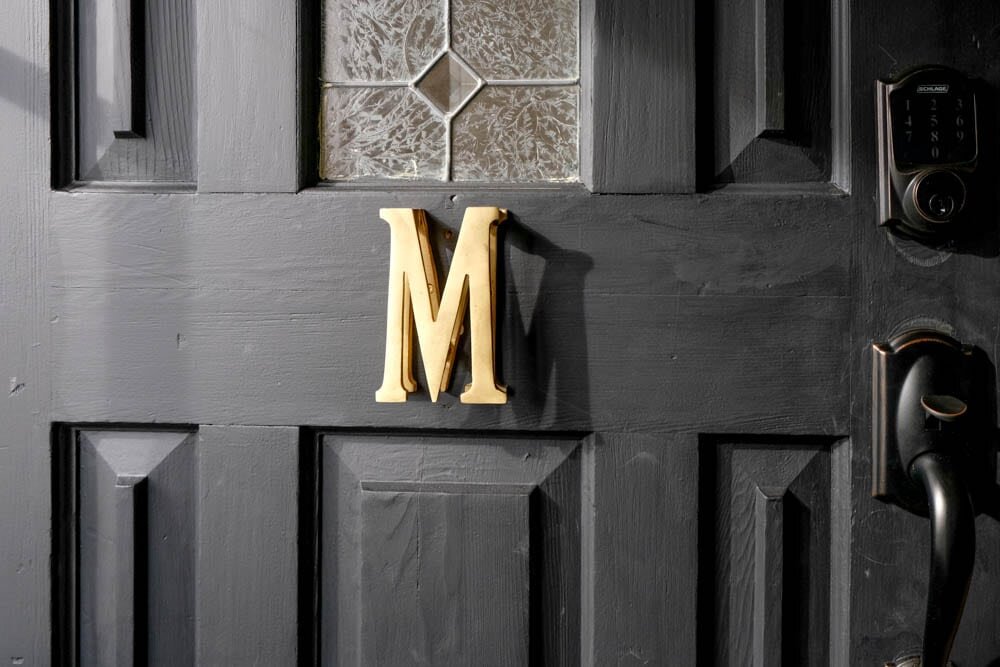
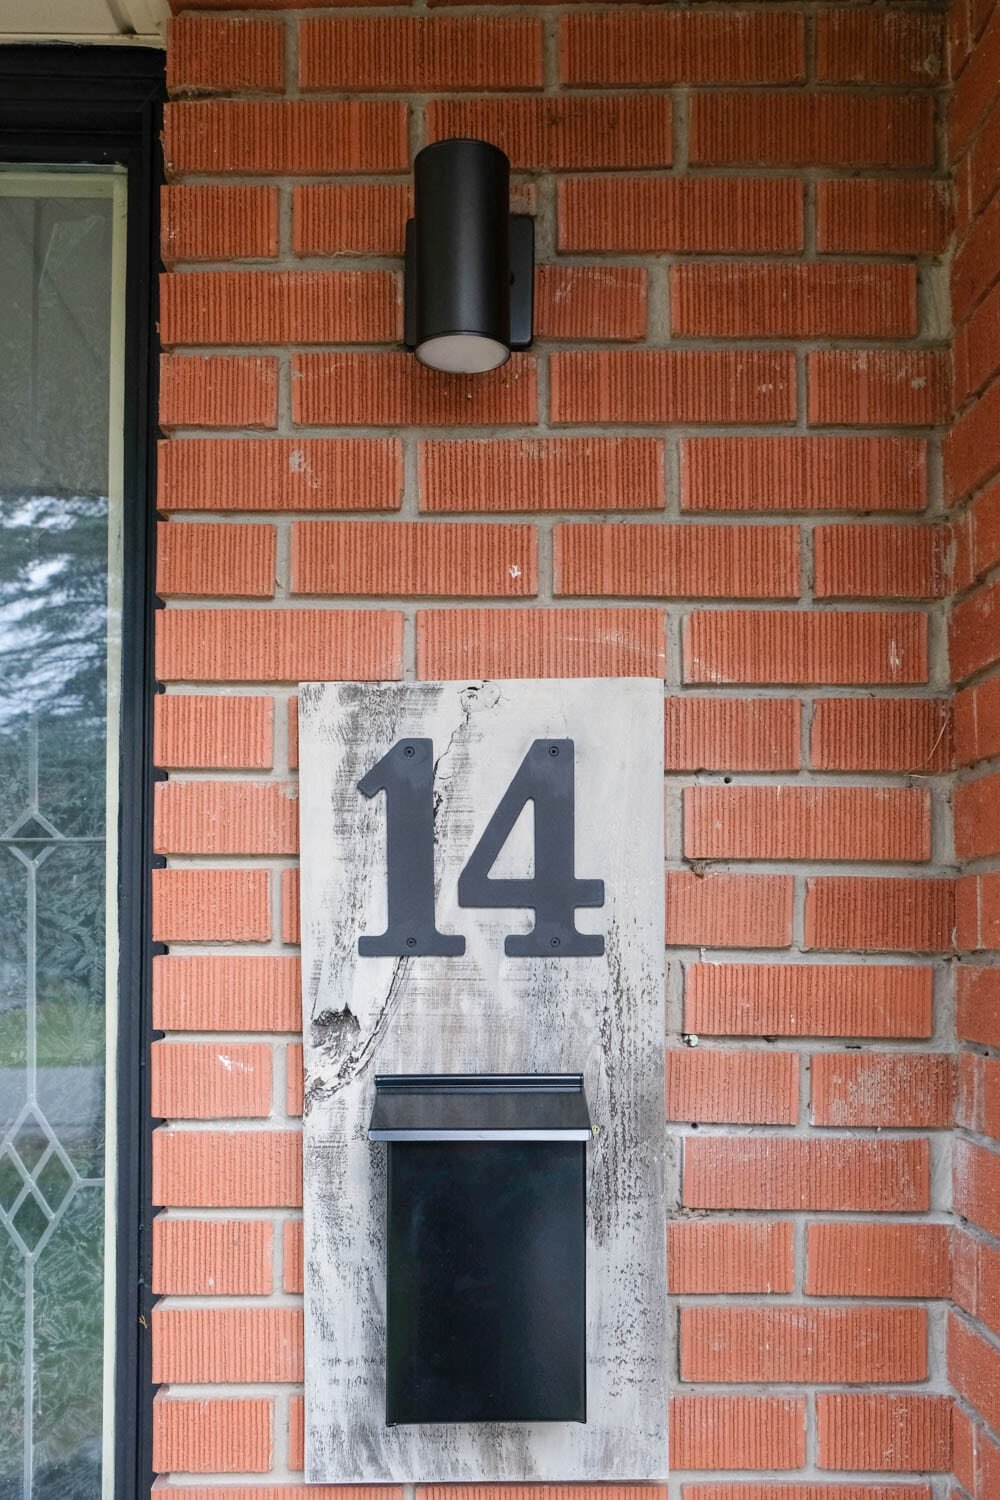 The matte black doors are so much better than the yellow, and we got rid of the extra handles plus that old door knocker. Then there's the MAJOR upgrade to this Schlage Connect Touchscreen deadbolt and handleset. Not being able to replace our door didn't stop us from trying to make the door prettier and more functional (not to mention MUCH safer!)
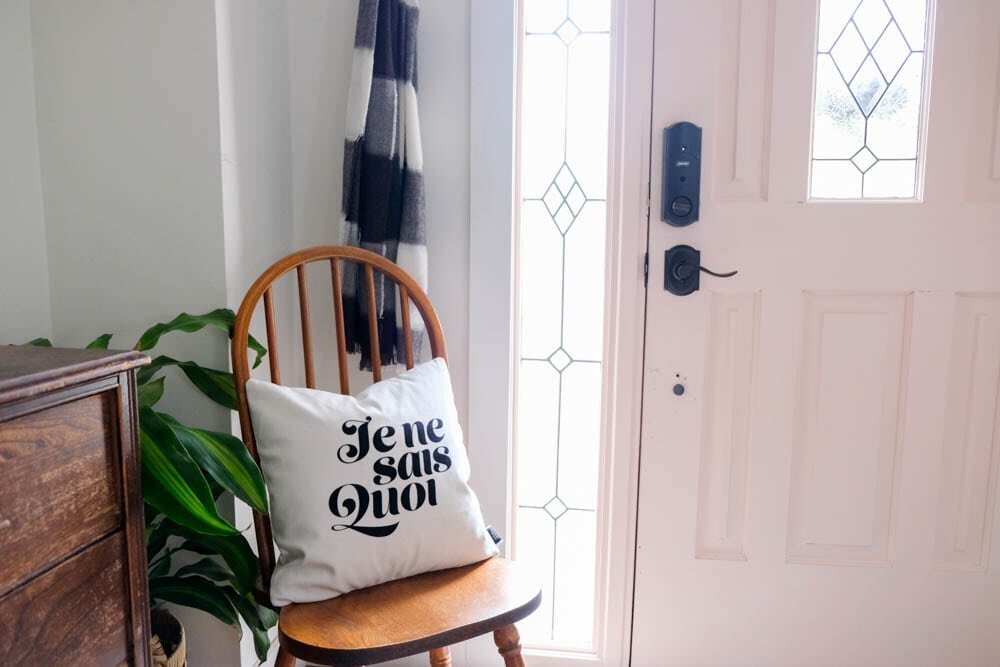
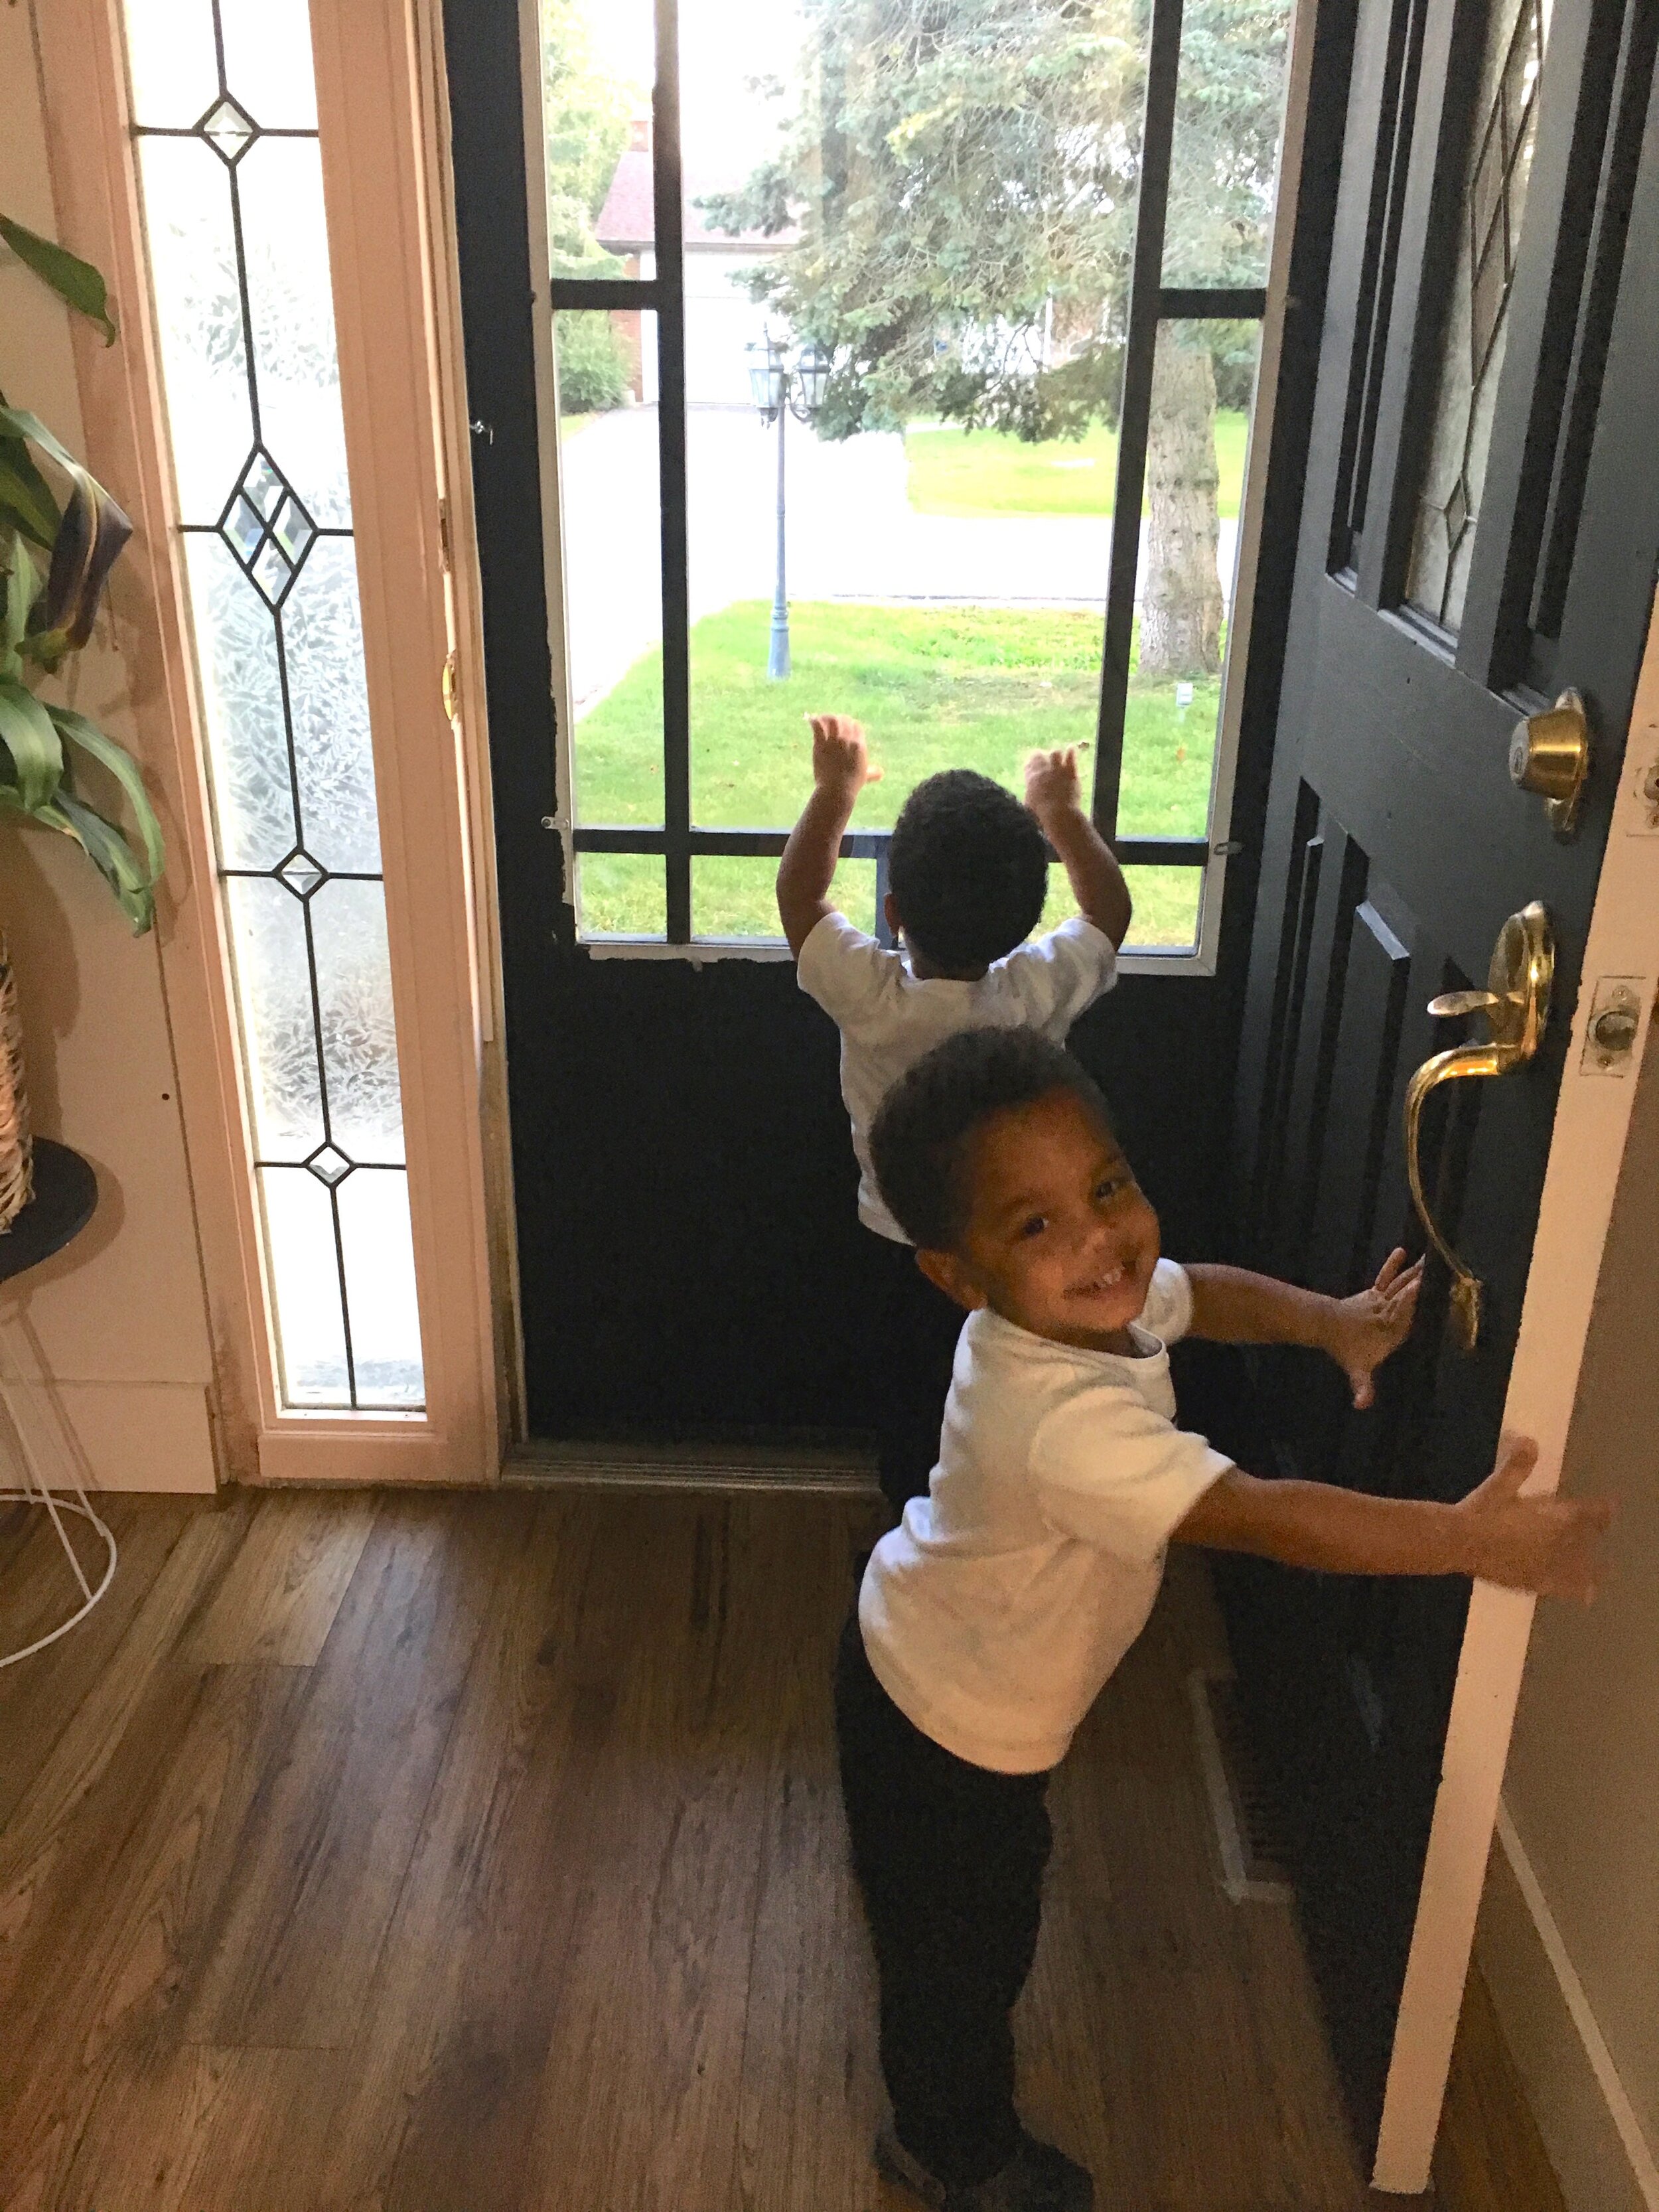
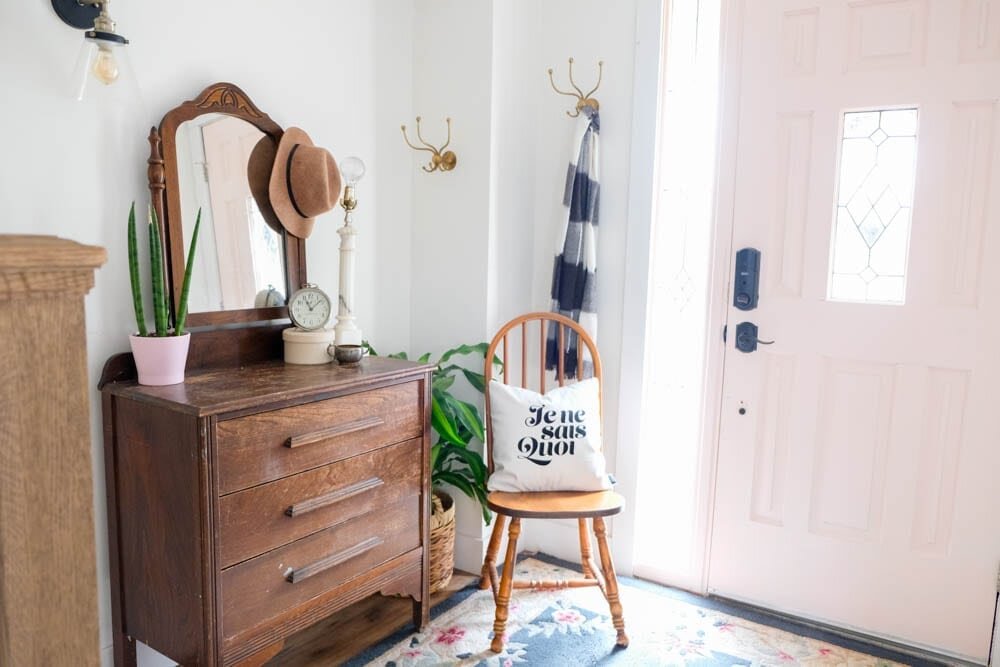
 The deadbolt automatically locks after 30 seconds and we don't need a key to come into the front door anymore, which I love!Alright, now let's head inside, to the front entrance. This is where we started:
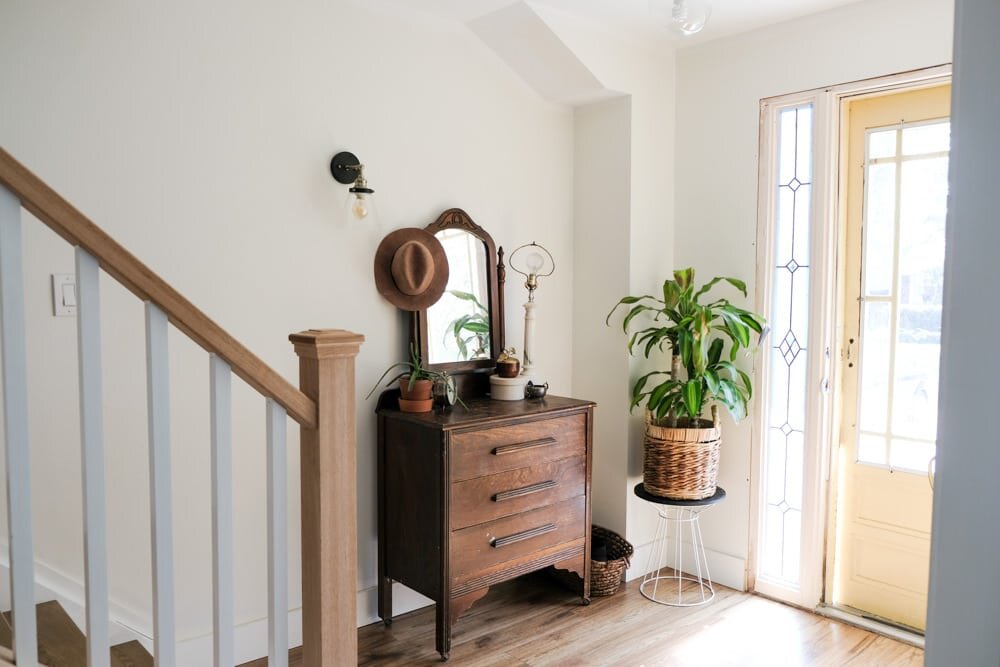 So what did we do here?
- stained remaining stair pieces
- painted inside of the doors
- added a rug and hooks
- trimmed the door
Yep. That's it!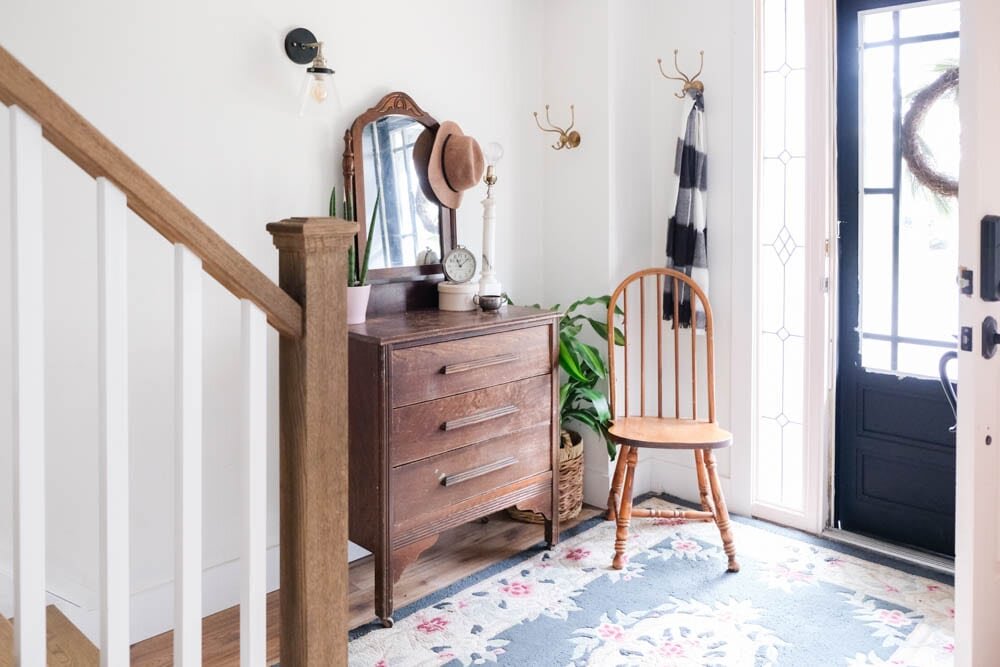 Though the changes were small, they made a big impact here. The rug is super soft and plush, adding lots of colour to the space - plus it cost $5, sooooooo....major thumbs up. Finishing the staining on the stairs makes the whole space actually look finished, which is such a relief since it's the first thing seen when people come in! The large hooks will come in handy when we have guests since we don't have a closet here anymore.Overall, this space feels so much better!
 And now for the final space: the mudroom! This is how we lived with this space for a year:
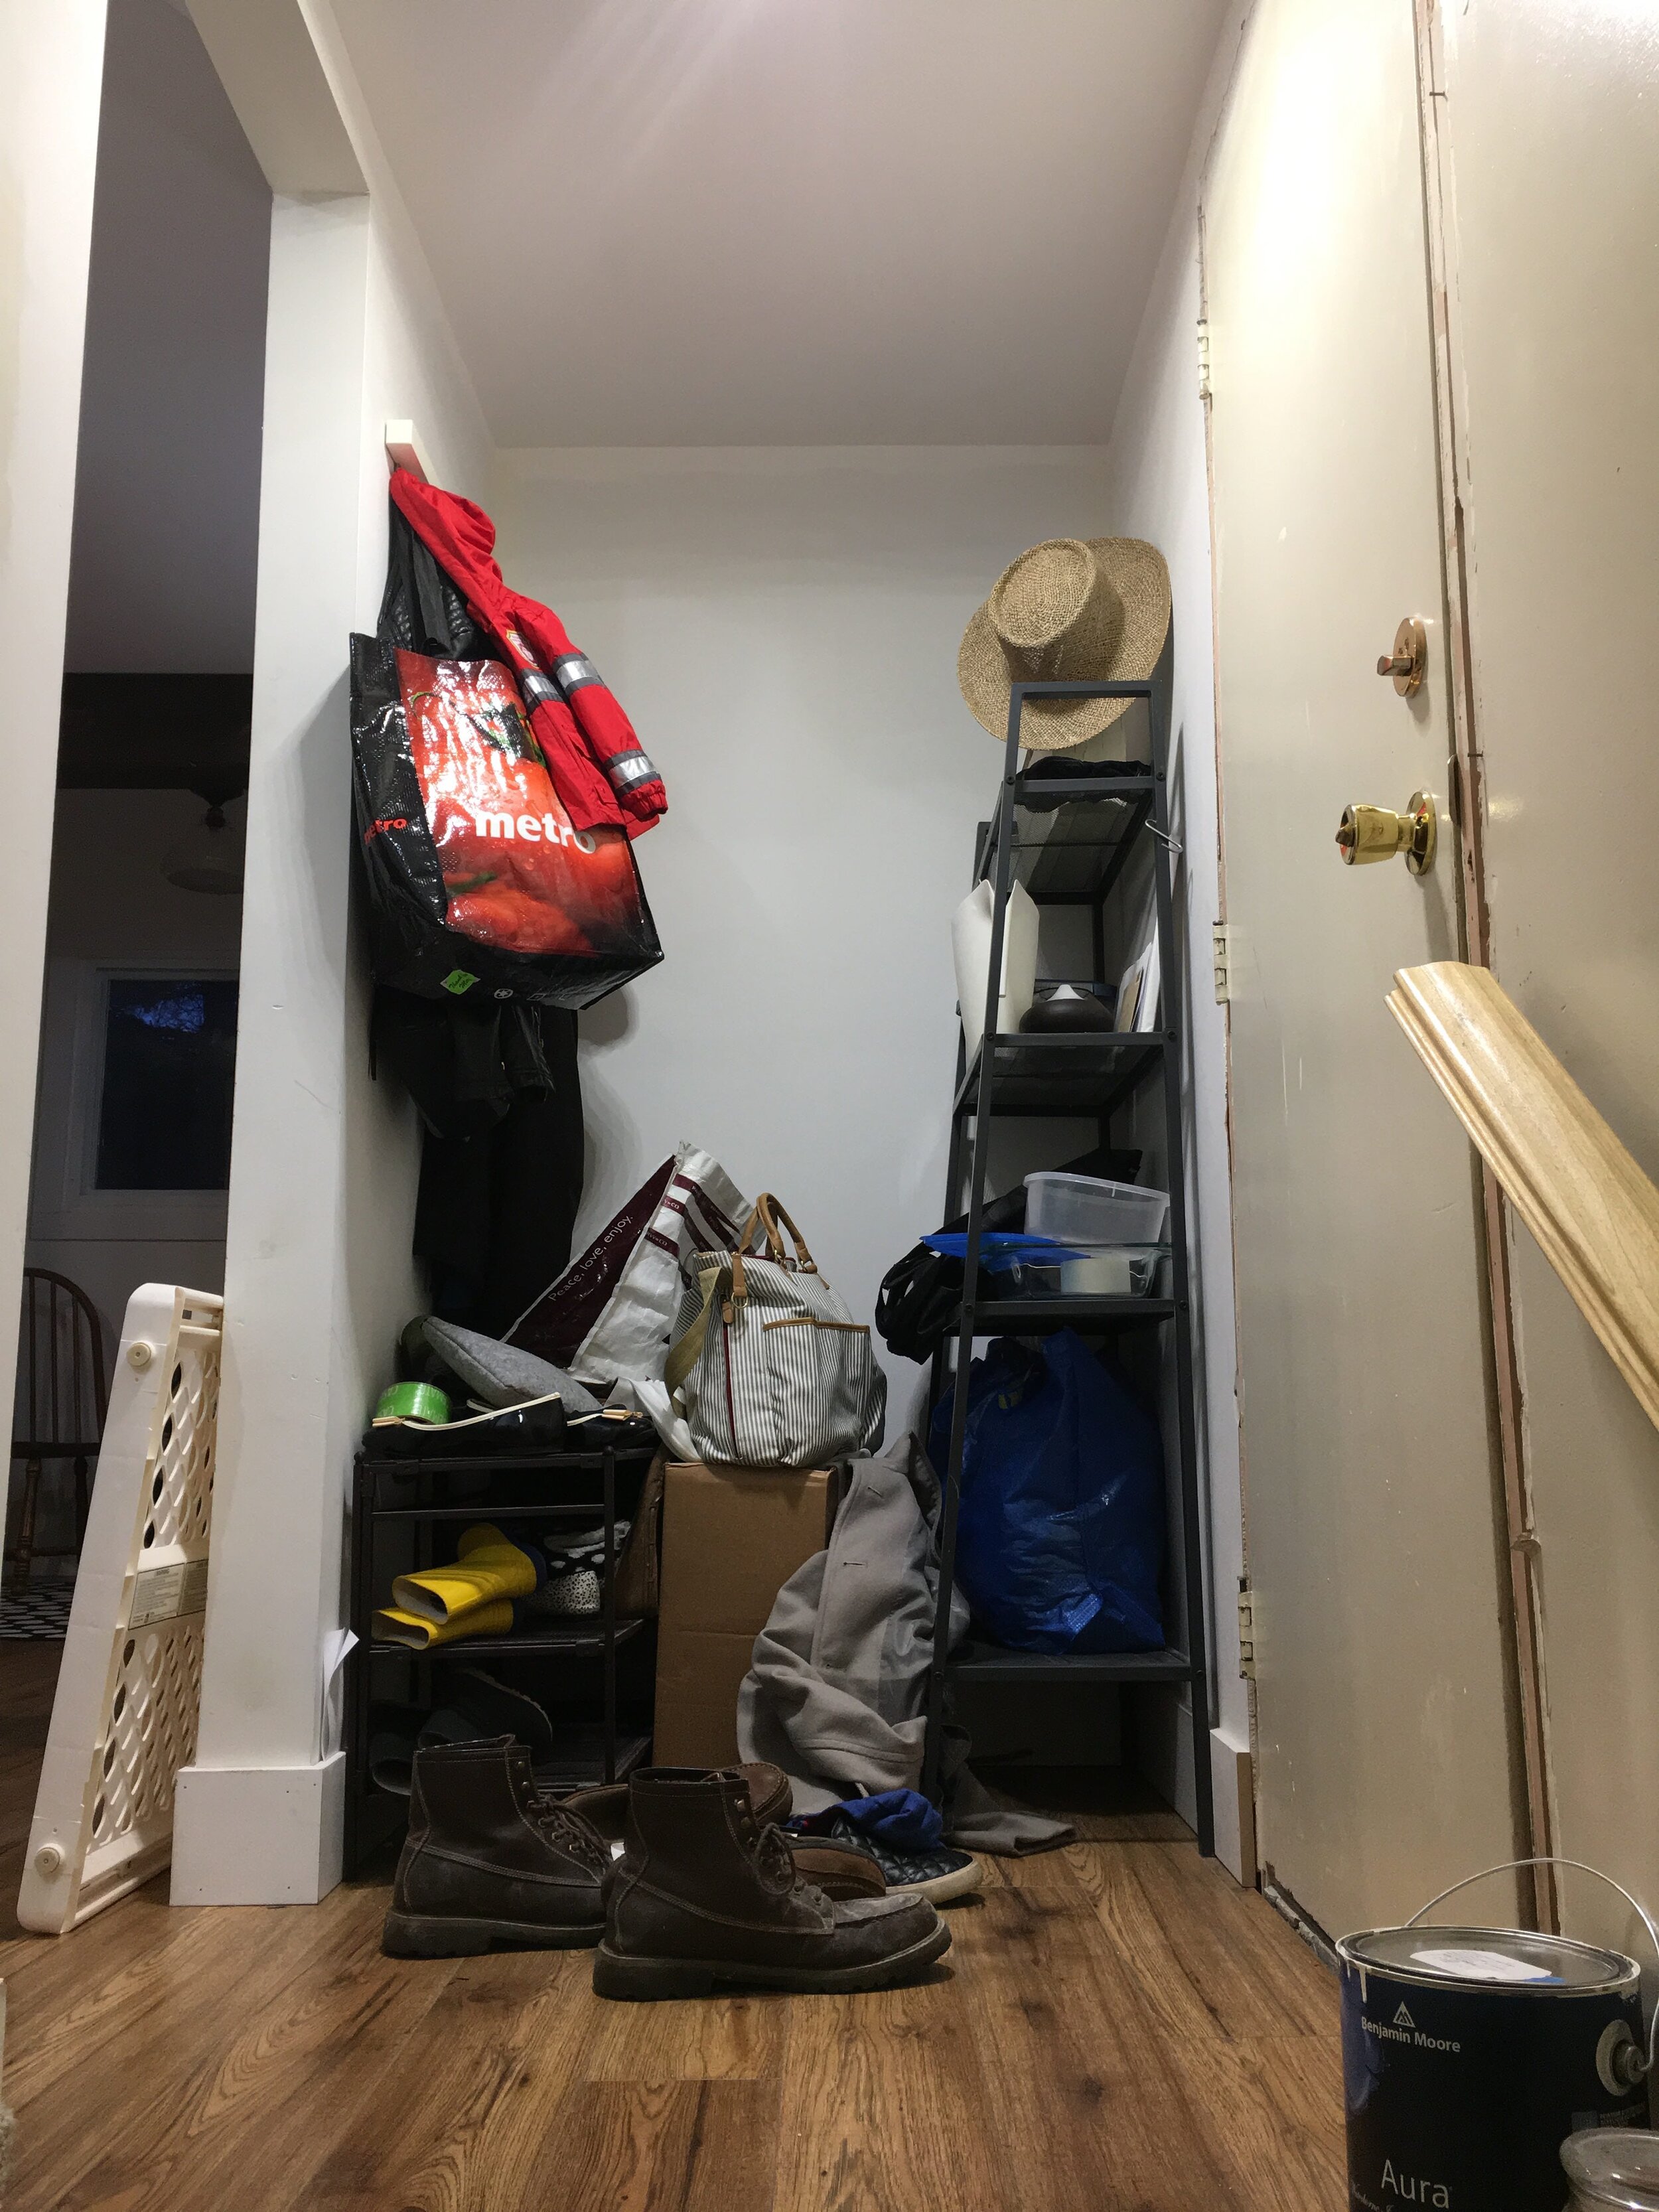 Here's what we did:
- added a barndoor
- put in a hall closet with a bench and hooks
- added shelf and storage baskets
- put in low hooks for the kids
- changed door to garage and direction it opens in
- updated the door hardware
Here it is now!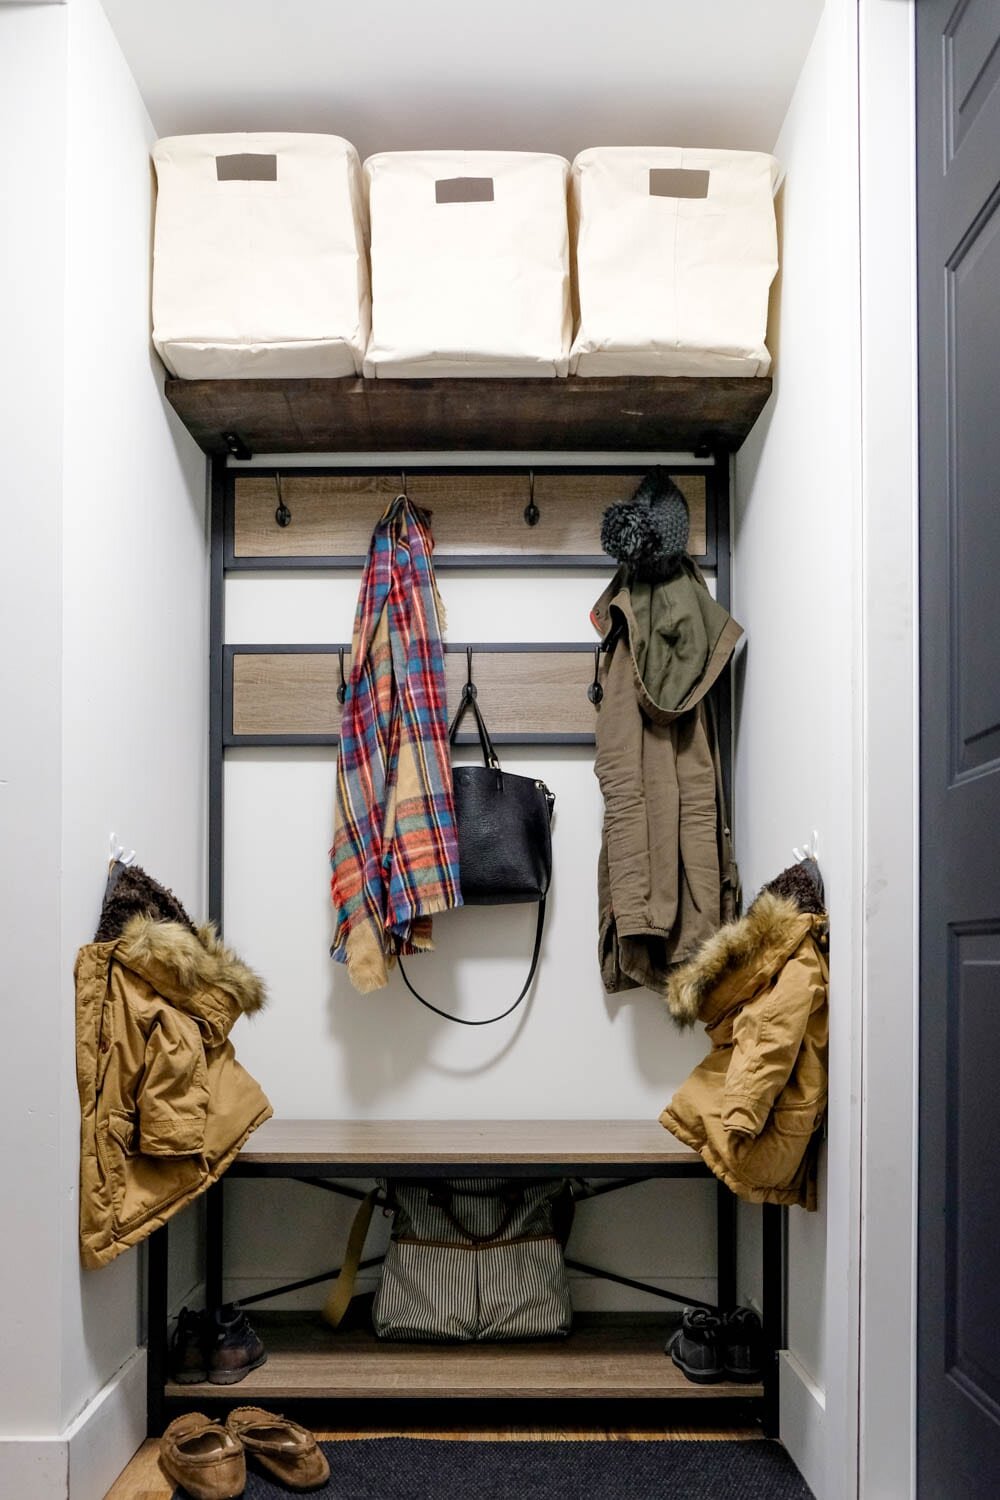 This is by far one of the busiest areas in our home since we park our van in the garage, so it needed to be functional and practical!
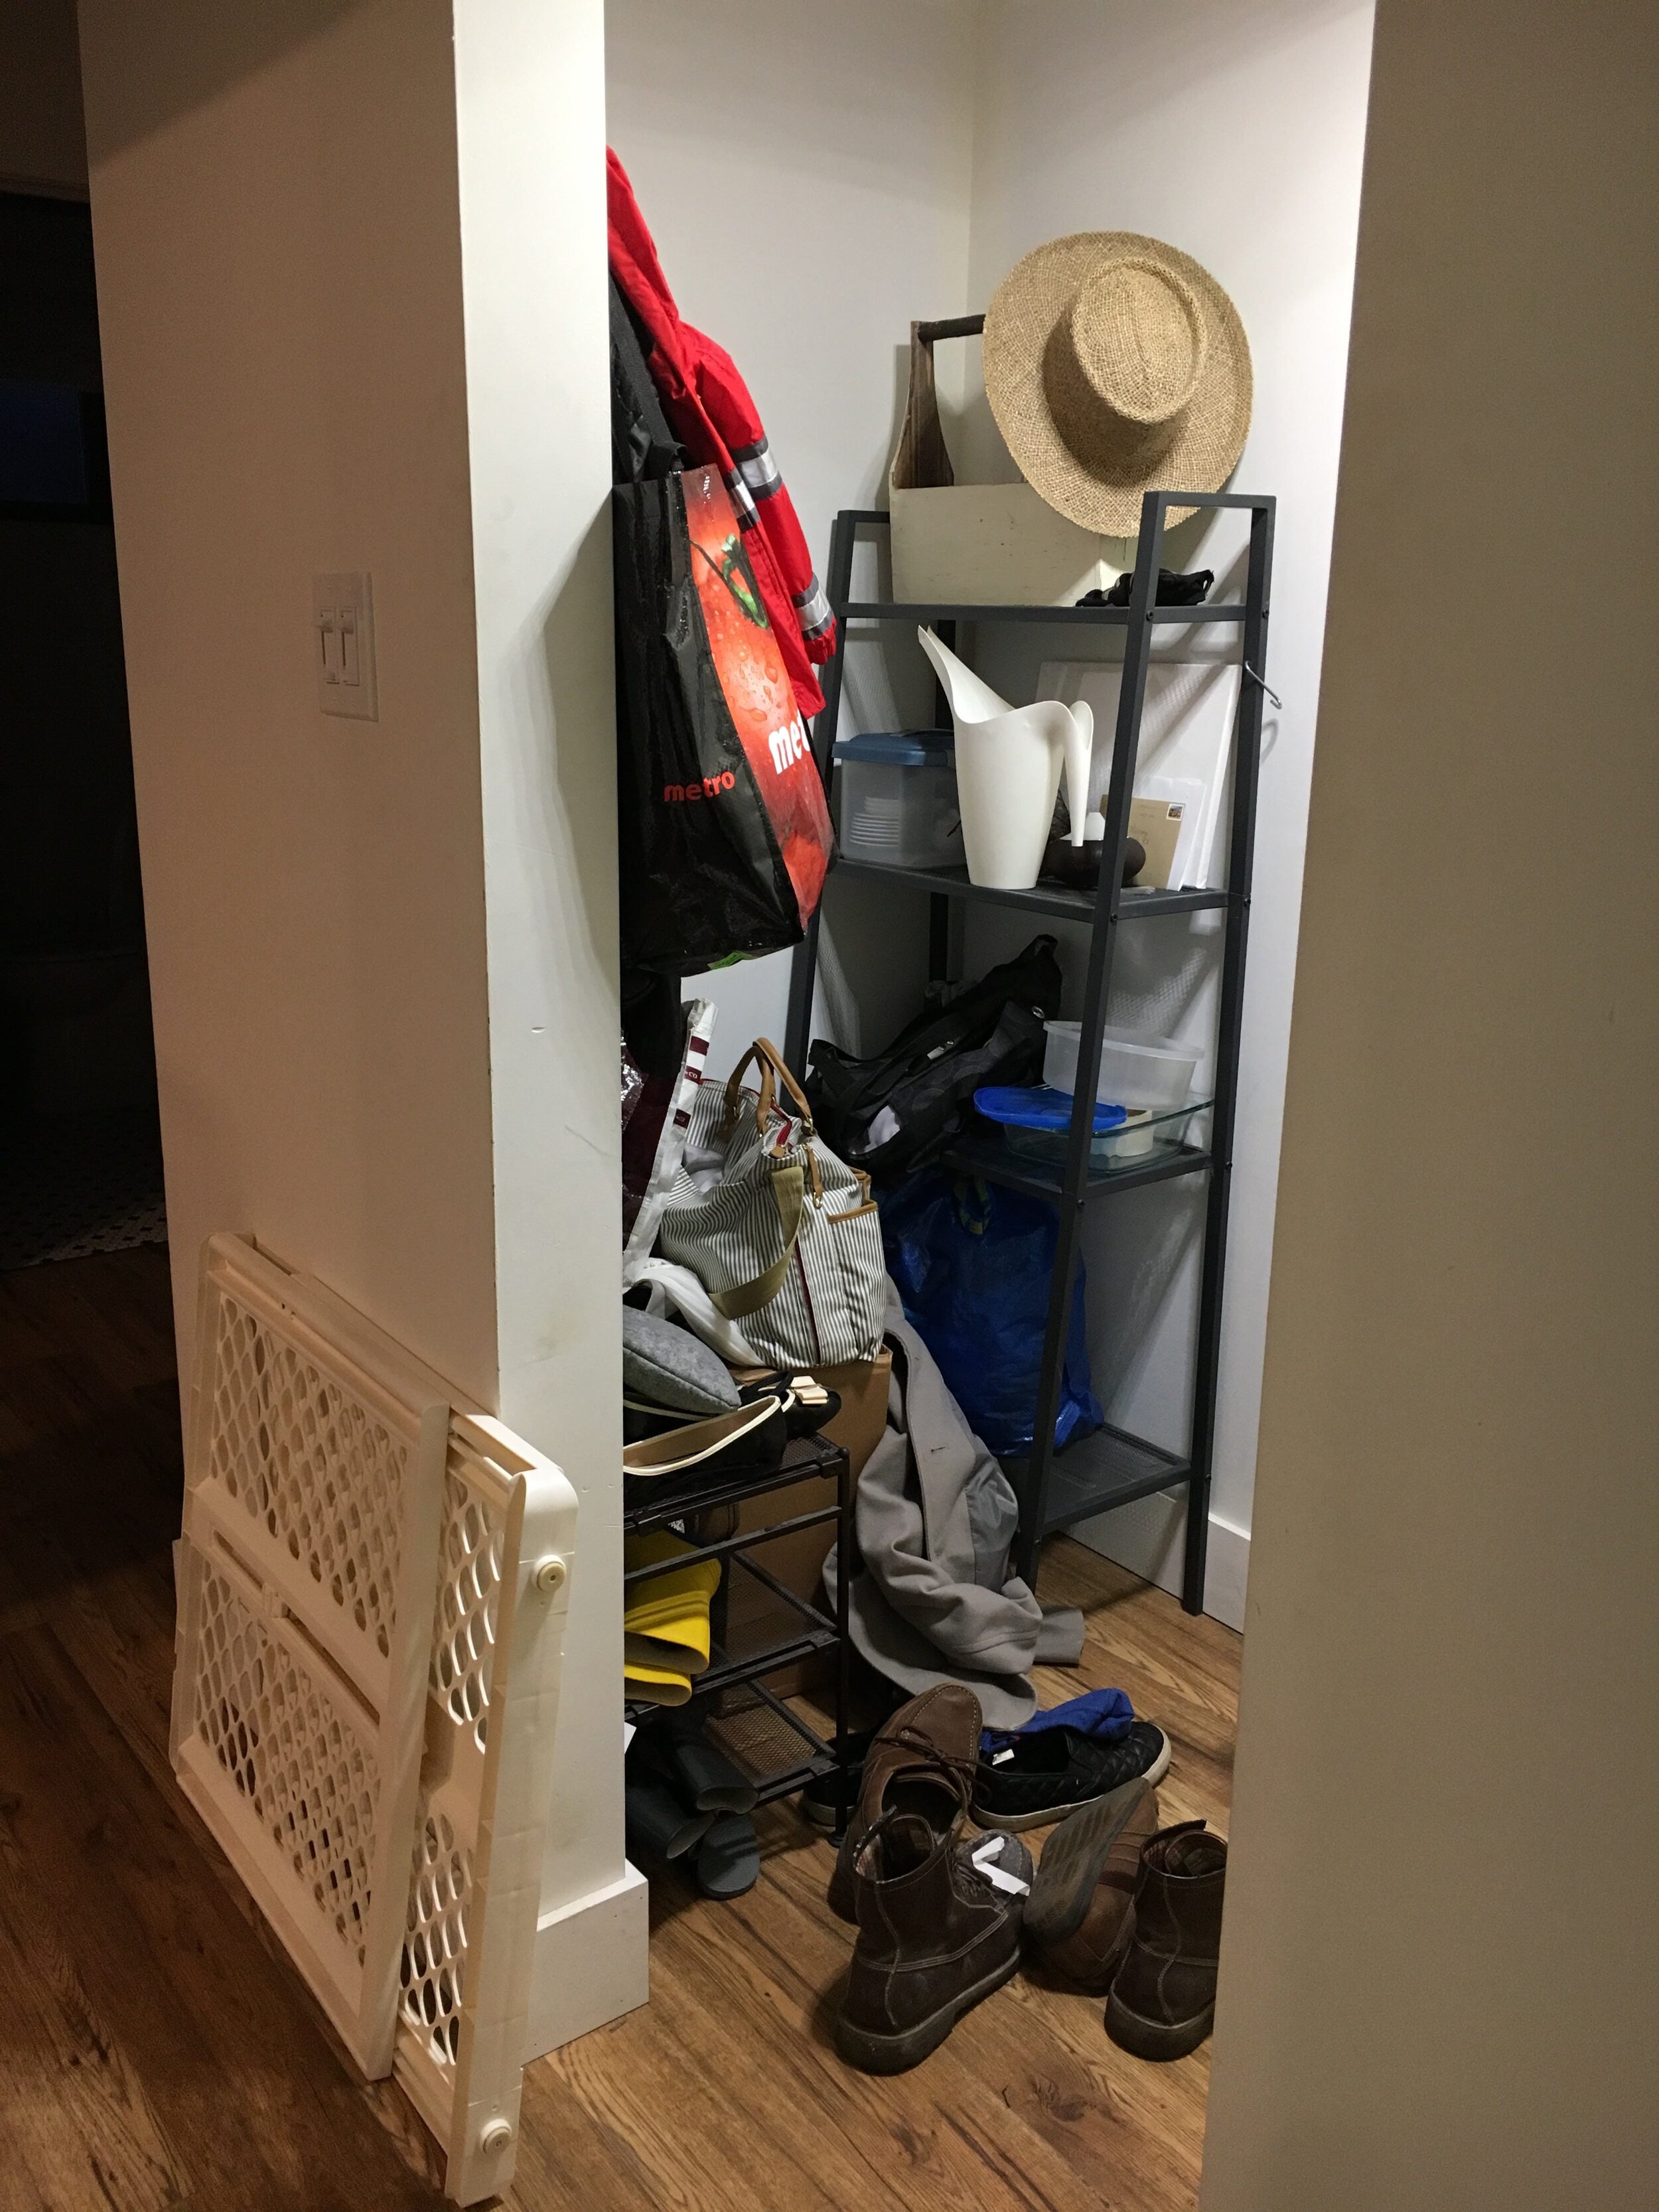
 The door is such a game changer! We updated the hardware to this keypad lever, so no more keys here either, and locking it is as easy as the push of a button.
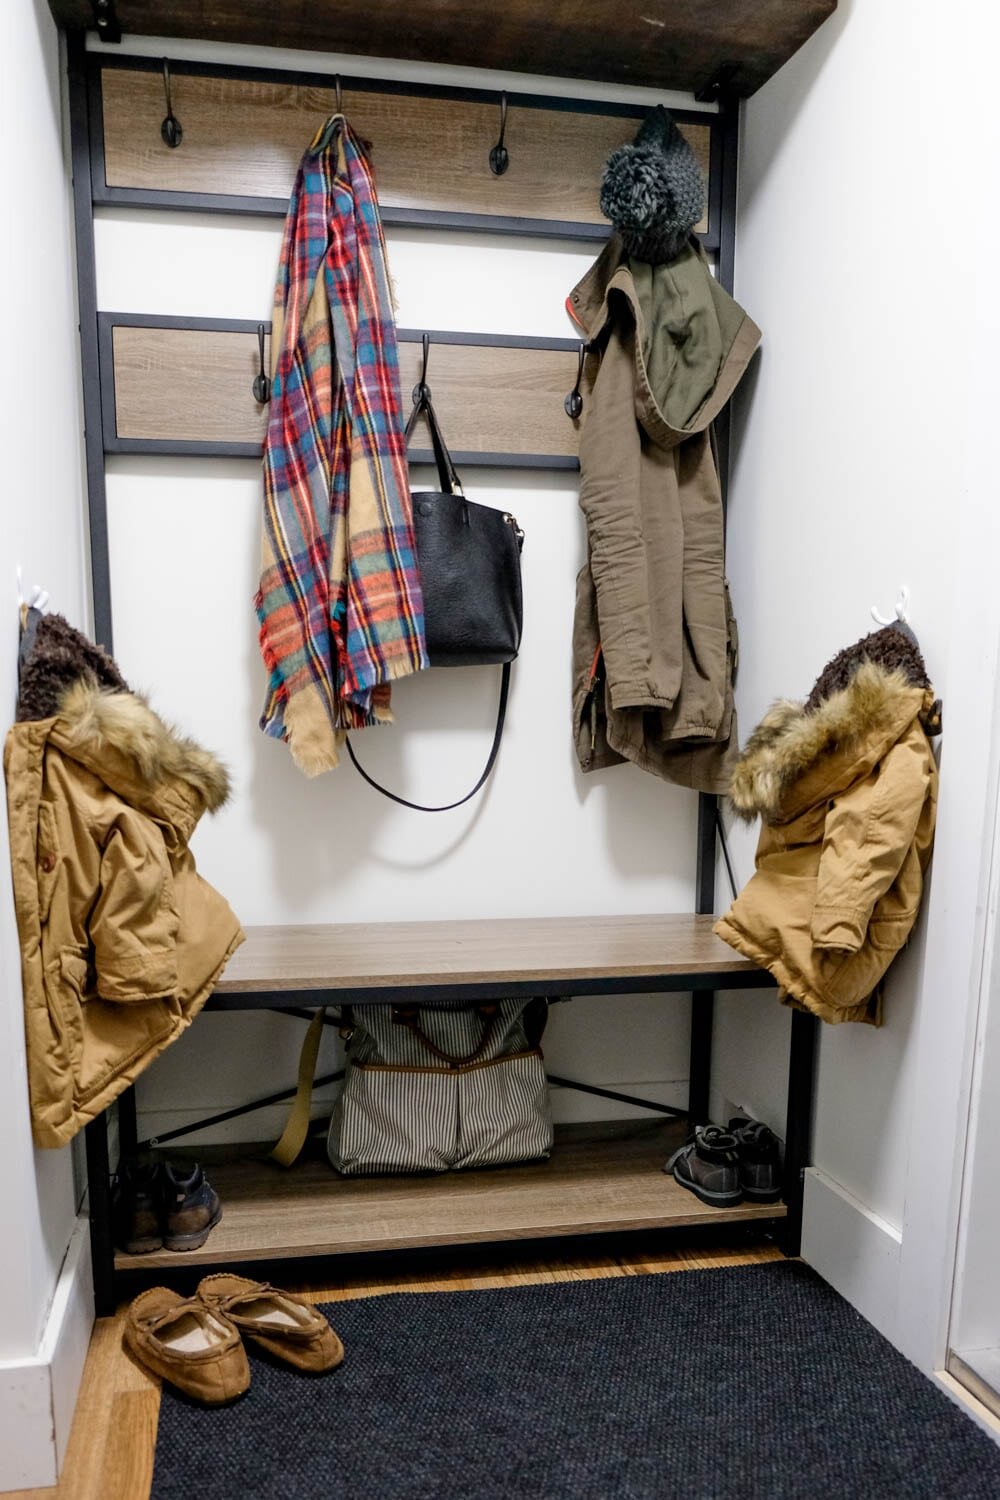
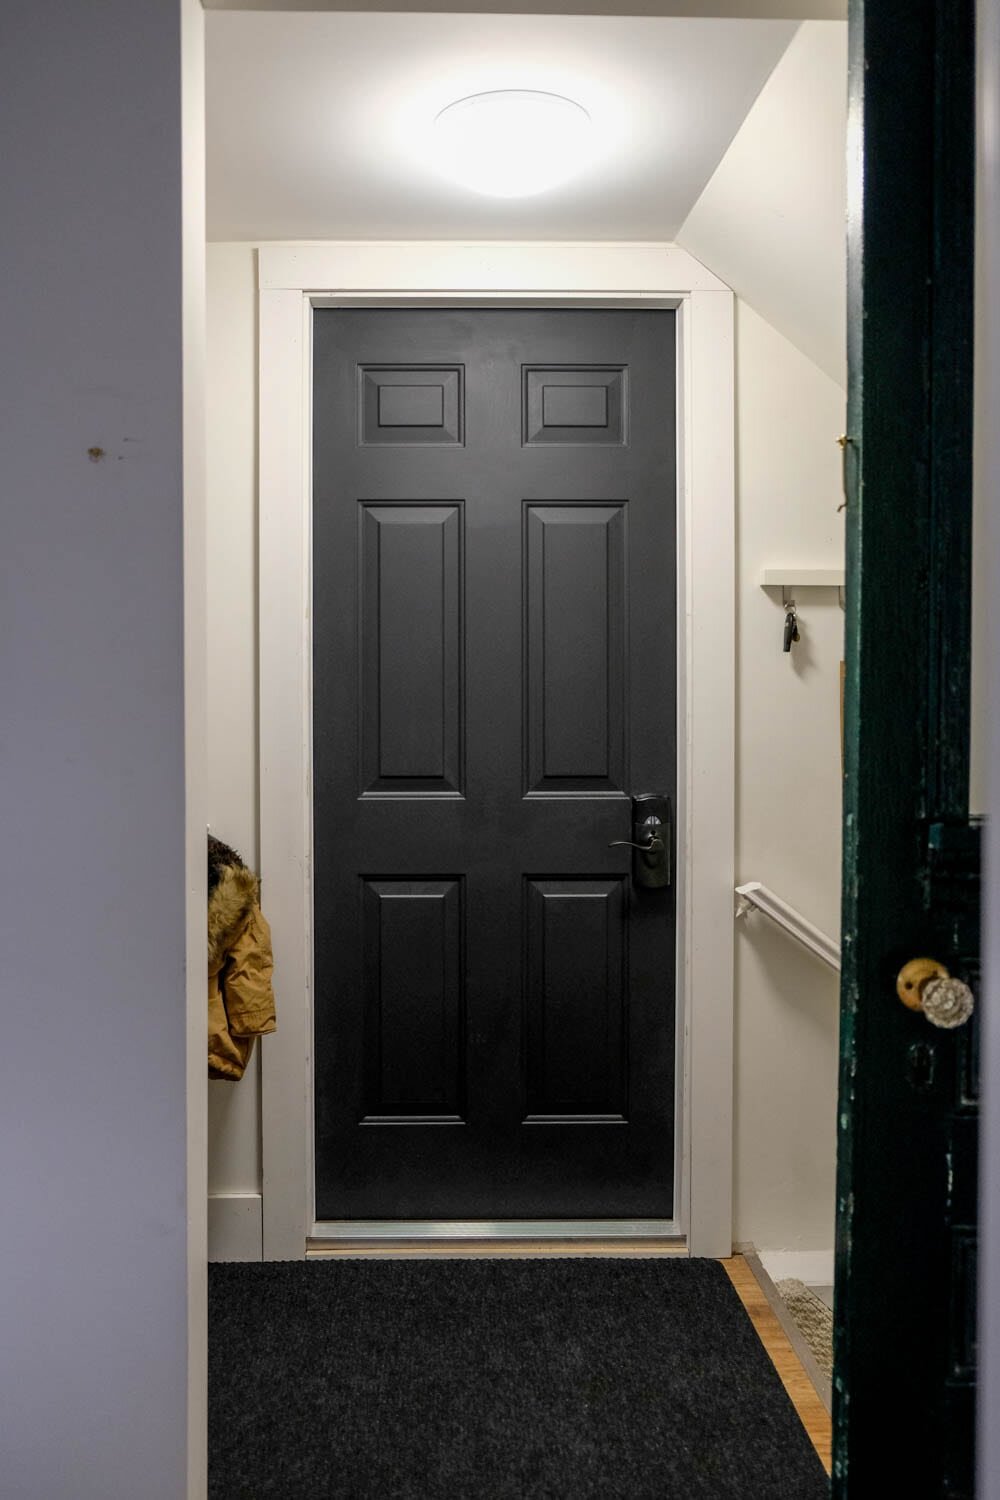 The baskets now house all of our hats, mittens, kids shoes, and random bits that collect. Marquis and I each have a basket and the boys share one. I love that they fit perfectly on the shelf and that the bench piece fit so perfectly in here as well!
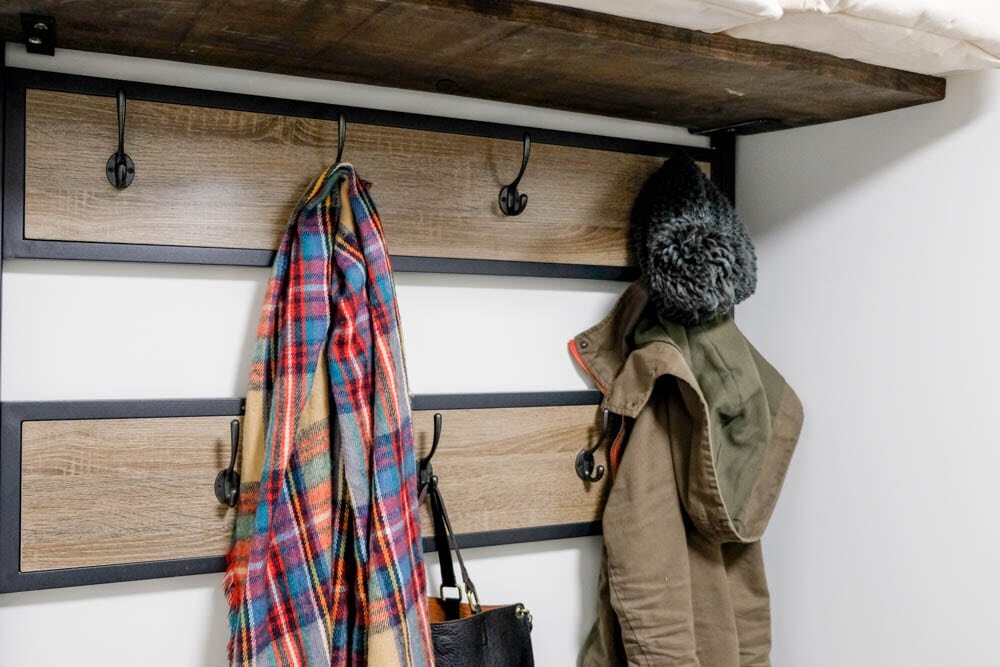 The mudroom barndoor was a second-hand find, and I made the label for it then sprayed on some frosted glass magic so we don't see the mess that may or may not be constant in there!
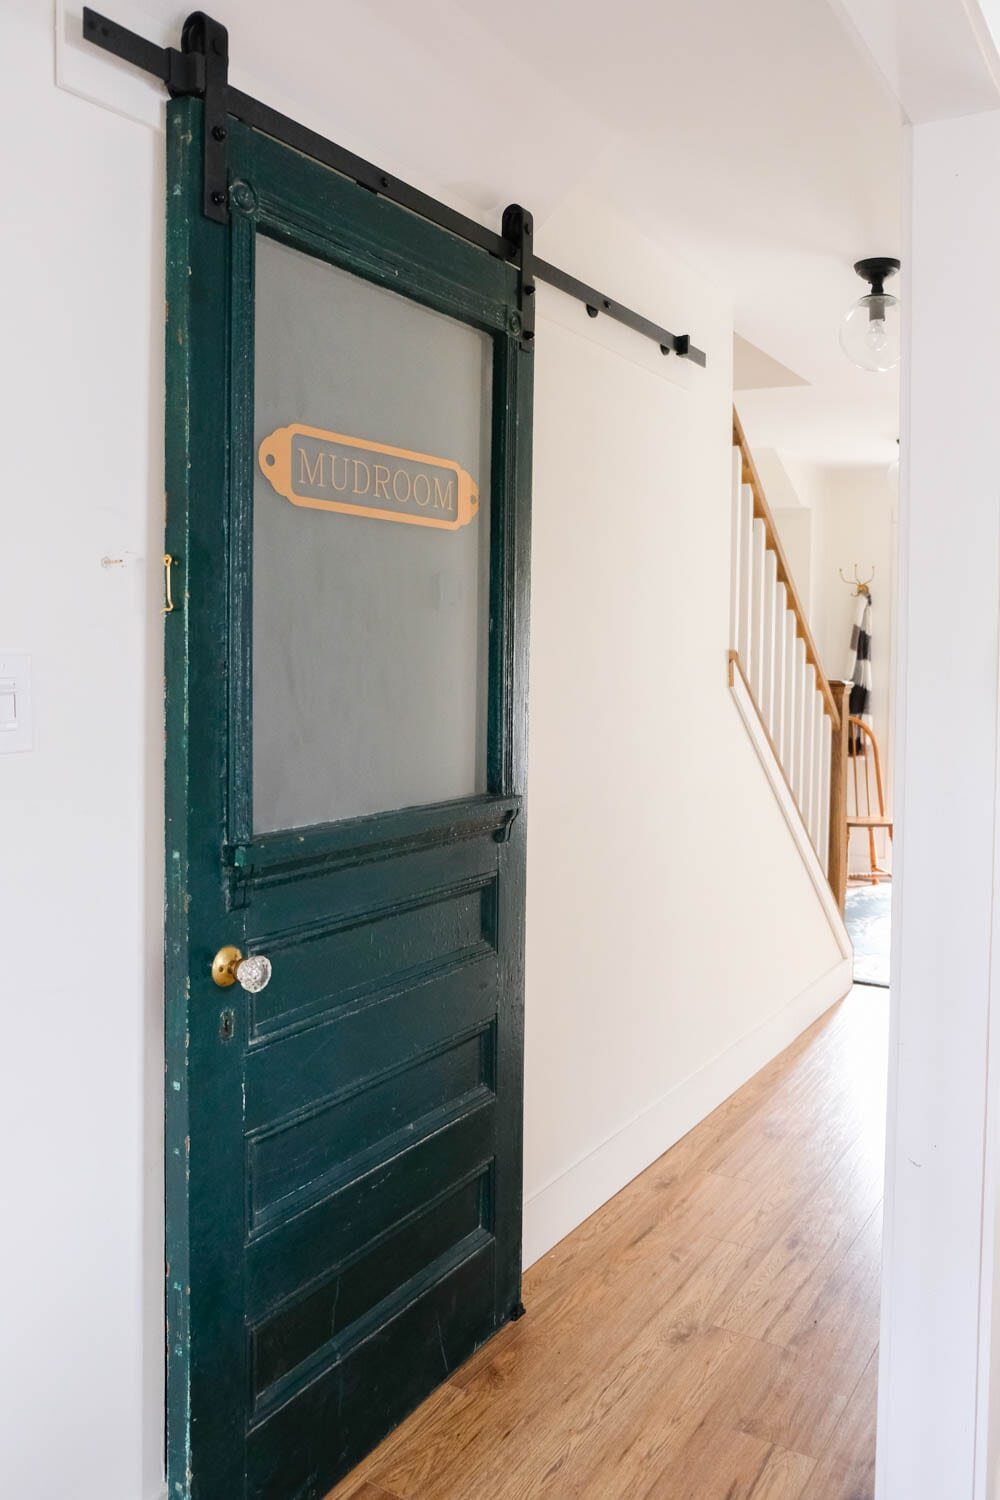 The door knob came from our next door neighbour who just sadly moved away. It's perfect! I had been searching for an antique knob, and when he offered up a door with this beauty, I couldn't say no!
 And now for a view of the whole hallway, because this is a thing of beauty, where we once had a baby gate and constant chaos!
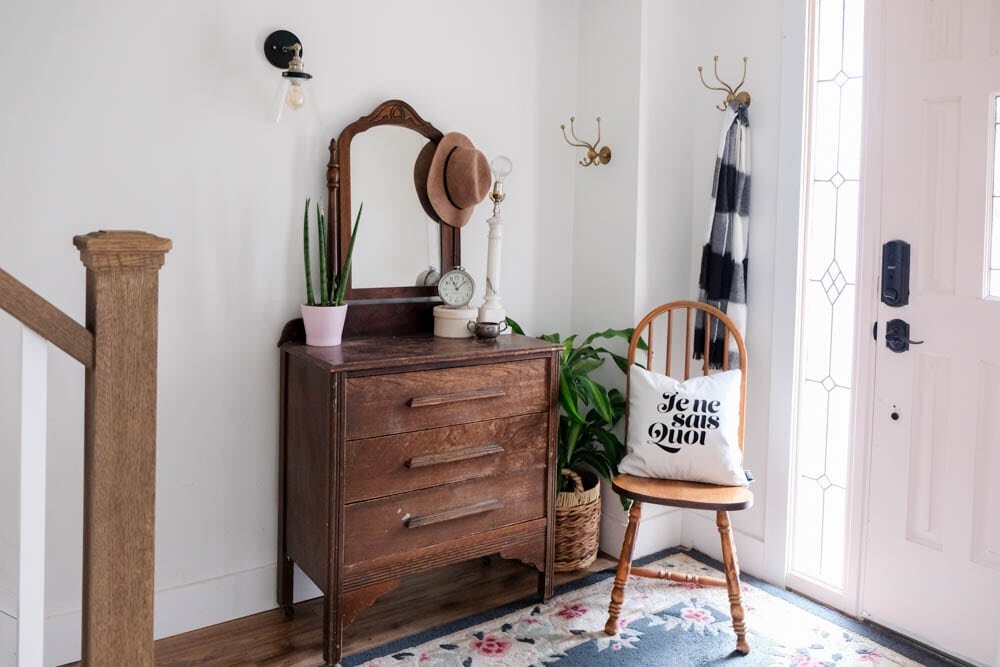
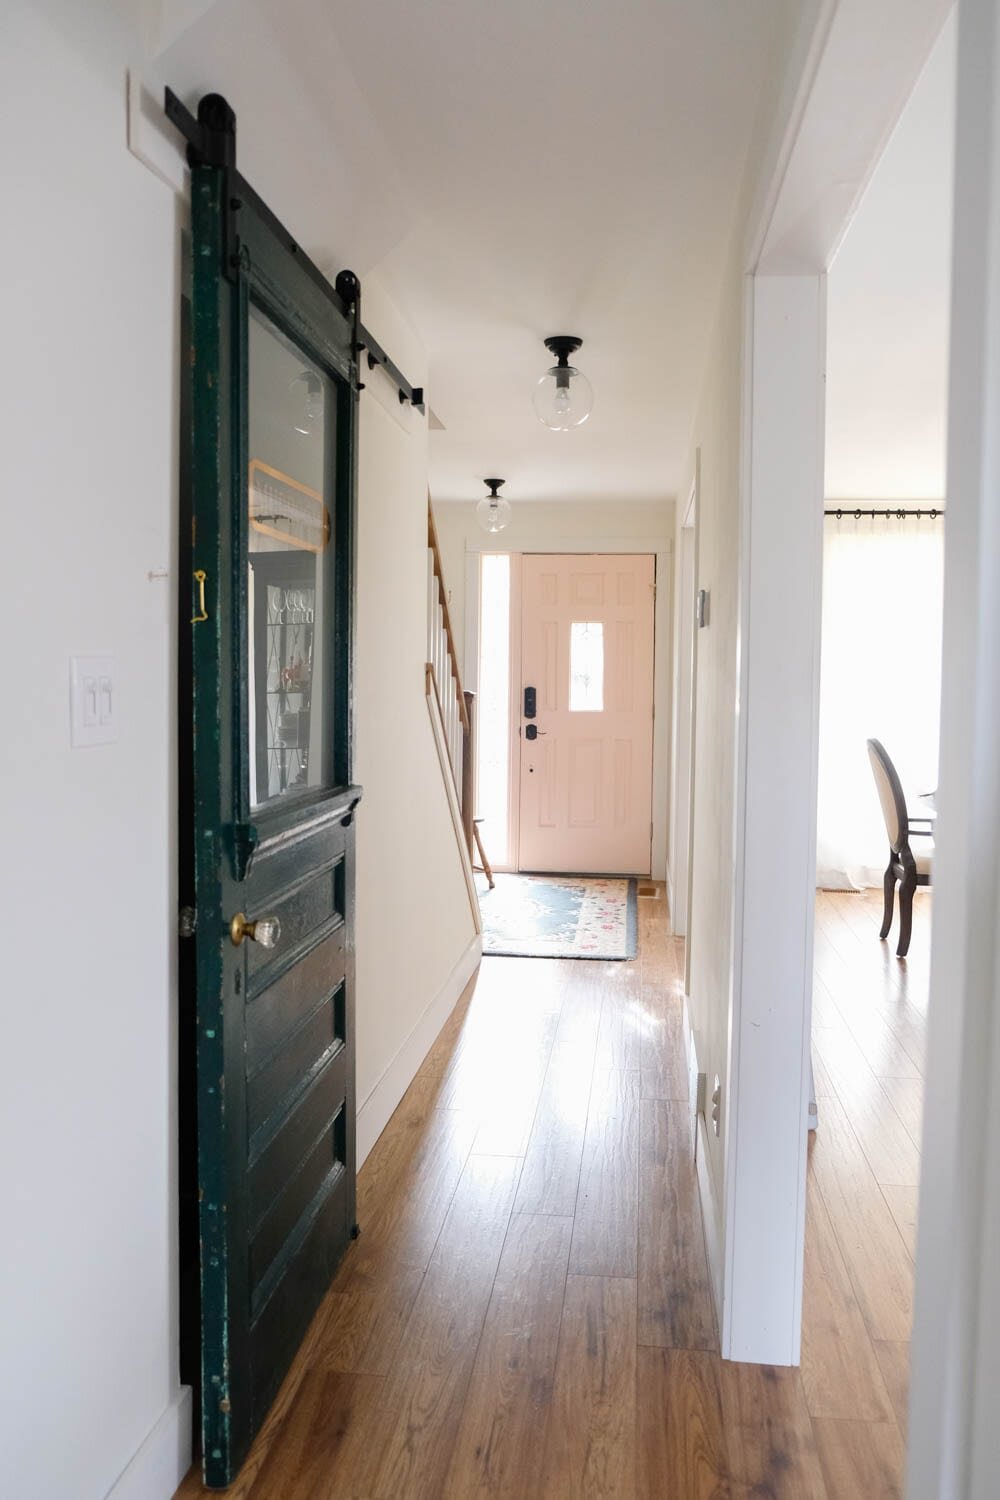 I'm in love with the pink door and the way all of the black and gold hardware work together. Mostly, I'm in love with having finished spaces that are functional and ready to tackle toddlers and winter! That was our main goal with this One Room Challenge, and we accomplished it, so I feel completely satisfied with how it turned out. It's not a fancy makeover by any means, but the push to get it done before snow arrives was just what we needed!Huge thanks to all of the sponsors who helped make this happen - they were all so gracious and wonderful to work with, and we're SO happy with everything we chose!
- Schlage - The Home Depot - Wayfair Canada - Swell Made Co -
Here's a breakdown of all the new things we added to the spaces:Front porch:
- Doormat @ The Home Depot
- Door handle @ Schlage Canada
- Mailbox @ The Home Depot
- Wall lights @ The Home Depot
- Door knocker @ Anthropologie
- Door paint colour: Behr 'Carbon'
Front entrance:
- Door paint colour: Behr 'Pink Elephant'
- Door handle: Schlage Canada
- Hooks: Anthropologie
- "Je ne sais quoi" pillow: Swell Made Co
- Wall sconce @ Canadian Tire
- Ceiling light @ Canadian Tire
Mudroom:
- Door to garage: The Home Depot
- Door handle: Schlage Canada
- Hall tree: Wayfair Canada
- Storage baskets: Wayfair Canada
- Barn door track: The Home Depot
- Green door: Habitat Restore
Don't forget to check out the other participants in the One Room Challenge!