How I Painted My Dressers Using Chalk Paint ®
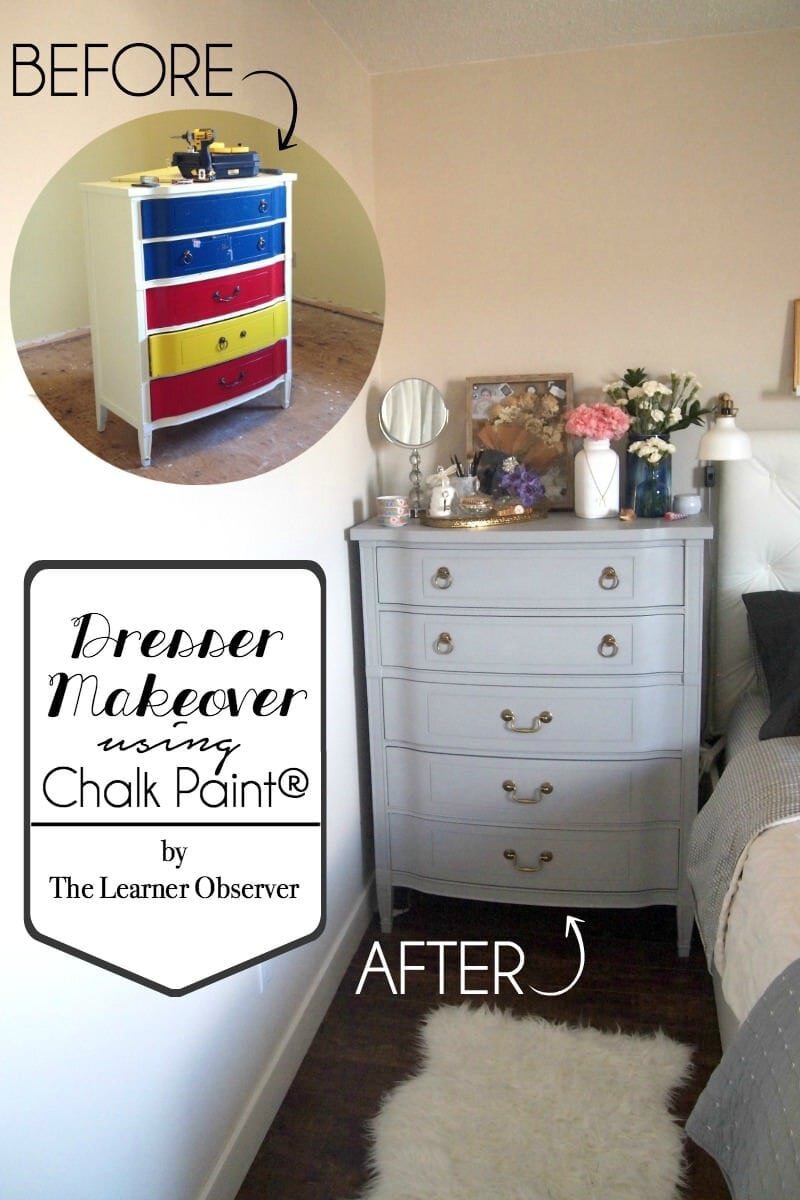
Ladies and the two gentlemen that may or may not read my blog, I am finally bringing you a post dedicated to how I made over two dressers using Chalk Paint ® for our master bedroom this year! You've seen the dressers, right? Because by this point, you've seen the master bedroom makeover like 100 times - in the post about artwork, the post about the headboard, and the reveal post.In case you missed ALL of those, I bring you, the complete makeover on the dressers, and a review on my first ever experience using Chalk Paint ® decorative paint by Annie Sloan.  Here's the story on the dressers: the little one (not pictured above) was given to us by my parents and it was a lovely shade of brown and copper. The other, was a $20 Thrift Store find that had about 3 too many colours on it! Here are the befores:
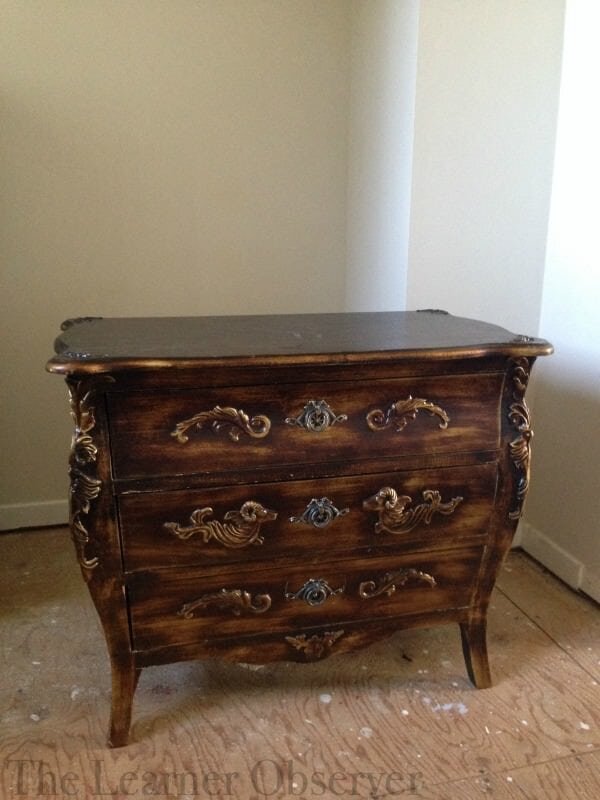
Before Painting
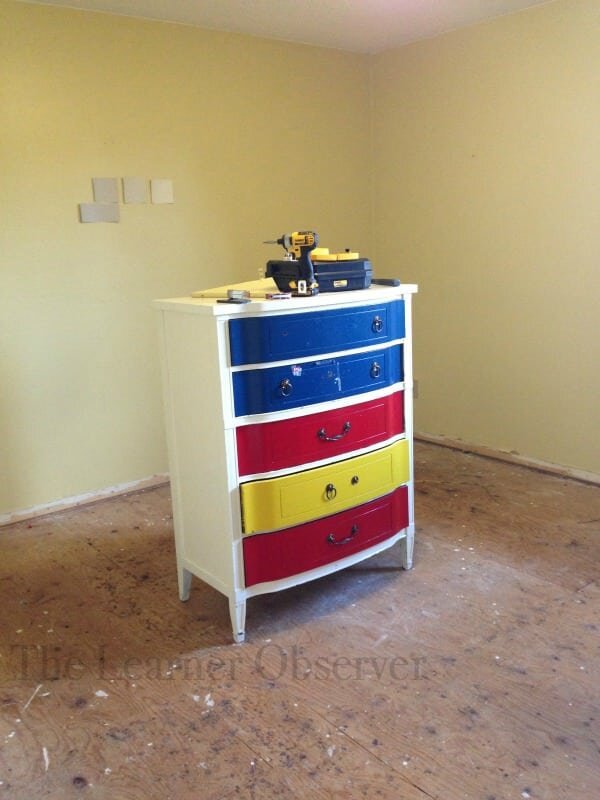
The crazy primary coloured tallboy dresser ended up getting stripped. Looking back, this wasn't a necessary step, but I thought I might like to distress it after I painted it, so I went for it.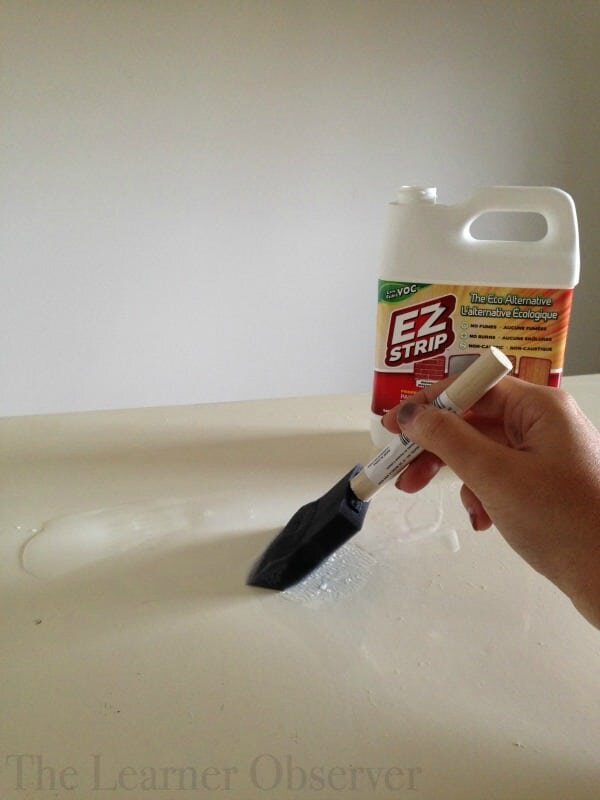 It was a pretty lengthy process between applying the stripper, waiting for it to work, and scraping it off. Once it started working, however, it was smooth sailing. The paint bubbles and basically comes off almost by itself.
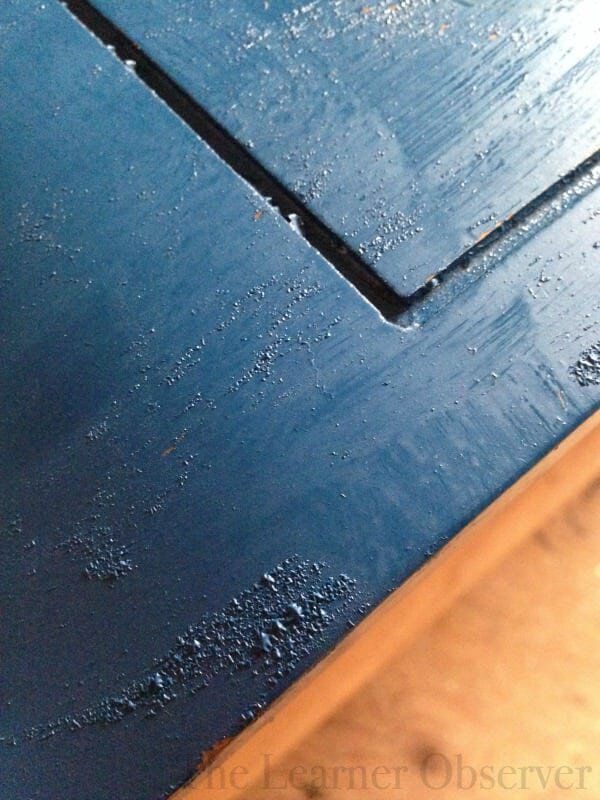 At this point, all I had to do was scrape it off, then wipe the drawers clean after.
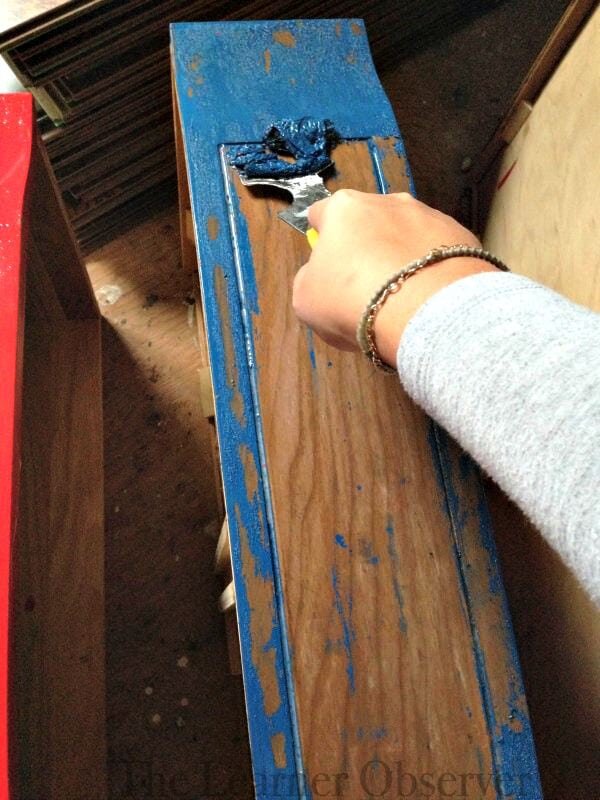 Repeat ALL over the dresser, and about 2 days later, you're done. Seriously, this happened over DAYS!
Using Chalk Paint ®
The colour I chose was Paris Grey - a light and subtle grey that basically goes with.... everything!Now the easy part began. And I do mean easy, people. Applying Chalk Paint ® is probably one of the easiest things I've ever done, and I can't believe I ever painted furniture with latex paint! I used a plain old 2-inch brush for application, and because of the scraping I had to do, the first coat looked a little like this all over the dresser: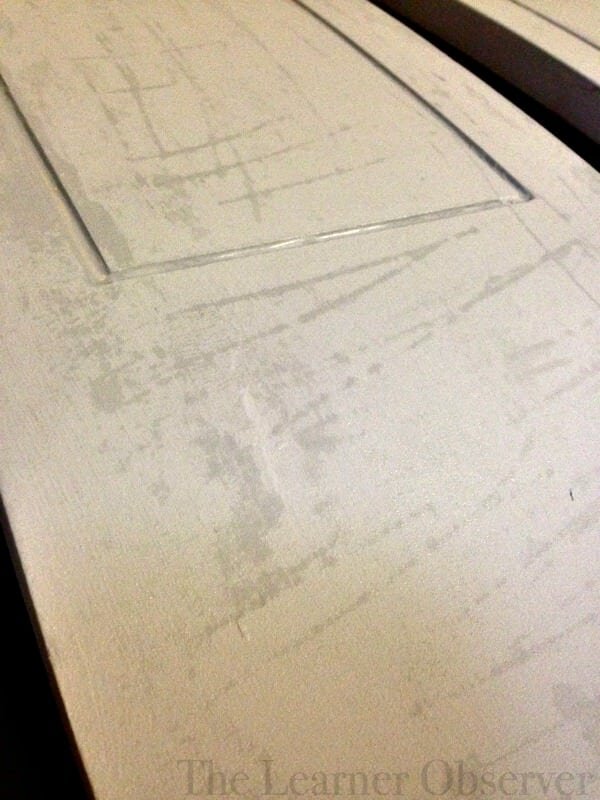 I was slightly worried, but once the paint started to dry, I could see this wouldn't be an issue. The paint dried completely evenly!
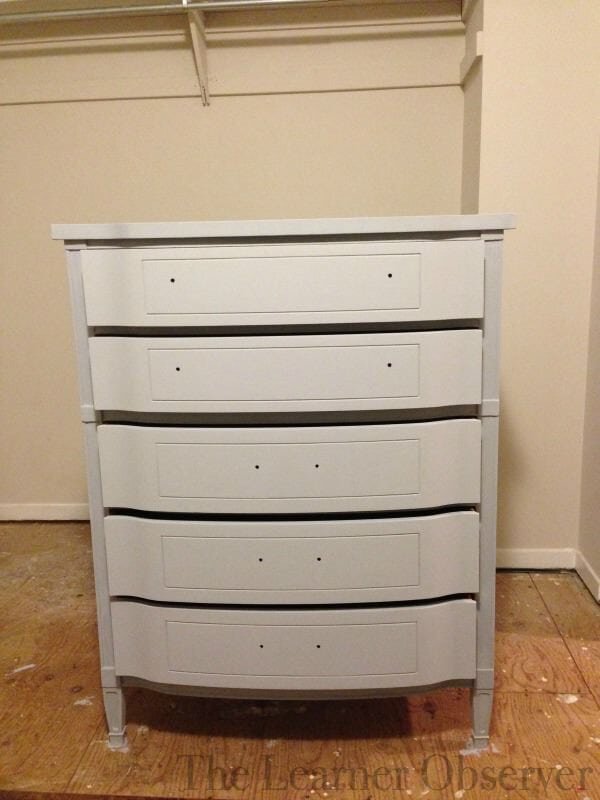 I waited a couple of days before applying the wax to make sure the paint was dry enough, then, using clear soft wax and a wax brush, I got to work!You can see that the wax makes the paint a little bit darker, but it's not very much, and it really makes the colour richer. Application is super easy - load up your brush, apply all over (the wax basically melts as you move the brush around) and wipe off with a clean cloth. Wax on, wax off. Literally.
 Once I had the waxing complete, I got to work on the handles and pulls for the tallboy. I replaced the 3 handles (though I had a minor setback)...
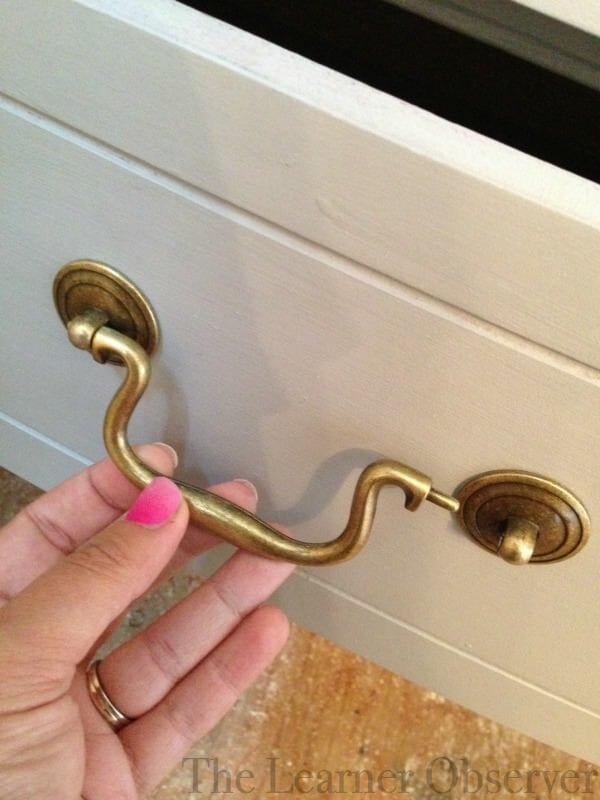 Don't worry, all I needed was to make some new holes and all was right in the world again. The pulls were original to the dresser, but needed to be cleaned. Here you can see a piece of the new hardware for the pulls, a dirty pull, and a cleaned one. The clean one matched the new hardware perfectly!
 The grey and gold combo is one of my favourites ever, and on this dresser it's just perfect!
 The short dresser got paint all over - I didn't remove the hardware because it was basically super glued on! Ain't nobody got time for that. Luckily, Chalk Paint ® also sticks to metal! Lucky me!
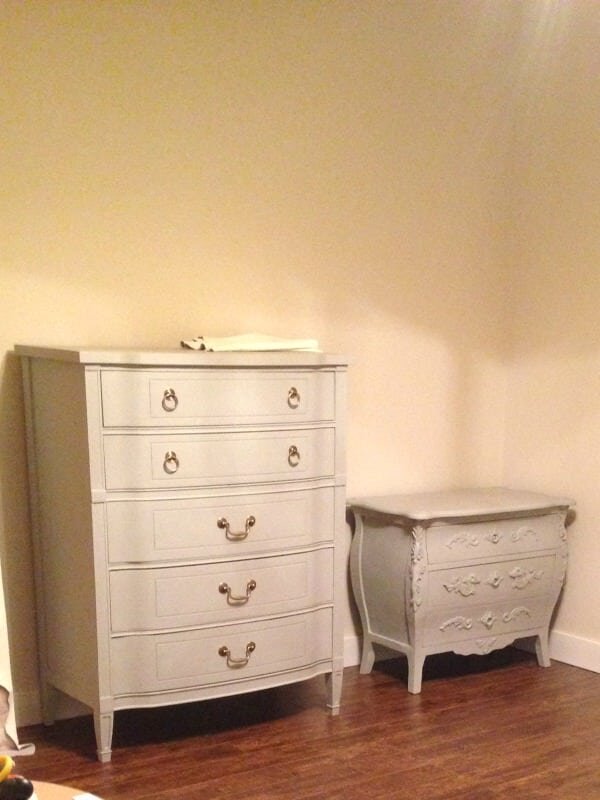 I let the wax sit for another couple of days, just to make sure everything was ok - given past experiences with latex paint, and needing to let it set for weeks, I thought two days wouldn't be enough, but I've read enough about Chalk Paint ® to know that it doesn't need that much time. And then I finished the room and put stuff on the dressers...
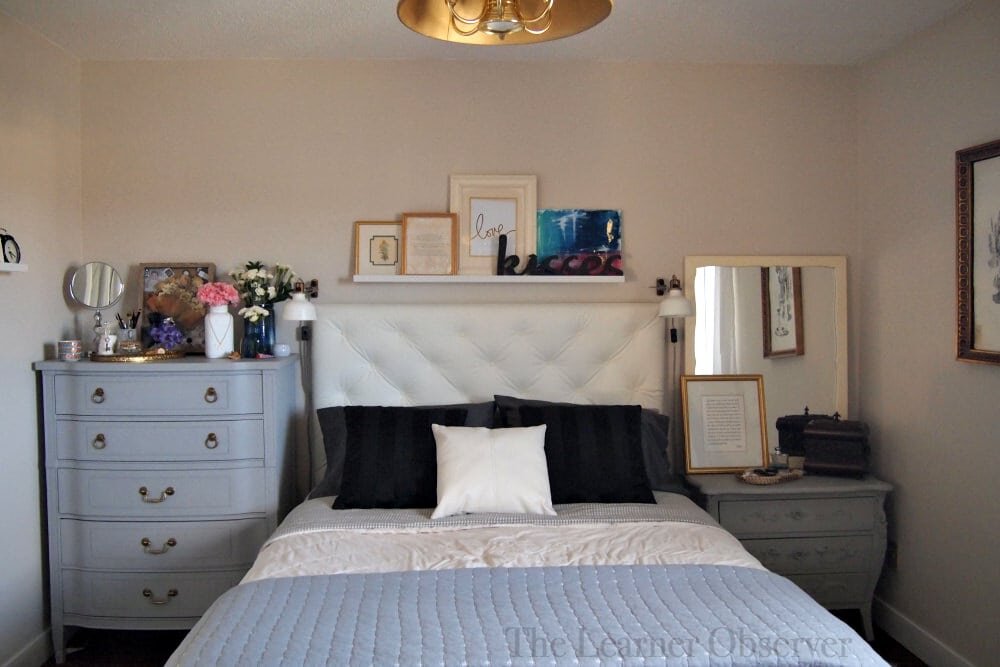 And it was glorious!
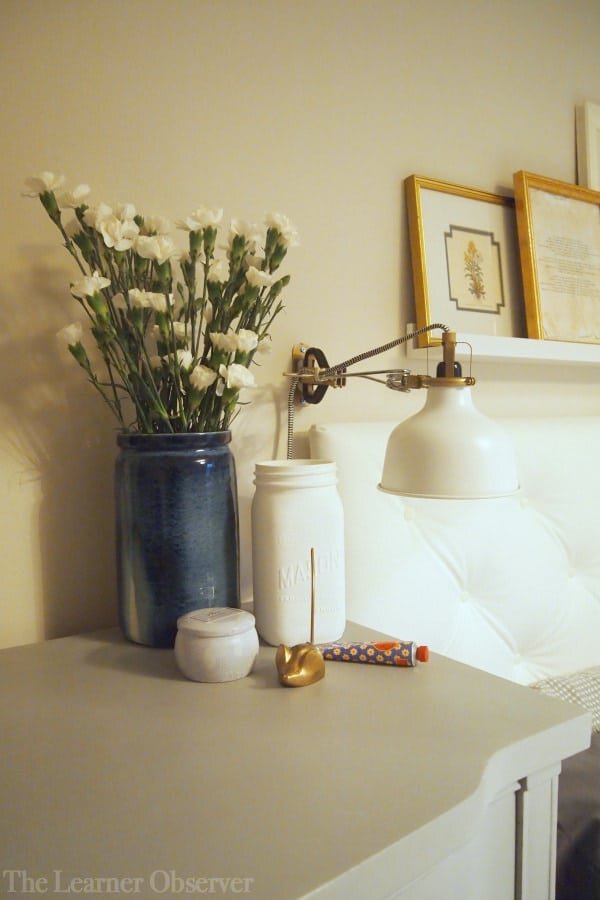
The Final Verdict
The room has been finished for over a month now, and there is not a scratch on either dresser. It's nothing short of amazing! We use them as our bedside tables as well, so there's a constant shuffle of phones, iPad, jewelry, etc on them. Again, not a scratch! I did use two layers of wax on the tops of the dressers, but just one on the rest of them.
  All in all, I loved the experience I've had using Chalk Paint ® decorative paint by Annie Sloan, and I do highly recommend it. Sorry this wasn't a perfect tutorial on how to use the paint. There are so many of them out there, I didn't need to make a new one. If you'd like one, Lauren over at The Thinking Closet recently used Chalk Paint ® also, and did a great job of showing step by step instructions!And that, folks, is all she wrote! What do you think of the makeovers? Have you tried Chalk Paint® before? What did you think? Do tell!!