Everything You Need to Know About Planning IKEA Kitchen Cabinets
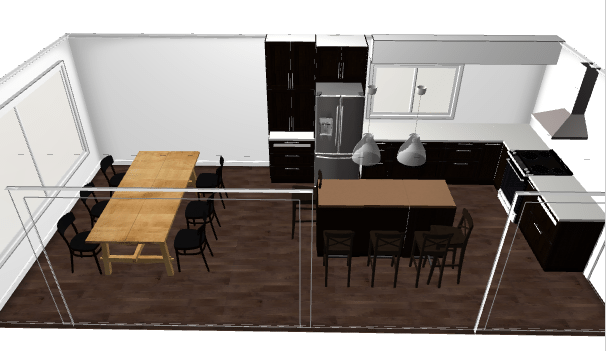
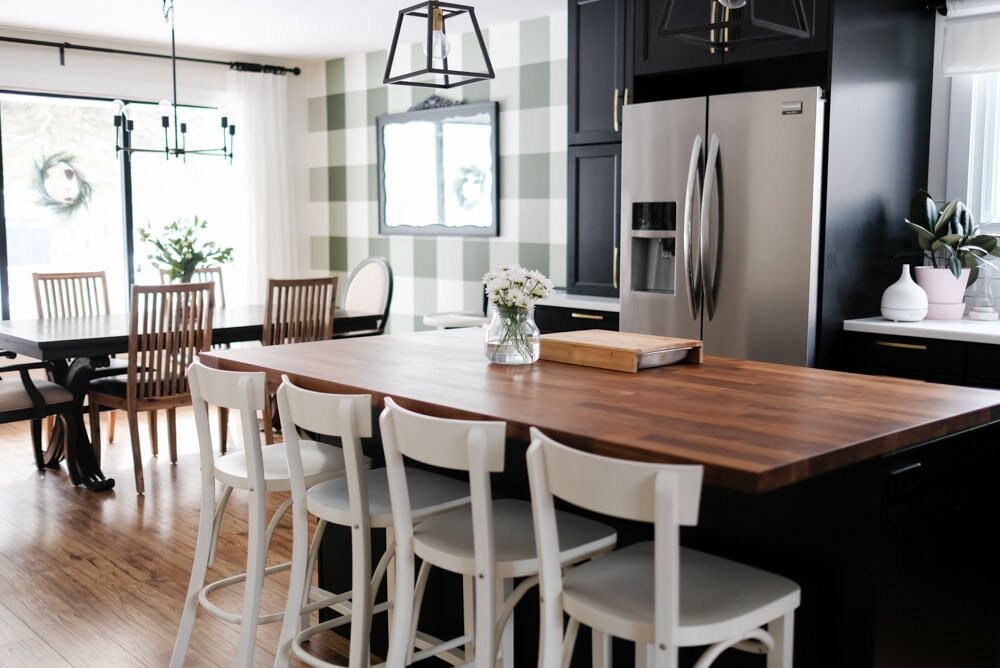
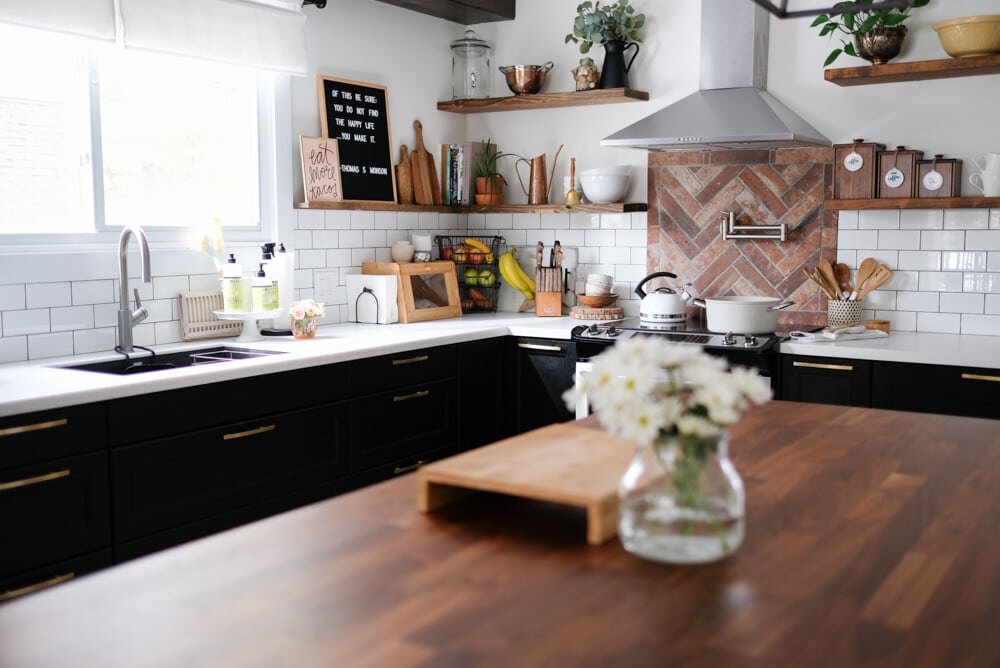
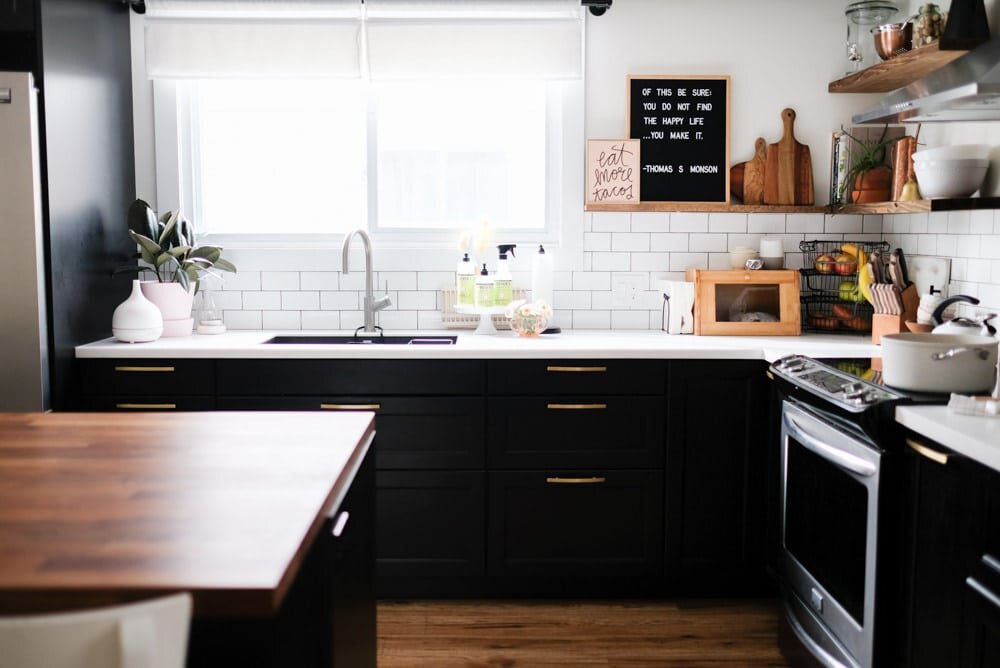
Planning IKEA kitchen cabinets and appliances is not for the faint of heart, but we've made it out the other side of this alive and you can, too. I promise.There have been so many questions about our kitchen reno, thanks to my constant updates on Instagram stories about every little step. Well, I'm going to start from the beginning and share everything I learned along the way with you from planning to execution to countertops. Ready? Here's a peek at how the kitchen turned out (more photos at the end of the post):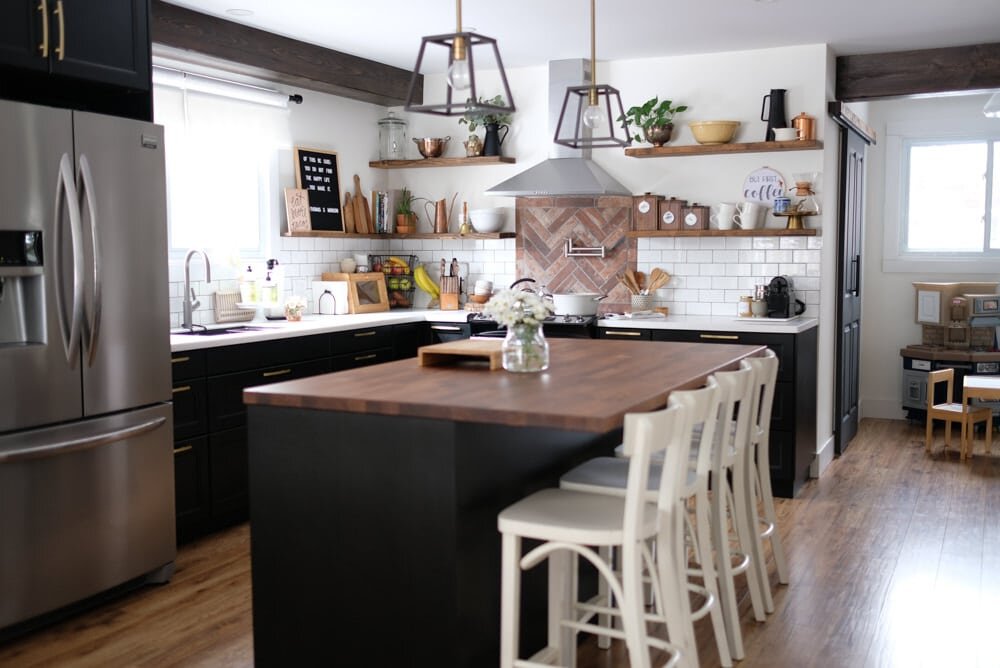 Before you even start planning...
Decide on cabinet finishes
IKEA provides several different finishes ranging in price from $59-$149 per linear foot (based on a 10x10' kitchen). Cool. But what does that mean? IKEA says:
What's included in the linear foot price?The linear foot price includes cabinets, door fronts, drawers and drawer fronts, interior shelving, hinges, cover panels, toe kicks and legs. Your choice of countertops, handles/knobs, appliances, sink, faucet and lighting sold separately.
Pretty straightforward. The cabinets, door and drawer fronts, and interior pieces are priced individually, so this linear foot price is an estimation.So how do you choose? Spend extensive amounts of time pinning ALL. THE. KITCHENS. on Pinterest, like me. Look closely at what you pin and ask yourself:
- Do you have mostly white kitchens? Grey? Black? Two-toned?
- Are your pins mostly of kitchens with upper cabinets or open shelves?
- Now think about your actual kitchen: does it need upper cabinets because it's on the small side and you need all the storage?
- As much as you like open shelving, can you live with constantly having stuff sitting out on them, cleaning whatever may be close to the stove (because things can get a bit greasy) and will you enjoy styling those shelves or will that stress you out?
- Is there a specific layout that stands out in your pins, or that you know will work in your own kitchen?
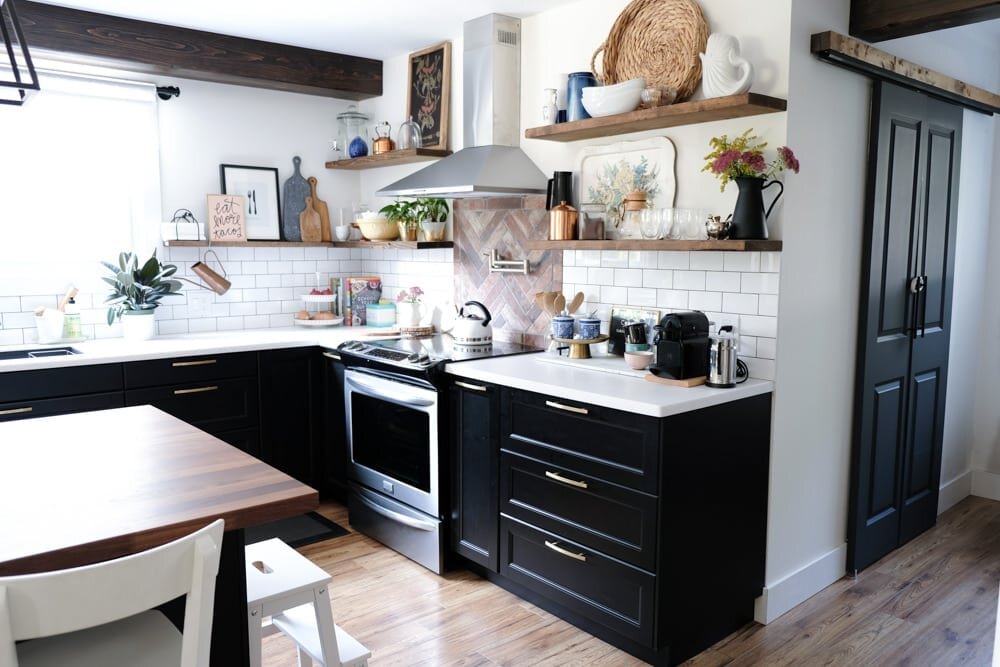
The kitchen I went back to over and over and the one that came closest to my perfect kitchen was Chris Loves Julia's.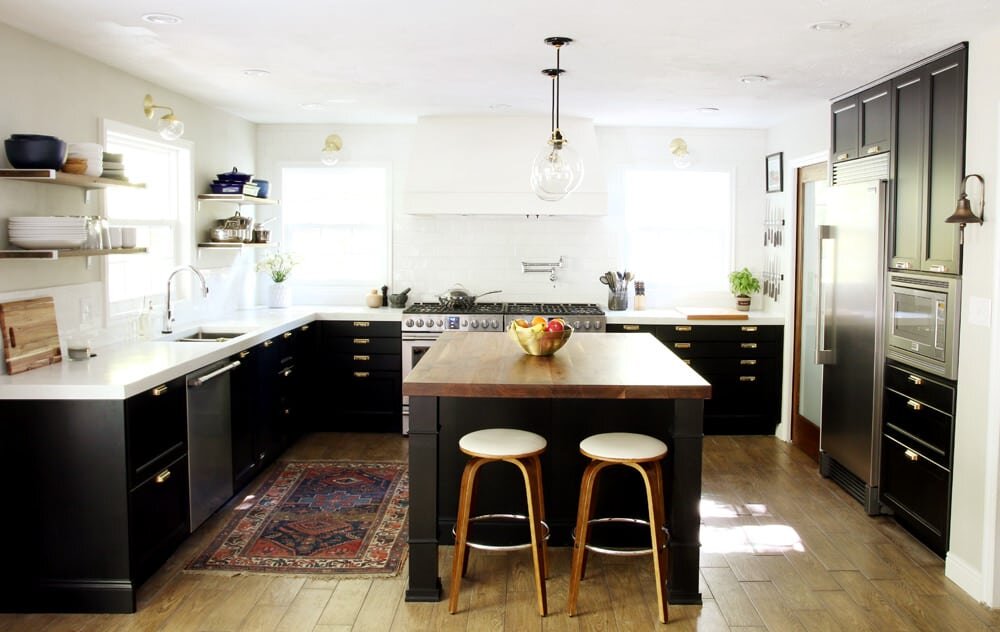 I loved the light countertops, the dark cabinets and the butcher block. Those were all things I knew I wanted (because my love for black, white and wood tones runs mighty deep).Once you figure out the style you like and you're confident that it's the kitchen you want, you're ready to plan.
Planning your IKEA kitchen
1. Know your options...
When you go into the store, you may be met with either super helpful kitchen staff (if you meet one of these unicorns, let me know ASAP), or someone who rather disgruntedly tells you to wait in line then gives you 4 options:
- Pay $250 to have someone go to your house for 3 hours and measure and plan the kitchen for you. To which I said, NOOOOOOO THANK YOU! Because budgets.
- Pay $100 and make an appointment with one of their kitchen staff members at the store and spend 2 hours planning your kitchen with you. You must bring all measurements of walls, plumbing, windows, doors, etc. To which I said, NOOOOOOO THANK YOU! Because lord knows I'd miss something and I changed my mind like 8 times during this process. This would have been a major waste of money for me.
- Pay $75 and have someone come to your house and measure everything perfectly for you. You do the planning yourself. To which I said, NOOOOOOO THANK YOU! Because that seems wasteful and I know how to use a measuring tape.
- Pay $0 and measure and plan everything yourself. DING DING DING! This is the winner, right here! But if you did or do choose any of the above options, no judgement. Promise.
I'd love to tell you that planning was easy and not stressful, but I'd be lying. Truthfully, if you start with accurate measurements your life will be MUCH easier. So just do that. Let me repeat...
Start with accurate measurements of your kitchen!
How? Measure everything and draw it out on a piece of paper, even if it's not to scale. By everything, I mean ceiling height, bulkheads, windows (that includes the distance between windows, doors, openings, etc), plumbing and electrical outlets (unless you're willing to move those things).
Now you're ready for the next step. The actual planning.
2. Using IKEA's Planning Tool
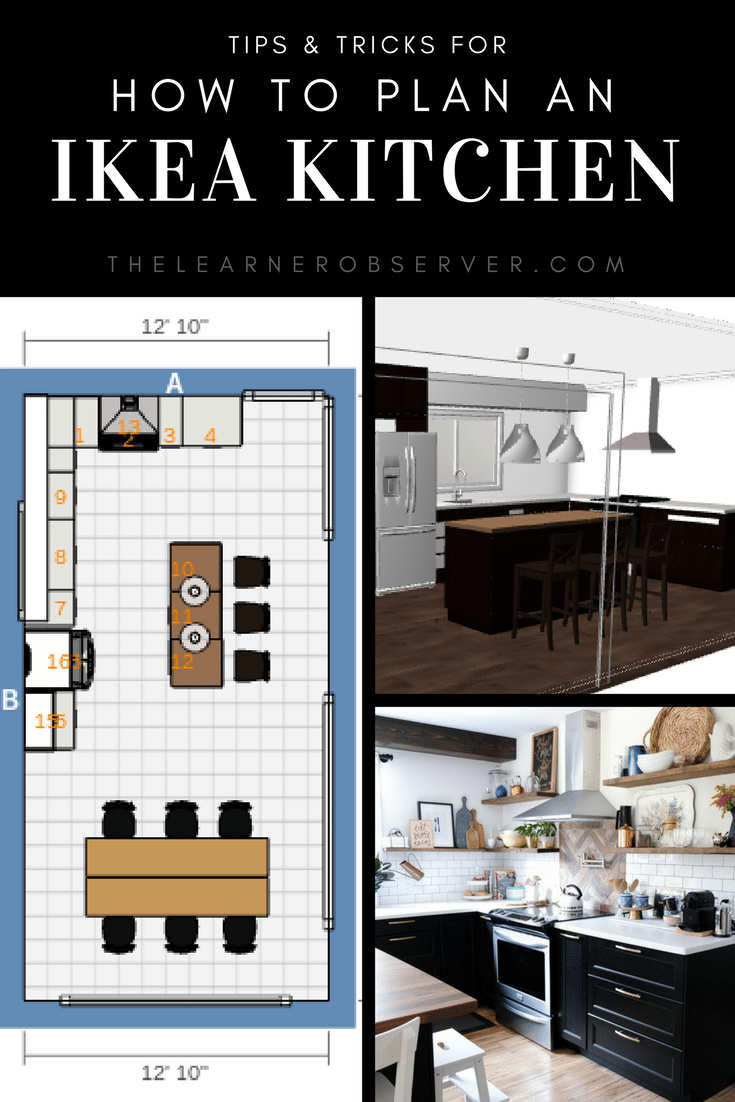
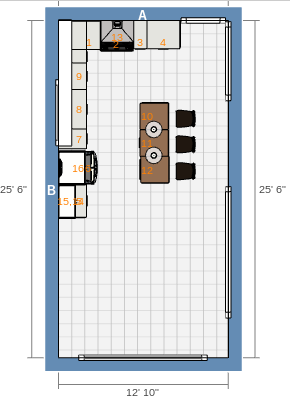
With your piece of paper in hand and exact measurements ready, click on "create a new design."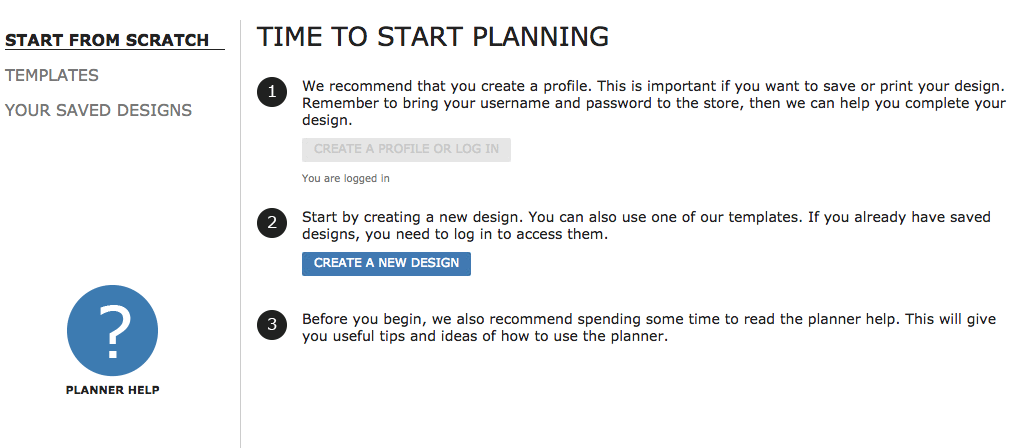 From here, you'll be able to pick out the shape if your kitchen then add in your measurements. Clicking on the menu options to the left lets you add windows, doors, bulkheads, etc. I found that having all of those things properly measured helped me to be as accurate as possible in my planning, and knowing where bulkheads are is extremely helpful for upper cabinets!
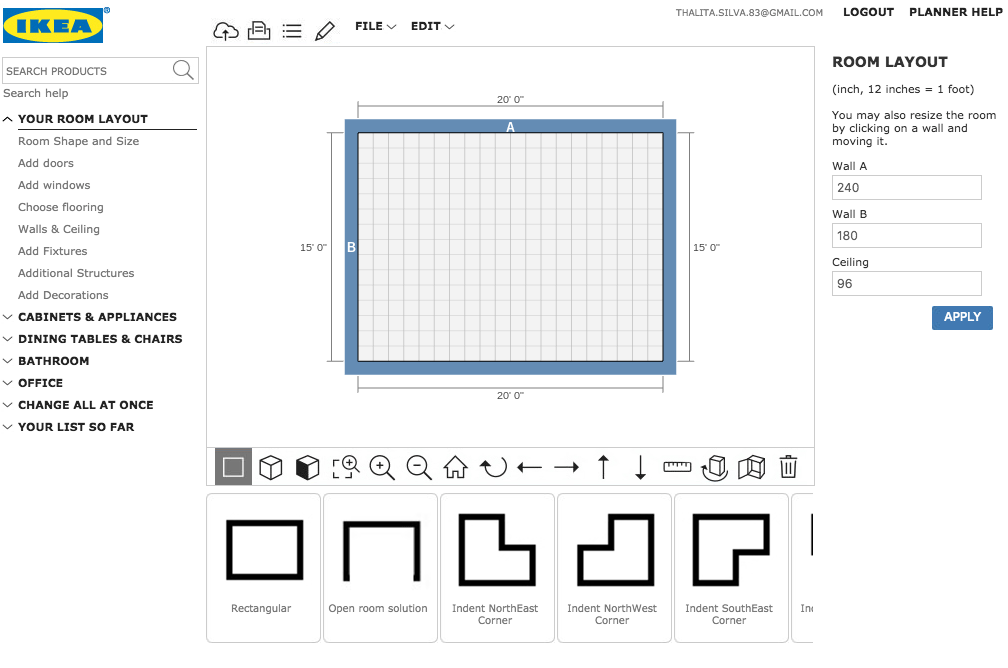 Once those things are in place, you can start adding cabinetry. As soon as you choose something, it'll default to white interiors, which is great if you're going for a white/light colour kitchen. In our case, everything had to be switched to the darker option. Don't sweat this too much, you can make this change in bulk later if you want to by clicking on "CHANGE ALL AT ONCE" at the bottom of the left menu.When you click on the options to the right, you'll see everything picked out for you, from drawers to hardware. Anything can be changed, and again, making these changes in bulk is WAY easier and time efficient, so hang tight. Put things in place then we can go back and check out all of the details.
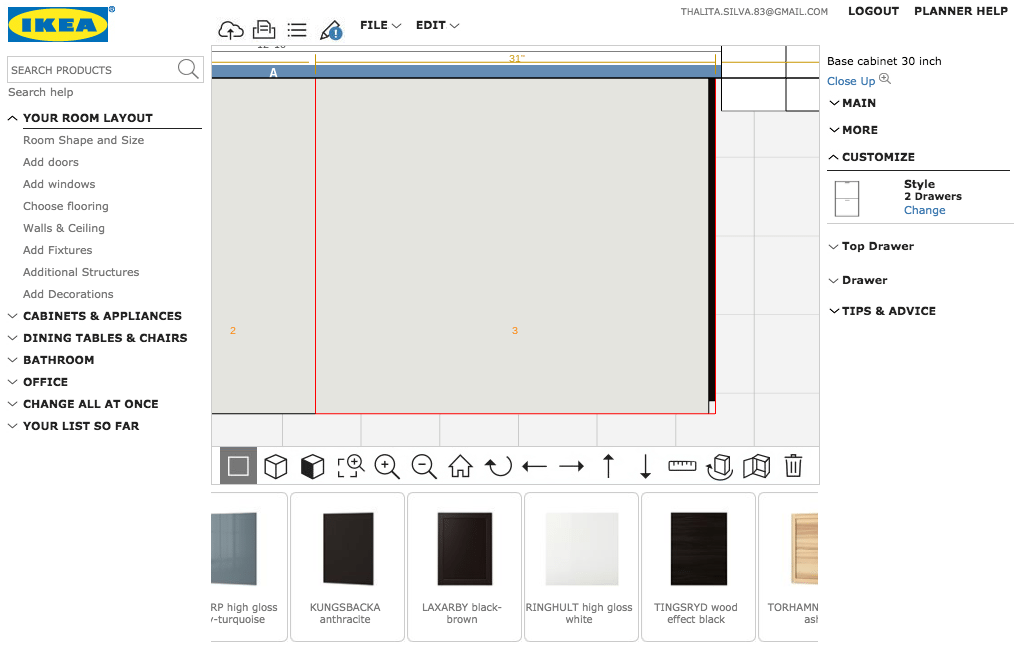
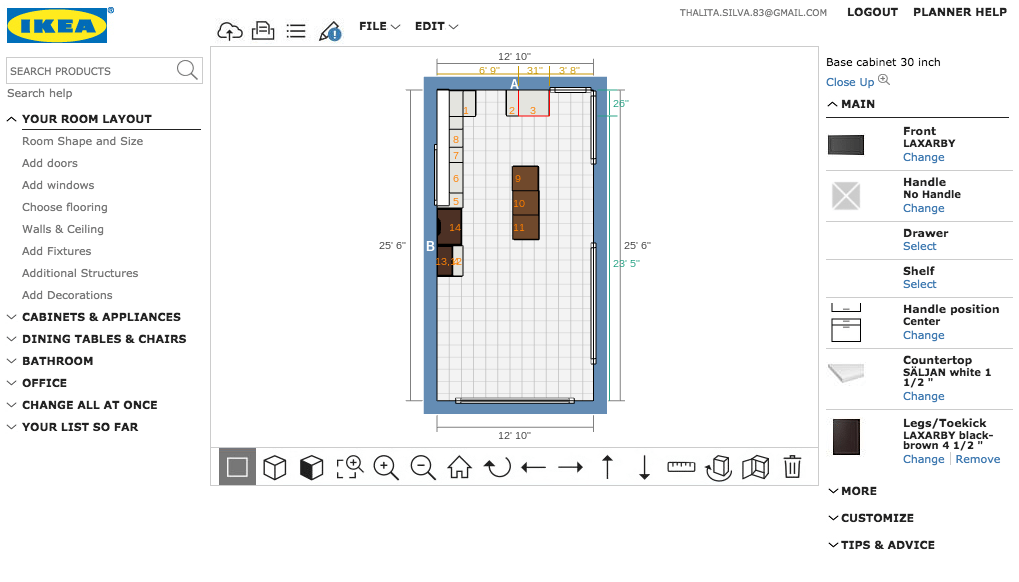 So as you can see in the above picture, the cabinet front, handle (no handles for me), etc are all chosen. All of these changes can be made in bulk to save you time and to make sure everything is the same. When you click on "MORE," you get the option to change the interior cabinet colour as well as additional side panels. The side panels are important details you have to do one by one. As you can see, the cabinet I have selected (it's outlined in red in the floor plan) needs a side panel on the right to ensure you see a pretty black piece and not a brown cabinet.
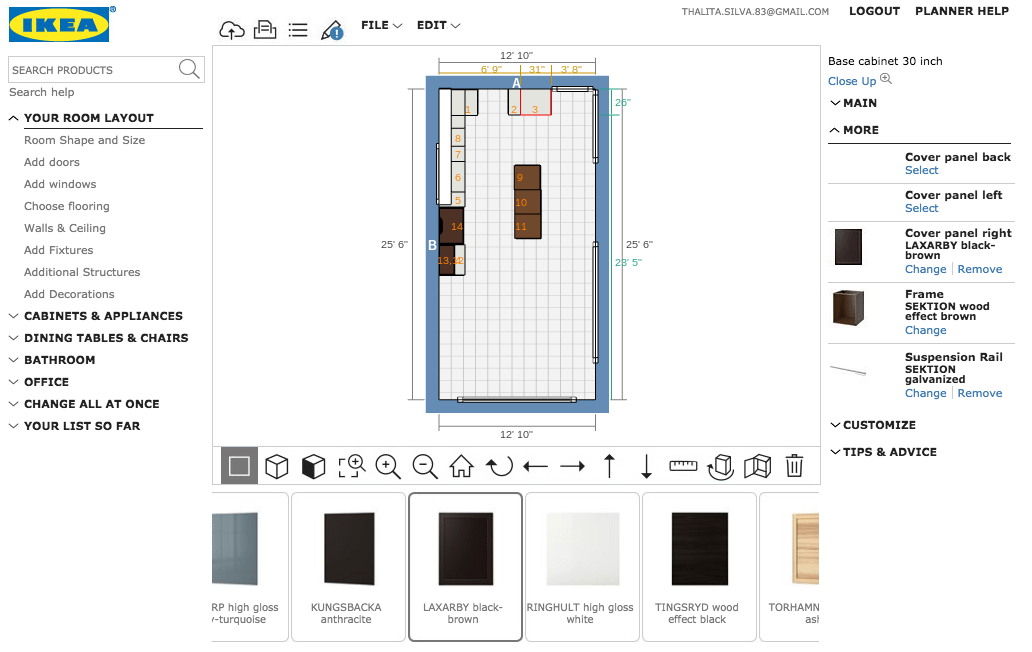 Clicking on "CUSTOMIZE" gives you further options, like changing the actual layout of your cabinet, if you decide you want drawers instead of doors, but won't change any of the other major stuff, like handles, toe kicks, etc. You can see the side panel in this up-close view as well.
Side note: these panels and trim pieces get expensive FAST!!! The less of these you need/plan for, the less your kitchen will cost you!
 In the 3-D view, you can get a much better visual and this is where you can easily move upper cabinets higher or lower on the wall, as you can see by the arrows on the selected cabinet below.You can also make changes in this view, but it takes a bit longer and can be frustrating moving around a 3-D room as opposed to just clicking what you want in the flat bird's-eye view option.
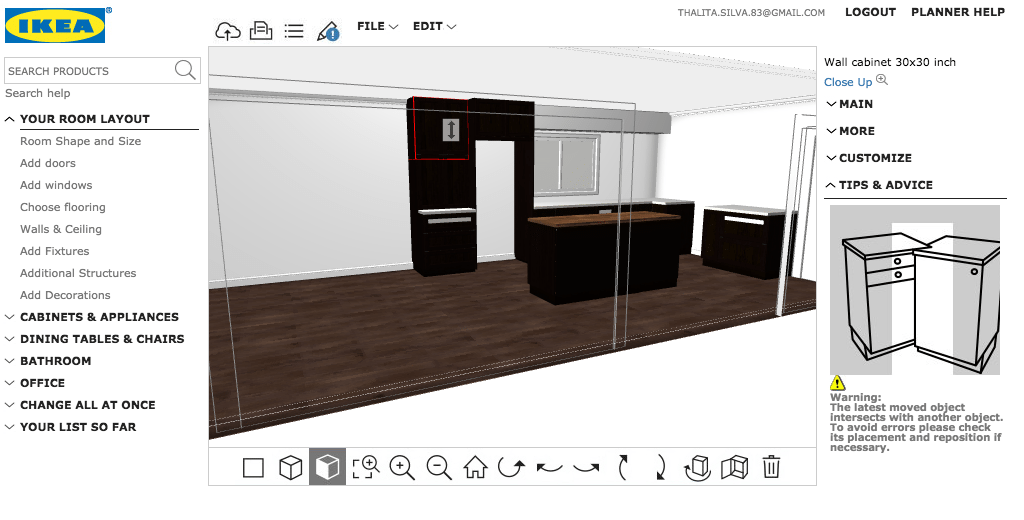 You can, of course, add in the IKEA appliances if you'd like a better visual, and it's a simple trick to put the appliance in for the sake of measuring and spacing, then deleting it after you're done, which is exactly what I did.
3. Getting an IKEA rep to help you
This was key in the finishing touches of our kitchen. We had someone from a store look over our plans and we asked questions, like:
"Is there anything we're missing?""Is the spacing for appliances correct?""Do we need a cabinet for the dishwasher?""How does the large panel behind the island work?""Do you have any suggestions?"
Take the last one with a grain of salt and don't underestimate your choices, but sometimes a second set of trained eyes is helpful. For our kitchen, rather than getting 3 pieces for the back panel behind the island, we got one large piece for a smoother look.You do not need a cabinet for the dishwasher, but you do need a side panel, so they can add that in for you when ordering.We had someone really great help us, and they asked if our countertops were going to be in granite or quartz because those materials require extra pieces for making sure the weight is supported correctly. These are things you want to know.
4. Installing your IKEA kitchen
This is where I become useless to you if you're DIY-ing this because we had our contractors do it for us. If that's the route you're going, here's what I suggest: Leave the printed out sheets of your kitchen plans with them to avoid confusion. Maybe even go through the 1,726 boxes you will receive and separate them all into groups for the many cabinets that will need to be built. Unless they're trained IKEA kitchen installers, this stuff is super confusing and overwhelming to deal with, and anything you can do to save them time (and you money) is a bonus!If you're installing it yourself, here's a list of bloggers who have done it and have amazing tips to offer you:Colleen @ Lemon ThistleAlex @ NorthstoryAbby @ Just a Girl and Her BlogIn the end, planning this kitchen took a few weeks, lots of Google searches, and back and forth with measuring because I didn't do all of the measuring at once. So learn from my mistakes! If you don't live near an IKEA, following these steps will be key to ensuring you don't miss anything or that you end up having to exchange pieces.Thanks to life, twins, and ongoing projects in other areas of the house, our kitchen looked like this for a few months, and we even went without a sink for a while (hello white appliances), but it's definitely looking a little better than when we first bought the house! You can see more of the before photos and our plans here as well as renovation progress updates here, and I'm always sharing little bits over on Instagram! Scroll down for the finished project!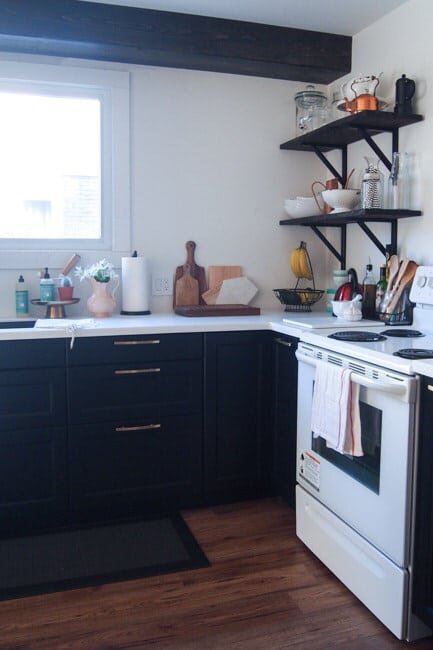

 If you have any tips at all you'd like to add, let me know in the comments. And if you know of other helpful resources, let me know and I'll link them to this post as well! The more information the better, right?Happy planning!