Custom Garden Bed with Gate
I’ve wanted to have a garden bed for so long, and though we tried a small veggie garden last year, the bunnies and squirrels got to every single fruit and vegetable we planted! This year I decided to up my game with a proper garden bed and my trusty Kreg Pocket-Hole Jig® 720PRO. Want to see what I ended up with?
*please note that this post is sponsored by Kreg. I’ve been a long-time user of their tools and truly love them!
To start, I planned the whole thing in AutoCAD to get measurements and pocket hole placements. You can see the full plan and dimensions I used on Kregtool.com.
Materials used for building the garden:
9x cedar fence boars (1x5)
6x cedar fence boards (1x6)
13x pine 2x2x42
2” wood screws
chicken wire
3/4” staples
Staple gun
2x outdoor door hinges
1x outdoor gate latch
Materials used inside/extras:
landscaping fabric
limestone screening
pea gravel
tomato cages
lots of plant babies!
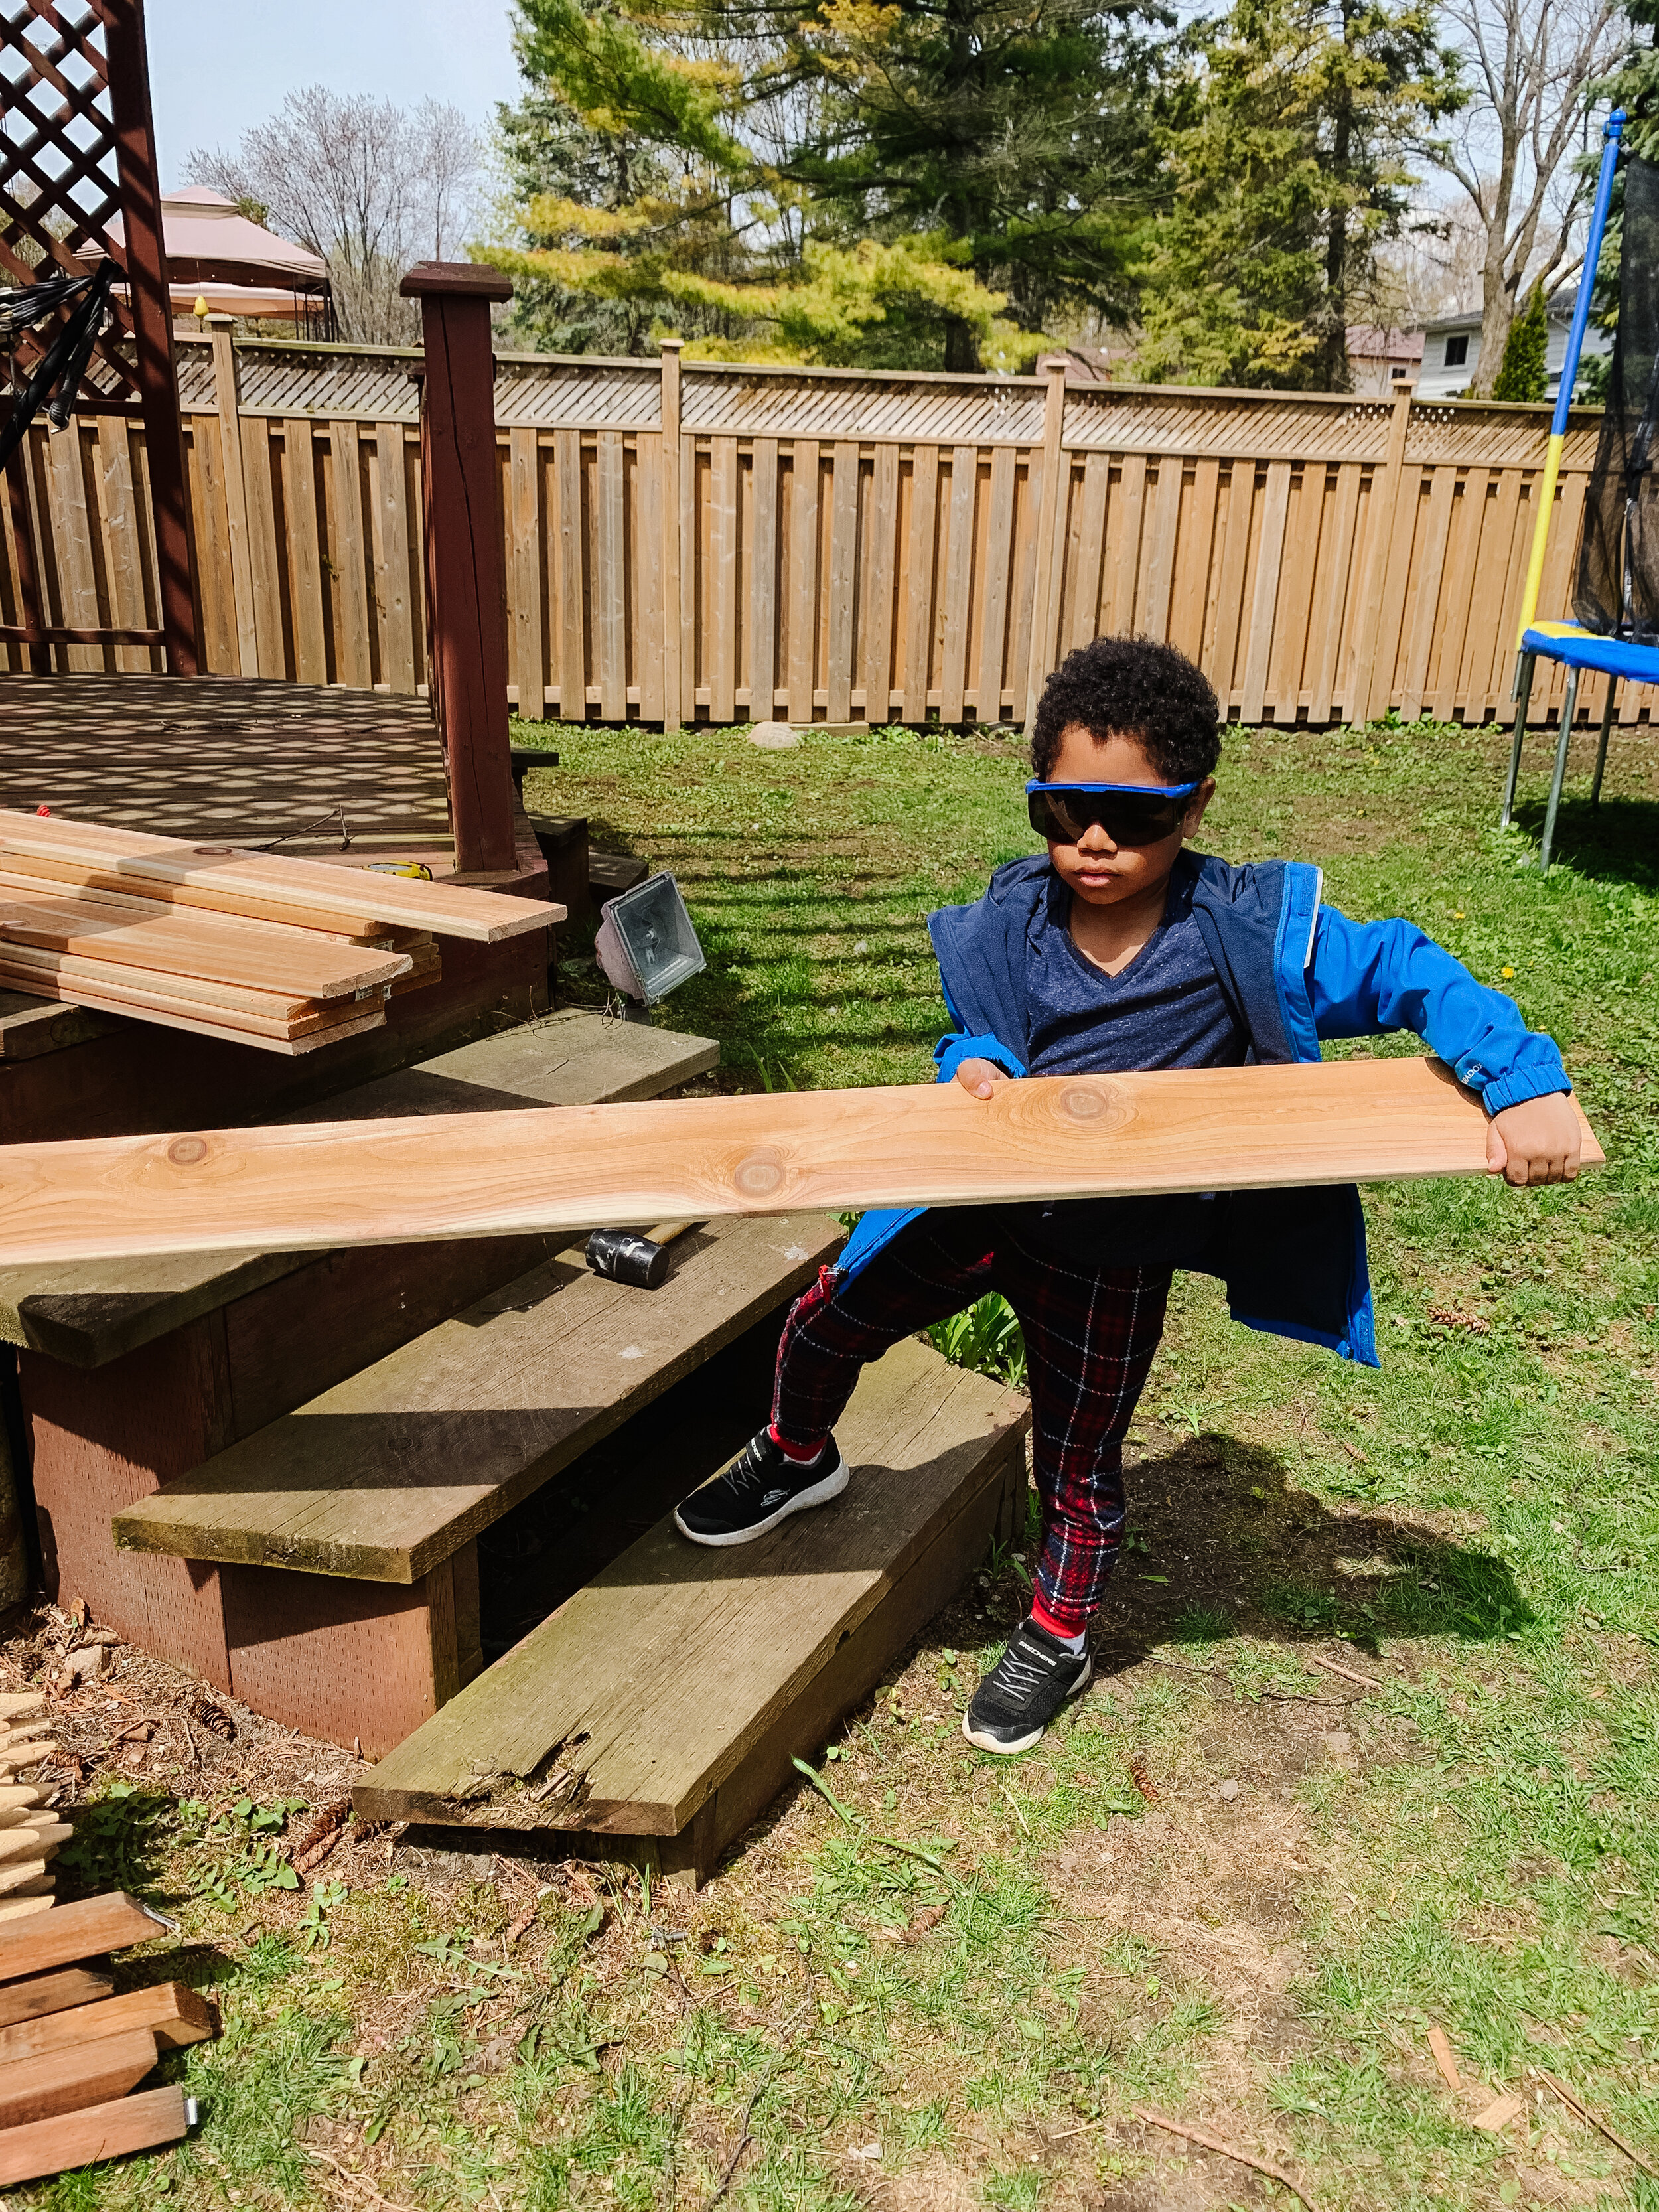
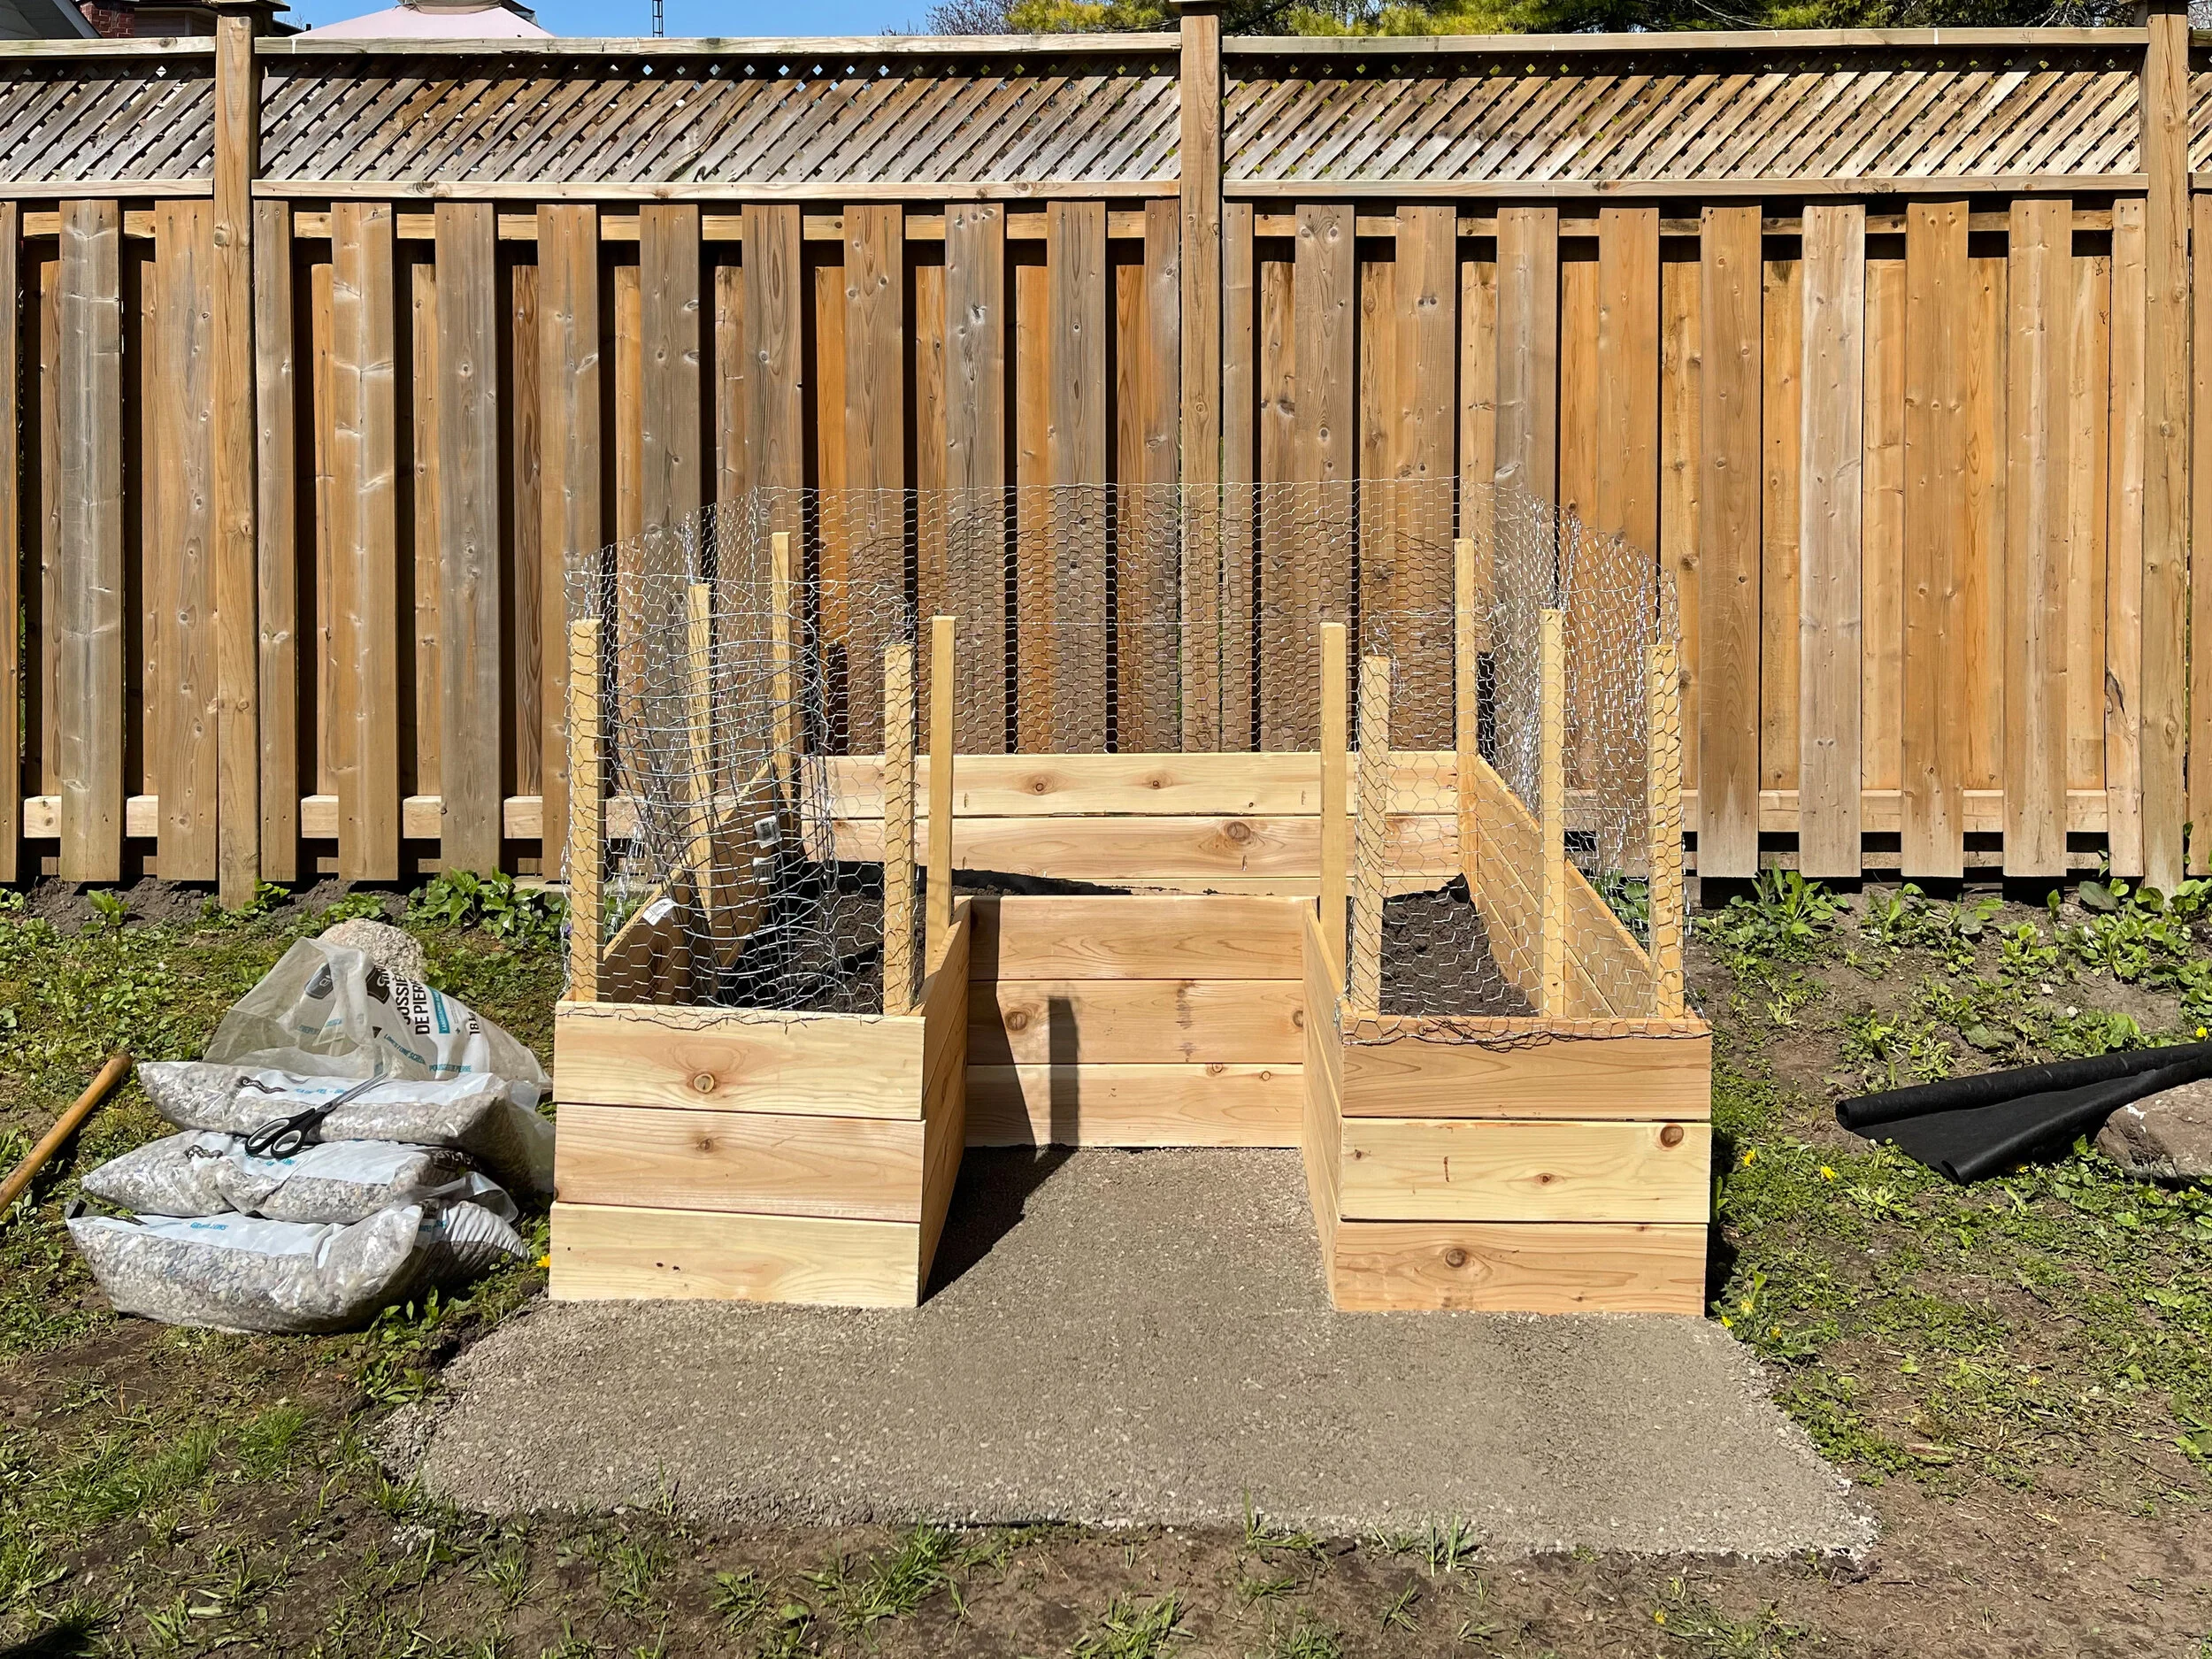
Ok, now let’s get started on what the building looked like. I had some helpers with me since this is a veggie/fruit garden the kids asked for. The Kreg Pocket-Hole Jig 720 is so easy to use, I even had the kids helping me clamp some pieces down. Doing it in style, of course!

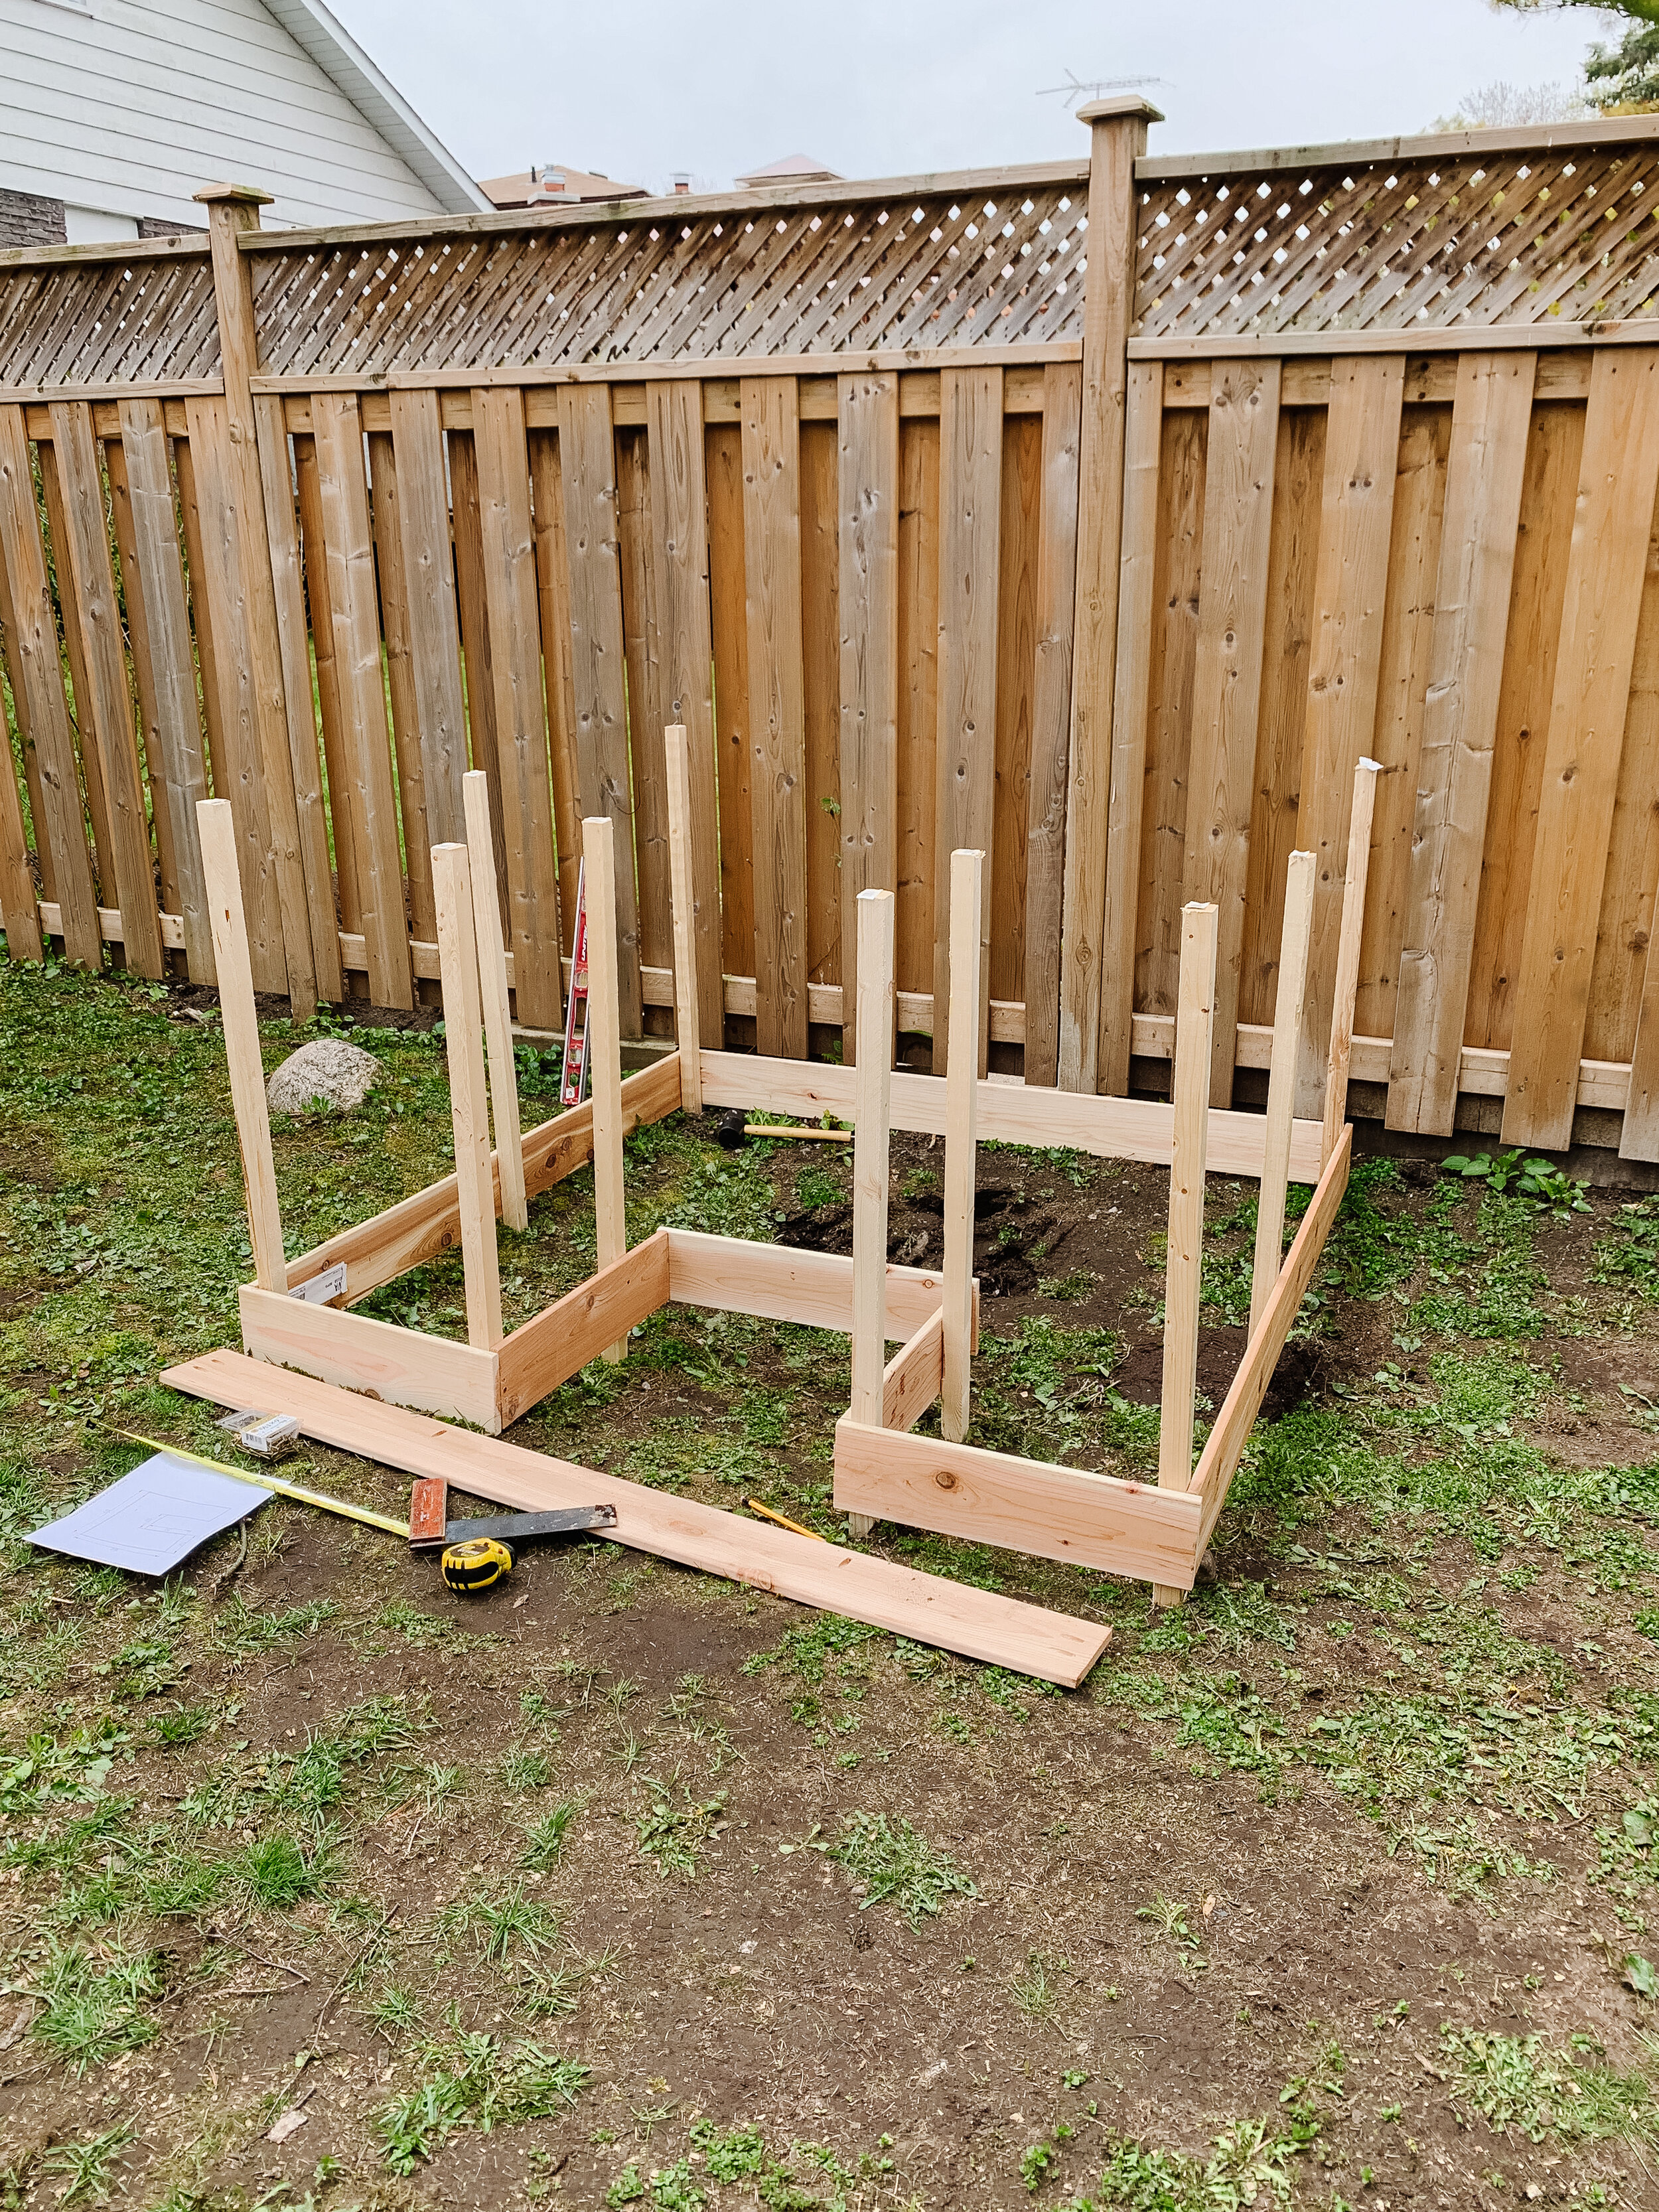
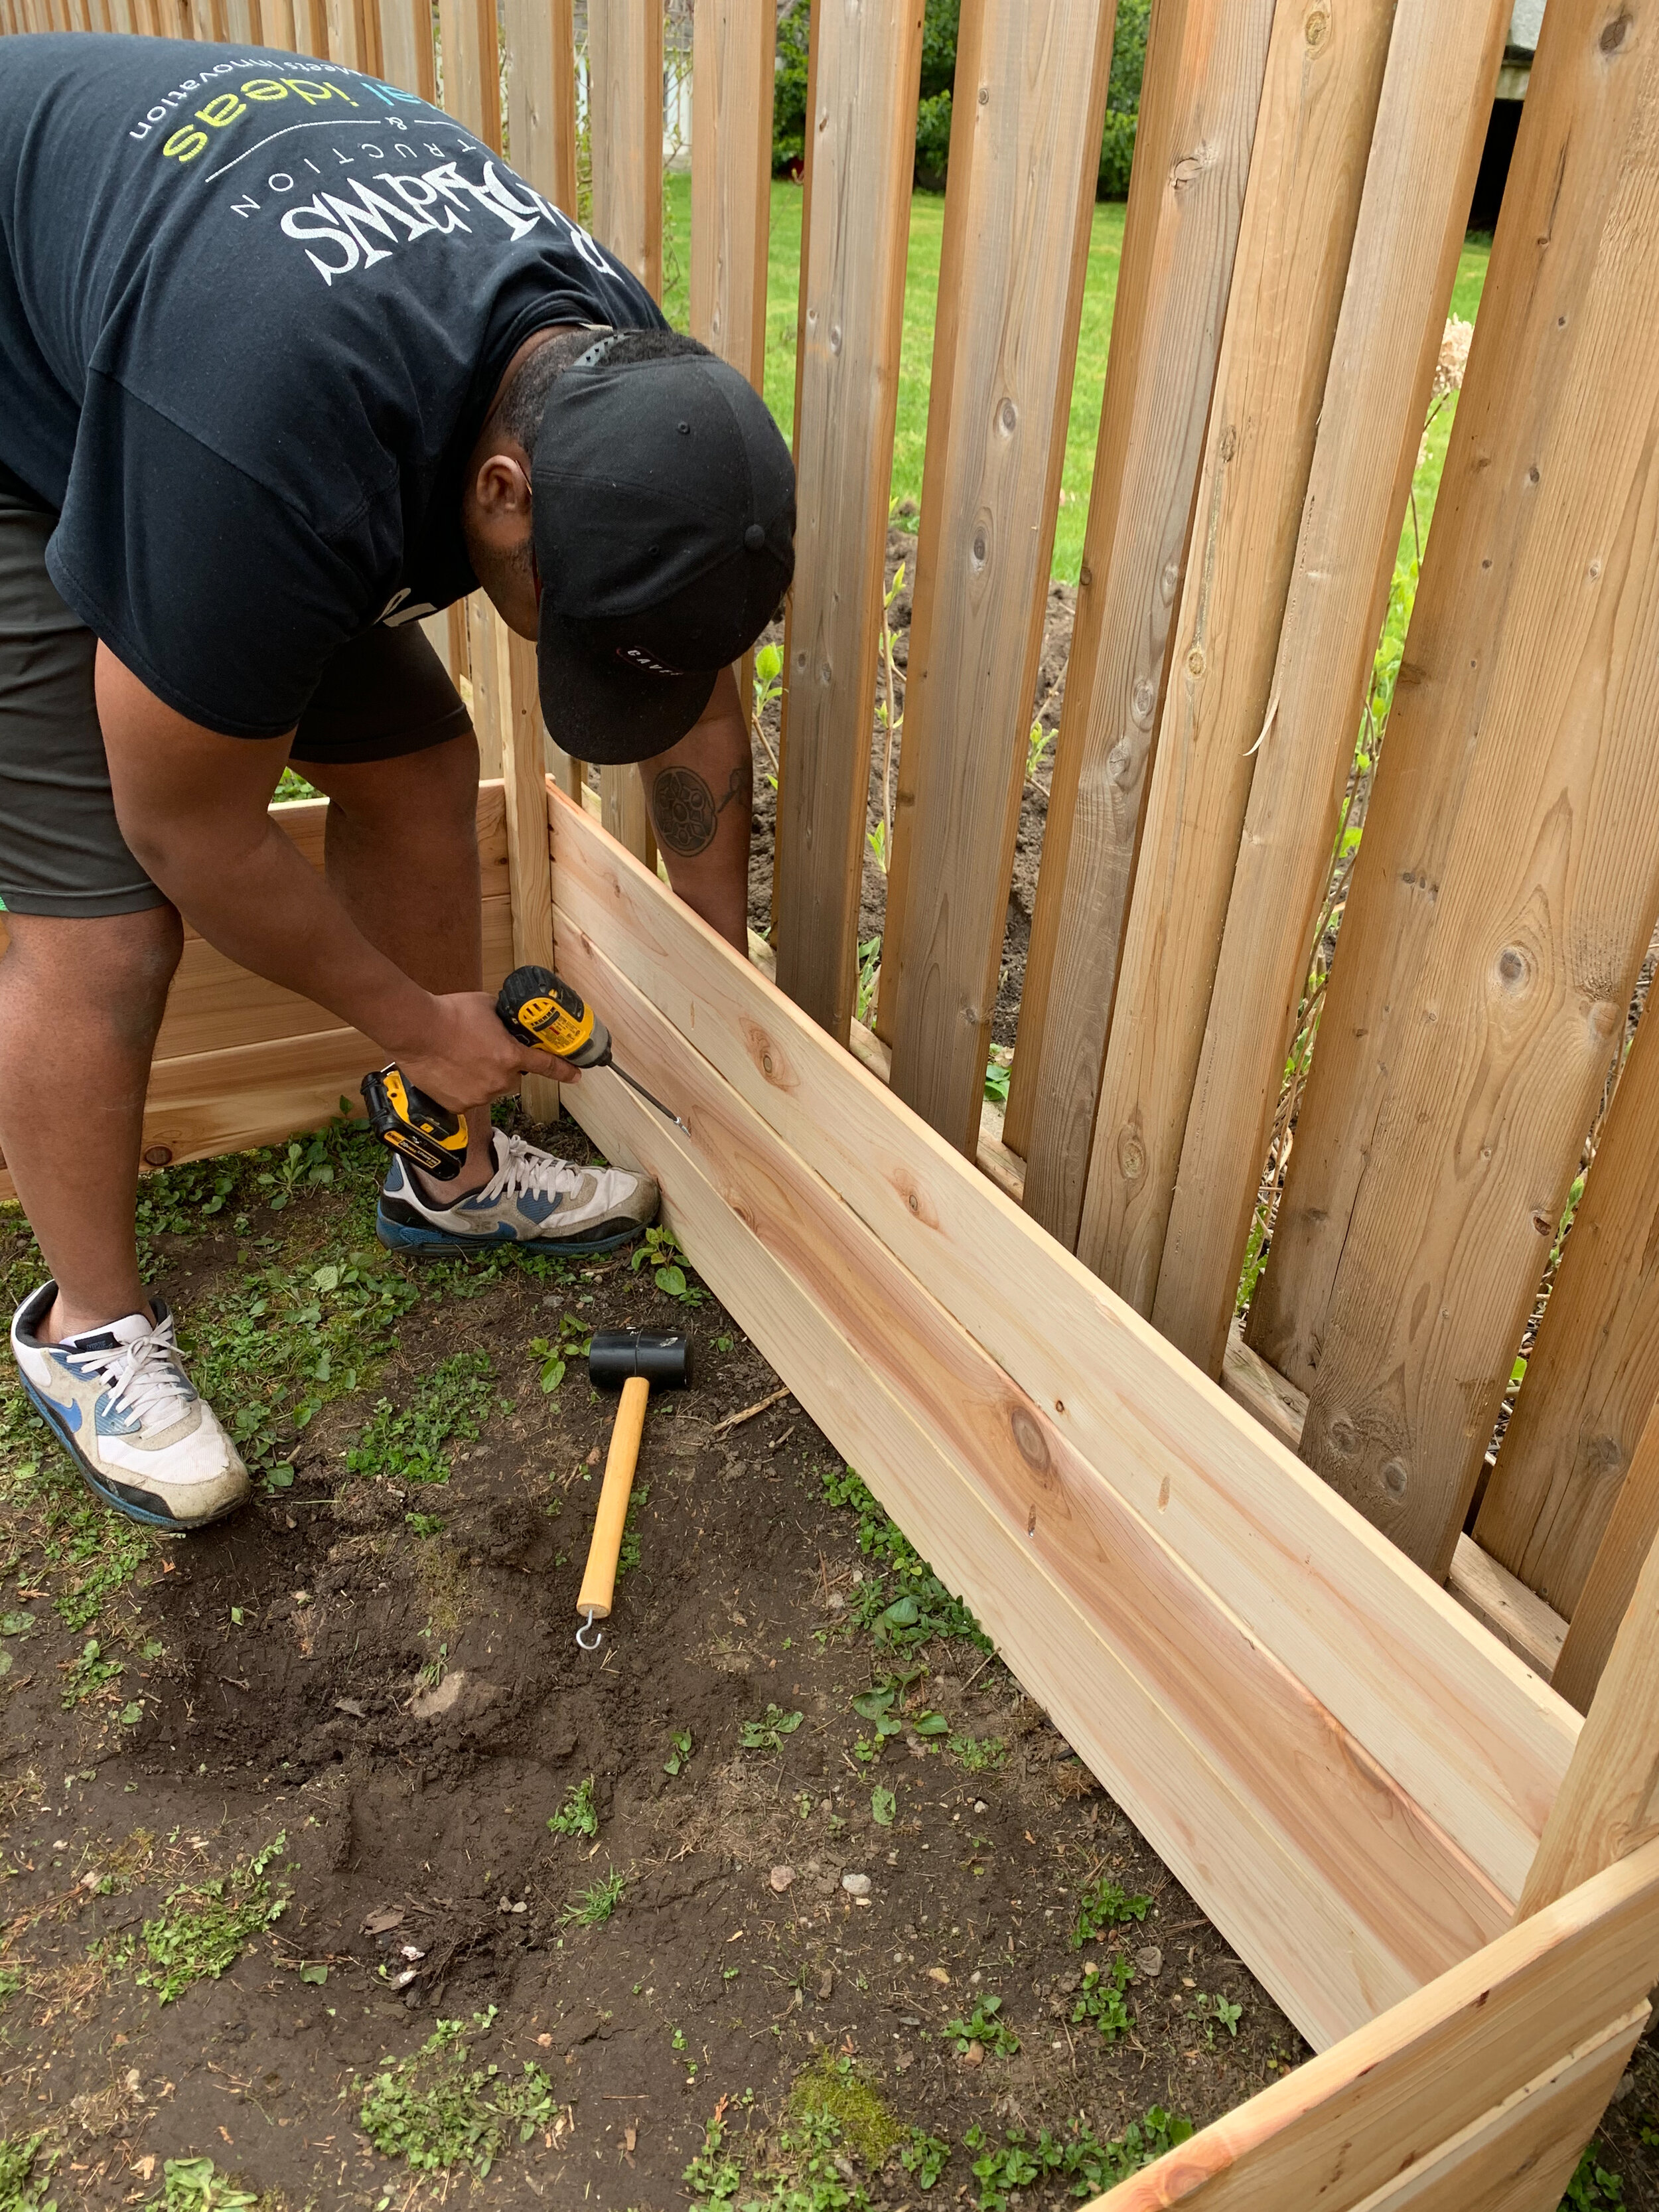
Once all of the pieces were cut and pocket holes were in place (you’ll notice I originally had pocket holes in the ‘corners’ as well, but ultimately found them not to be necessary because of the landscaping stakes that the fence boards could be screwed into) we placed them where the garden was going to go and added in the stakes.

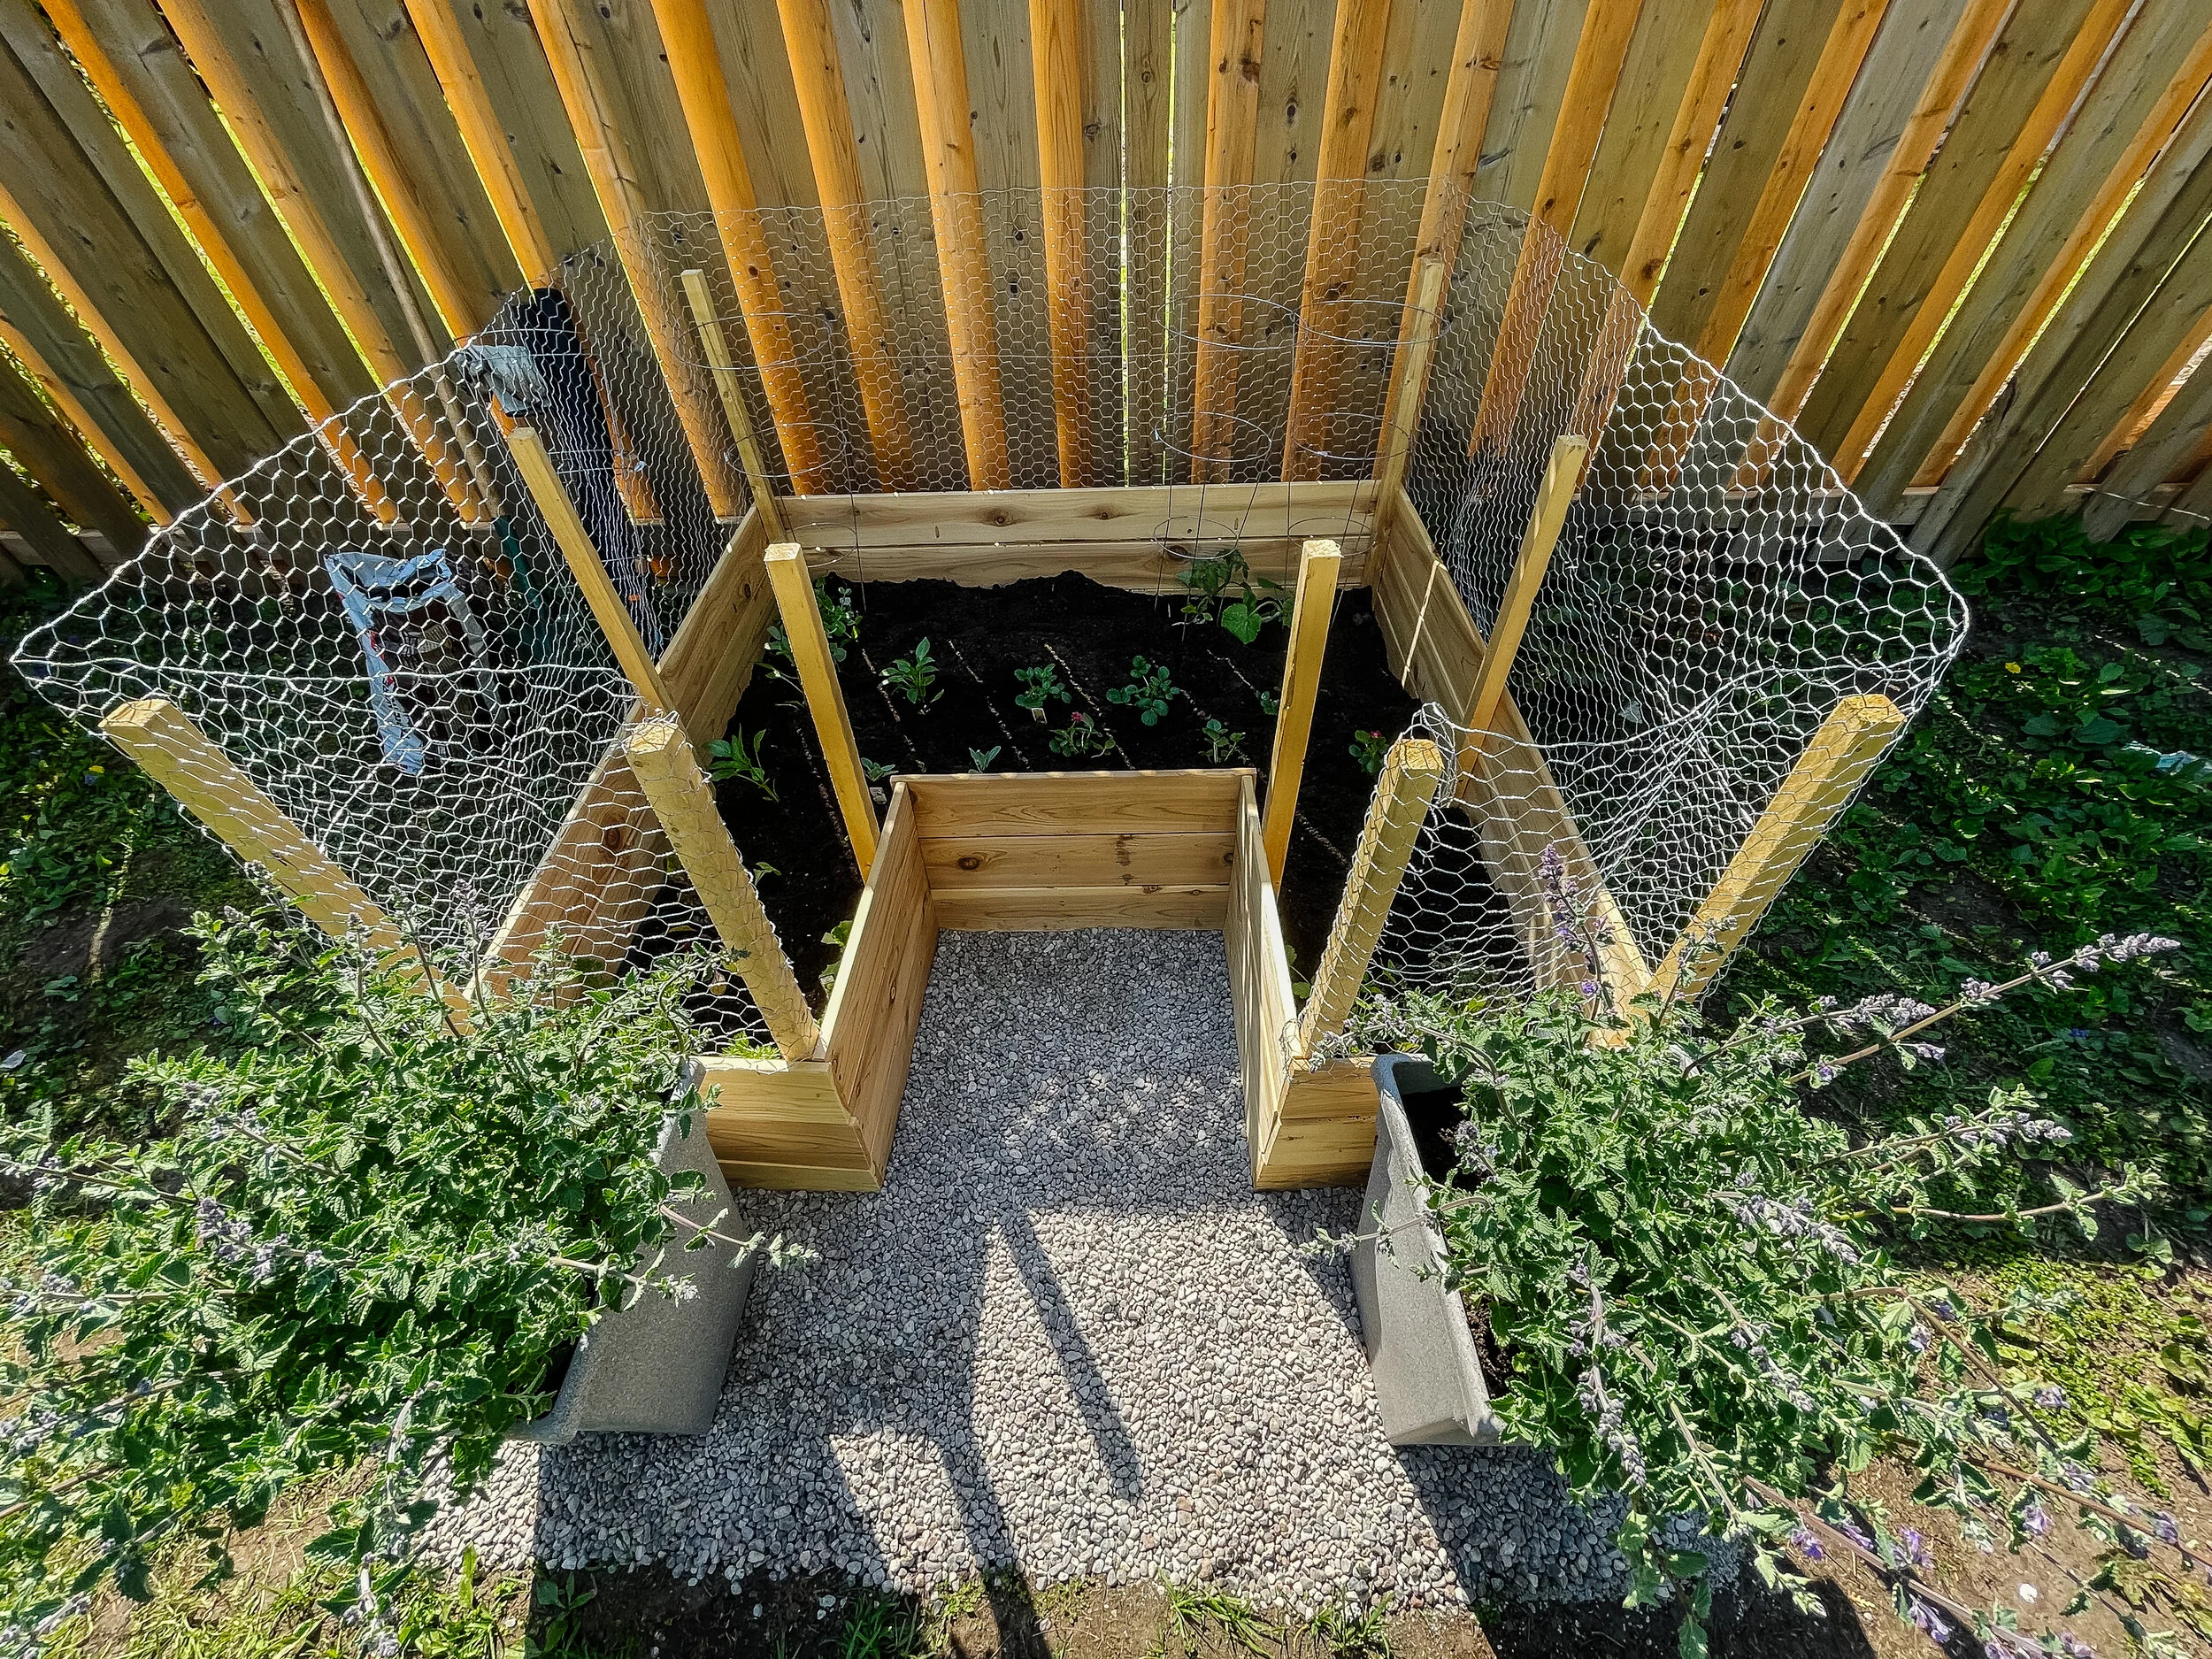
To make sure things didn’t get too muddy and gross around the whole garden, I added in some limestone screening and pea gravel around the front of the garden bed. A couple of planters in front make it a little bit prettier as well.
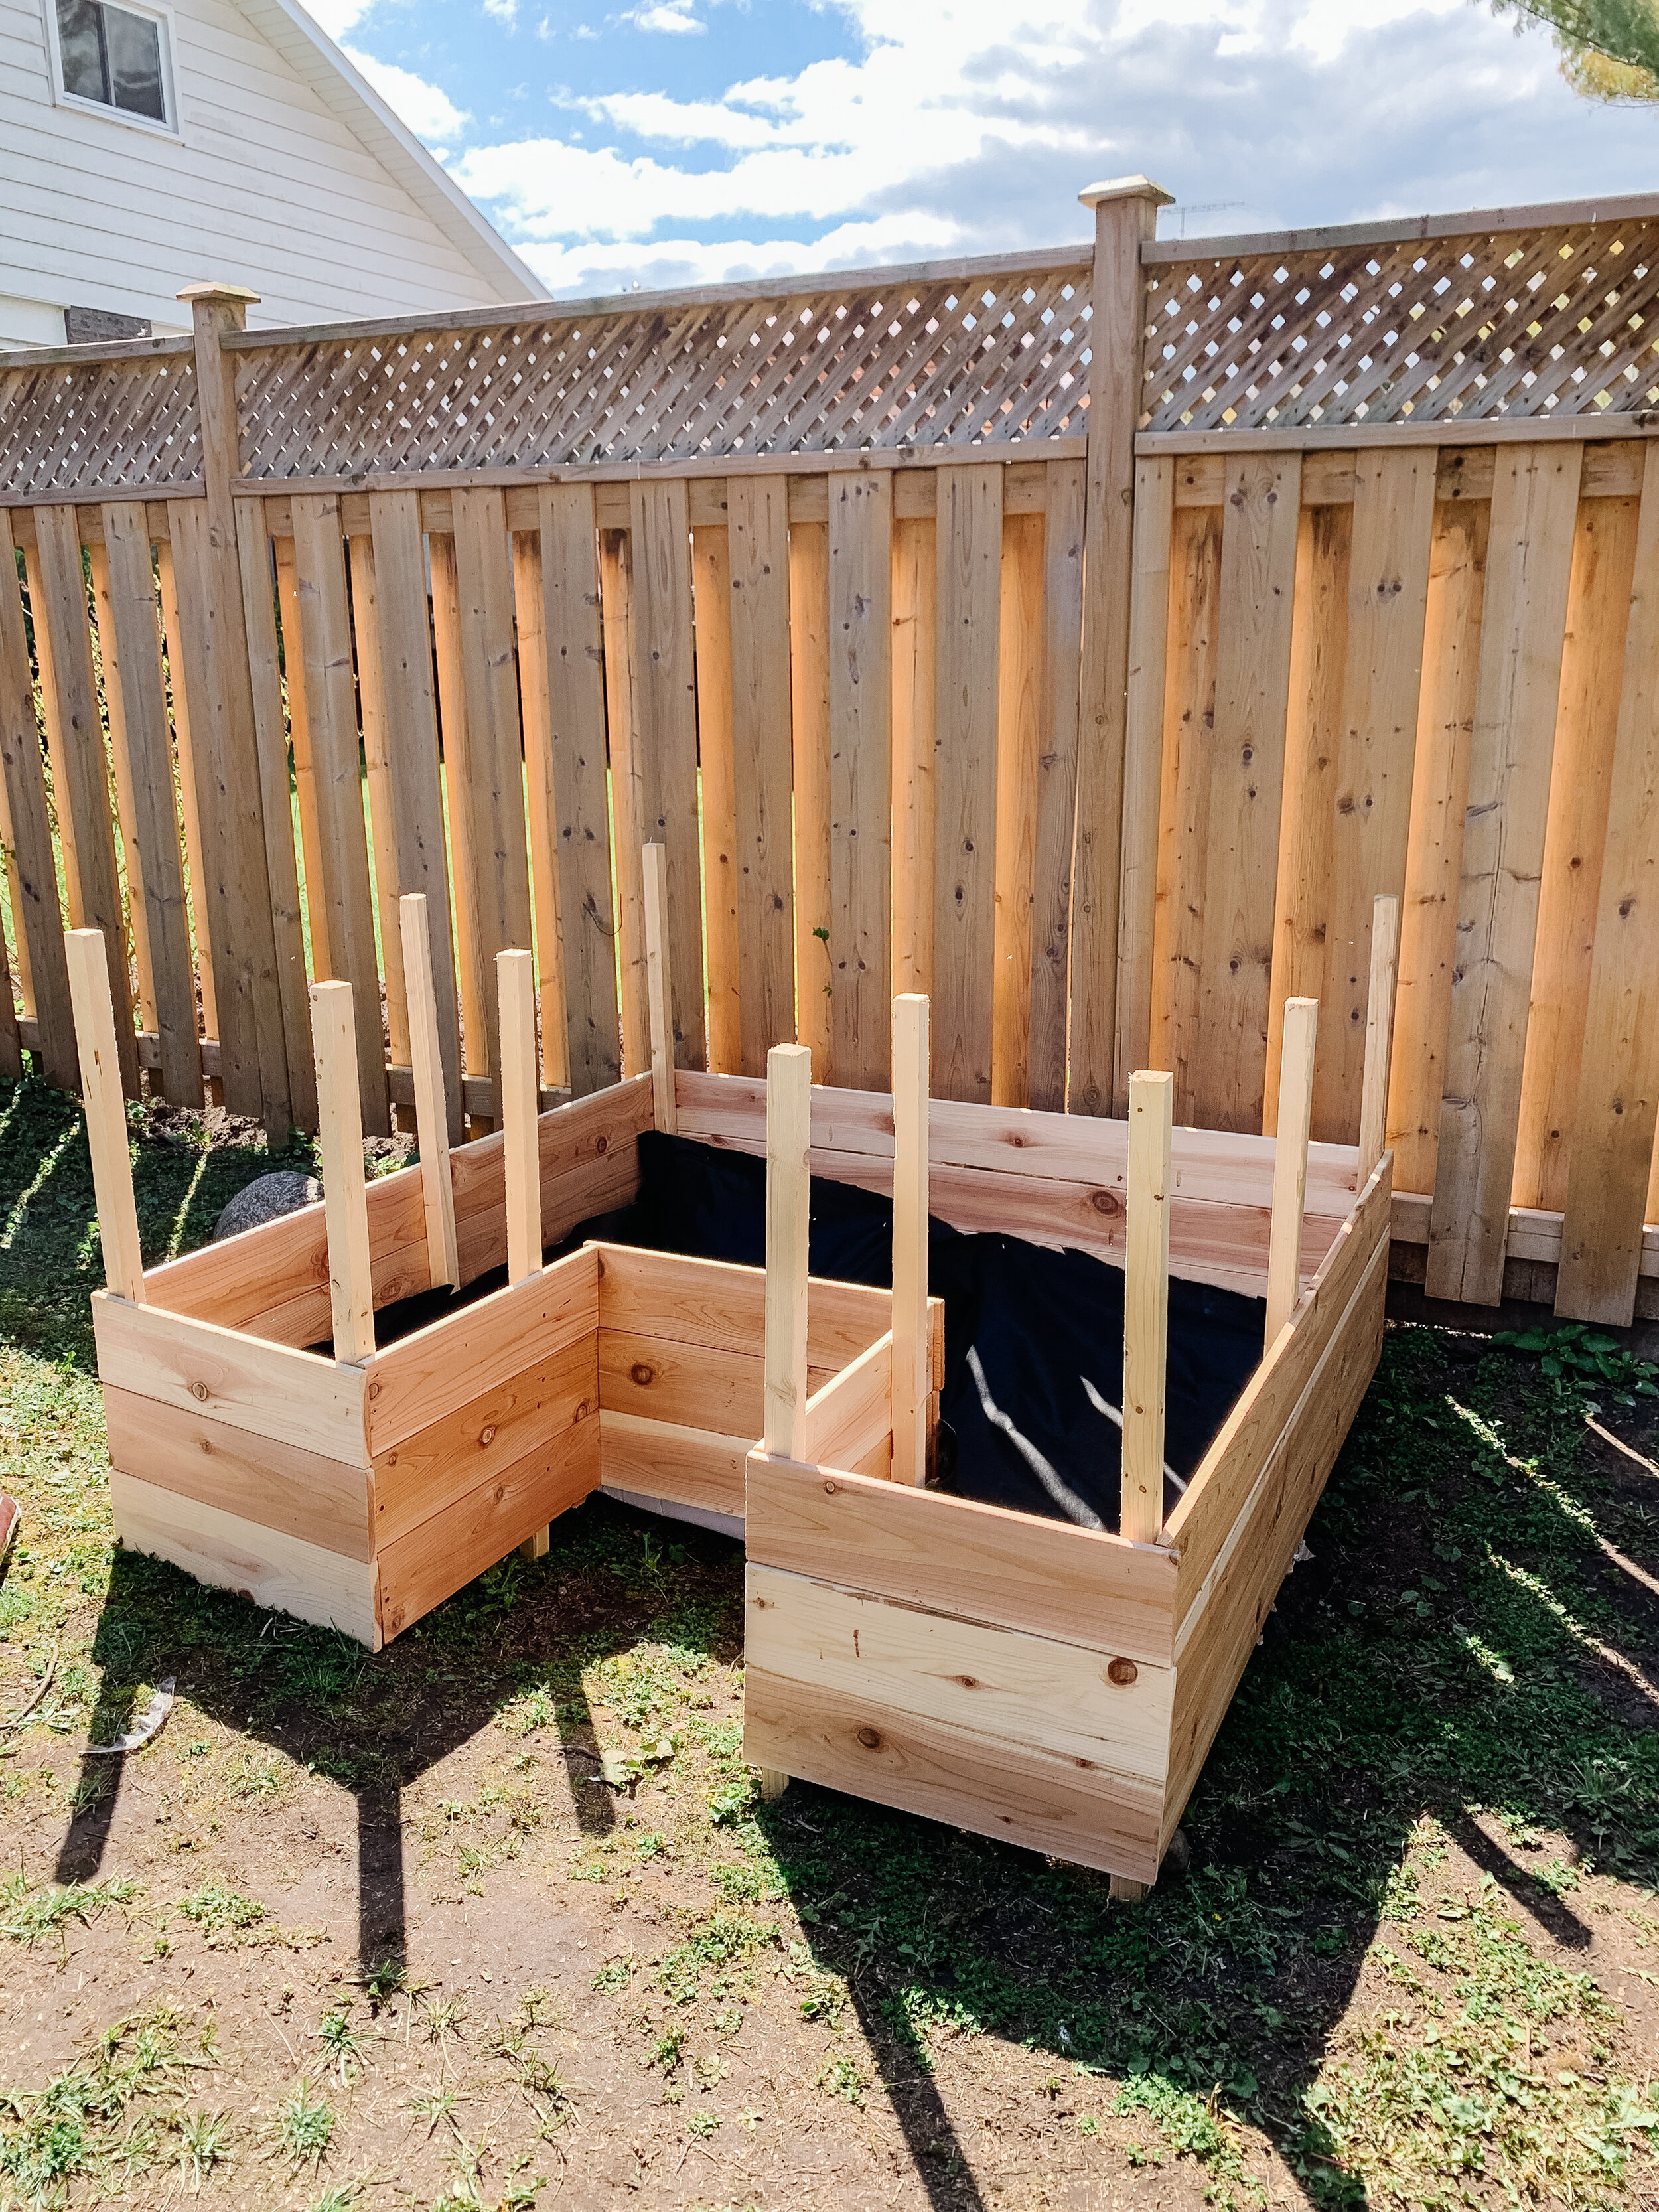
Once everything was in place, I added chicken wire around the whole thing. The whole height of this is roughly 39” with the chicken wire, but 36” to the stakes only.
Lastly, I made a gate to keep the bunnies and squirrels away from my strawberries, and it was super simple - literally a rectangle with chicken wire stapled around it! I added hinges and a gate latch, and voila! I also cut the stakes on the inside down so they don’t get in the way when we’re tending to the plants.
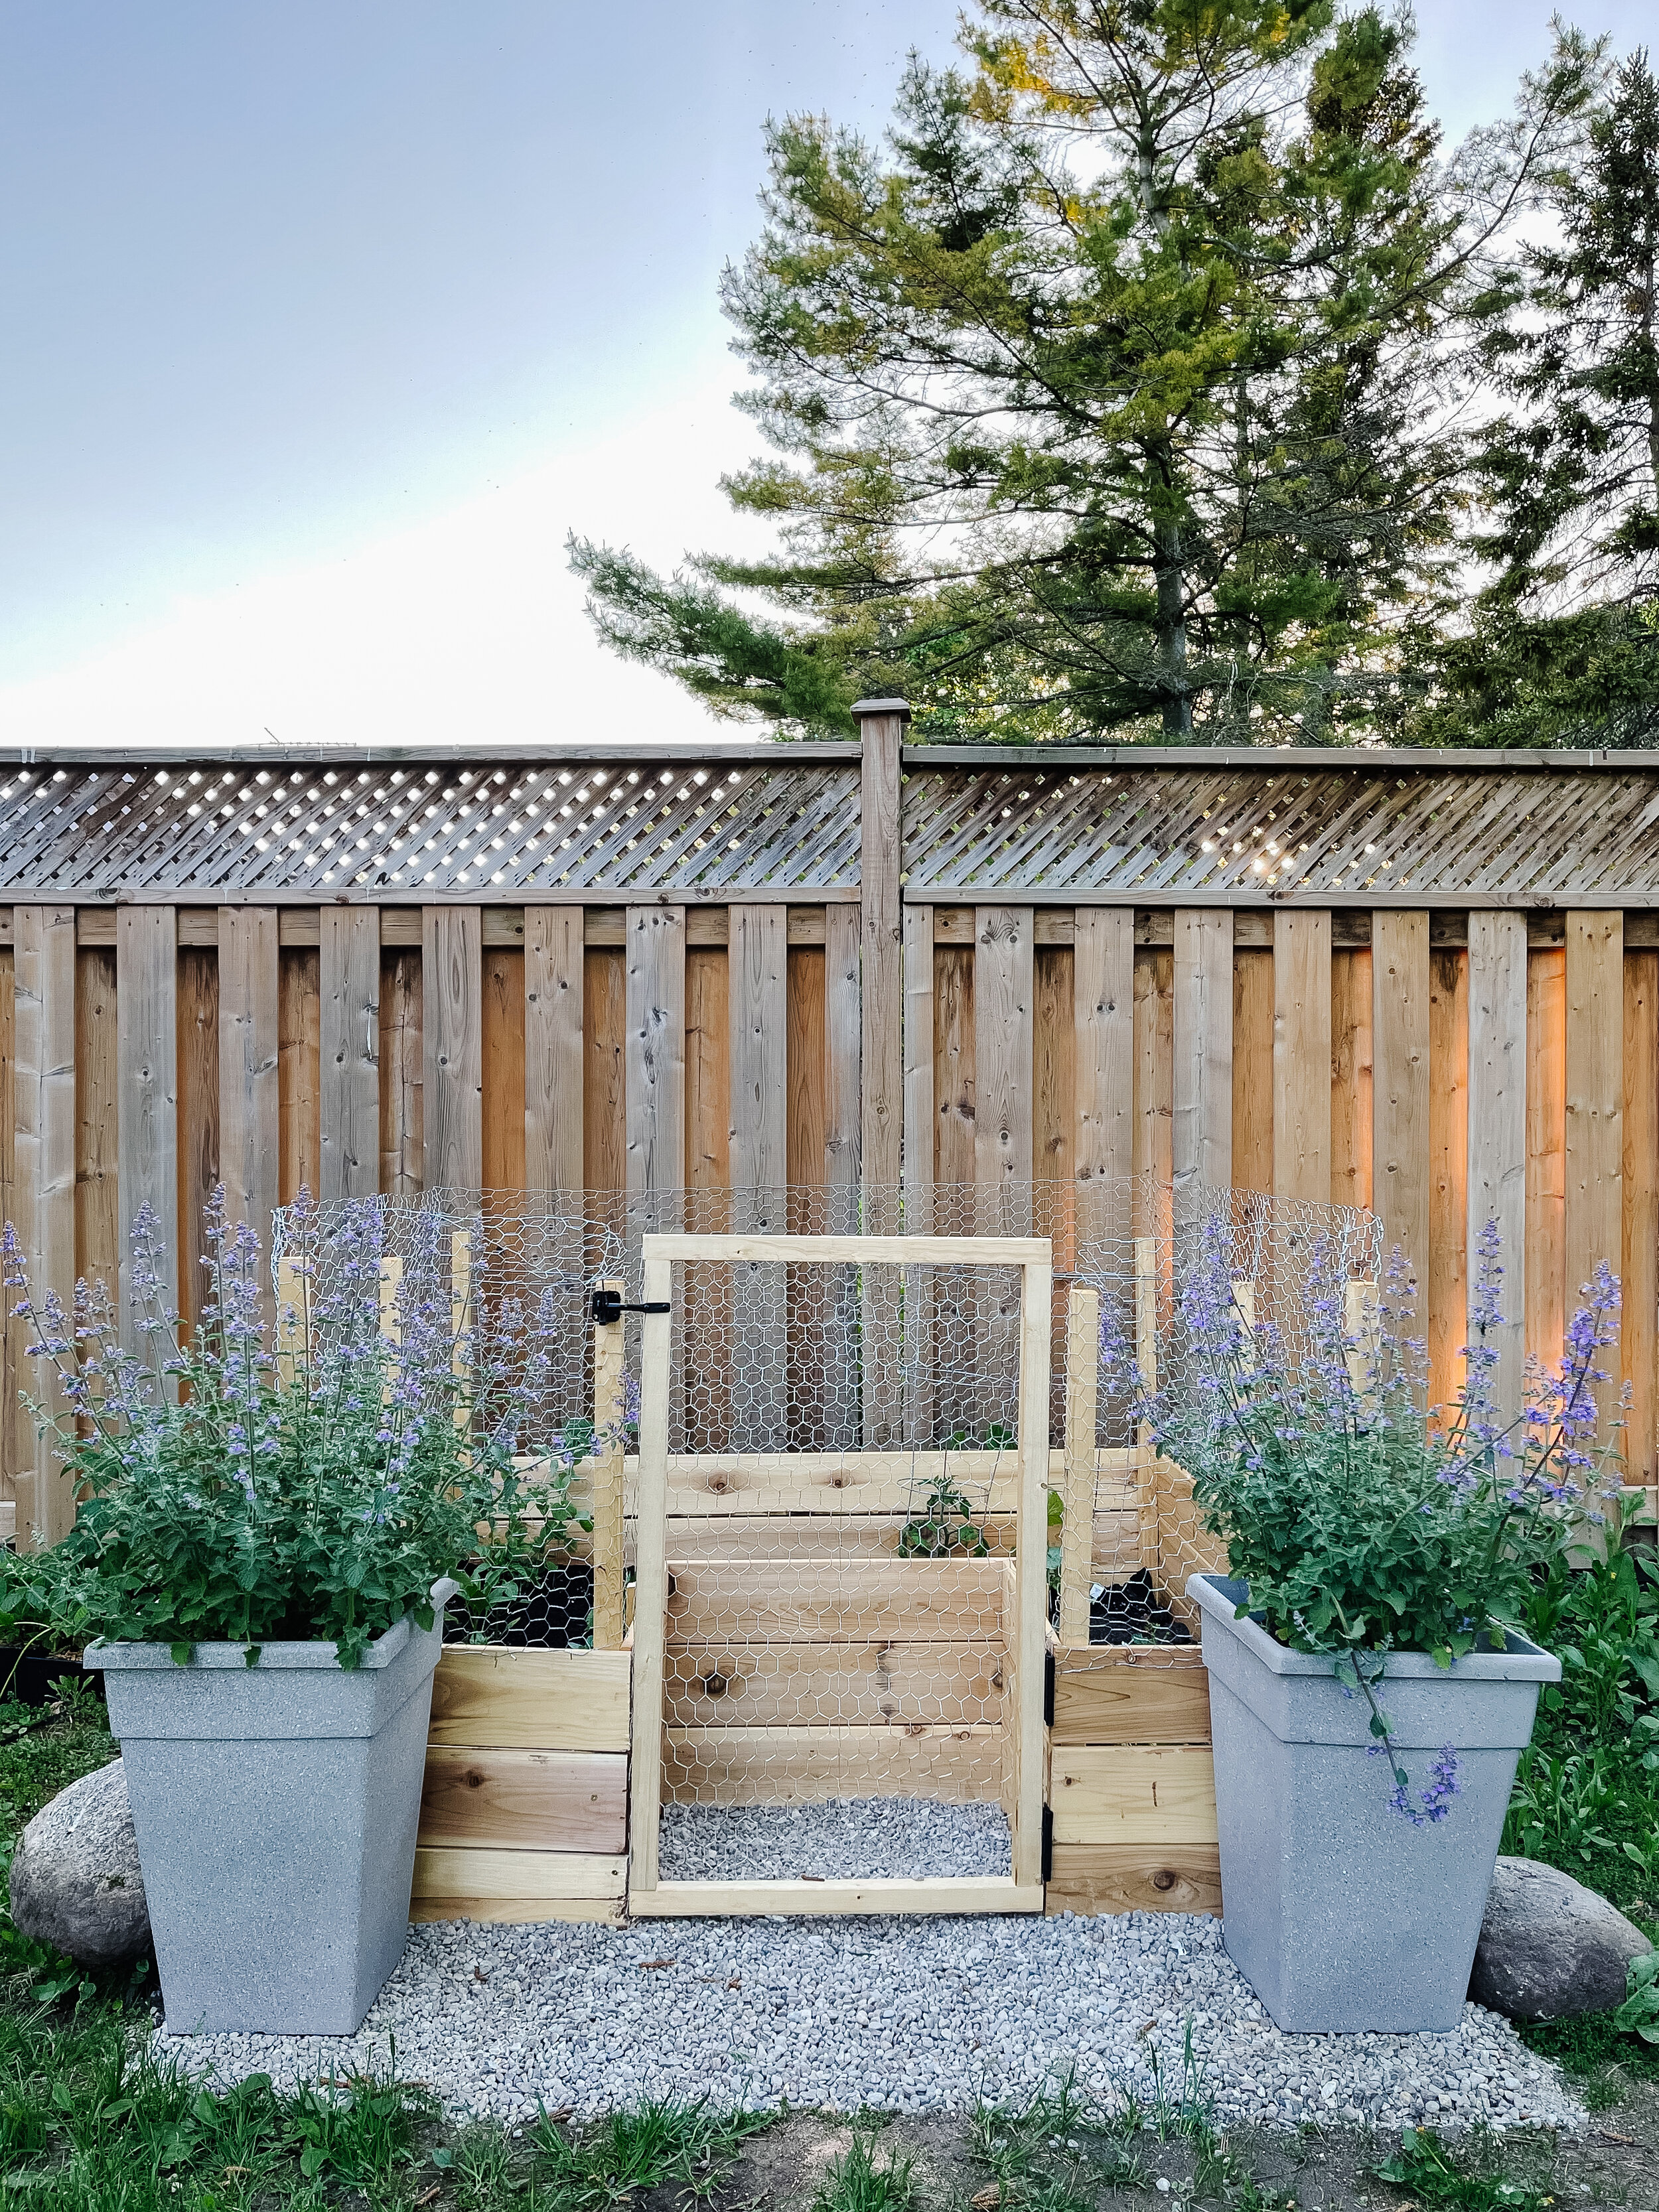
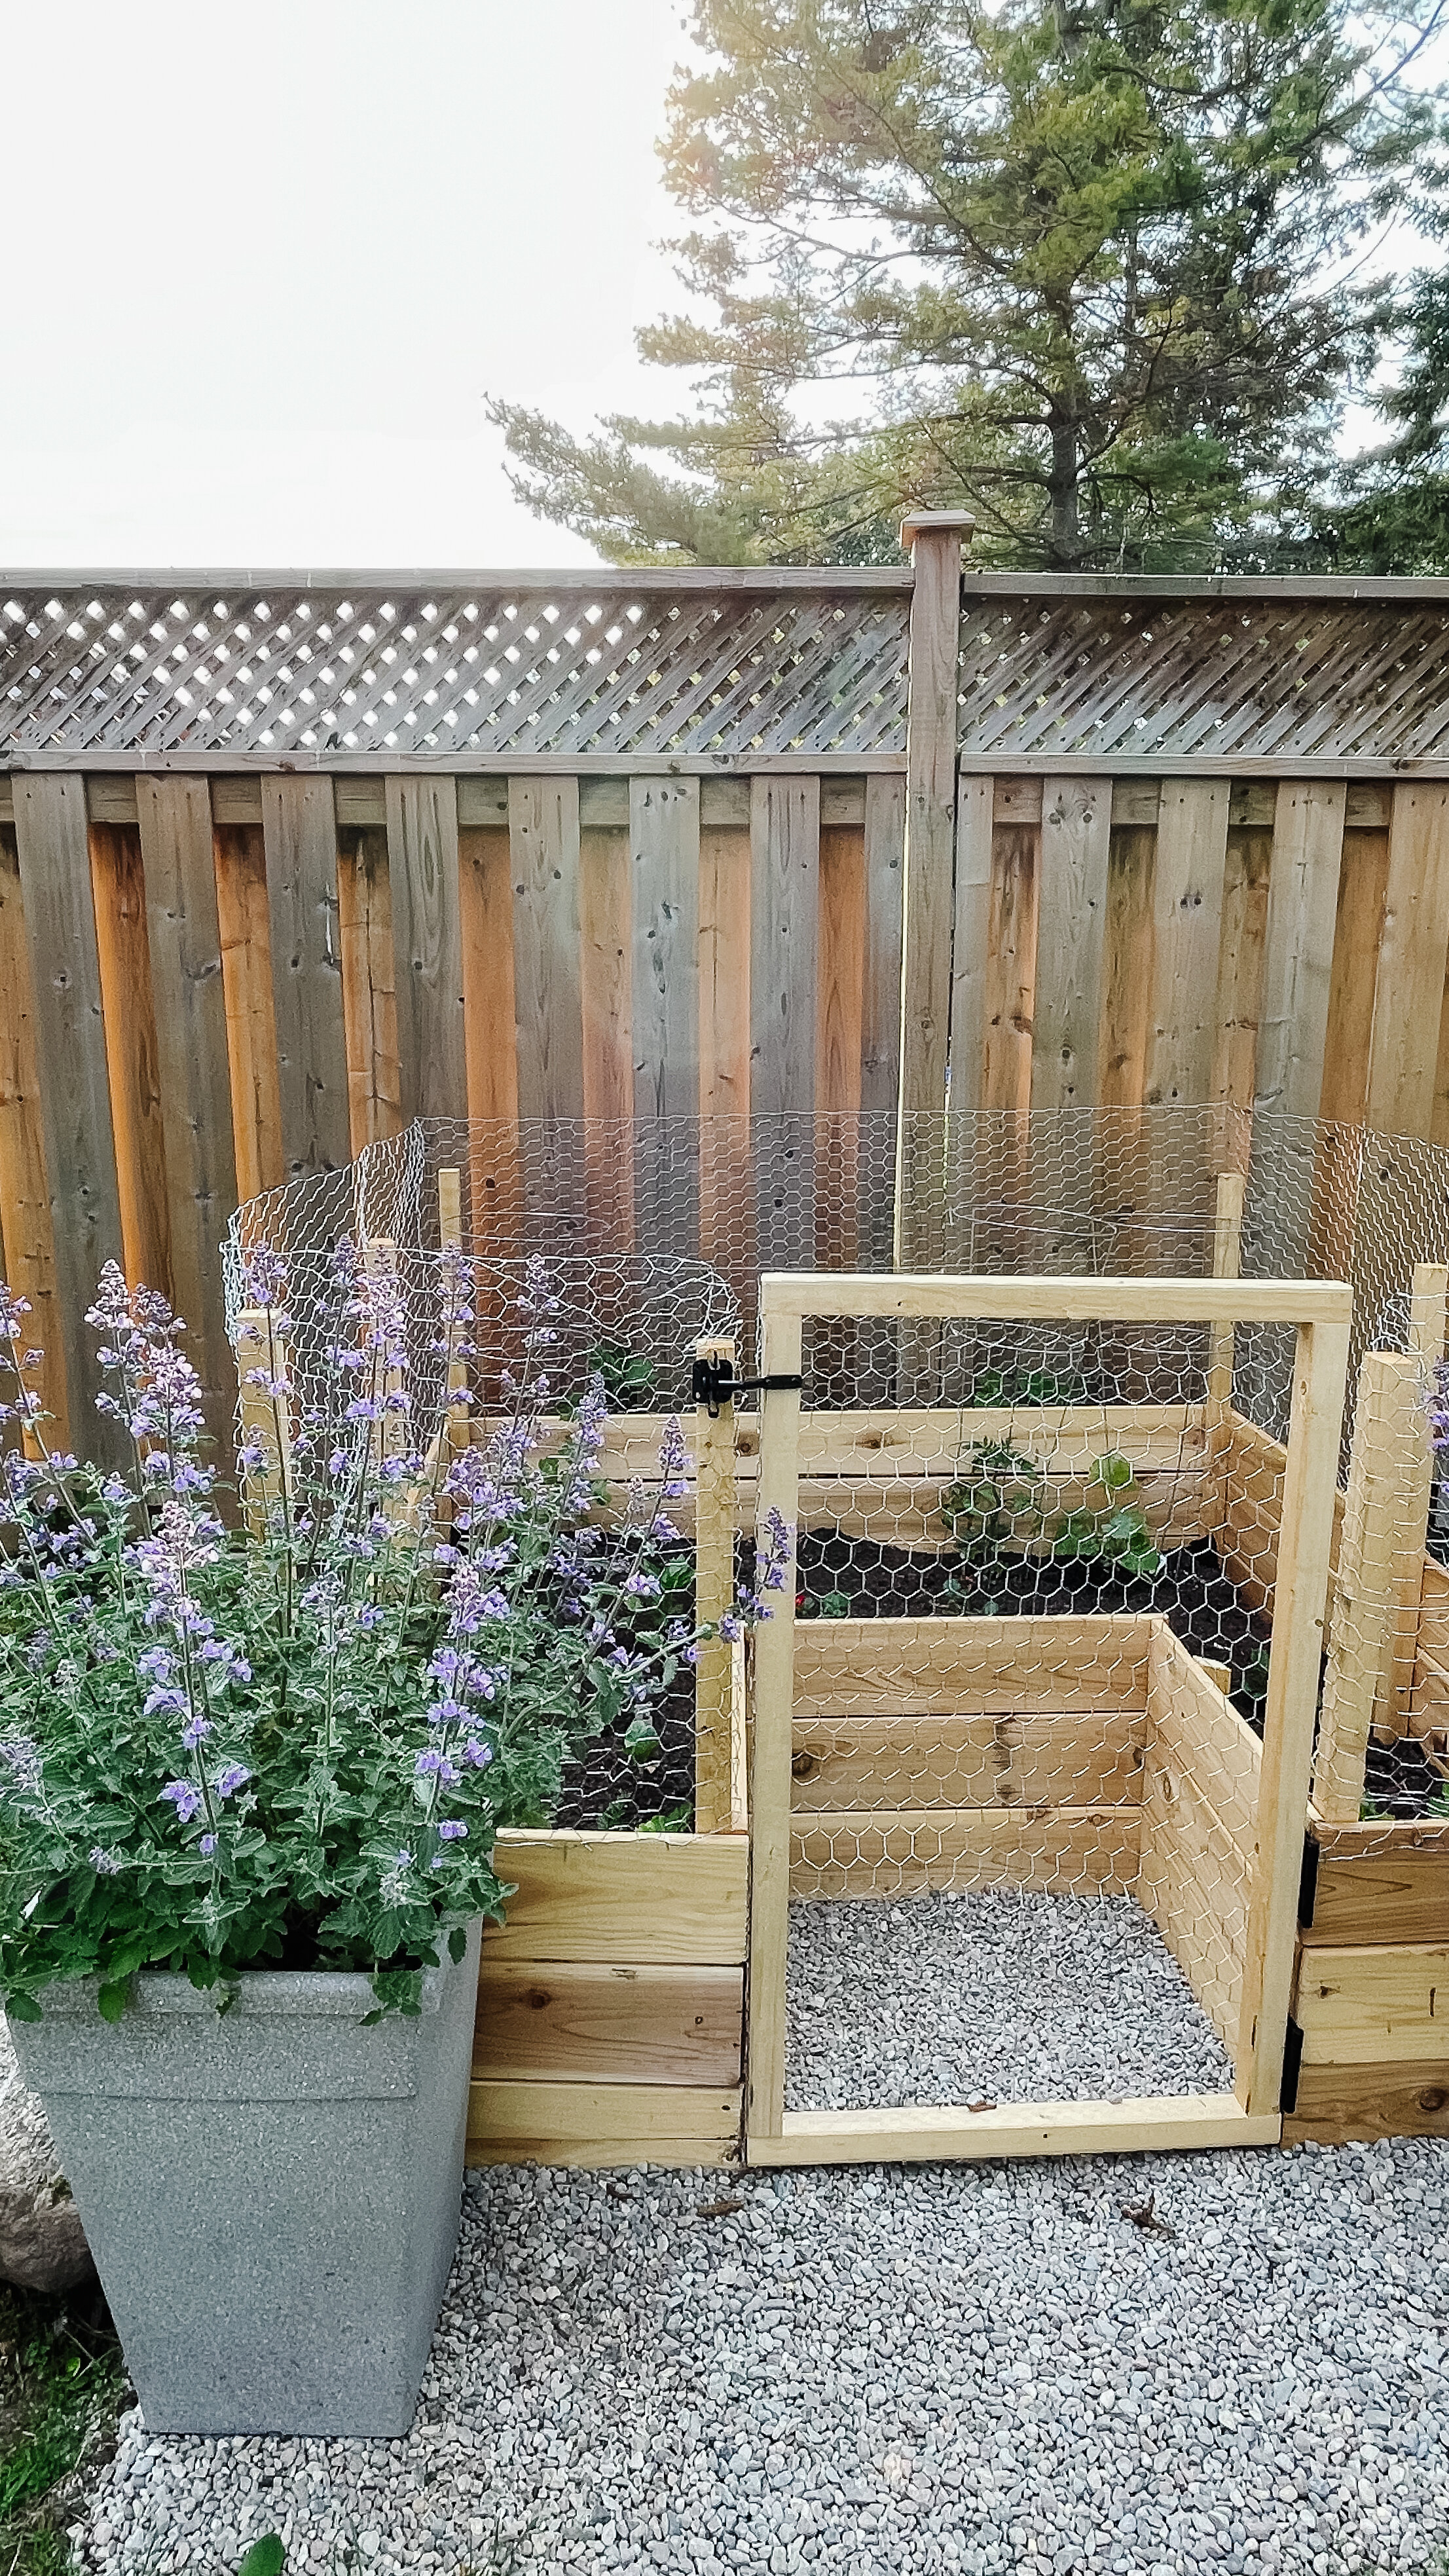
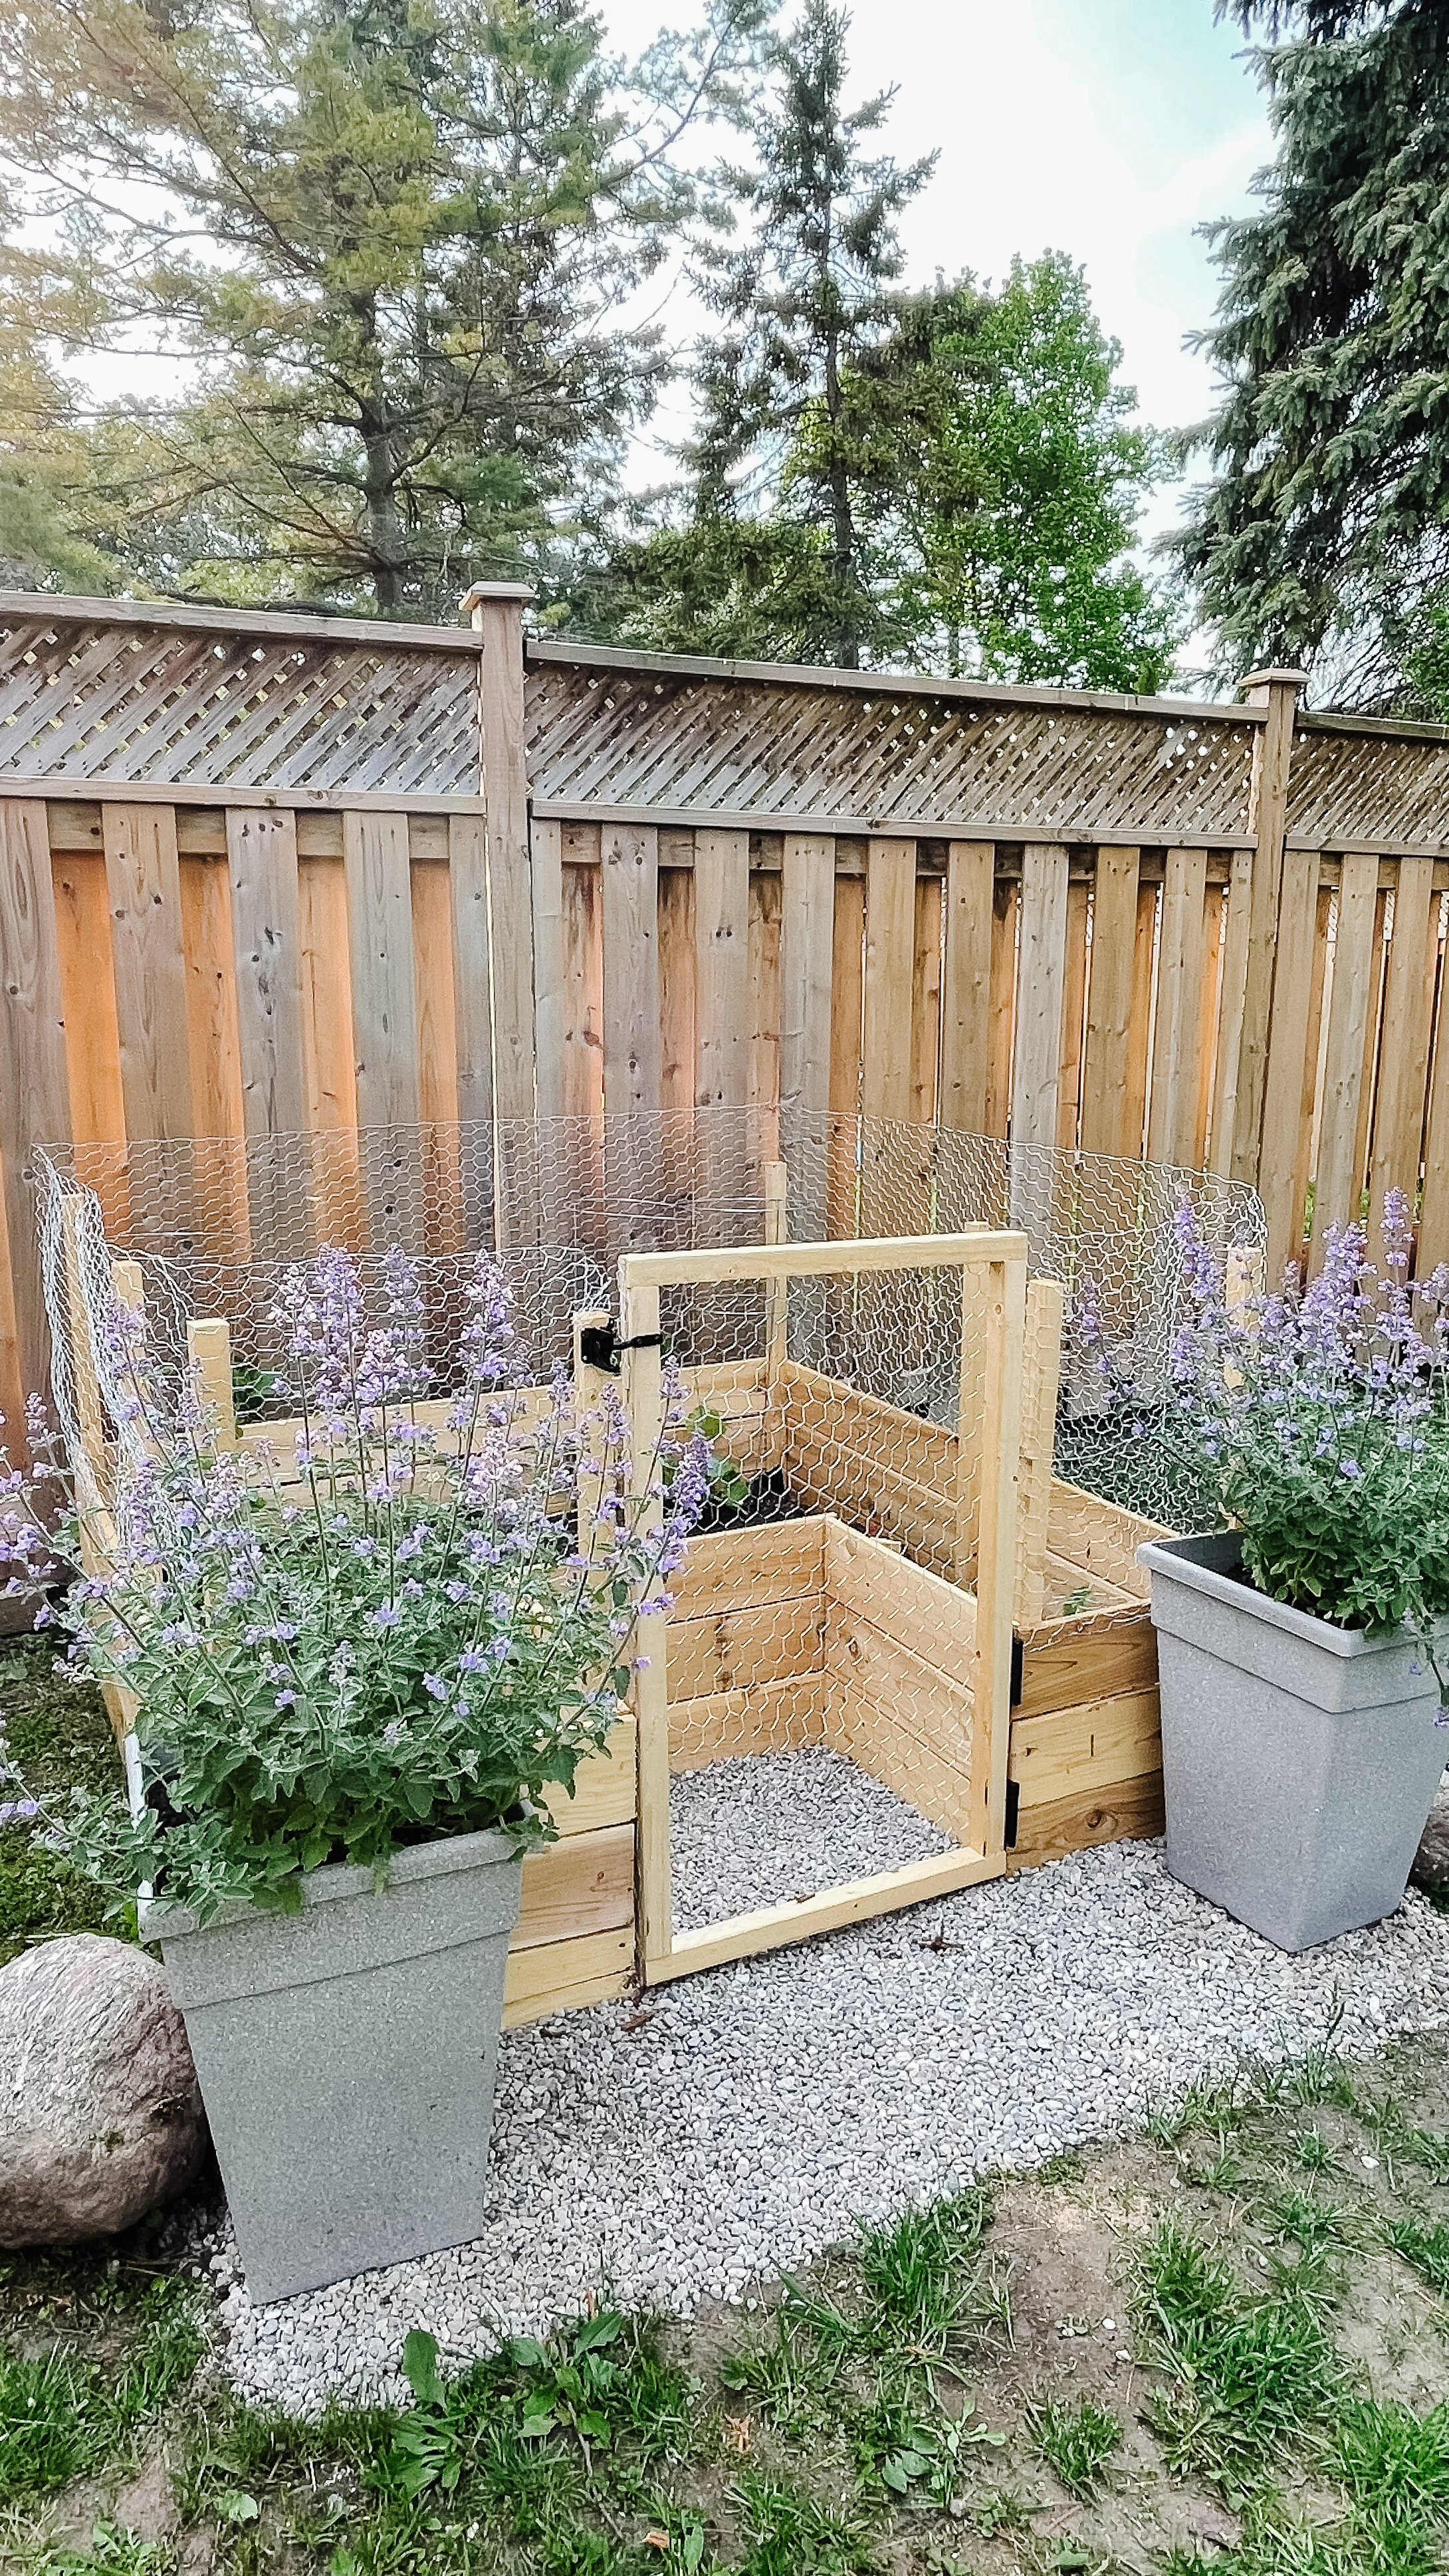
We have loved having this little garden and the kids looooove that they can open the gate and “go inside” to check on their favourite plants - they picked out everything inside, so it’s very much their garden.

A few plants still missing, but you get the jist…

And there you have it! If you have any questions, feel free to leave a comment!