Yeah, I made a chalkboard

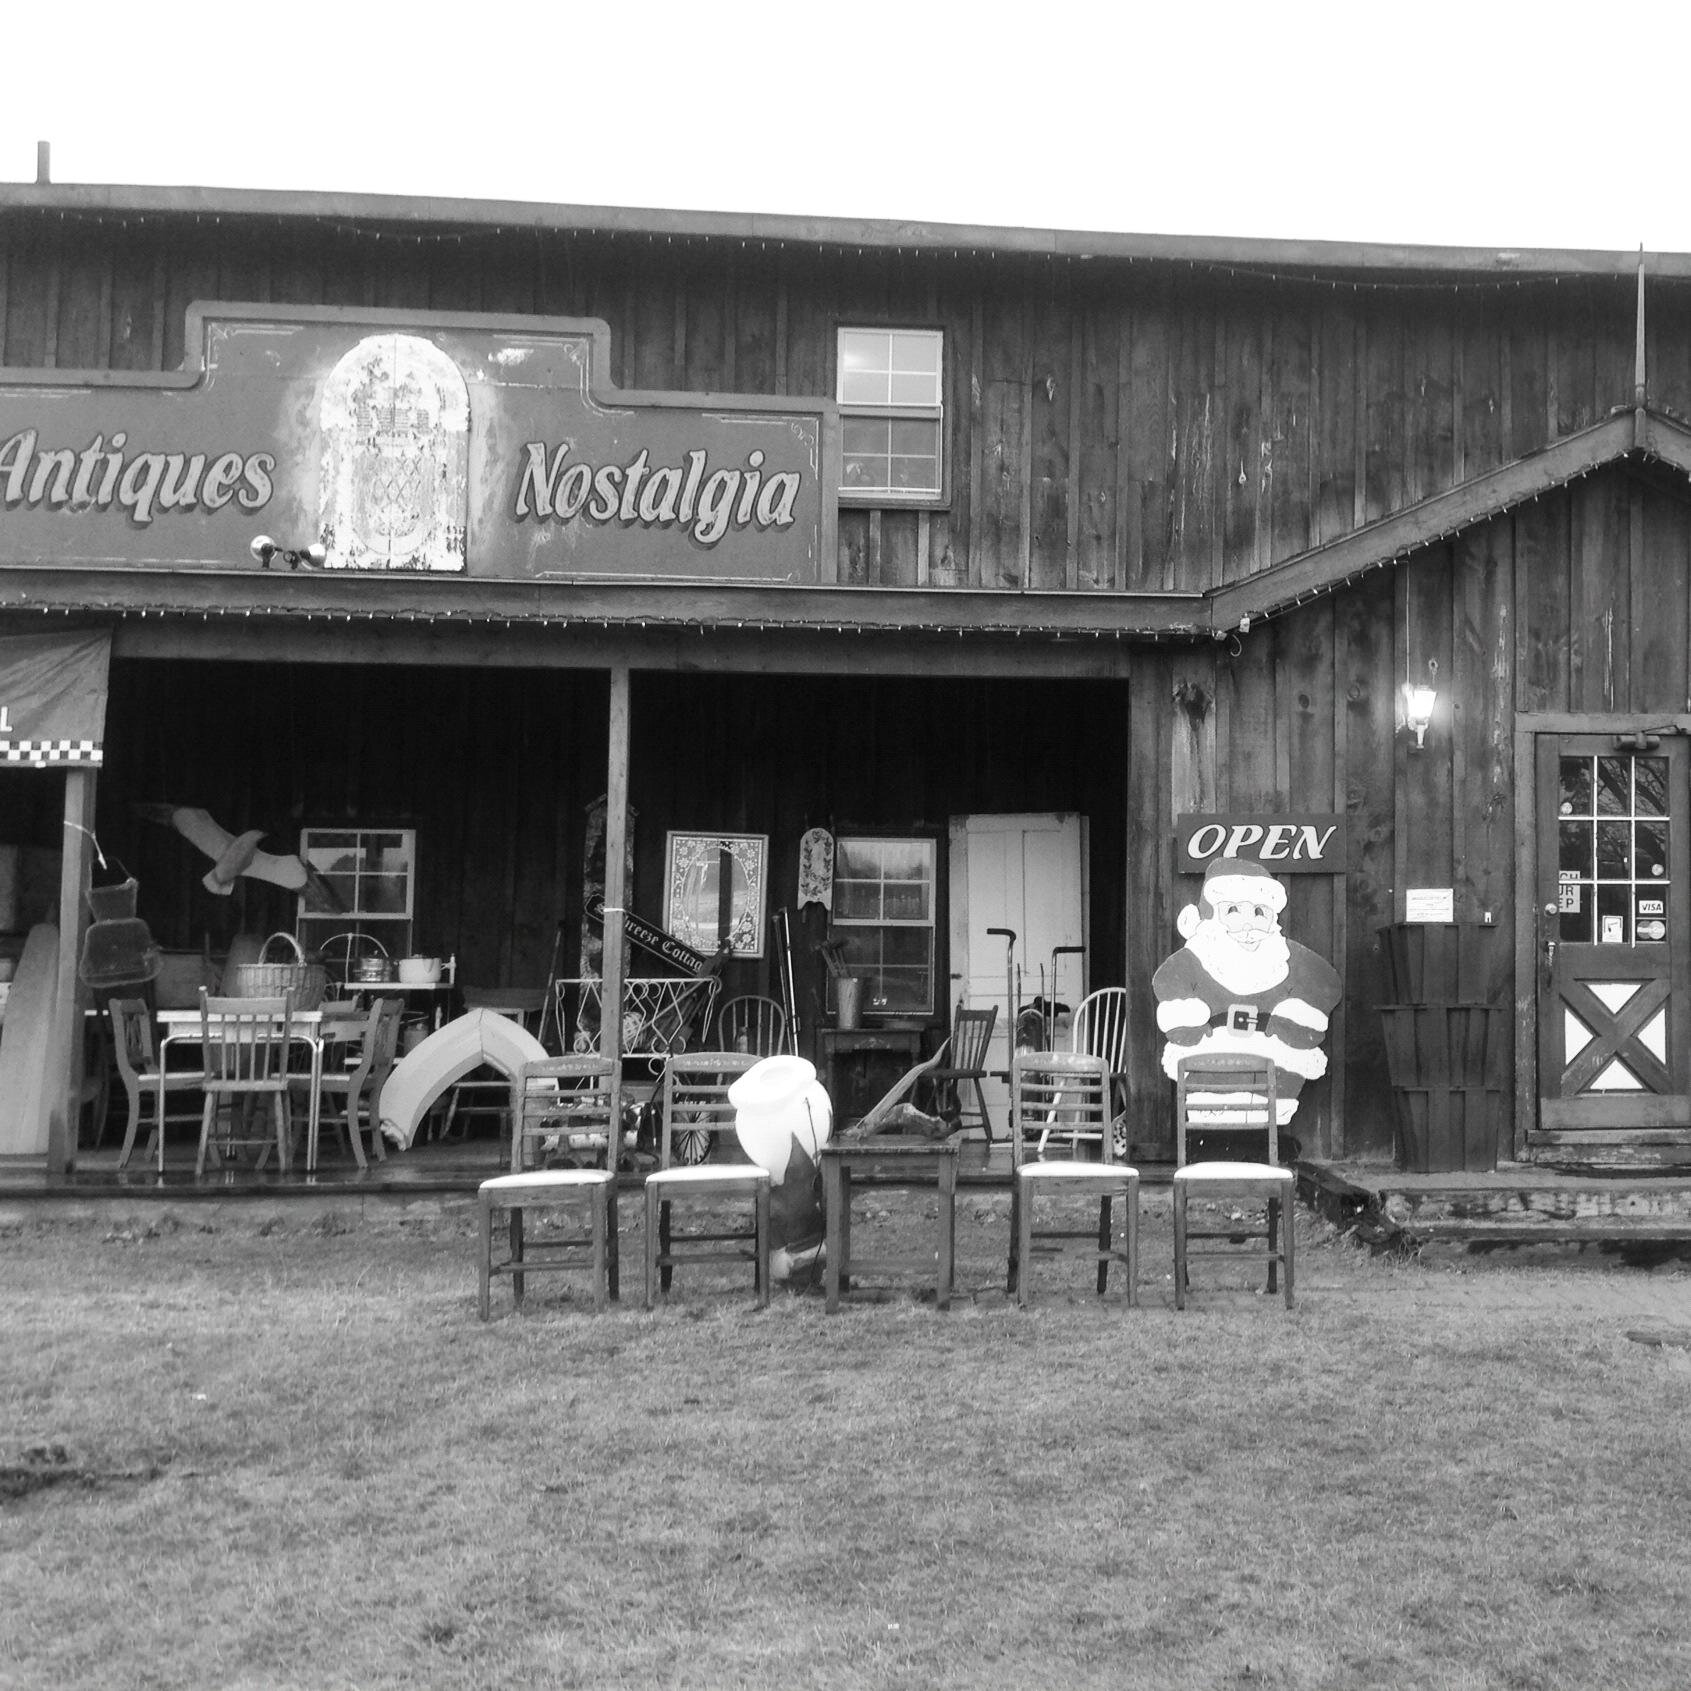
This is so very much like my wreath post a few weeks ago...I have totally jumped on another bandwagon and I don't care who knows it. Chalkboards are awesome and fun and as far as I'm concerned, a totally cool way to put up little notes for everyone to see. And with the rise of chalkboards comes chalkboard art, which I fully intend to attempt with this awesome new addition of mine. When does the next wagon of bands arrive? I'll be on it! (I know... that makes no sense!)Here's how it all went down. A few months ago my super awesome buddy Alisha and I went to this little place called Antiques on 48. I love them. Love love love. It's a heck of a drive for one stop, but well worth it. We discovered it accidentally while on a MAJOR antiques-shopping day a few months back for skeleton keys for her wedding and it was love at first sight for both of us. Isn't it charming?
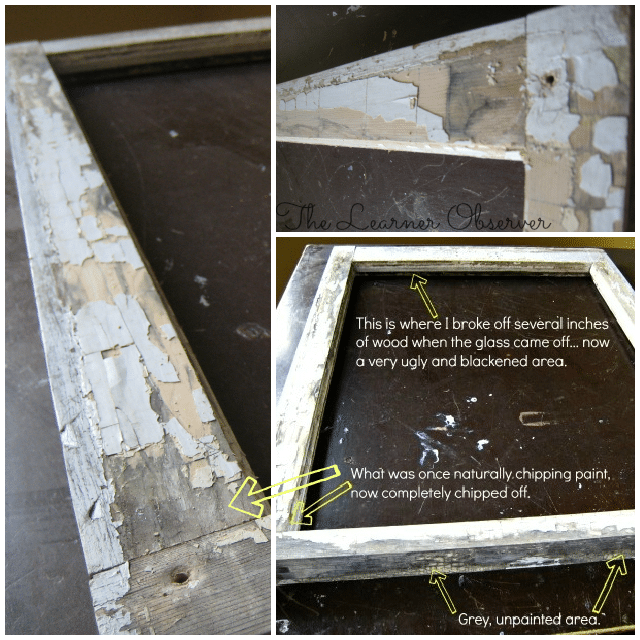
I knew during that visit I wanted a frame for a chalkboard, but I was having a hard time finding something genuinely old, not too fancy and at a decent price point. I walked outside and saw this pile of old windows sitting in a dark corner. It was raining and they were all wet, but I didn't care... I had to look through for a potential chalkboard frame and I found one. It was perfect! And $10! It was paid for and in my trunk within minutes. I almost wanted to drive away right then and there, having one of those manic "Start the car!!" IKEA-commercial moments, but Alisha was still inside and I love her too much to leave her behind!After weeks of living with an old crusty window in my house, I finally decided to take some action. I broke all of the glass. Yes, it hurt me (not physically) to have to do that, but it was necessary - there was no way I would have been able to perfectly fit anything into that frame over the glass, and though the thought of making it a dry-erase board did cross my mind, a chalkboard is what my little heart was set on. Glass broken, check... parts of the frame itself also broken off, also check.I was hit with a serious punch of panic and regret after looking at the glass-less, somewhat broken up frame (which now also had raw, musty wood exposed) and suddenly the unpainted greyish (in a very unattractive way) sides also caught my attention! OH NO!
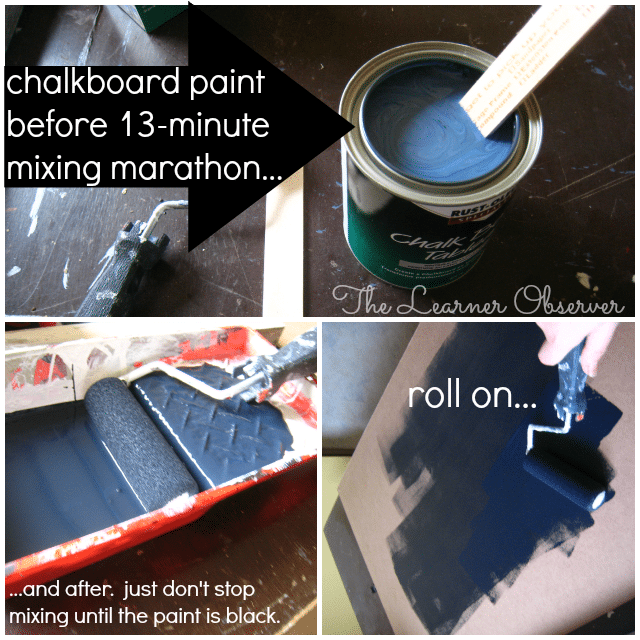
I attempted to ignore the problem and picked up some particle board on a trip to Home Depot with my husband that weekend. It cost a whopping $4 and they cut it to size for me. Love Home Depot. I also got some chalkboard paint (at around $25 for the can) and got to work on the actual chalkboard part of this project. Easy peasy! All you're really doing here is applying 2-3 coats of paint to a smooth, flat surface... no big deal. I used a small foam roller for this and it was great.
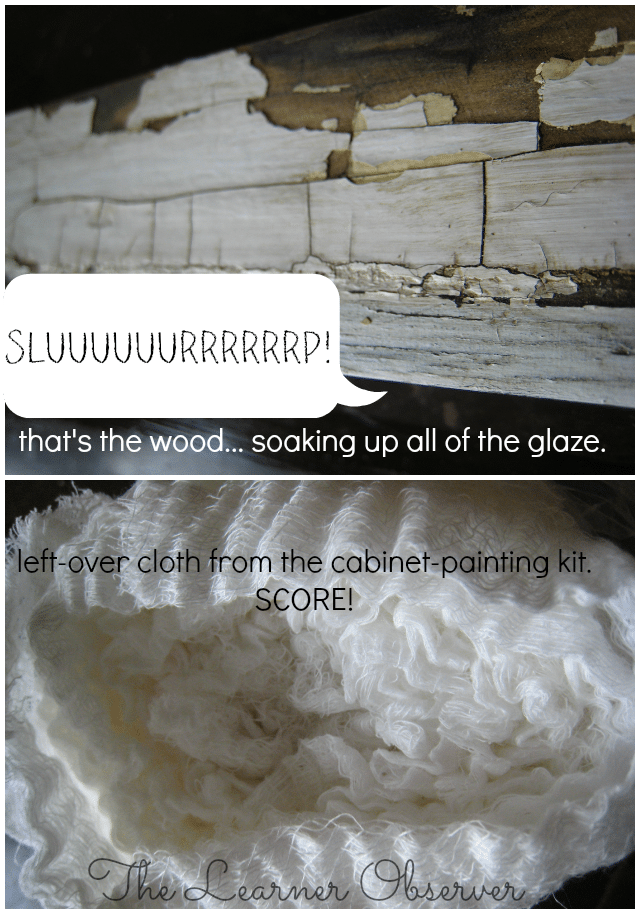
Back to the window: the frame sat (now upstairs in the "office" - aka Luther's room) staring at me and begging to be dealt with. I grabbed a brush, some leftover white paint and unused glaze from the Rustoleum kit for the kitchen cupboards and got to work.First the glaze. It went on extremely heavy! I let it sit on the frame a bit in hopes the wood would absorb some of the colour...
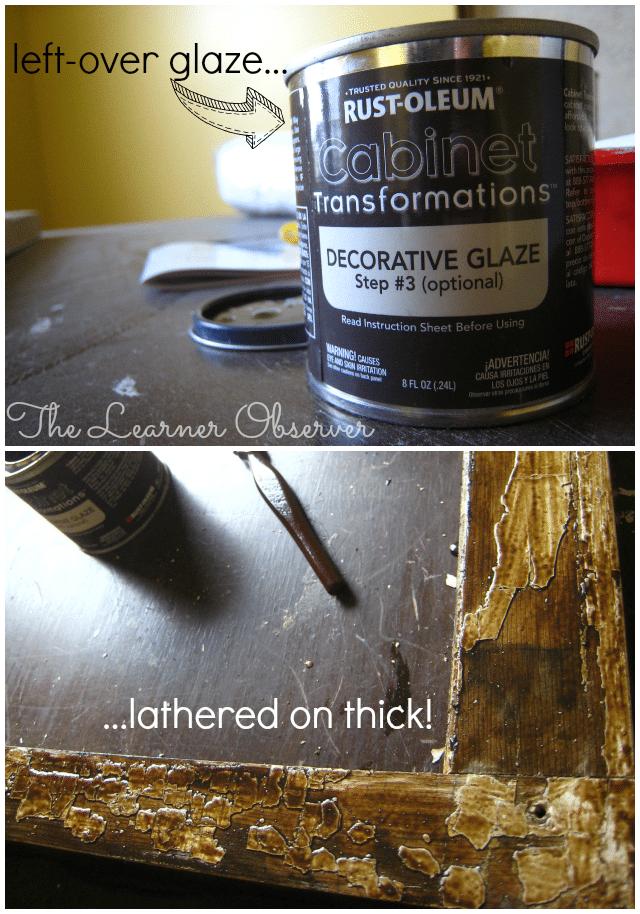
... it kind of worked!
I realize some of you may be looking at that section of the frame up there, thinking "STOP! It's done." The truth is, I photographed a "nice" looking corner... Not all of the frame looked quite that perfectly glazed. Case and point:
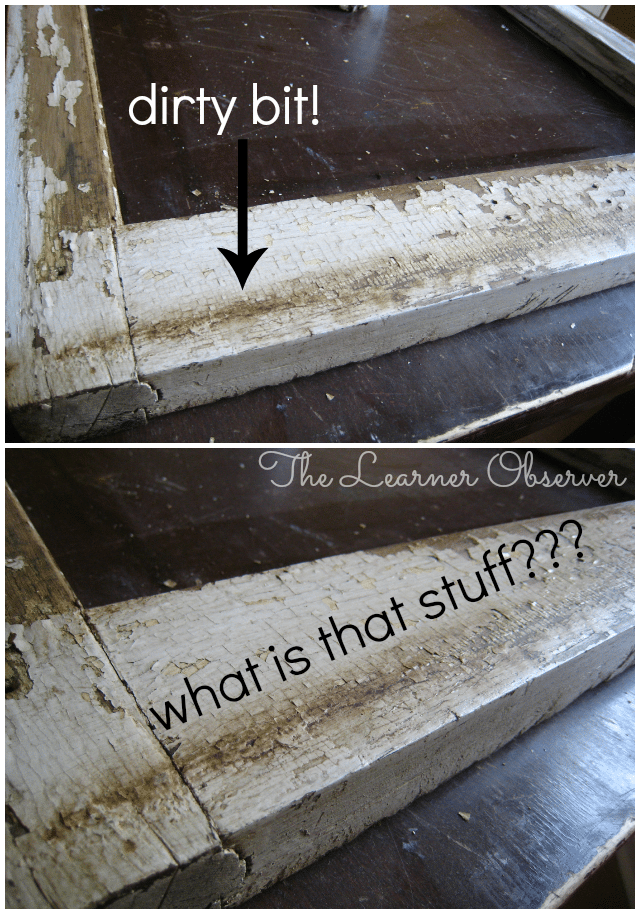
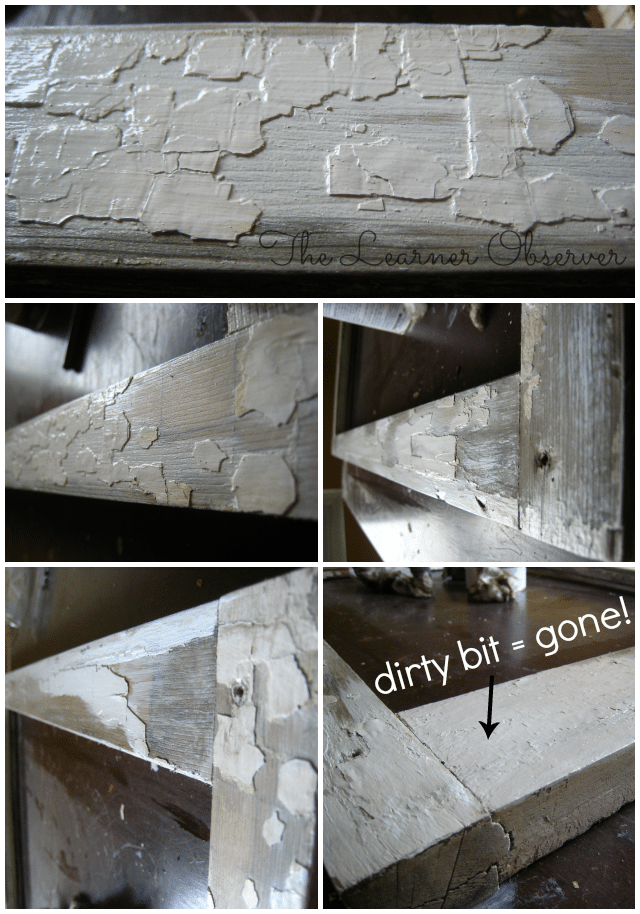
My solution to the "dirty bits" was to add white paint. There was no method to this part of the process. I know... you're all wondering if there was any method to ANY of this process. No, there wasn't. There was simply a goal: to end up with a window-frame chalkboard! Bring on the white paint!
Let it be known that I chose to paint the frame and chalkboard while suffering from a migraine. I do not condone this behaviour - the fumes are not migraine-friendly. After this part of the project was finished, I dragged myself to the couch and watched 2 episodes of Downton Abbey. Headache cured! (kidding... I wish!)Chalkboard and frame came together once the paint was dry, and that's when I thought I was done. That's also when I realized I was wrong! To avoid permanent chalk marks from your first chalk-art, you need to condition the chalkboard by rubbing chalk all over then wiping off with a wet cloth, like this: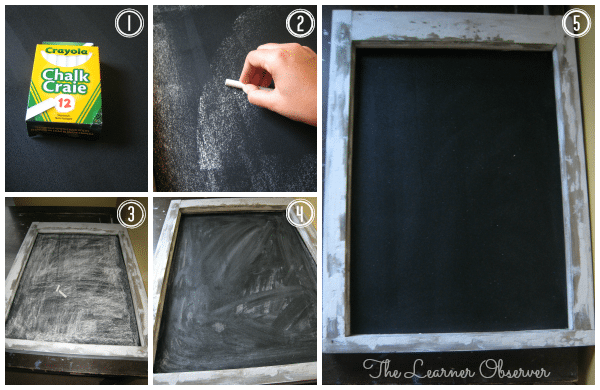 I should have done this step prior to screwing the frame and board together, but I don't always think ahead... so this part had to be done with the frame on.I know this post has officially gotten WAY too long... so I will be showing you how I hung this heavy window and my first chalkboard art in the next post. Stay tuned!!I link up here and here.