DIY Cookbook Stand (Using Scrap Wood)
It's true... I only used scrap wood to make this cookbook stand, and I also used ZERO screws. I was able to use my handy RYOBI 18-Volt ONE+ AirStrike Brad Nailer Kit. This will be a good time to tell you RYOBI sponsored this post, but brilliant cookbook stand idea and opinions are all my own! We have a cook in this house, and that cook's name is NOT Thalita. I mean, I CAN cook, but I'm not very good, and Marquis both enjoys it and is good at it, so naturally, he ends up doing the majority of the cooking. I thought it'd be nice to have a place for him to prop cookbooks when he does use them, and I imagine I'll be using this myself whenI cook or bake!I used scrap pieces for this, as I mentioned before, which consisted of a 2x4, 1x3, 1x2, and leftover 2x12.
 Now here's how I cut them:2x12 into a 13" length1x3 into 12" length1x2 into 12" length2x4 into 2 4" pieces with a 37 degree angleI used out trusty old mitre saw for this!
 Once everything was cut, I lightly sanded the edges using 100 grit sandpaper.
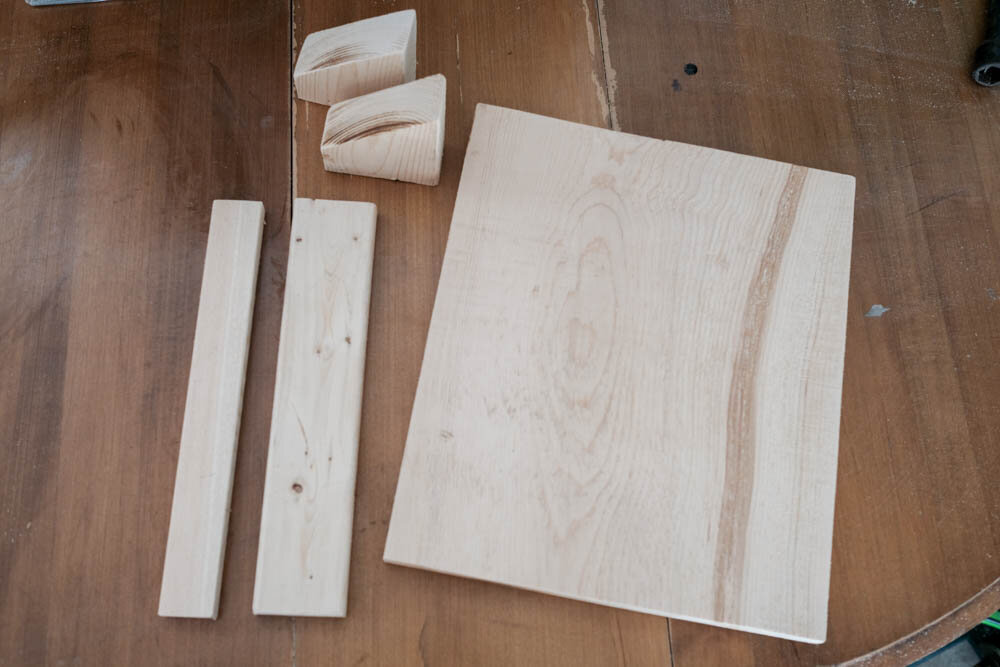 To start, I (or I should say, Marquis - he wanted to try out the new tool too!) nailed the 1x3 into the 2x12, then added the 1x2 like so:
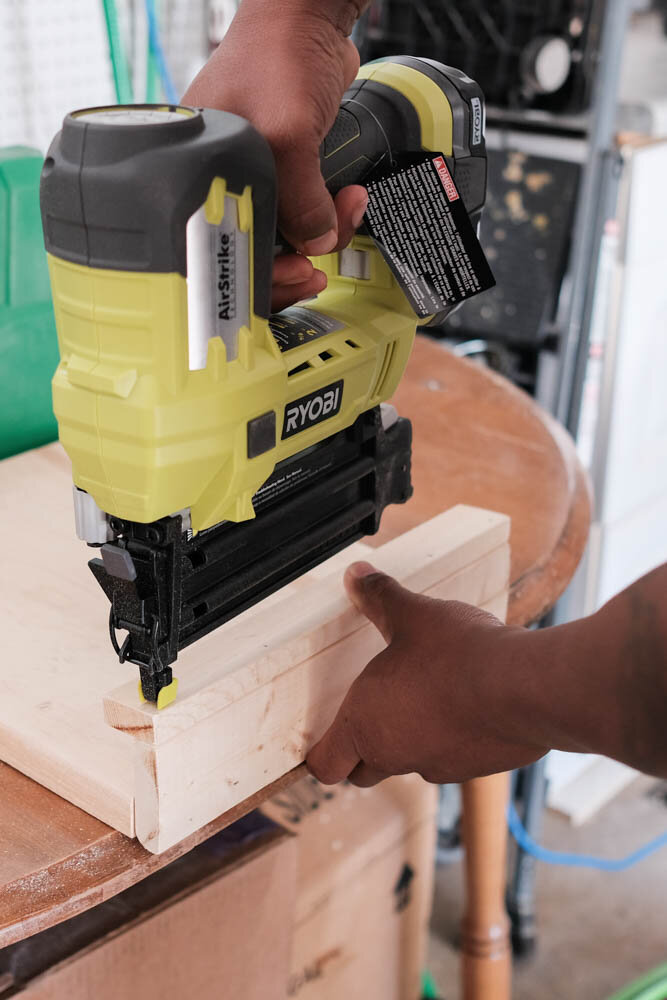
 Then I measured 3" in from each side of the back and front of the stand using painter's tape. I did this so I would know where to nail into the support pieces behind.
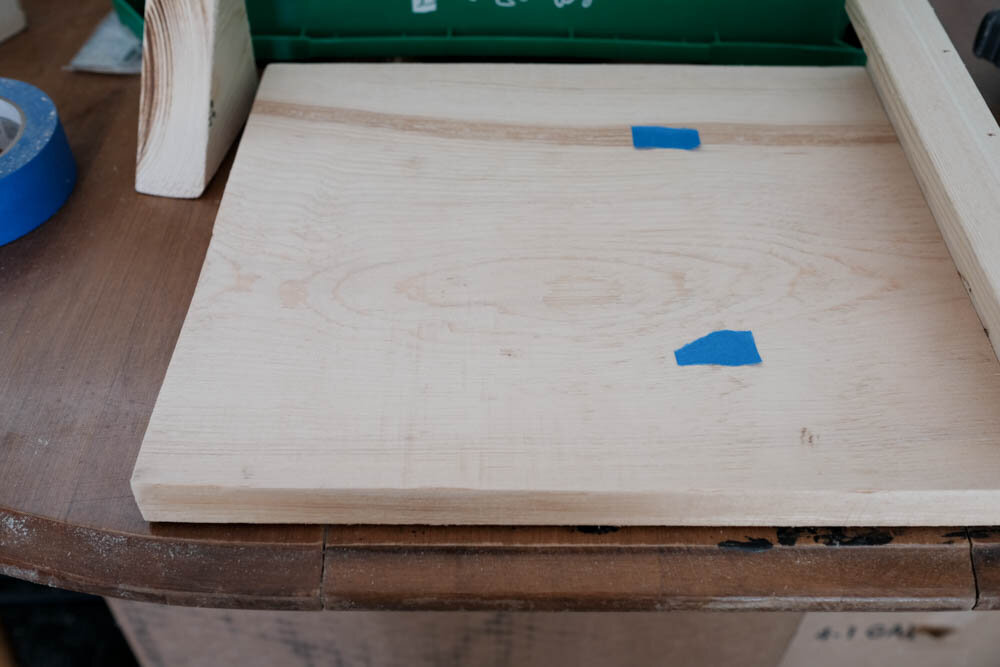 Once I nailed the supports in, I filled all of the holes with wood filler and lightly sanded. This means ZERO proof of nails going in anywhere, which is why I used nails on the front of the piece to begin with.
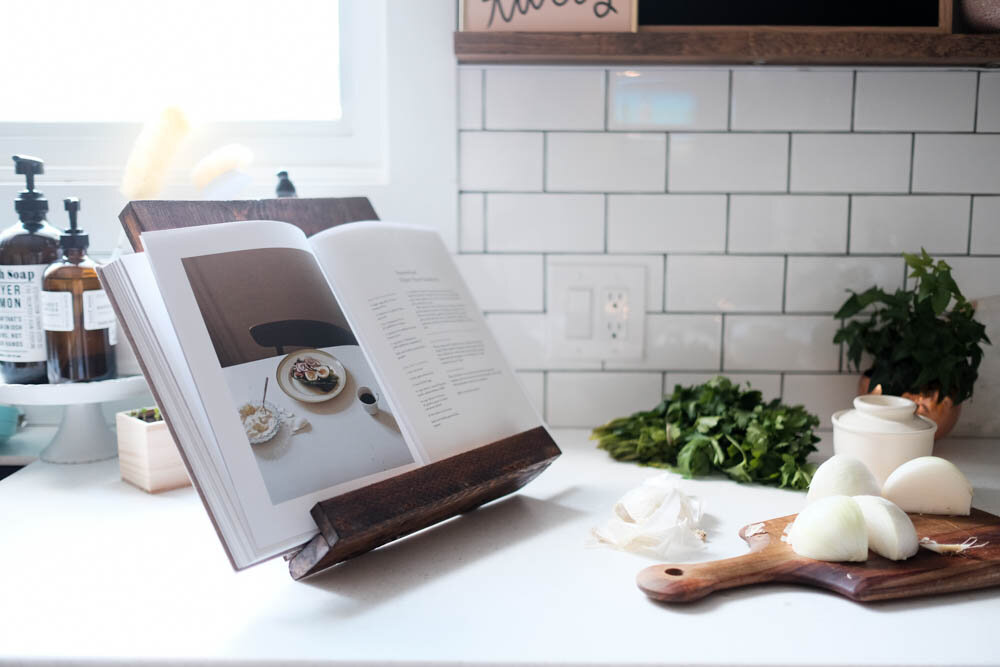
 Next, I stained the whole thing with some leftover stain (honestly, I bought NOTHING for this), and voila!
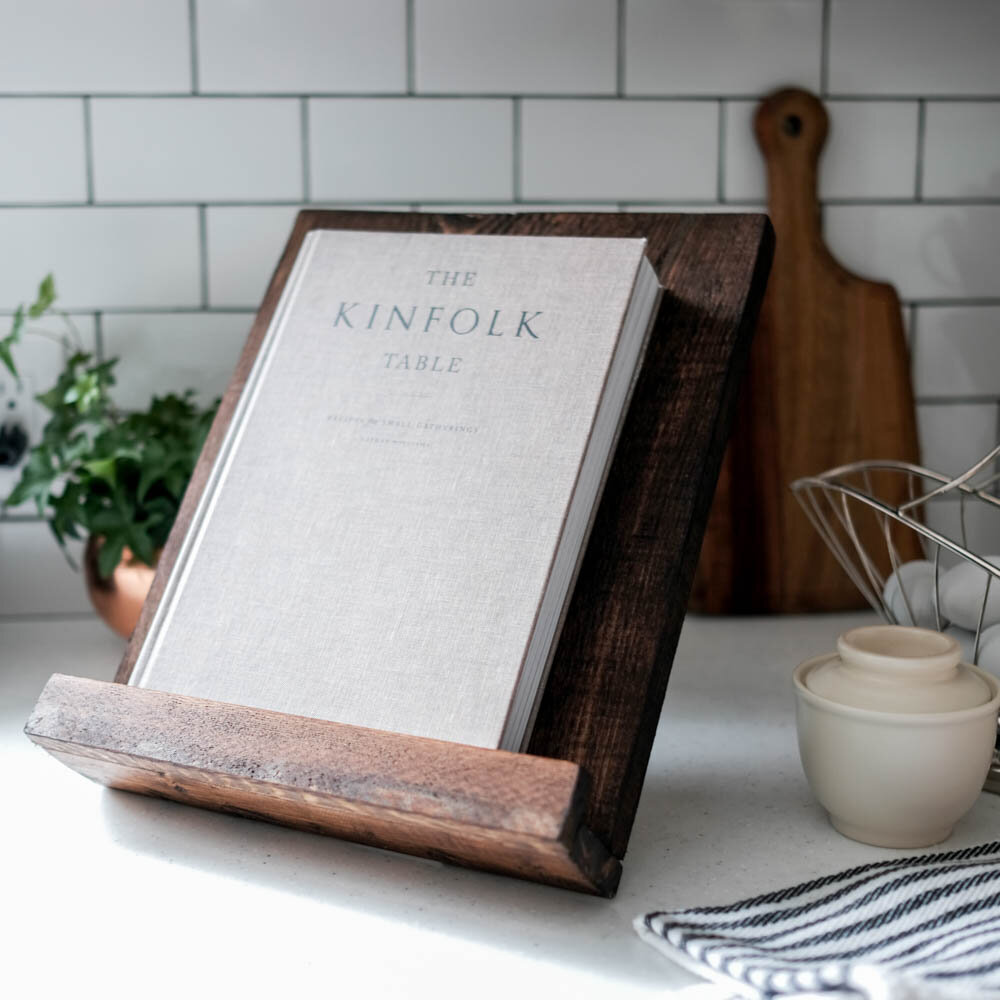 I happened to catch Marquis in action, using the newest addition to our kitchen.
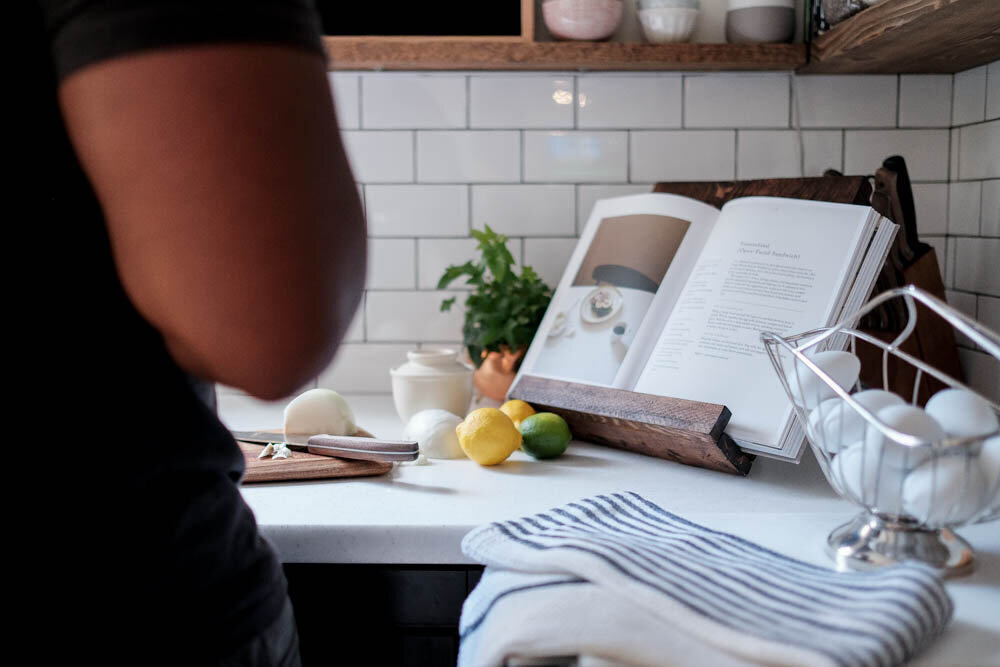
 And to give you an idea of what this looks like from behind, here's a shot. I made sure to stain the whole thing in case I ever want to use this on the island - that way all angles look good!
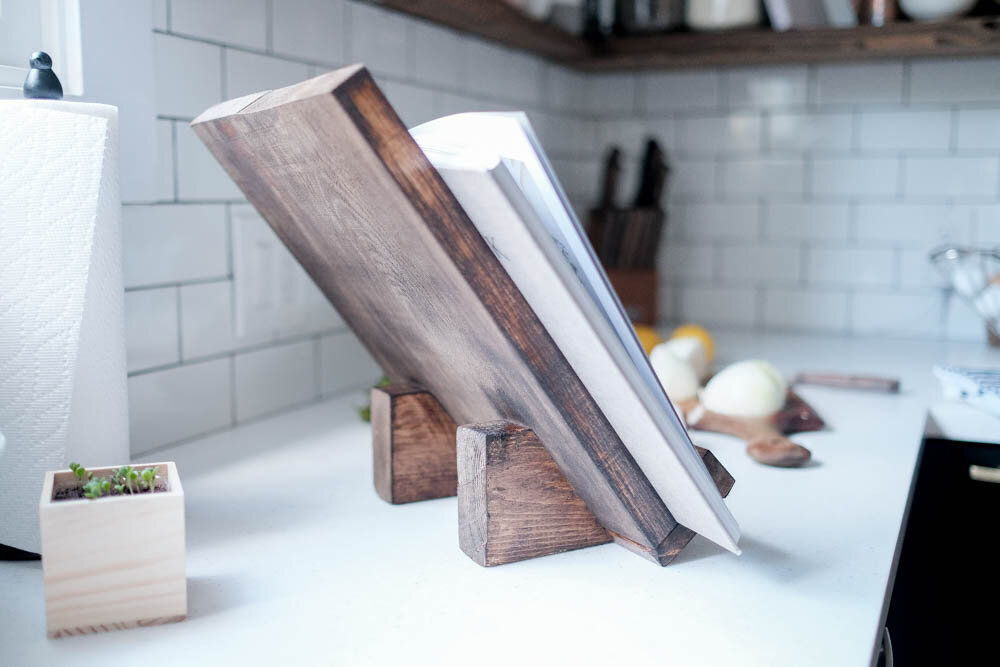
 Now, I have a few other pretty spectacular projects to share with you, all of which RYOBI sponsored, all using different tools. Curious?
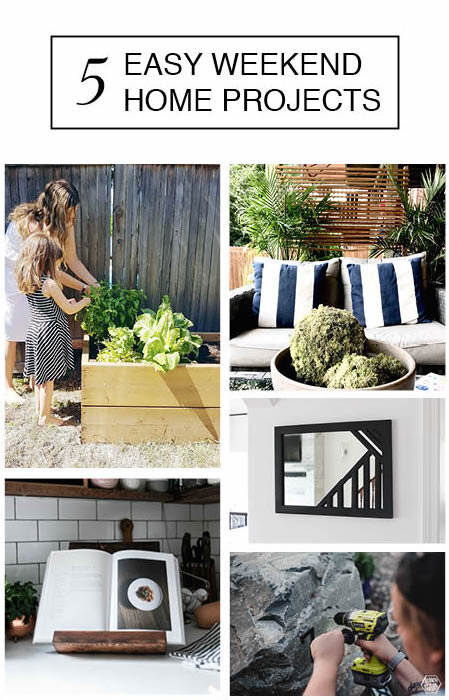 Check out this raised garden by The Sweetest Digs, a privacy wall by Harlow & Thistle, a modern mirror by Love Create Celebrate, and how to install house numbers onto a rock by Lemon Thistle.Thanks again to RYOBI for sponsoring us!