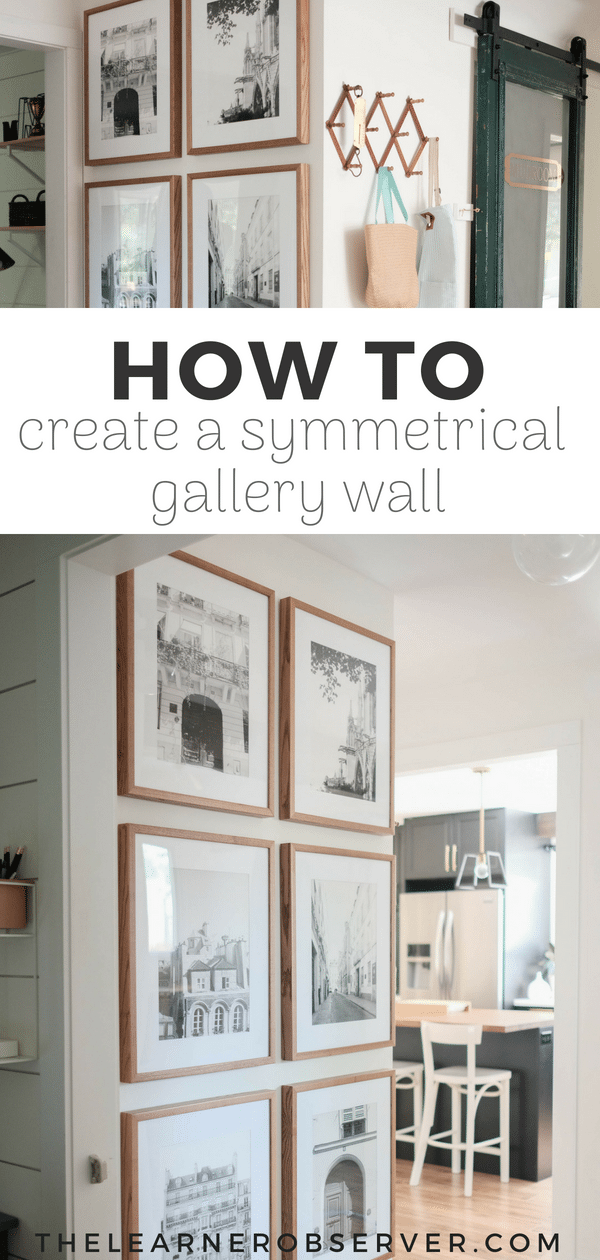
How to Create a Symmetrical Gallery Wall
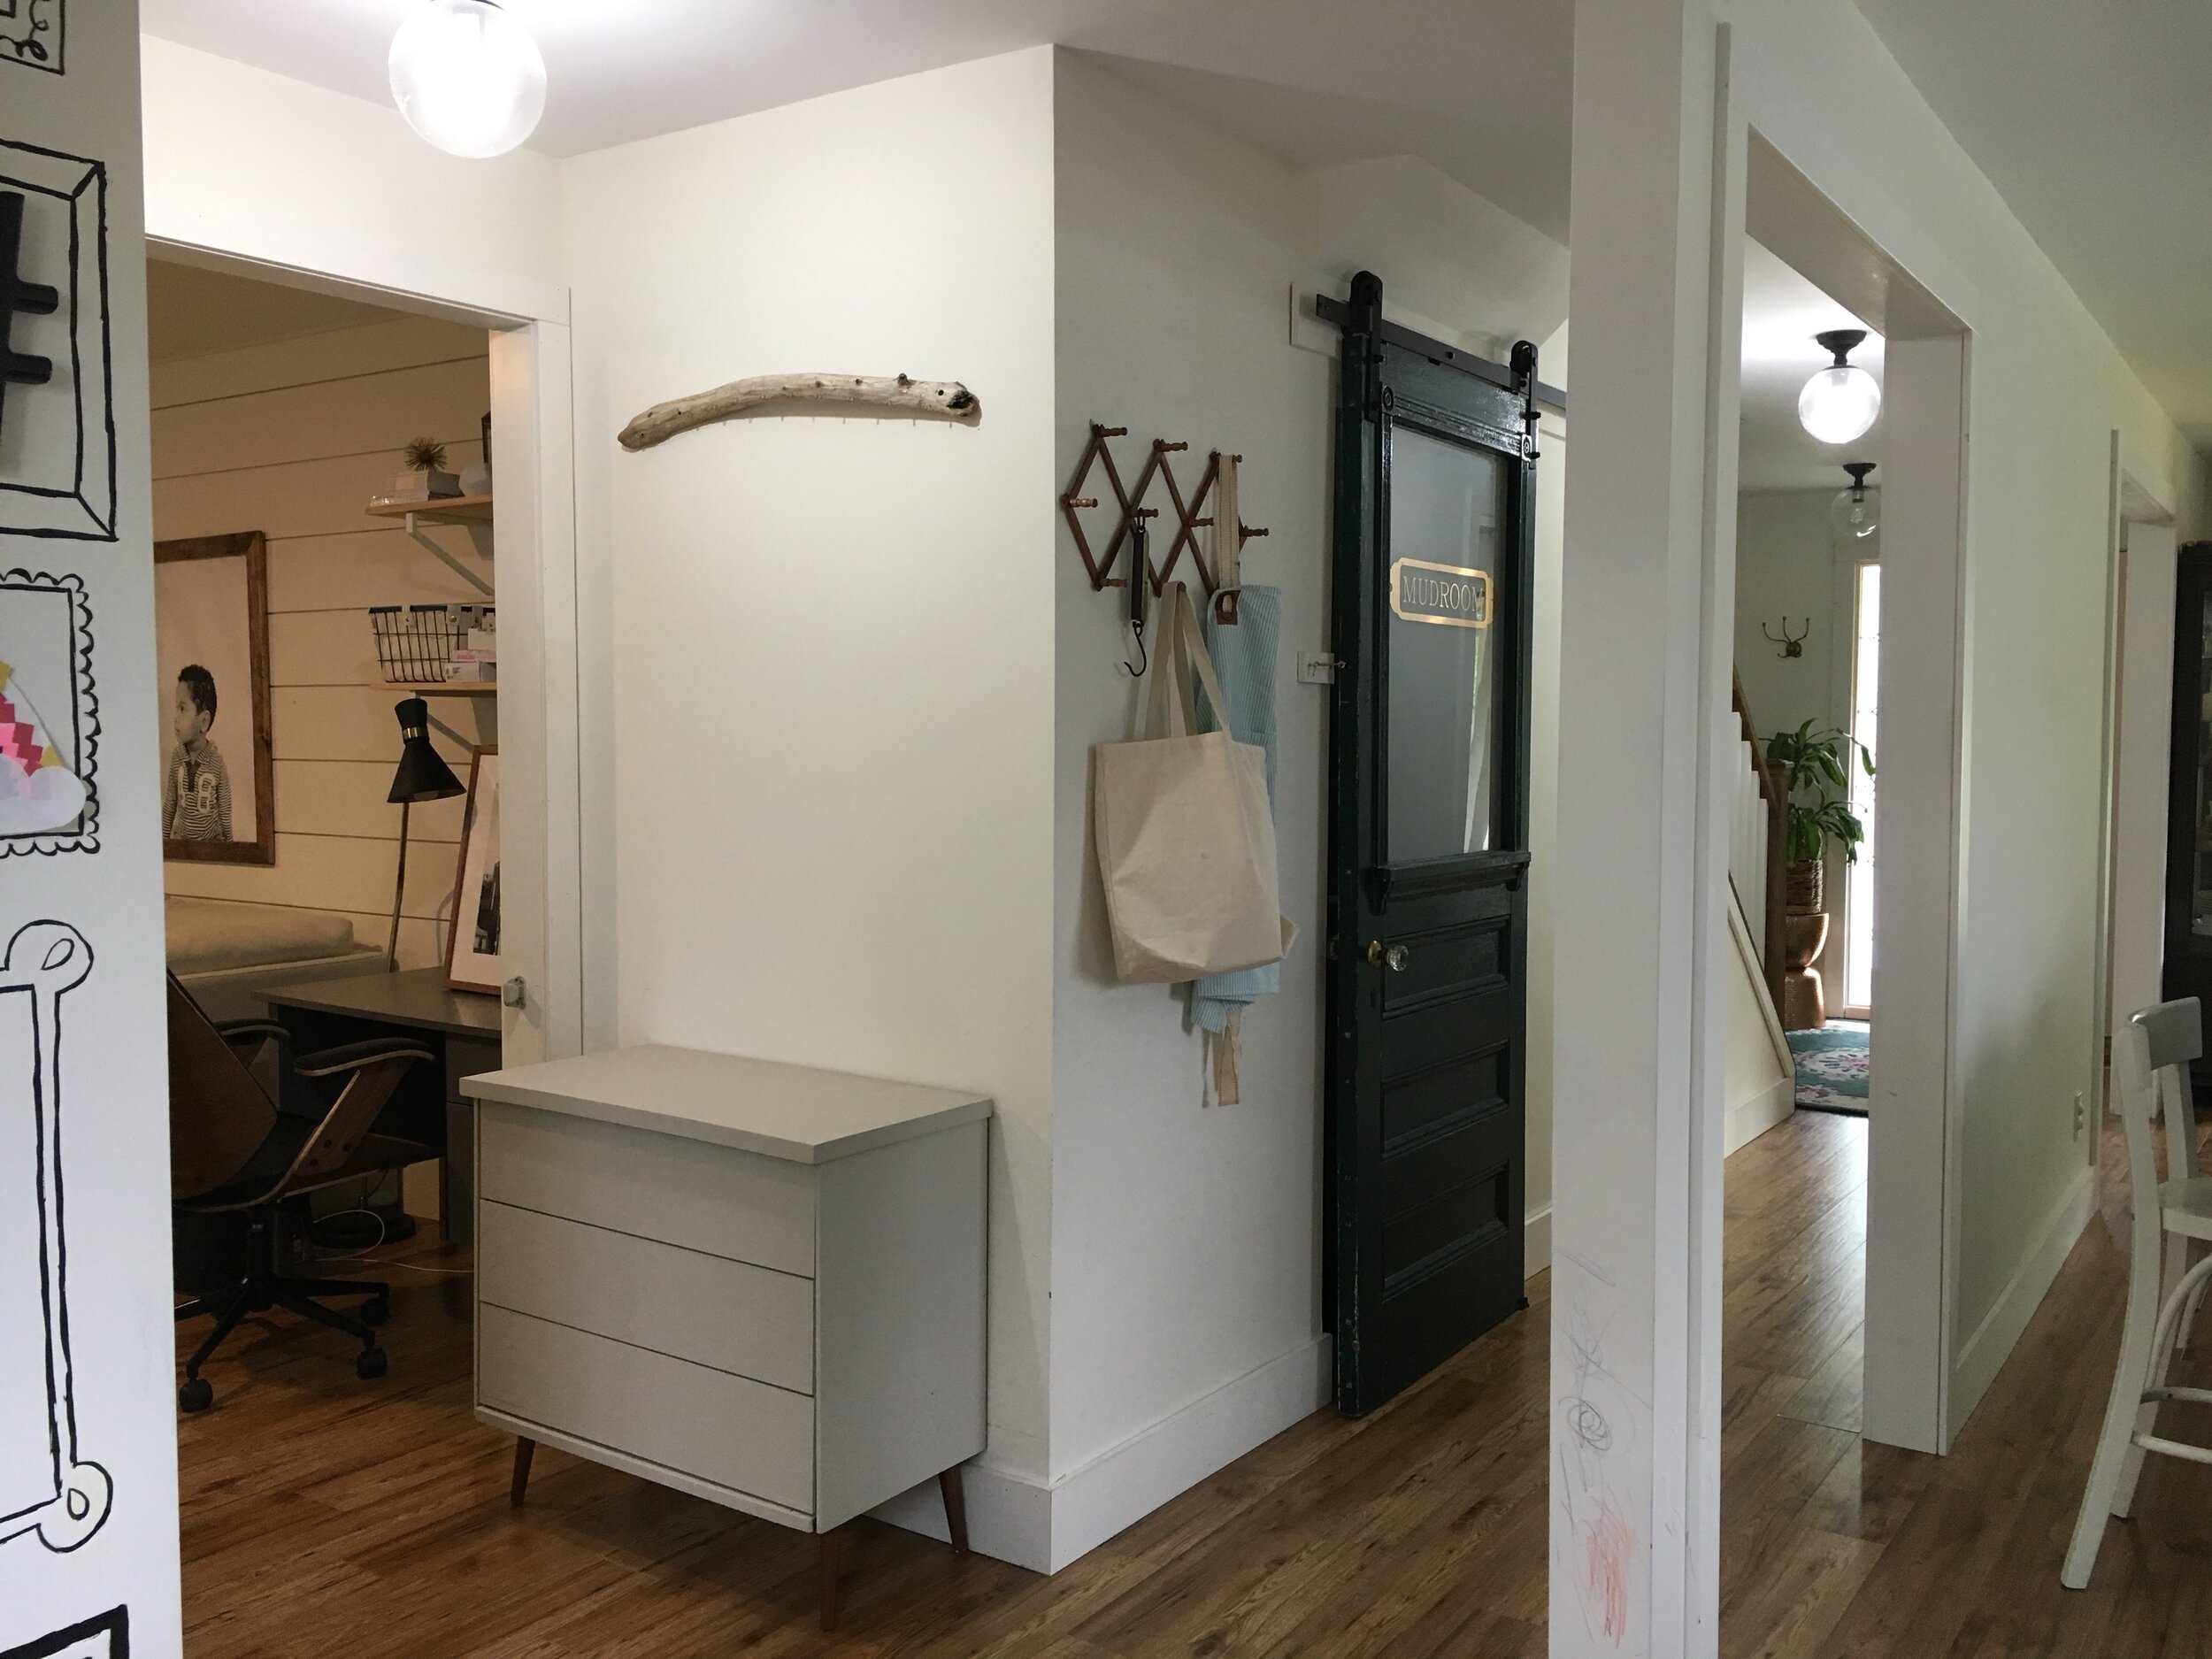
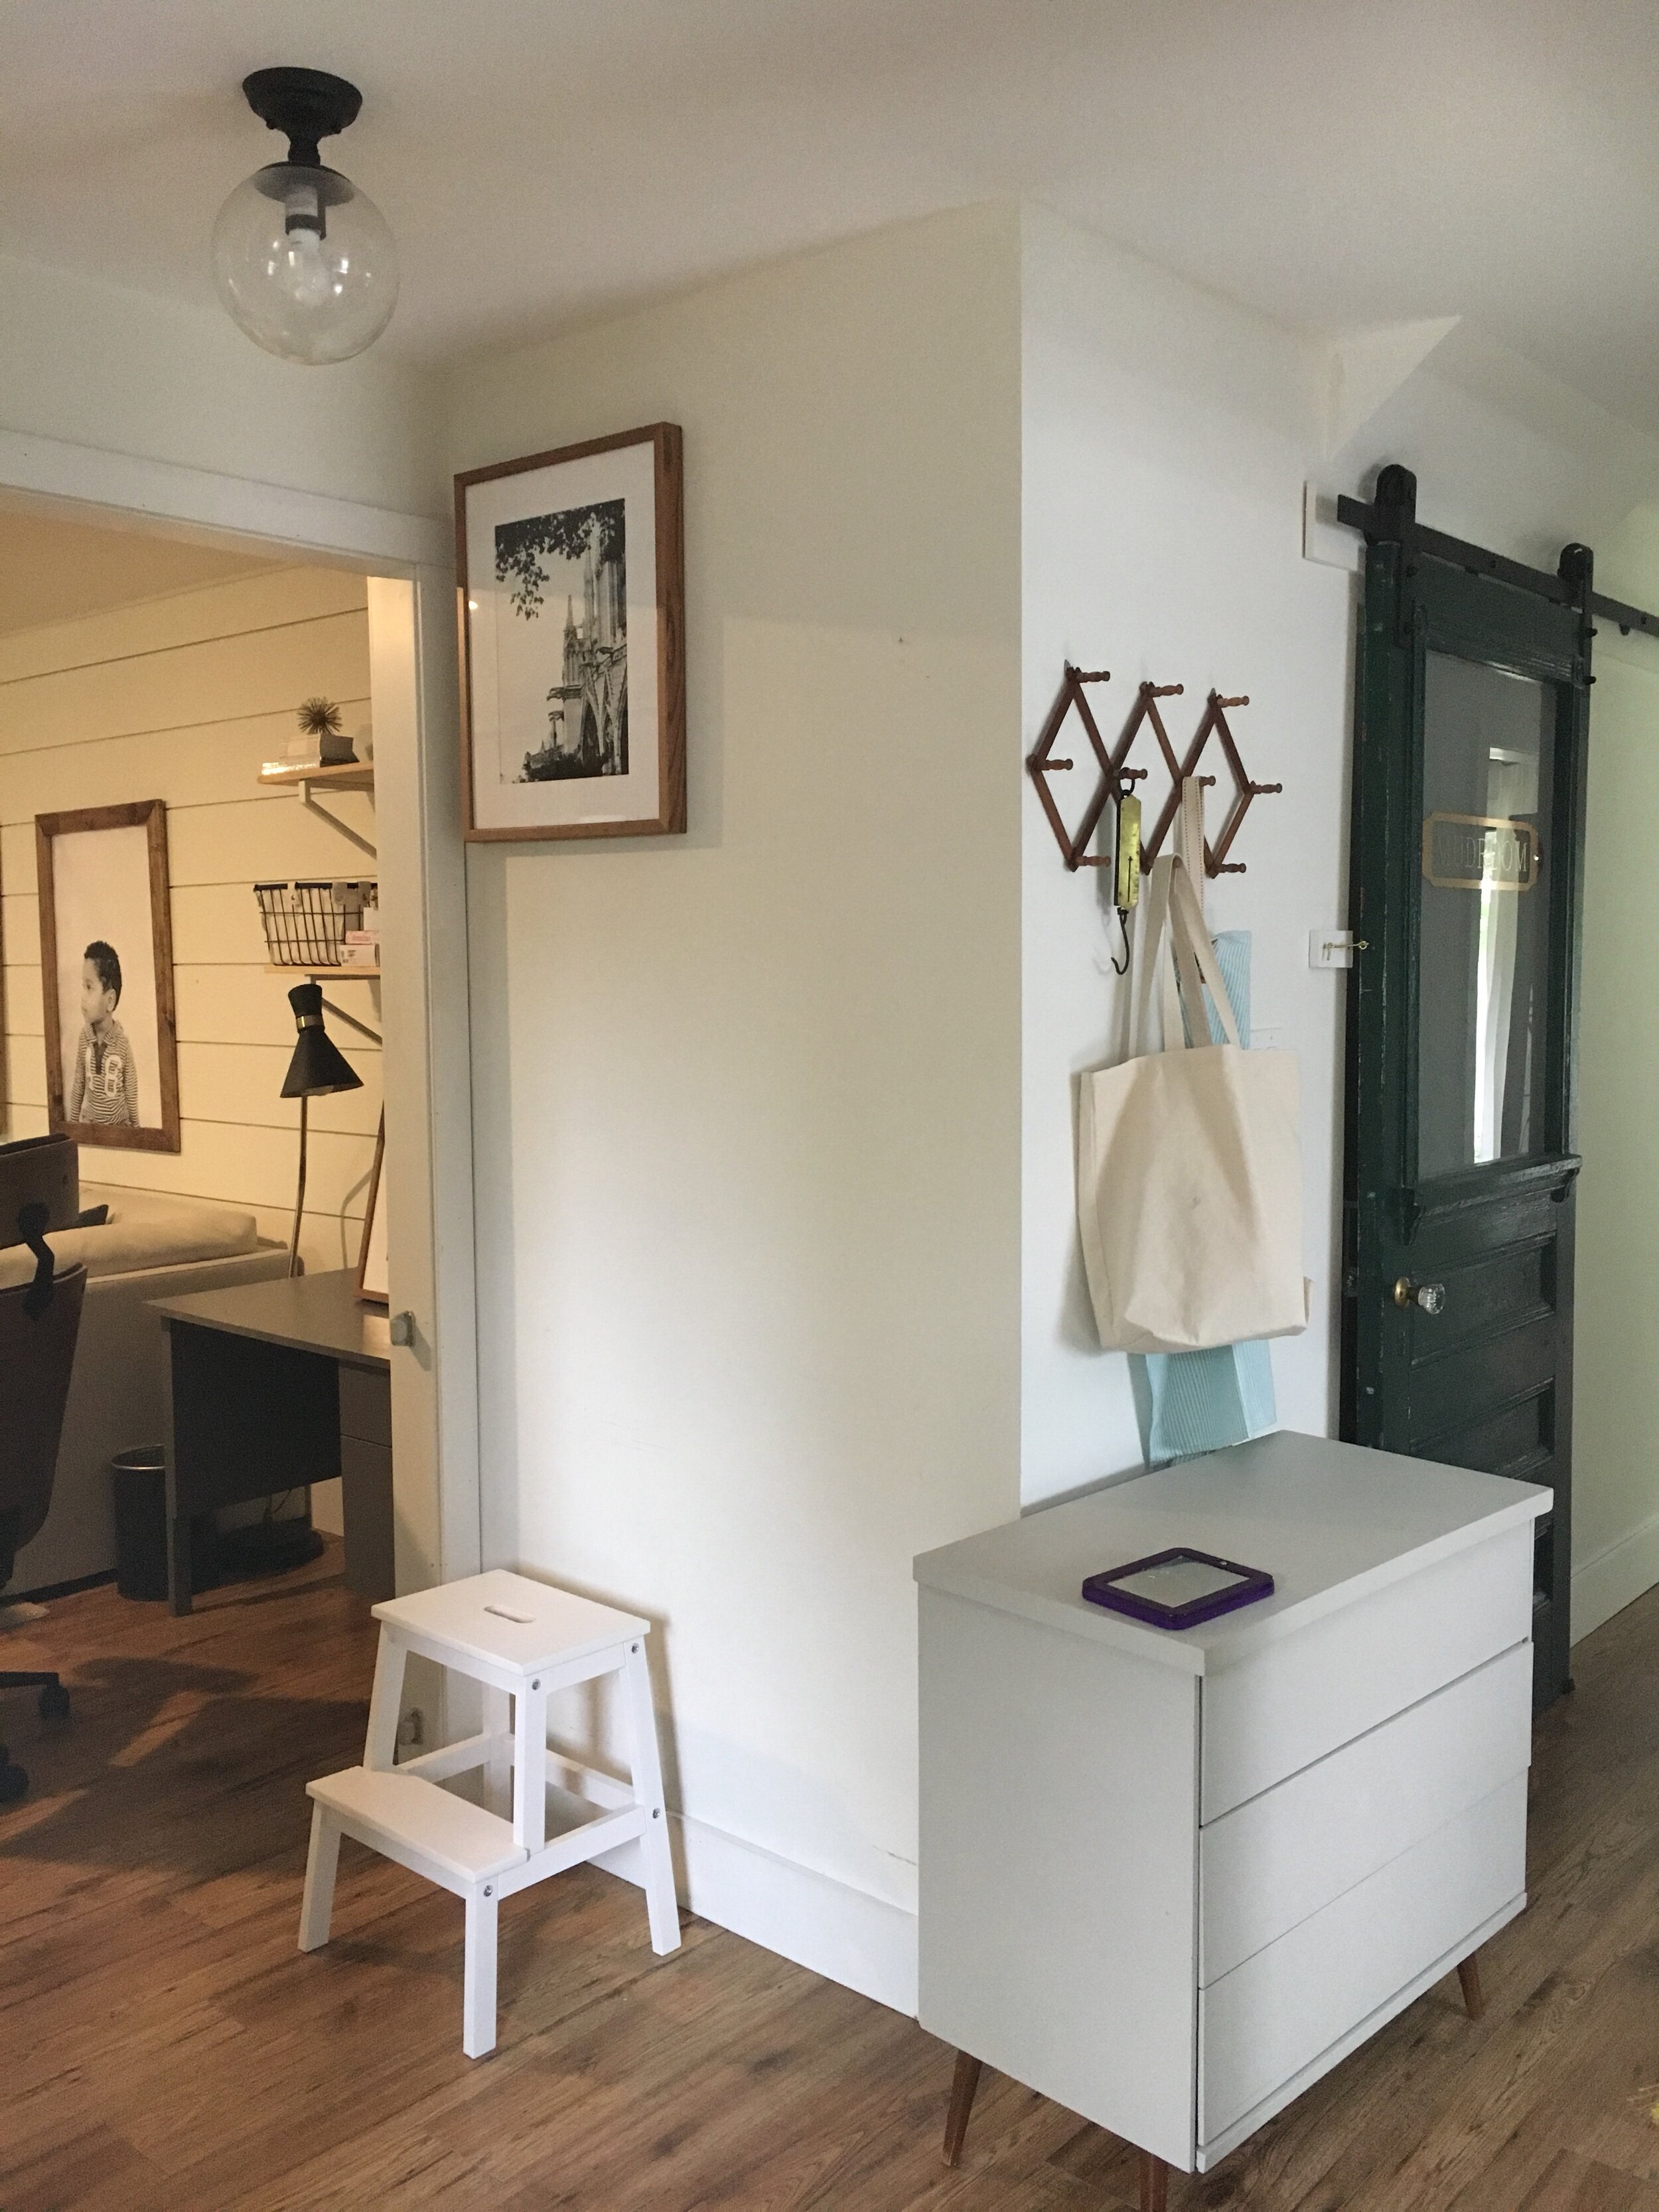
For (almost) two years we have had this house, and it's really only over the last year that we've started to put art up on the walls of the main floor. And I mean REALLY put things up, as in: using real nails, not just Command strips/hooks. One of the walls I have been dying to get artwork on is the one in this sort of hallway of our house. It's a space between the powder room and family room, and I've always thought it needed something interesting. Enter the super symmetrical gallery wall.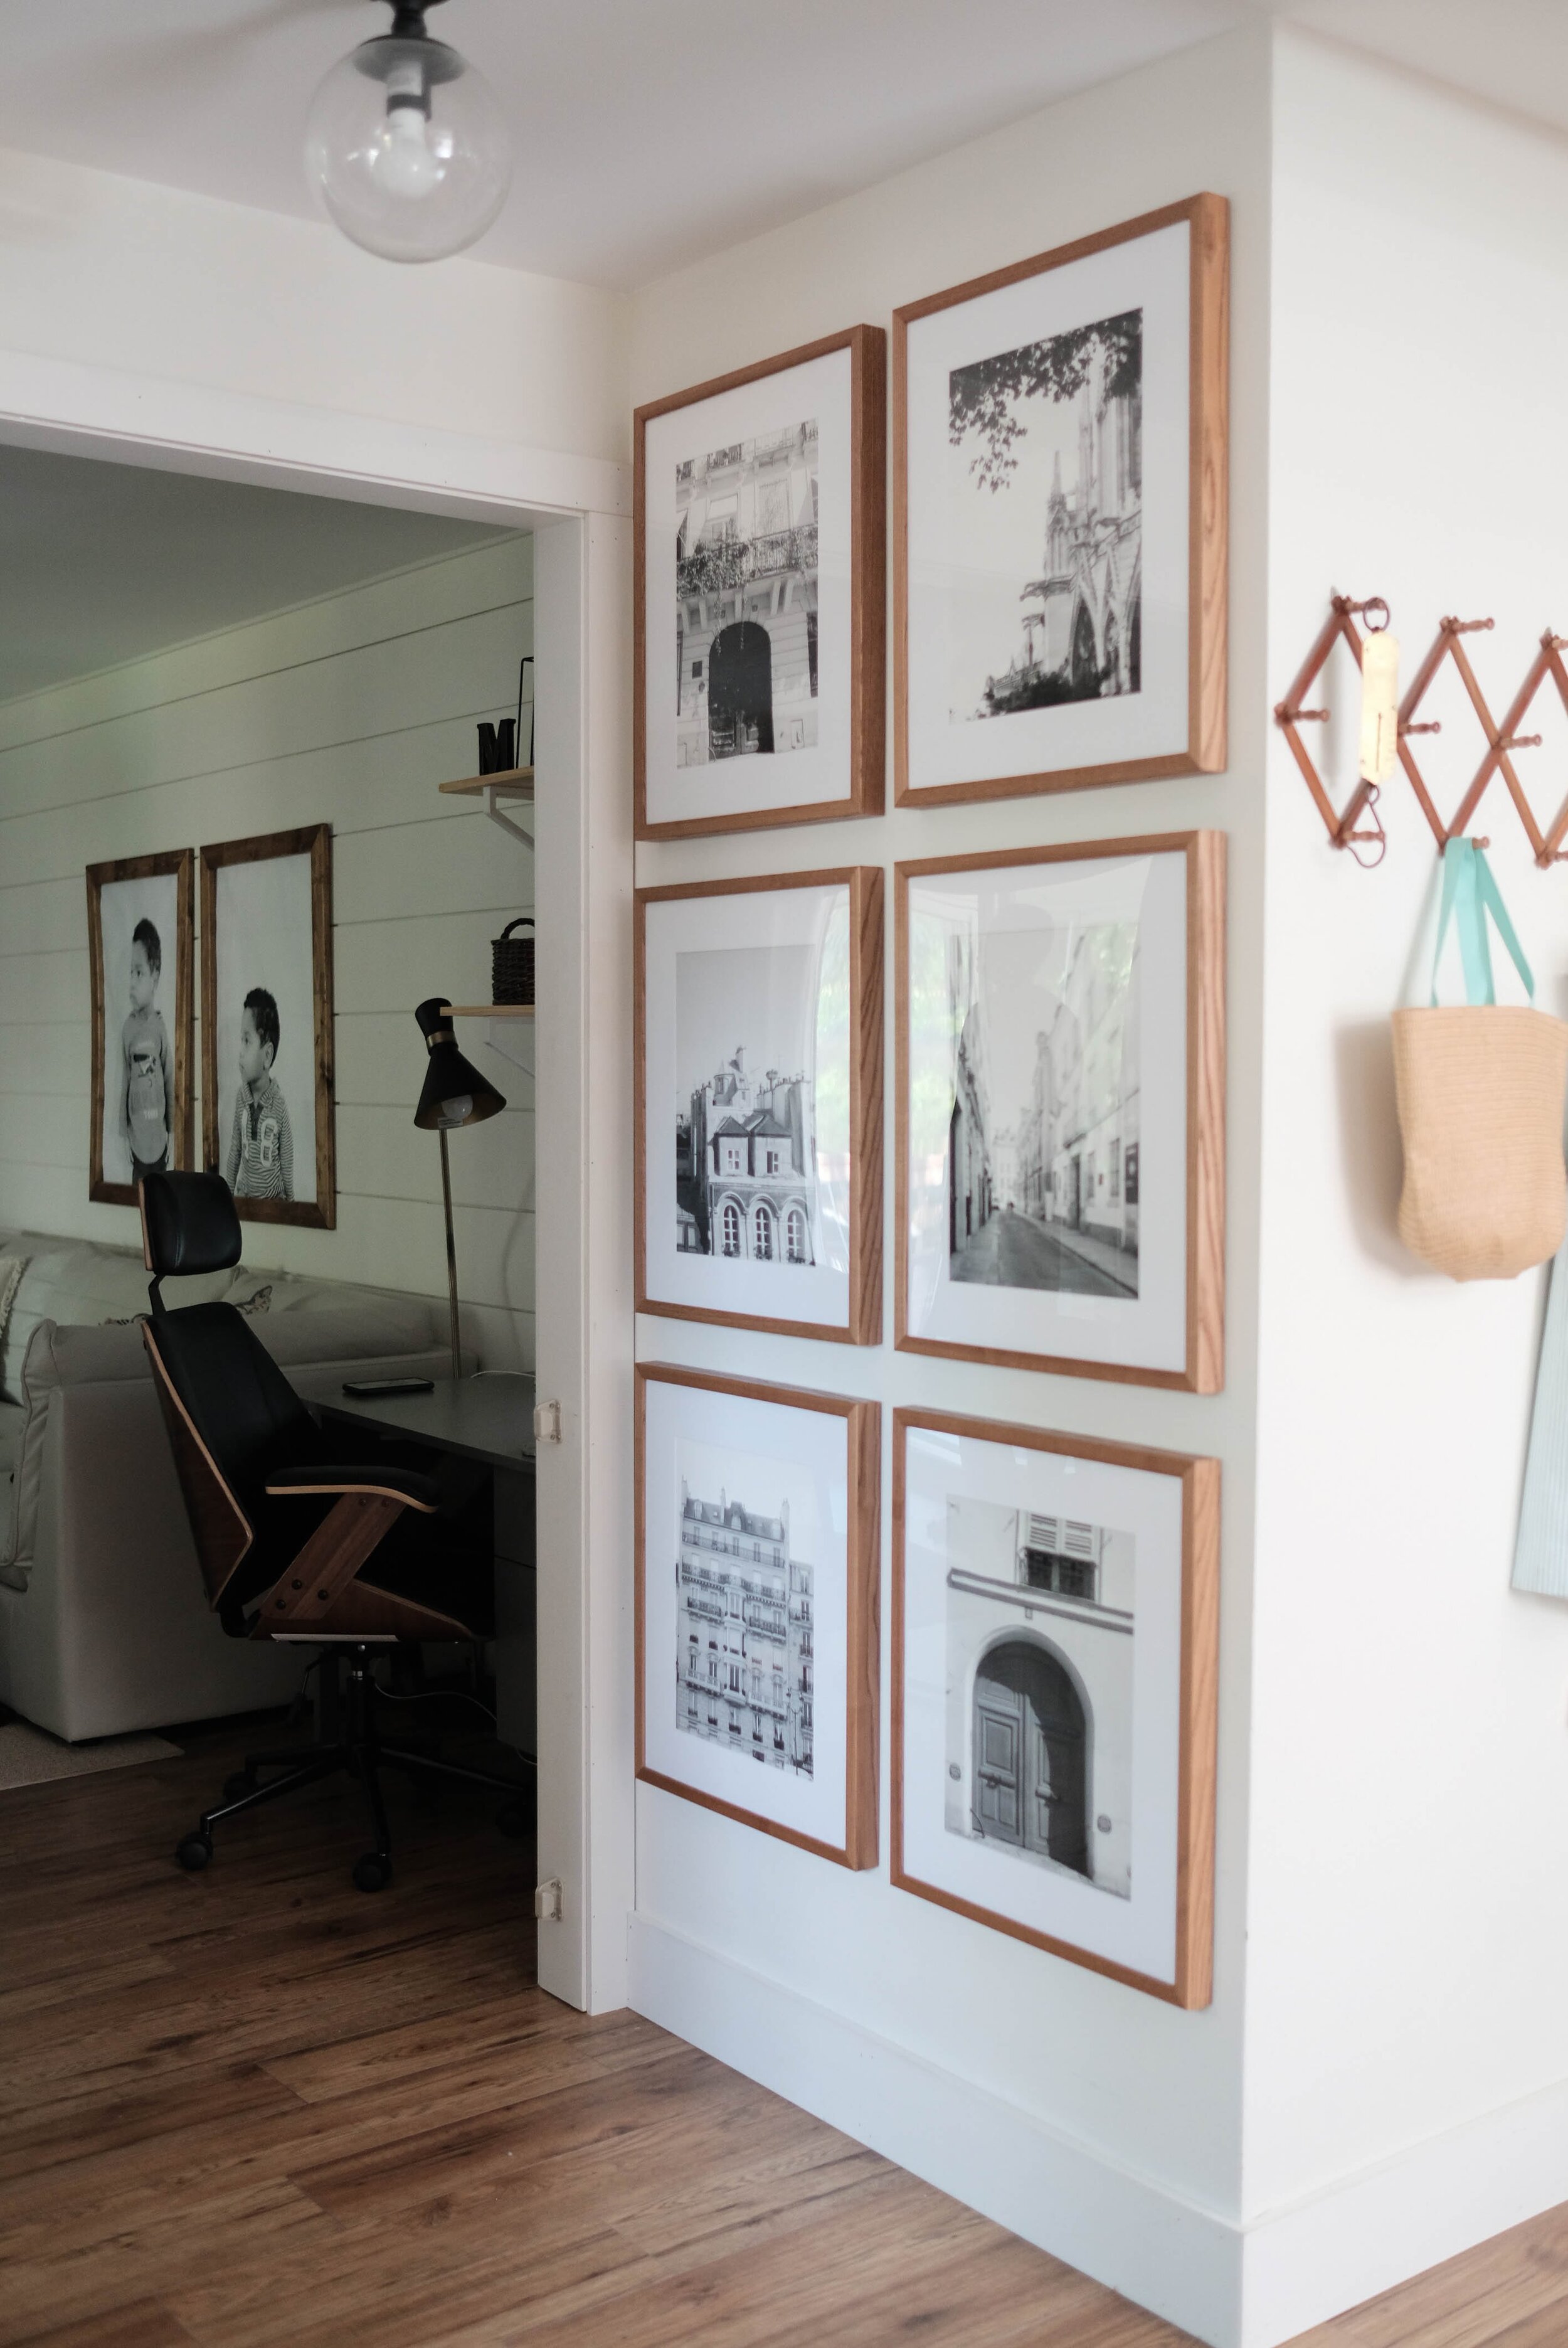 Here's the space before anything was there:
 So first thing is first: the folks at PosterJack were generous enough to sponsor this blog post, but, you guys, you know what? I am so insanely in love with their product, that I would, without a doubt, order from them again.So let's start with the process of choosing photos. I wanted to have meaningful images, but not necessarily family photos, especially because we have some larger than life images of the kids on a wall close by. This led me to think about meaningful trips we've taken. Well, by far, the most gorgeous places we've gone together are Paris and Brazil. Unfortunately, I didn't take a TON of architectural or landscape photos in Brazil, so Paris it was.
 After sorting through hundreds of photos, I settled on about 12 and asked Marquis to choose 6. Then I edited his choices and chose whatever I wanted anyway. Ha!I wanted the wall to be balanced, both physically with the frames and compositionally with the images.Now came the fun part: choosing the frames!Originally, I wanted to get PosterJack's Loft Frames in grey, because the colour is SO gorgeous, but once I decided on black & white photos, I settled on the Gallery Frames in Light Walnut, and I'm SO glad I did!
 I think it's safe to say walnut suits our house much more than grey, and I love the warmth of it next to the black & white photos.
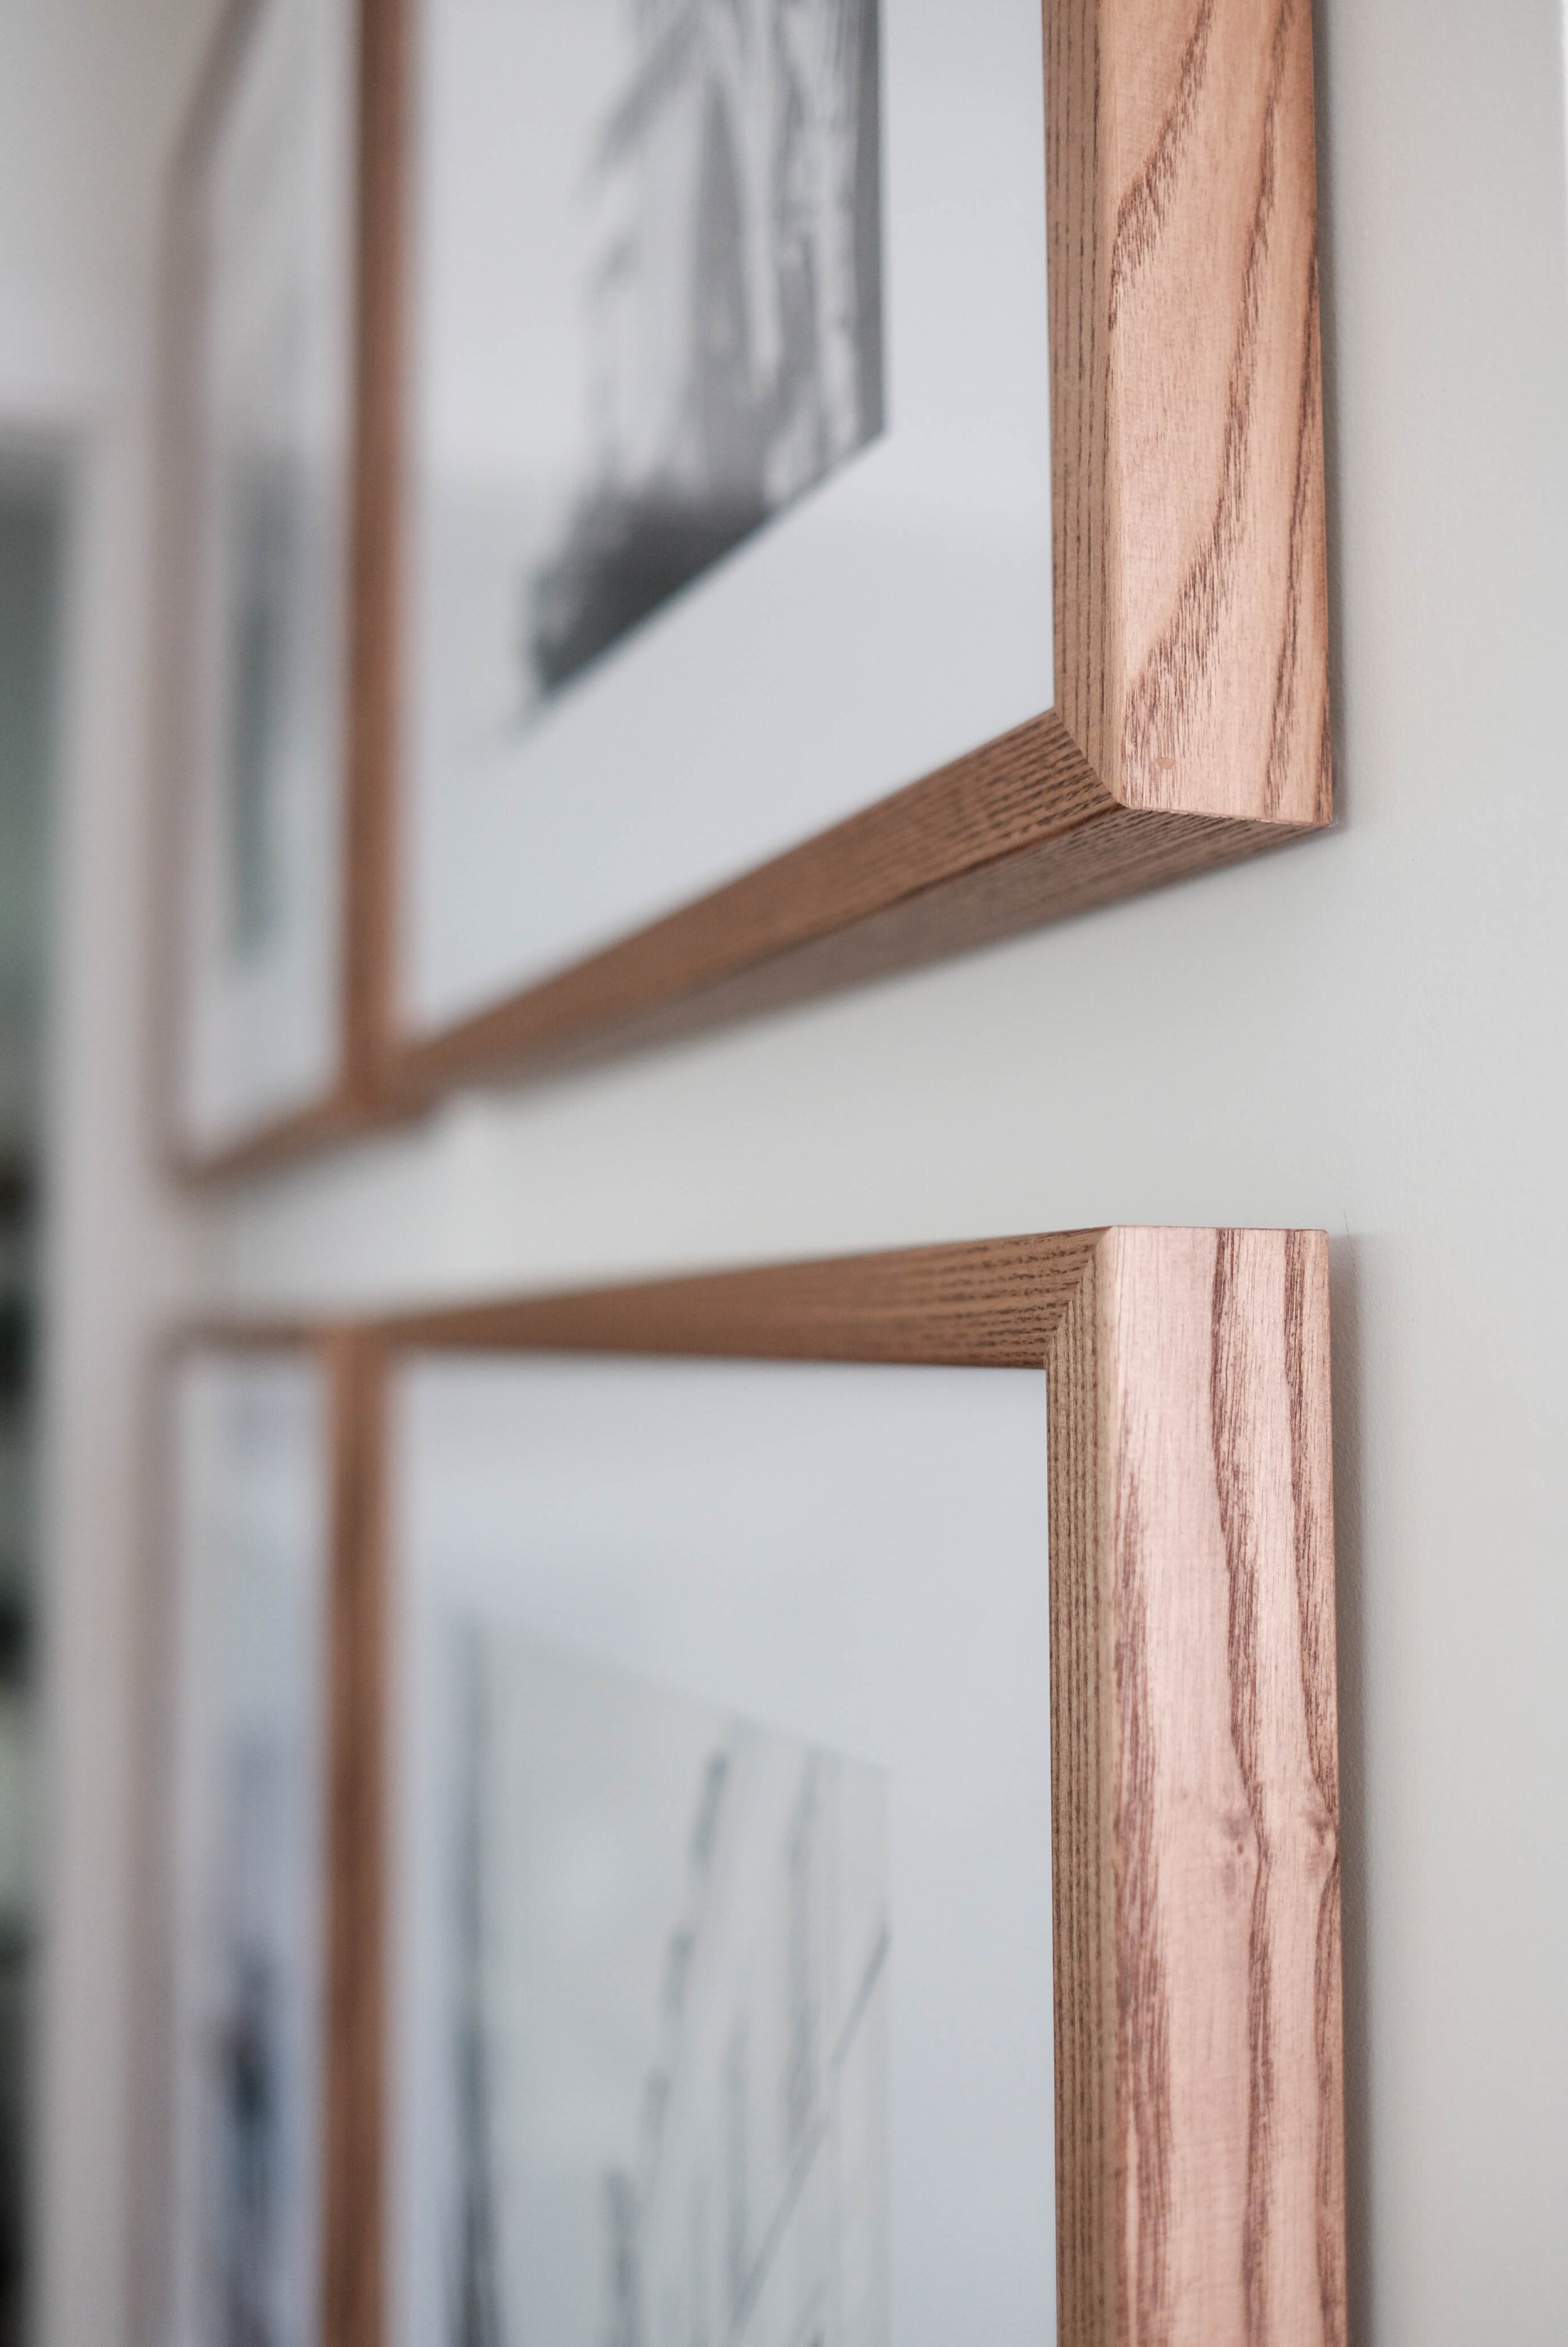 As far as how I planned the size of the frames, I measured the width of the wall, and being under 4' wide, I knew the 18"x22" frames would be perfect so that I could leave about 3" around all of the frames.
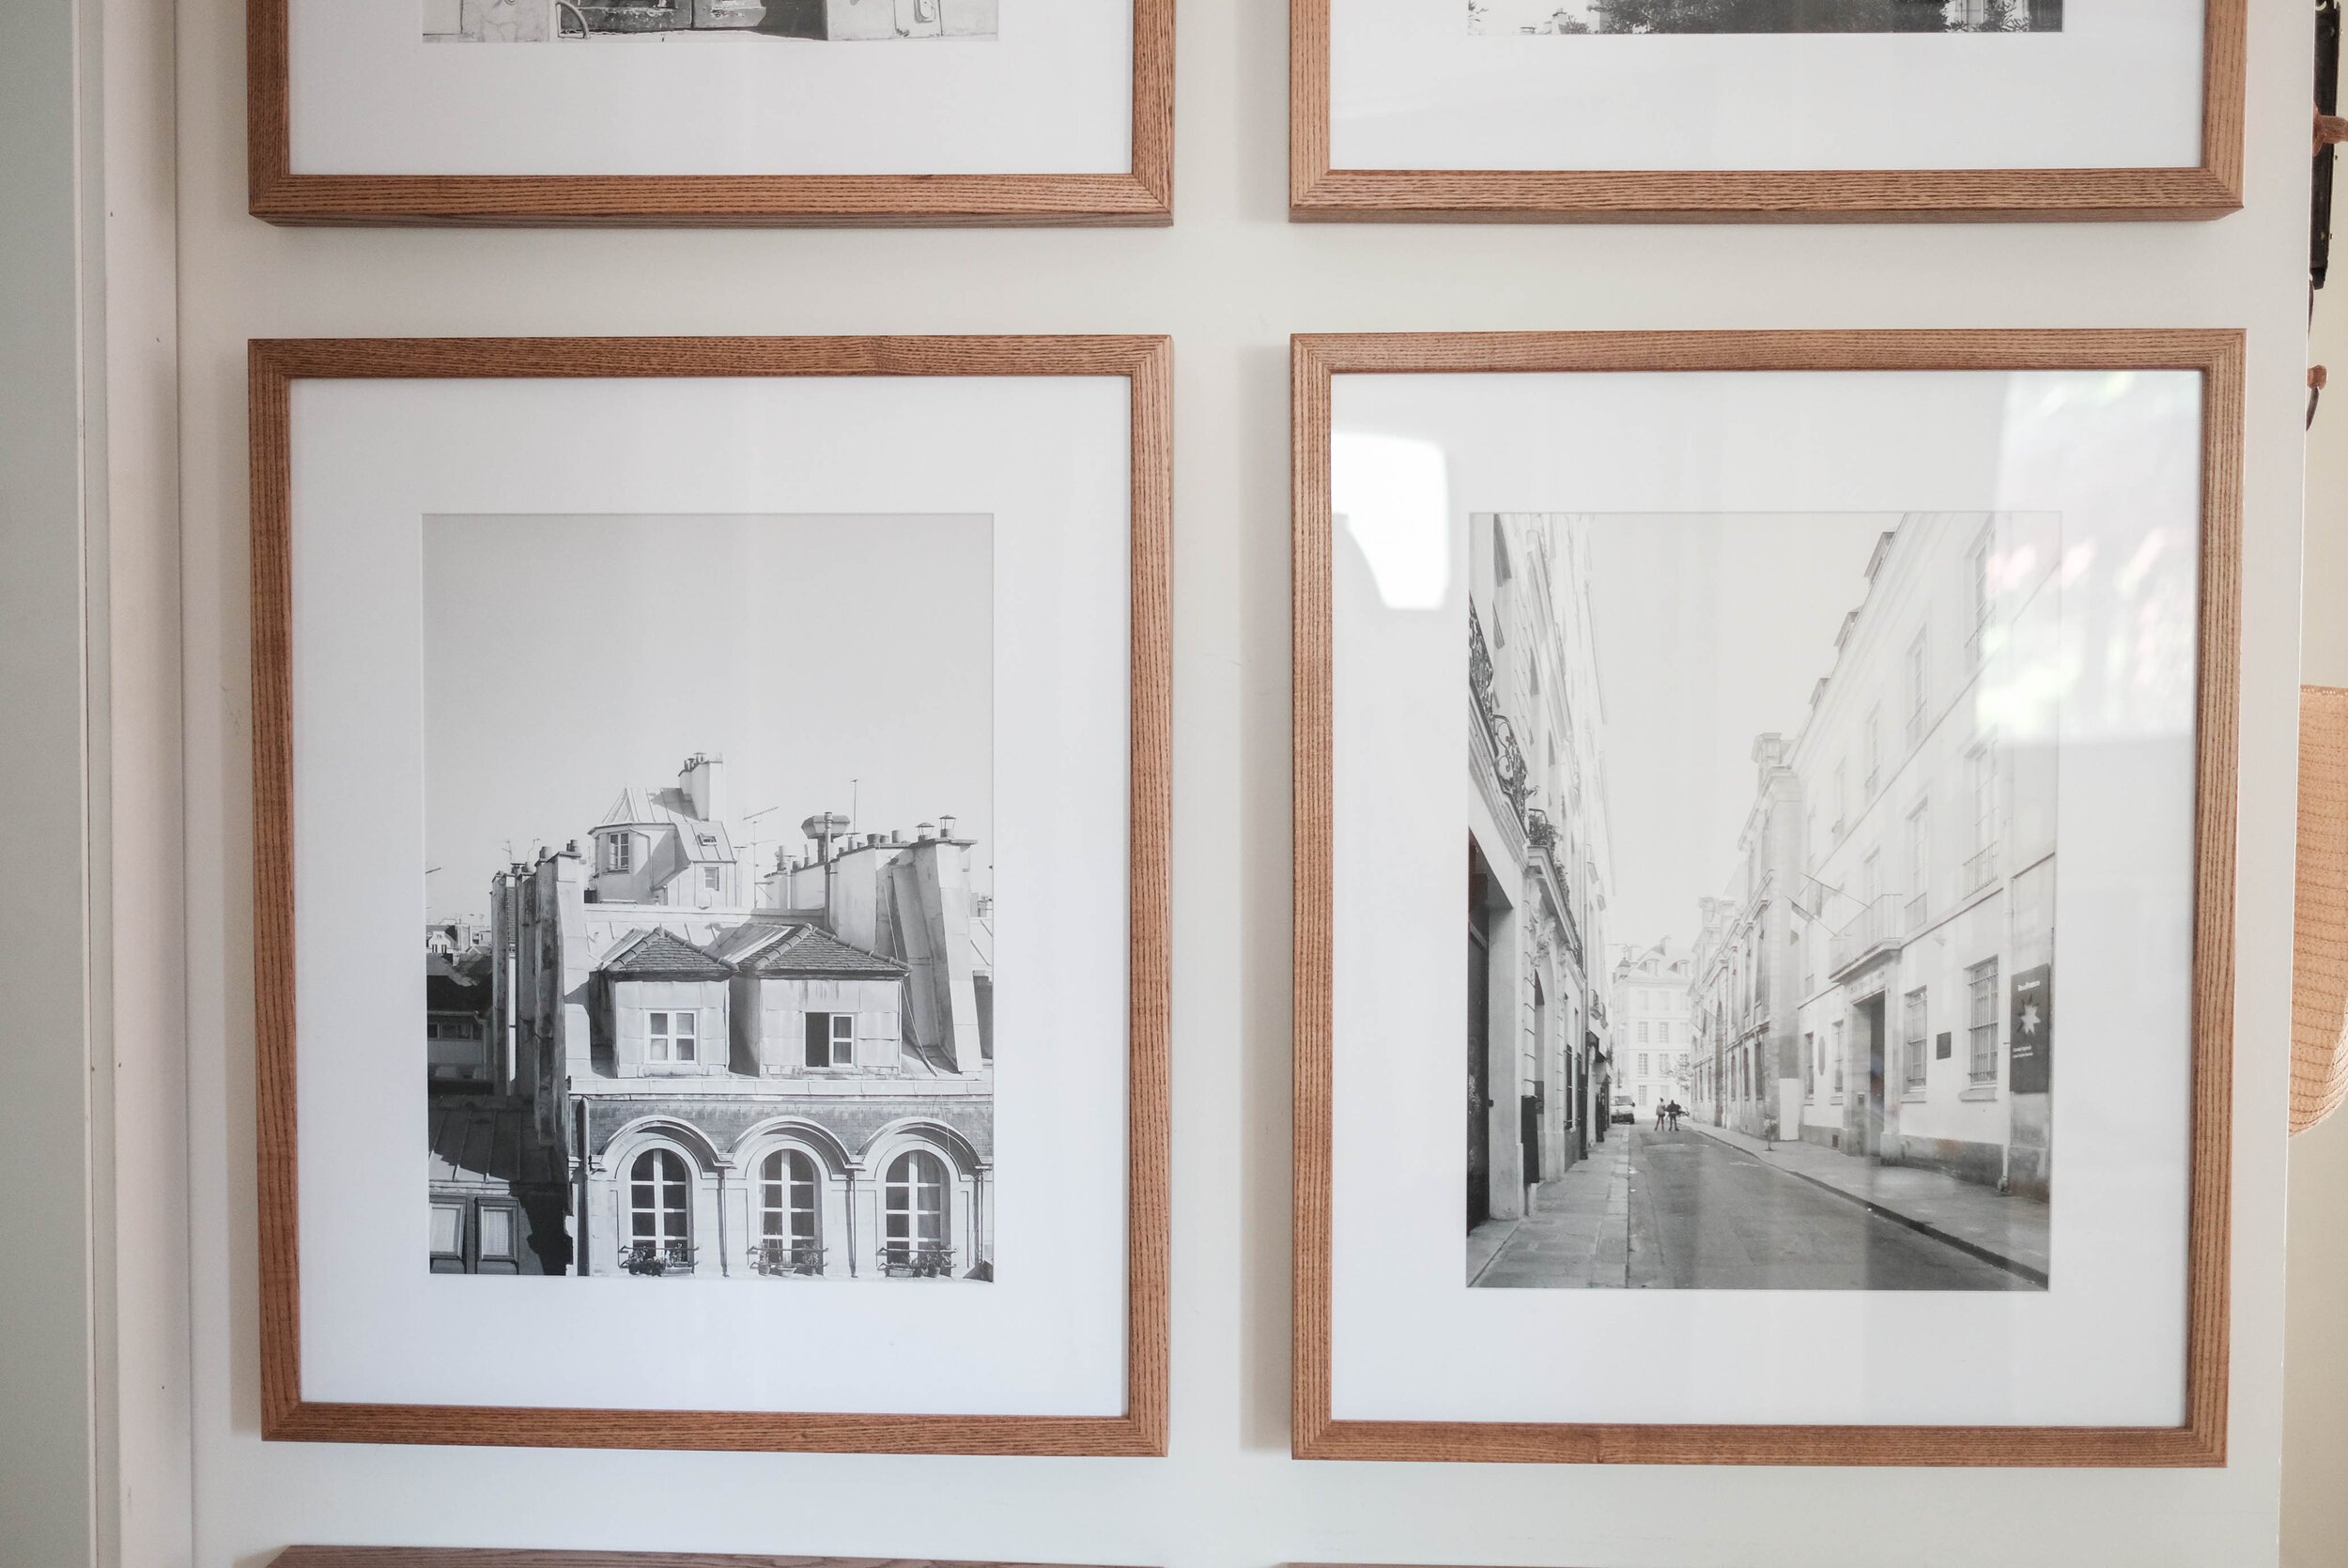
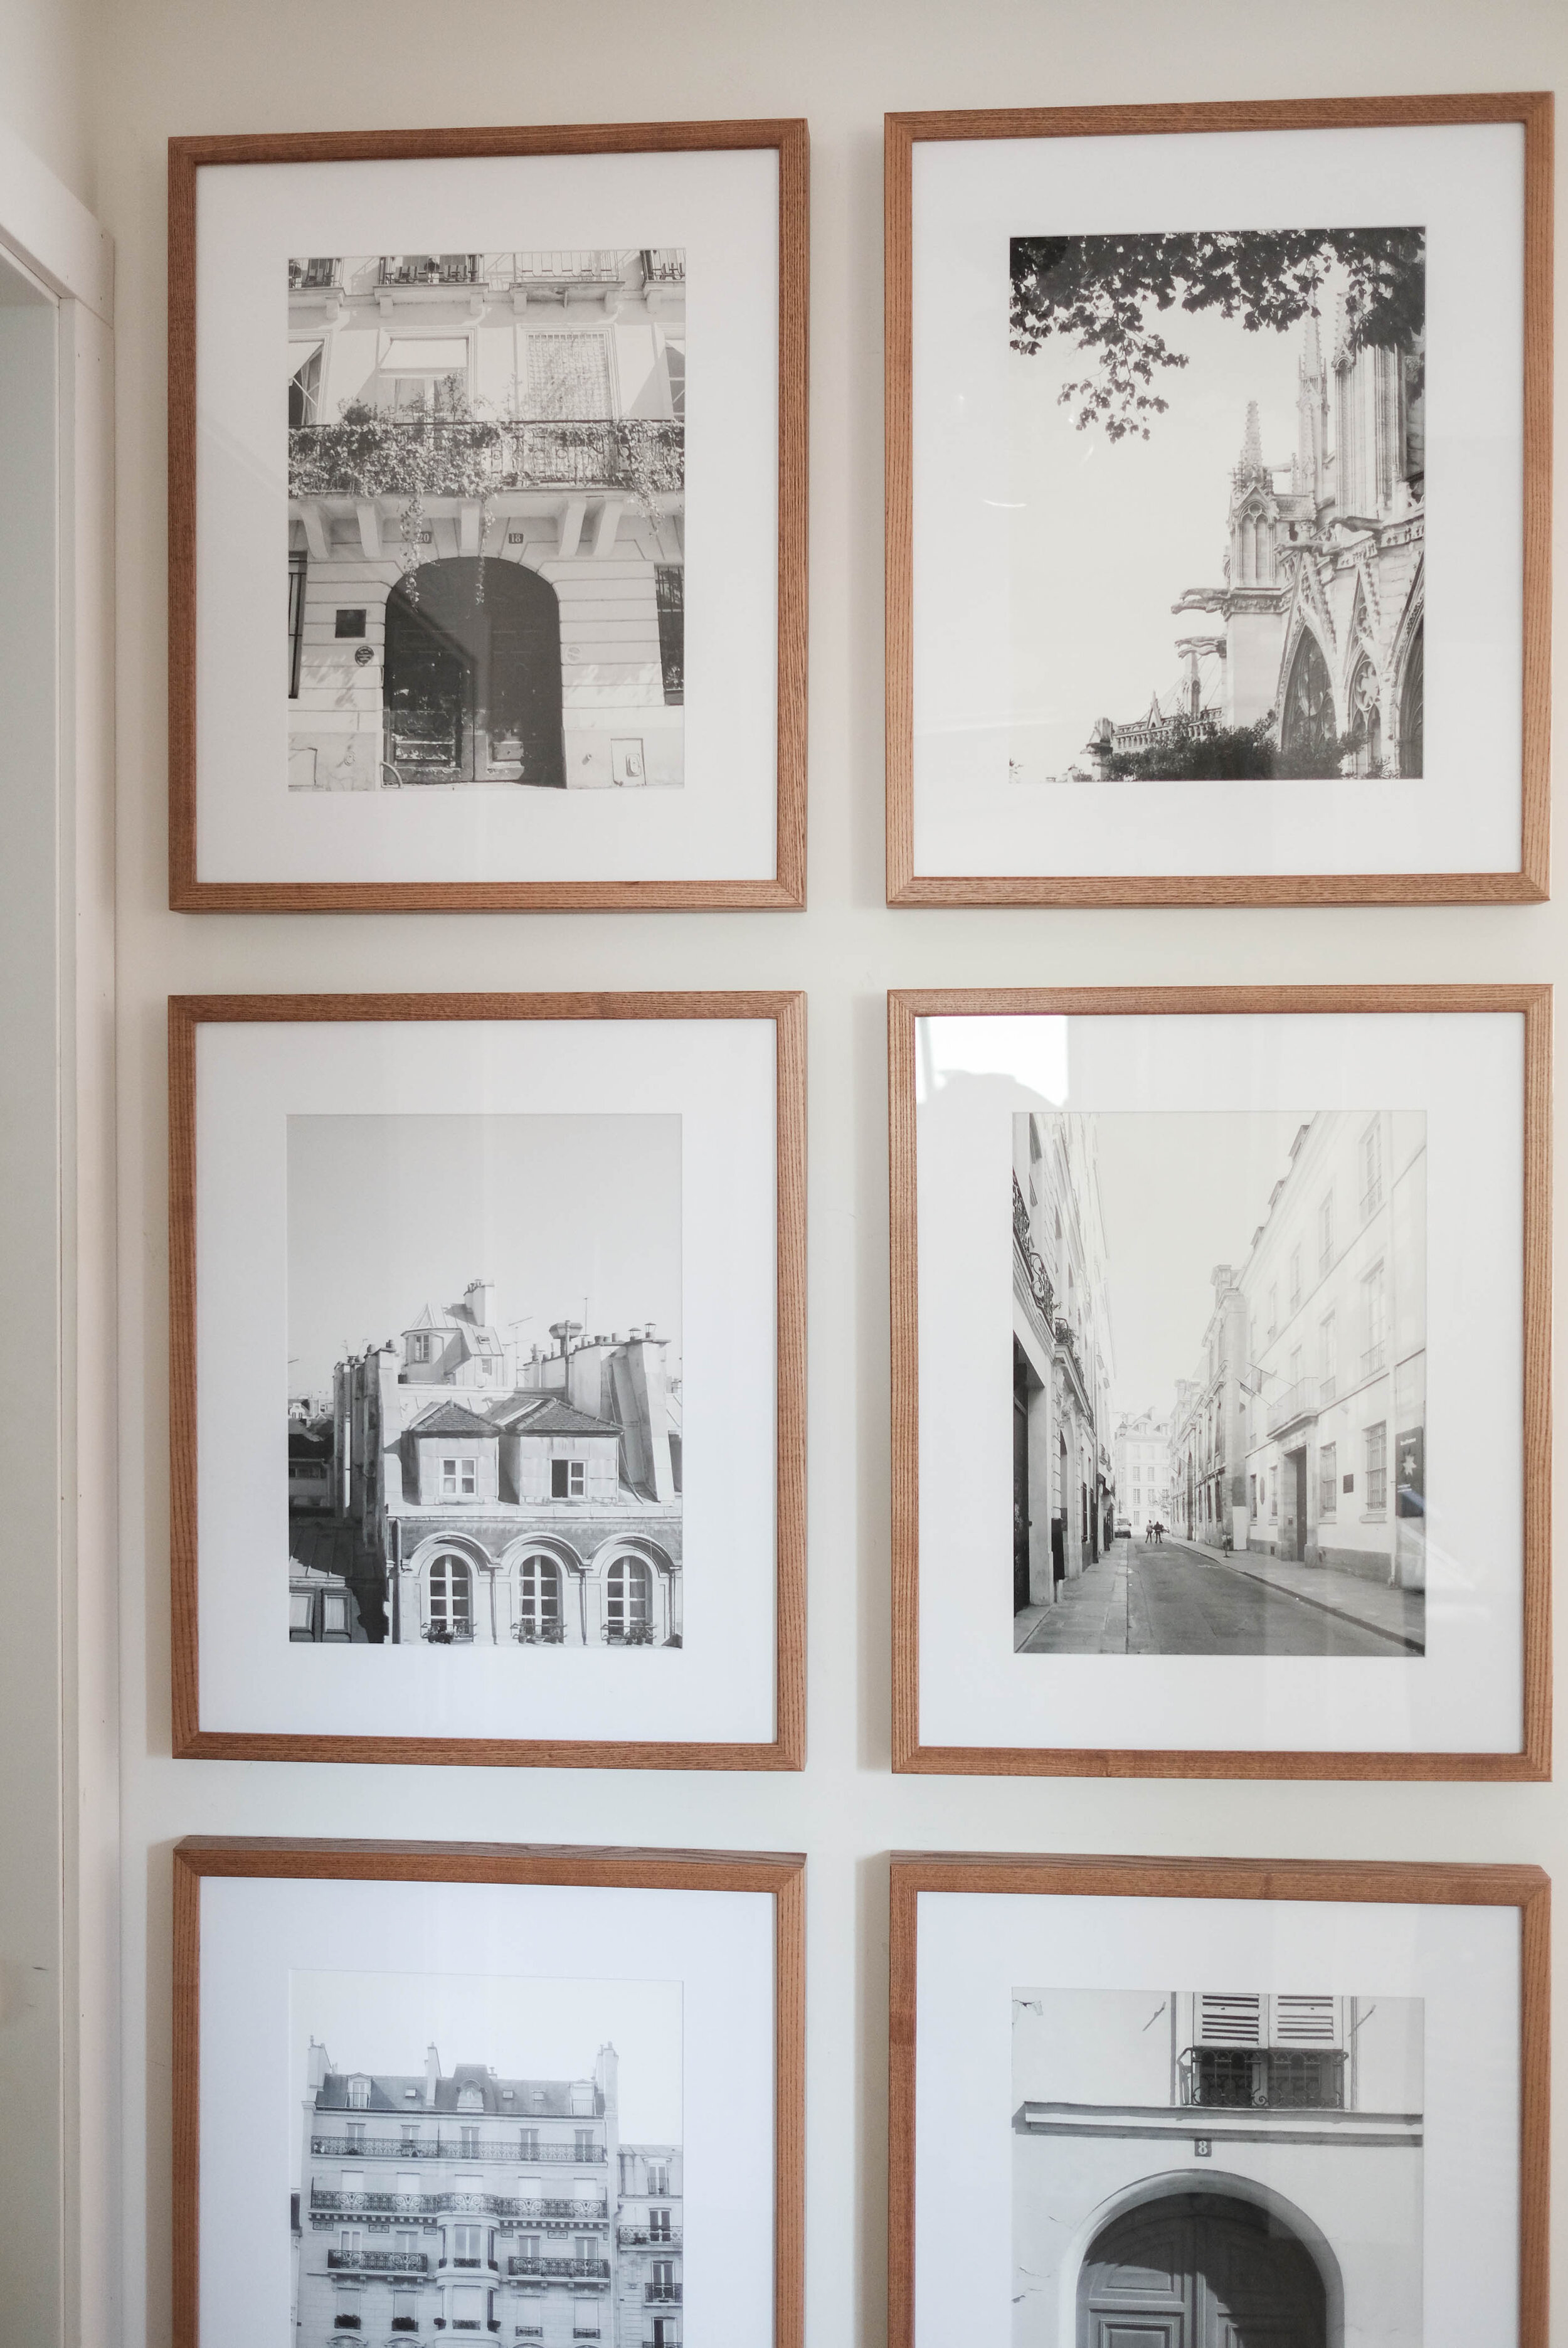 I wish I could tell you that I have some sort of magical math equation to share with you to explain how I hung them perfectly aligned, but the truth is, I didn't need one. Because PosterJack's frames come with the prints already in the frame for you and with a handy wire in the back, and I used a level and 2 picture hooks per frame, it really wasn't too hard to figure out!
 Sure, there was a time or two I had to adjust the hooks, but overall, it was pretty easy.Now the view from the family room or into it are just SO much prettier!!!
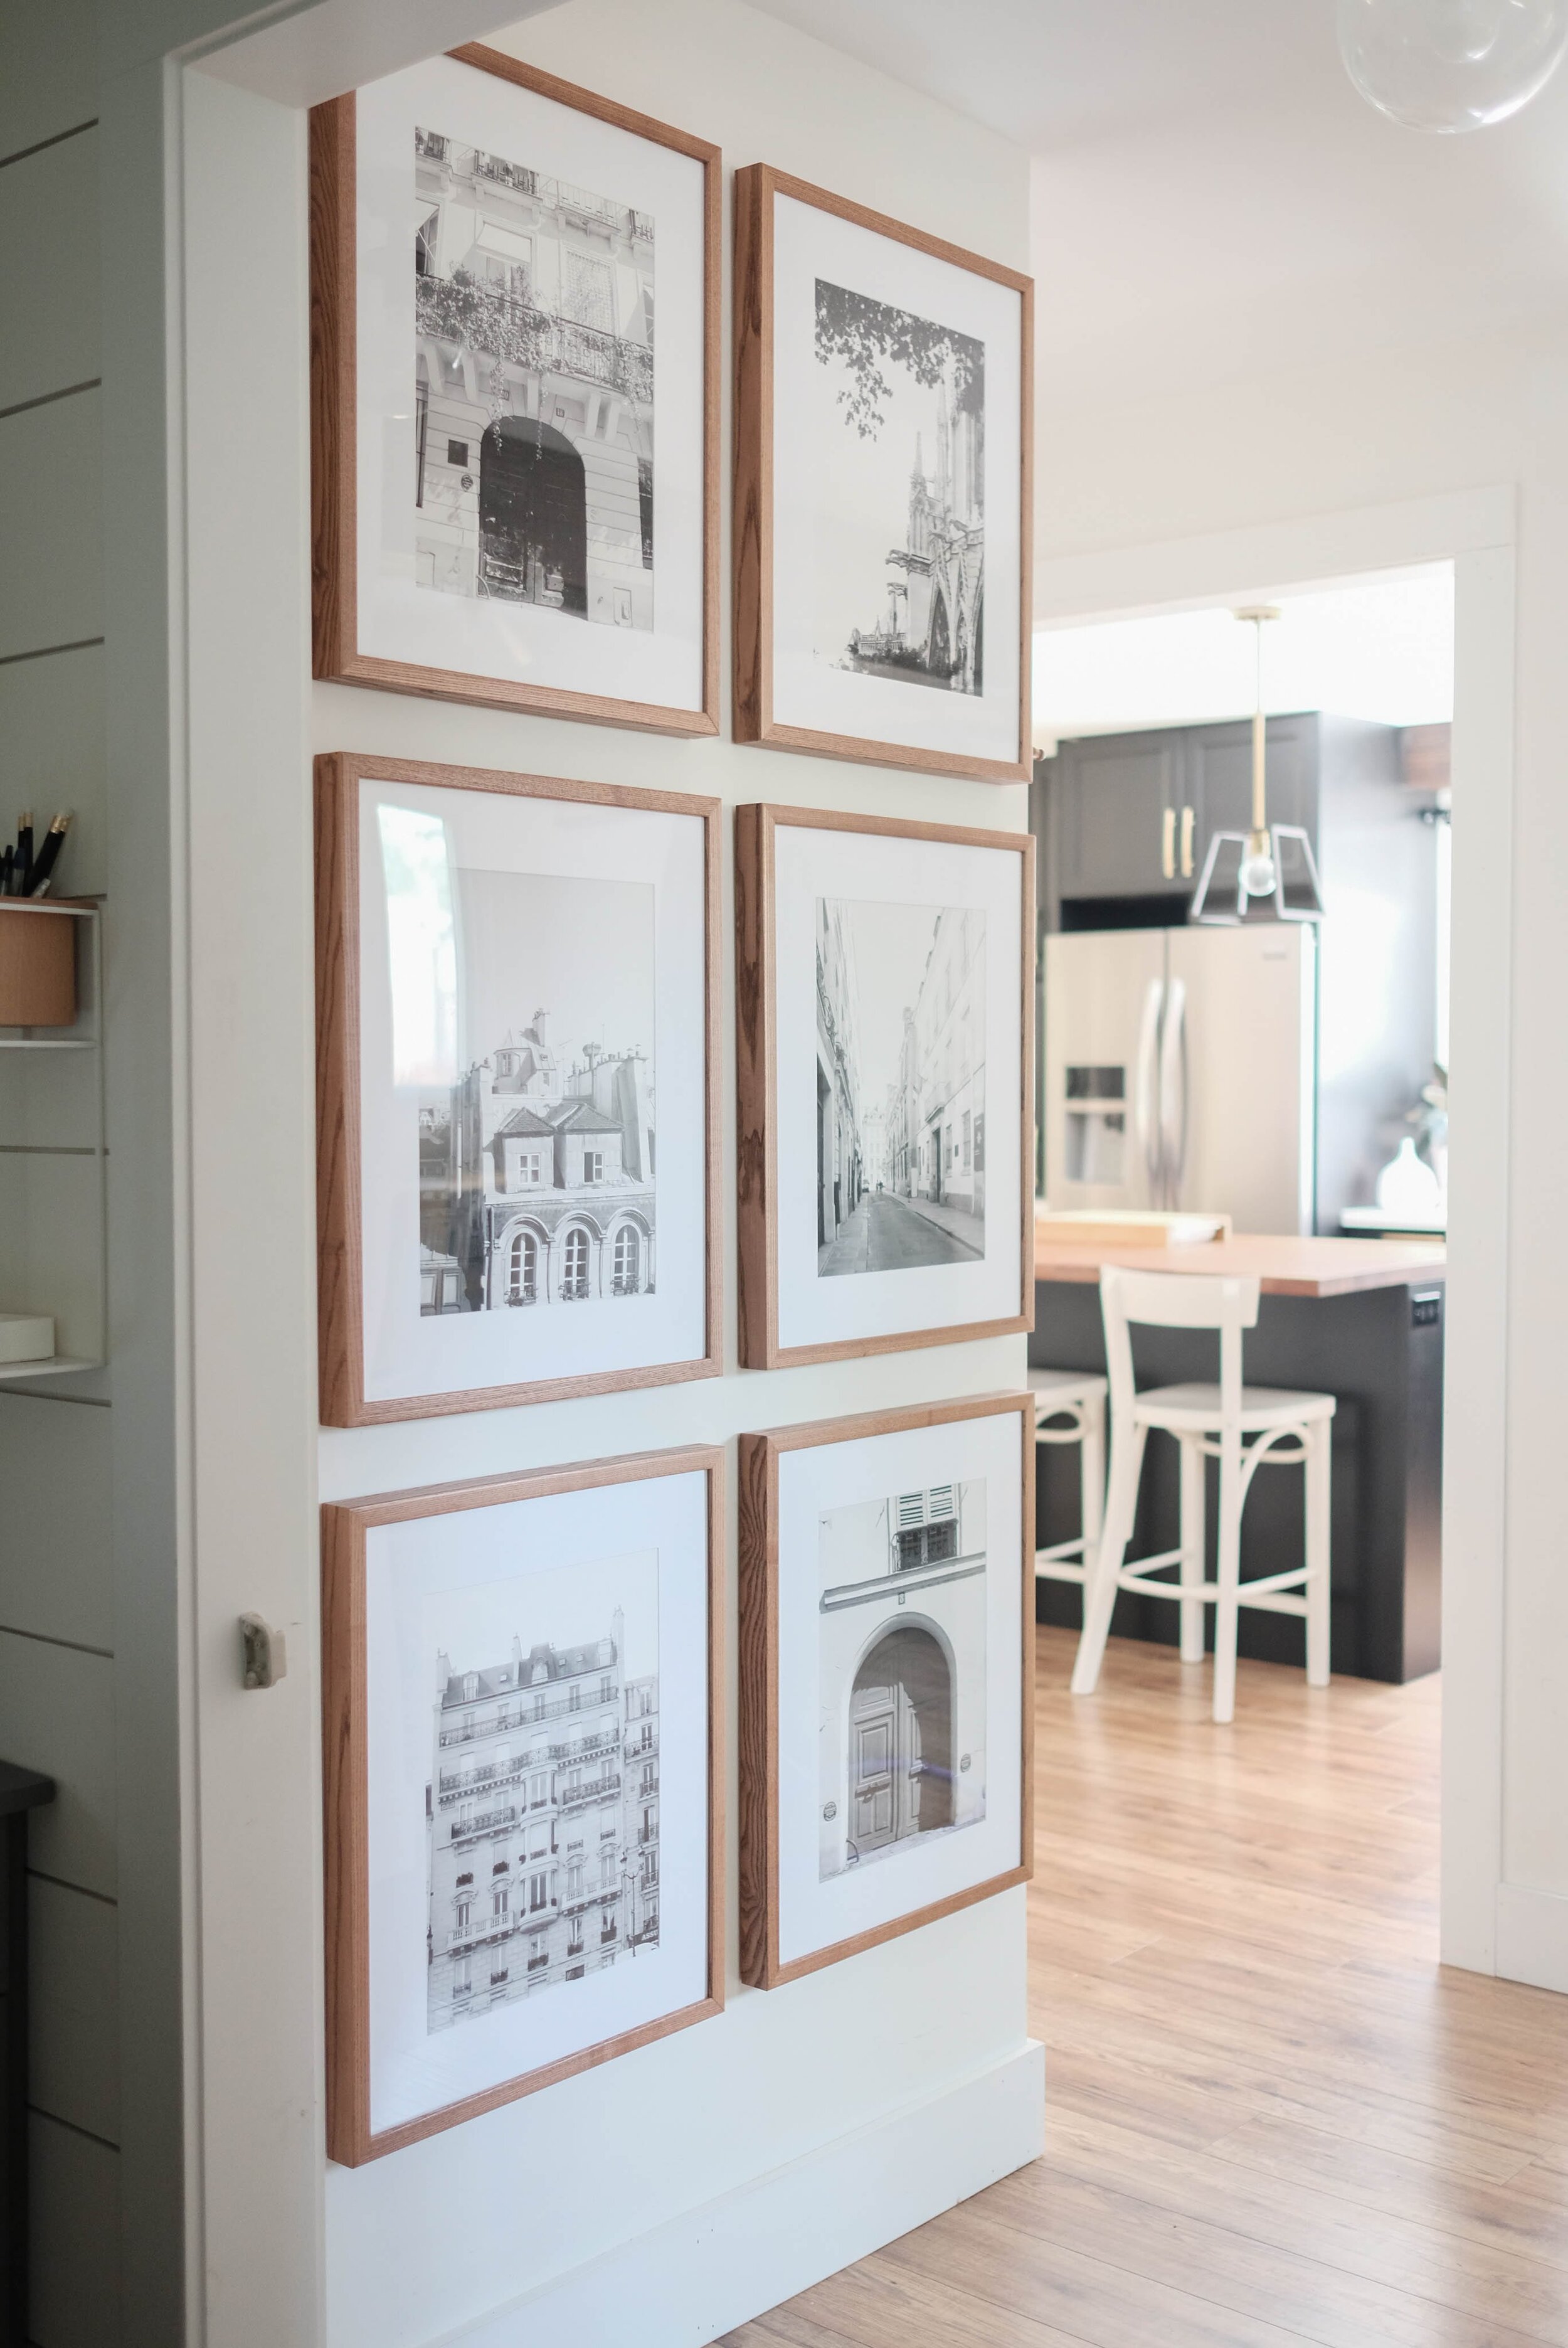
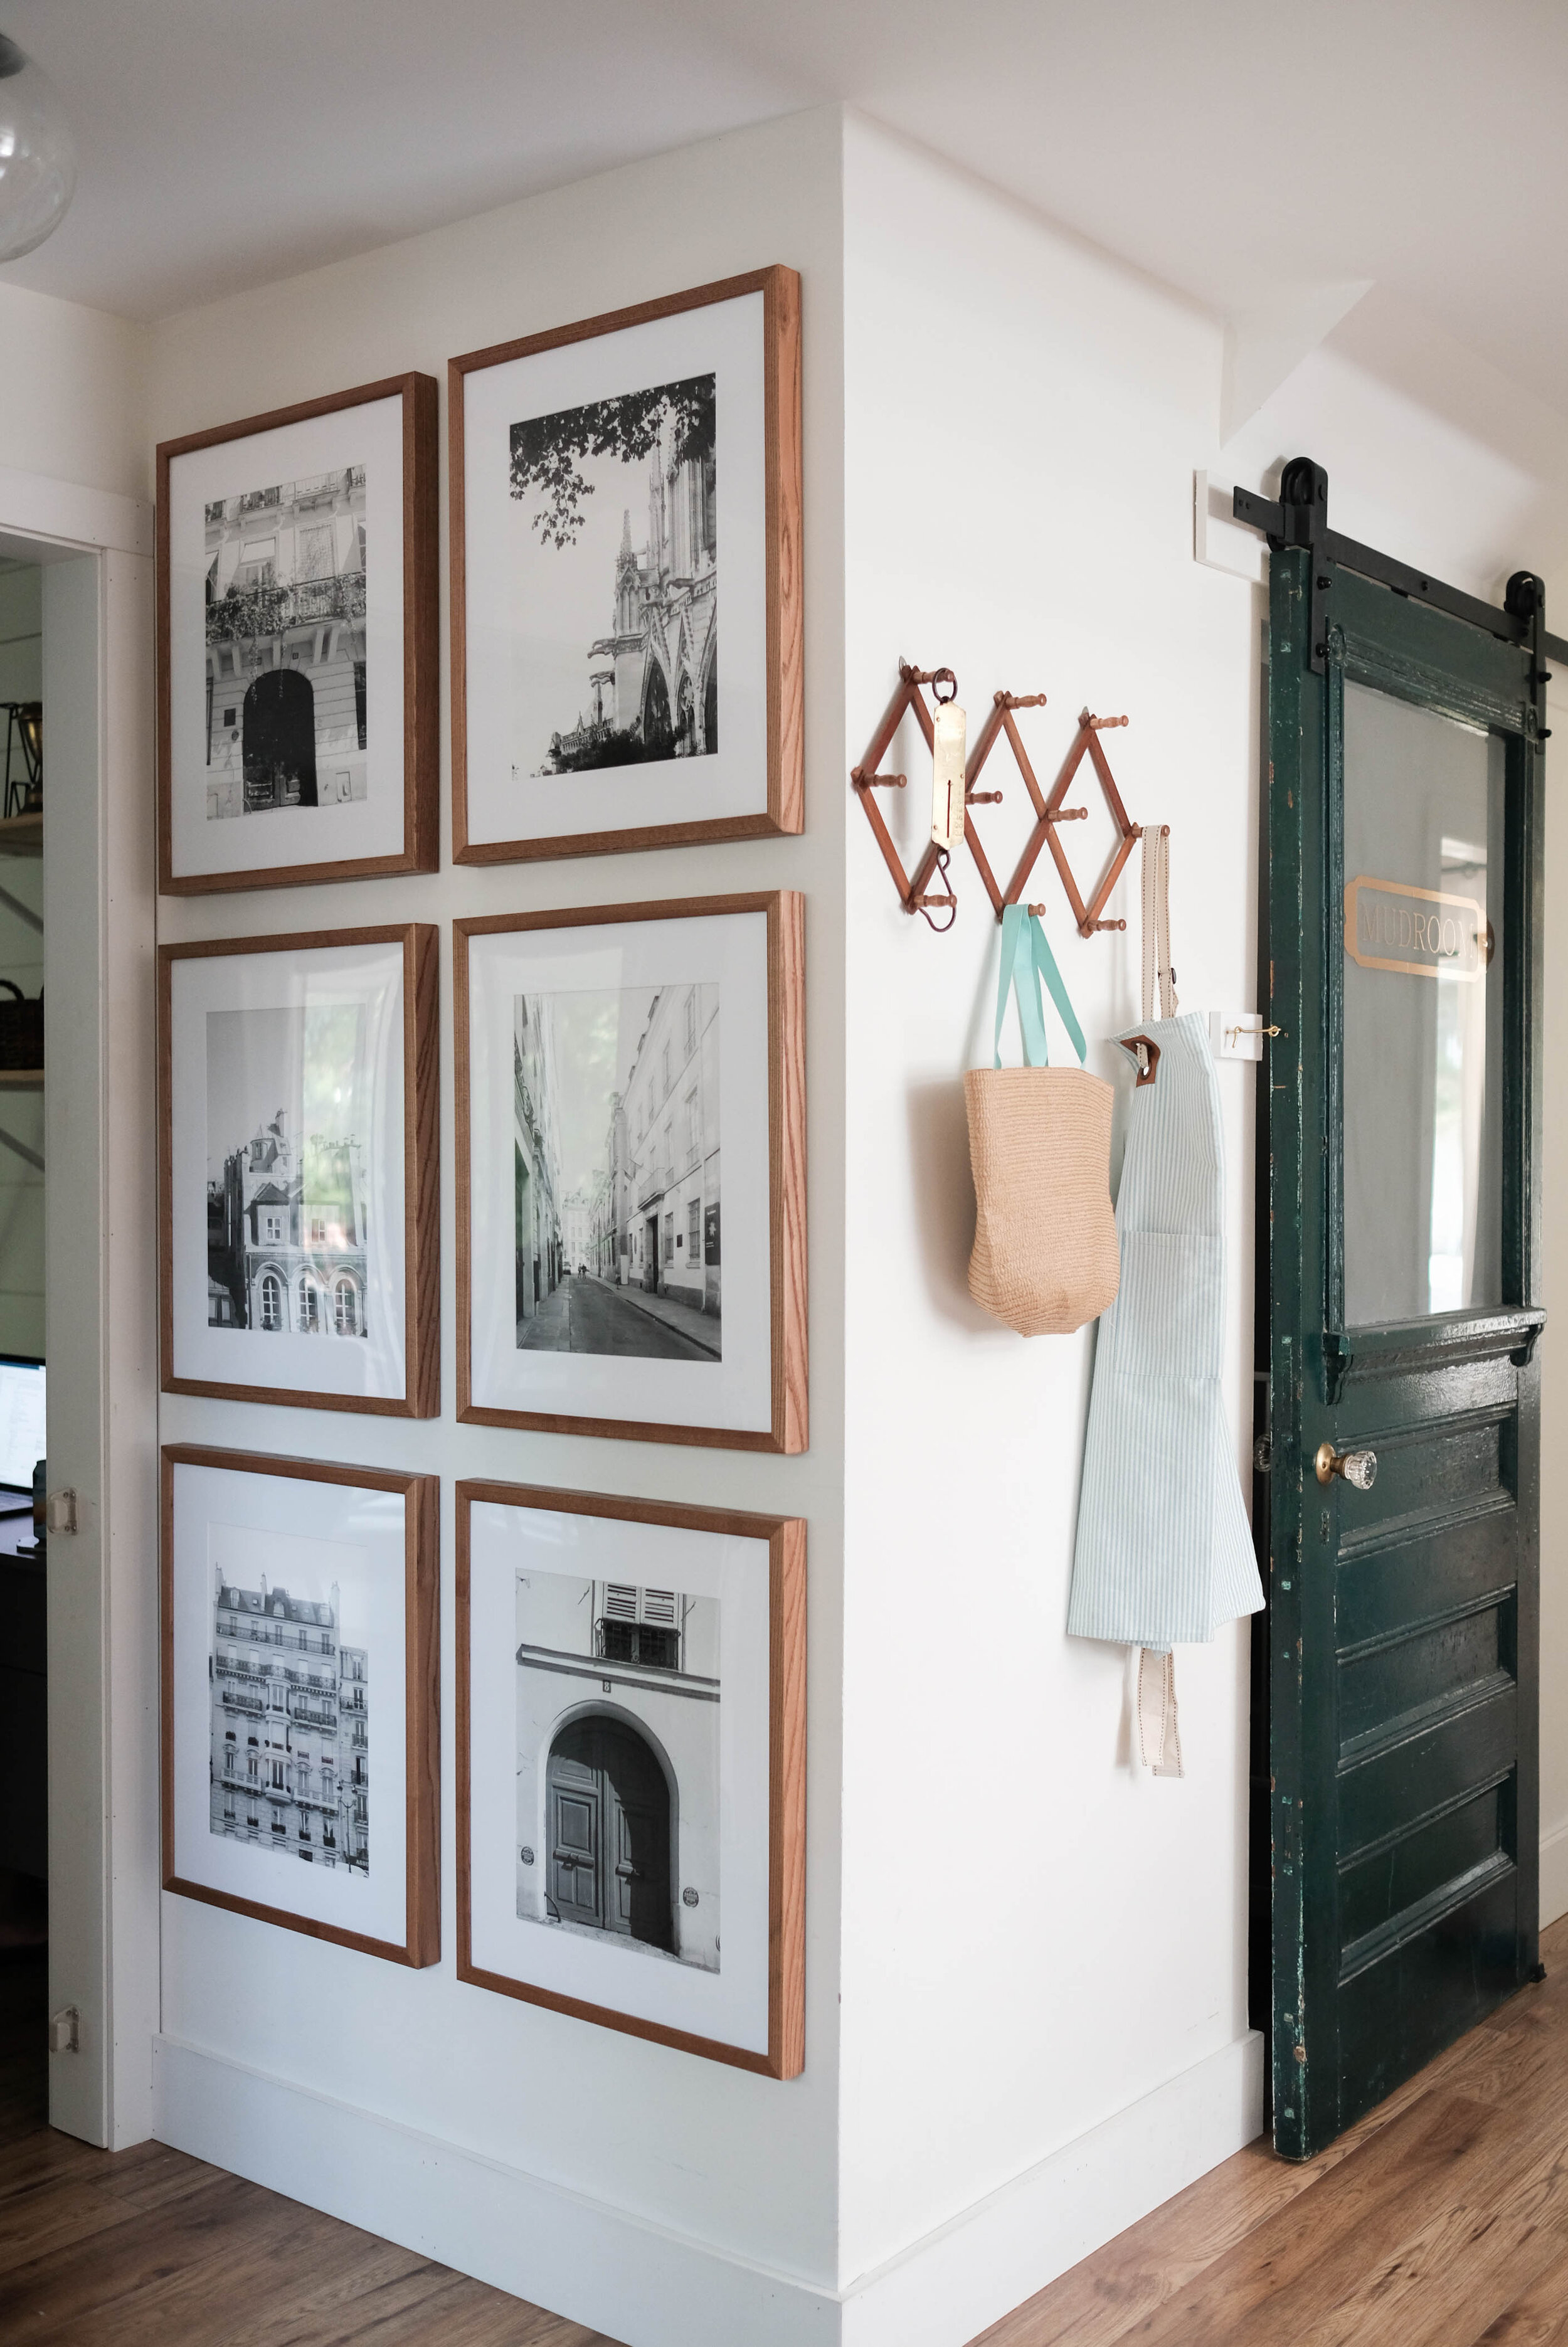
 And there you have it! I love the personality this wall gives our home, the memories we can look back on, and how insanely gorgeous these frames are!!! Make sure you check out PosterJack for LOTS of other ways you can create your own gallery wall! They also do just prints, so naturally, I'm already thinking of ordering some prints from them to change this wall out seasonally. How fun would that be?If you try out a gallery wall like this, show me!